Overview
This deck was built just last summer with a pressure treated lumber, but was already showing stains and wear. A quick scrub and refresh with semi-transparent stain has it looking its best self for the summer! This project is perfect for a beginner. The tools and materials make it really user friendly with easy cleanup.
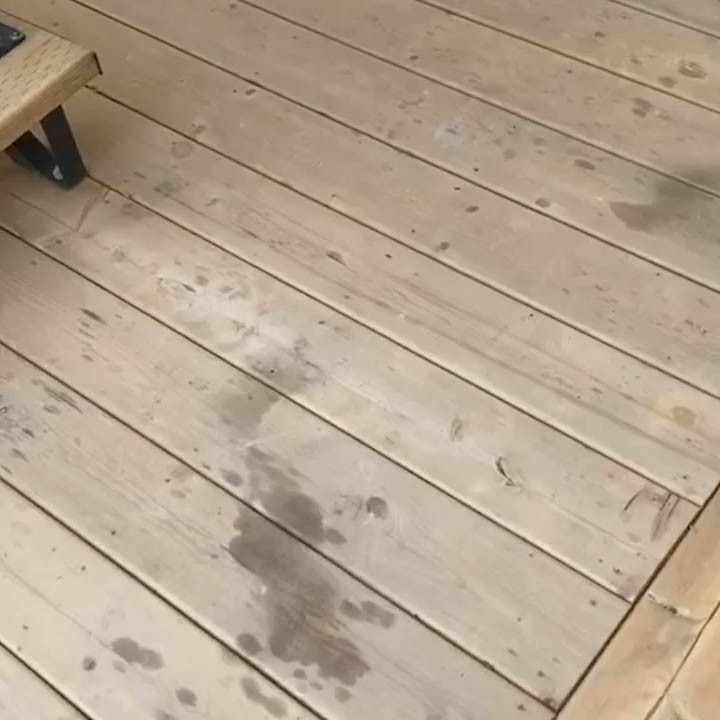
Before
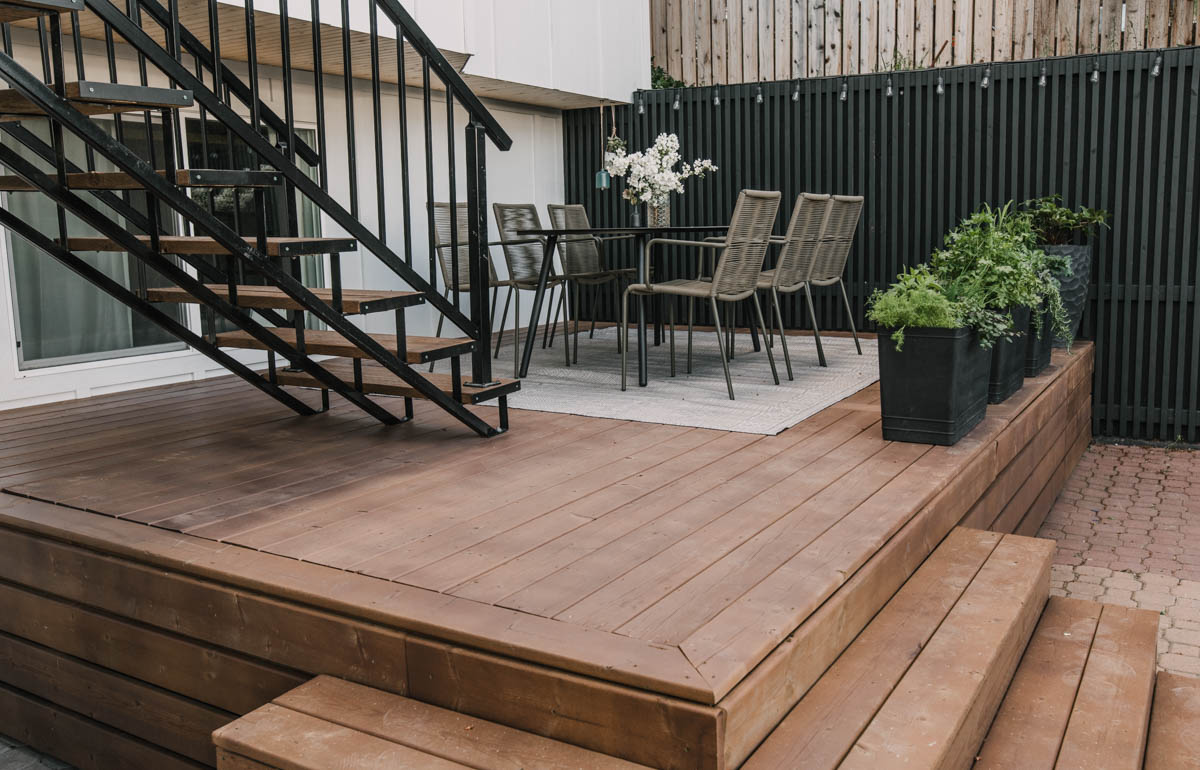
After
Clean the wood
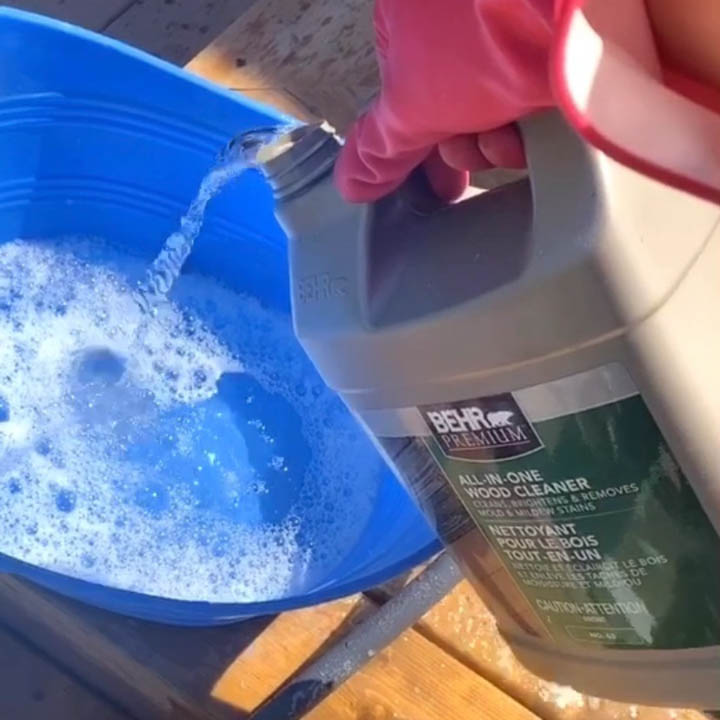
Cleaning your wood is an important step- make sure not to skip this! We used a specific wood cleaner and water to scrub the deck. This will remove any residue that will prevent stain from soaking into the wood evenly. Since this deck is pressure treated lumber, we chose not to sand it to avoid losing the pressure treated integrity. You could sand your deck if you have a cedar deck or if you don’t live in an area that needs that termite resistance. If you are sanding, wash your deck after to remove all dust.
Step 1

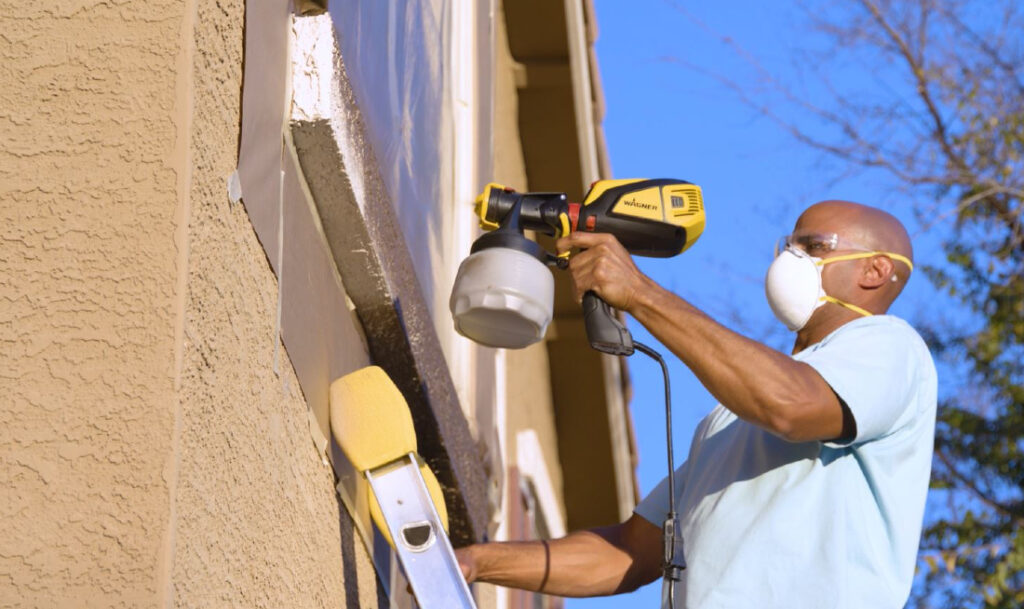
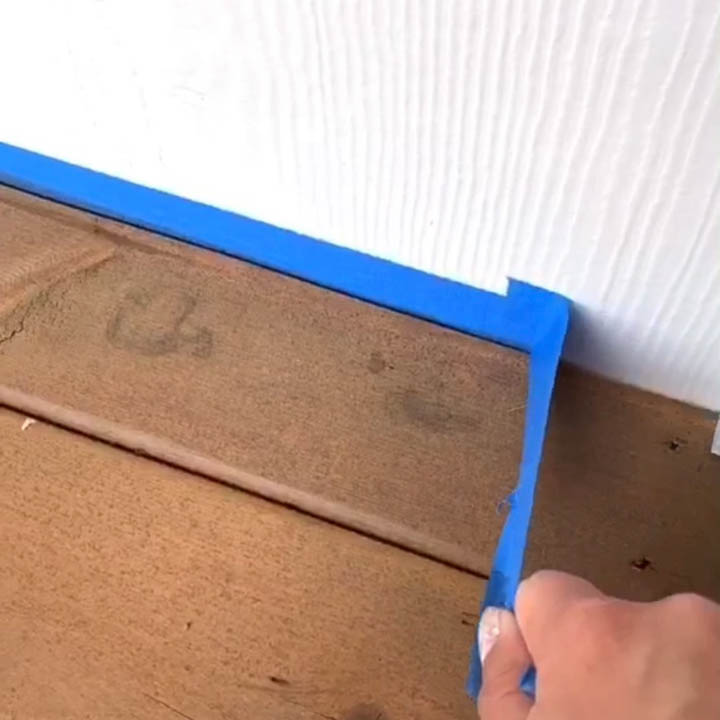
Mask to protect certain areas
Masking can be the most time-consuming part of using a paint sprayer. But it’s easy and allows you to paint so quickly and mess free. We used thick kraft paper from the painting section of the hardware store to slide under the deck, to protect the brick while staining the deck skirting. The siding was covered with plastic. We like to tape the bottom edge really carefully with painters’ tape, then to go over with double sided painters’ tape to affix the plastic sheeting over the siding.
Step 2

Let dry and set up your sprayer
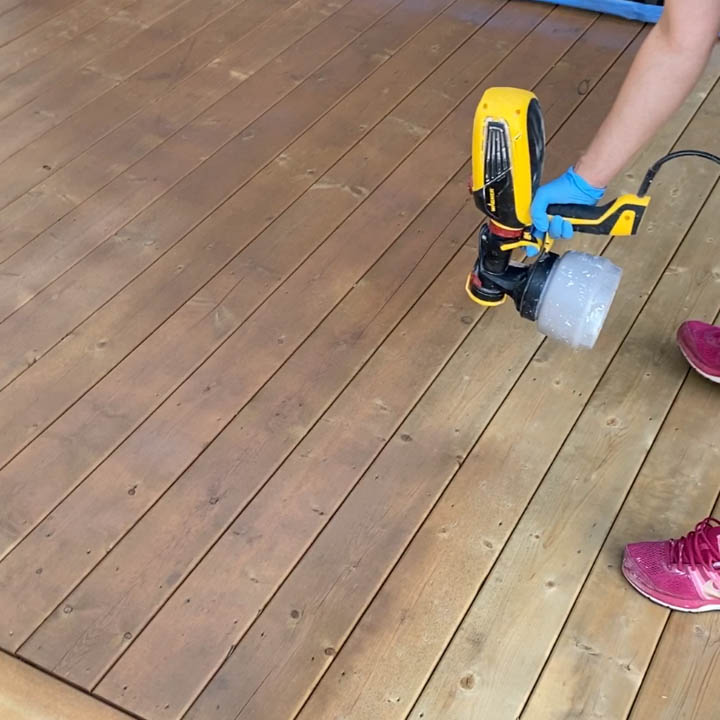
Make sure the deck is completely dry before moving on to this step- we recommend letting it dry overnight. Now you’re ready to stain! We used the FLEXiO 3000 for this project. We like that the handheld unit allows great mobility.
Step 3
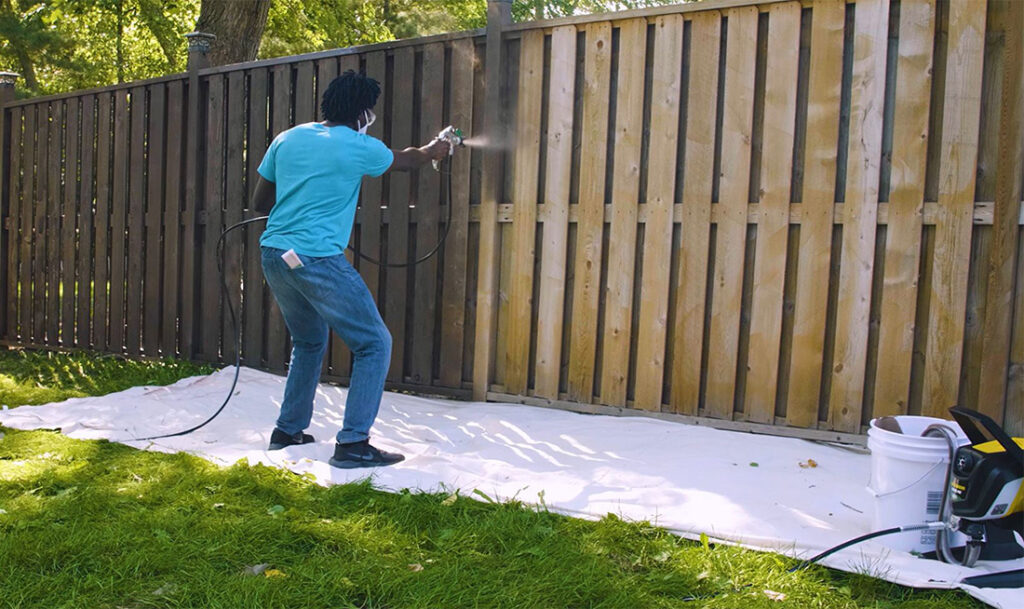
Adjust settings and practice
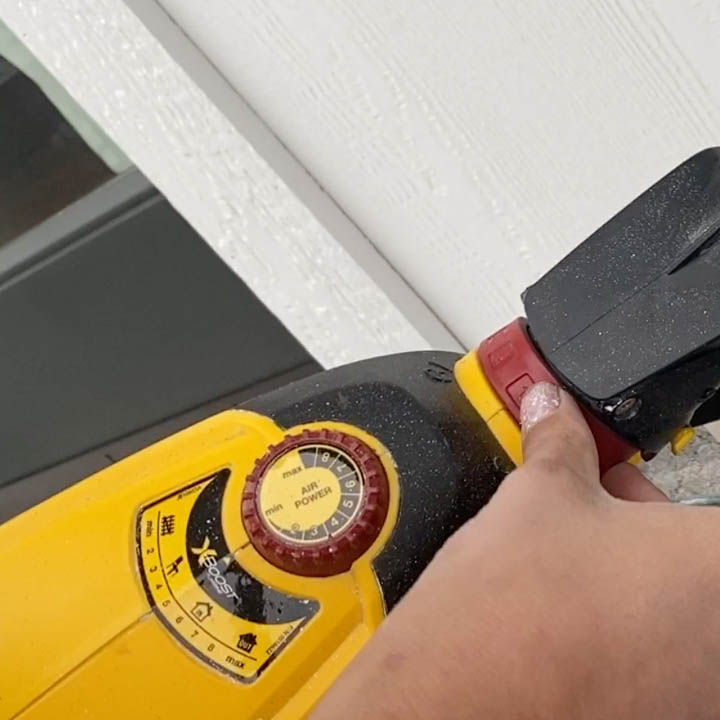
Make sure to point your pickup straw forward so when you’re angling your sprayer towards the deck, it picks up the stain. The settings we used for this are the lowest possible ones. I recommend starting at the absolute minimum and increasing if you need. I ended up increasing my stain output to 2 (from the minimum 1) and left the air pressure at the minimum setting. As always, test out your spray pattern on a scrap or piece of cardboard first to avoid having any large droplets or unsatisfactory spray areas on your project.
Step 4
Start spraying one board at a time
Work one board at a time, completing one full length of the board before moving on to the next to avoid lap marks. If you do end up with too much stain in one area, you can use a rag or deck brush to wipe it in. The caution here is not to leave puddles on the deck as it won’t soak in properly.
Step 5
Remove masking and enjoy
When it’s dry, you can remove your masking and admire your work!
You can see the whole deck makeover with more information on the project right here
Step 6

Download Project Steps & Shopping List
We’ll never share your email with anyone else