Overview
Hey everyone, this is Lindi and Russ. We are DIYers and home renovators that have been designing and renovating for 10 years now. We recently moved to a new location and started renovations on a whole new home. We’re going to be completely transforming our home over the next few years, but we wanted to make some quick temporary changes while we wait to transform everything!
Our current home is covered, wall-to-wall, and ceiling, with wooden planks. Could we paint over everything? Definitely! Are we going to? Nope. We decided to leave as much of the wood paneling as possible for now because it’s great quality cedar, and we want to salvage everything for some future outdoor projects! If we want to brighten up the space, that just leaves the ceiling available for paint.
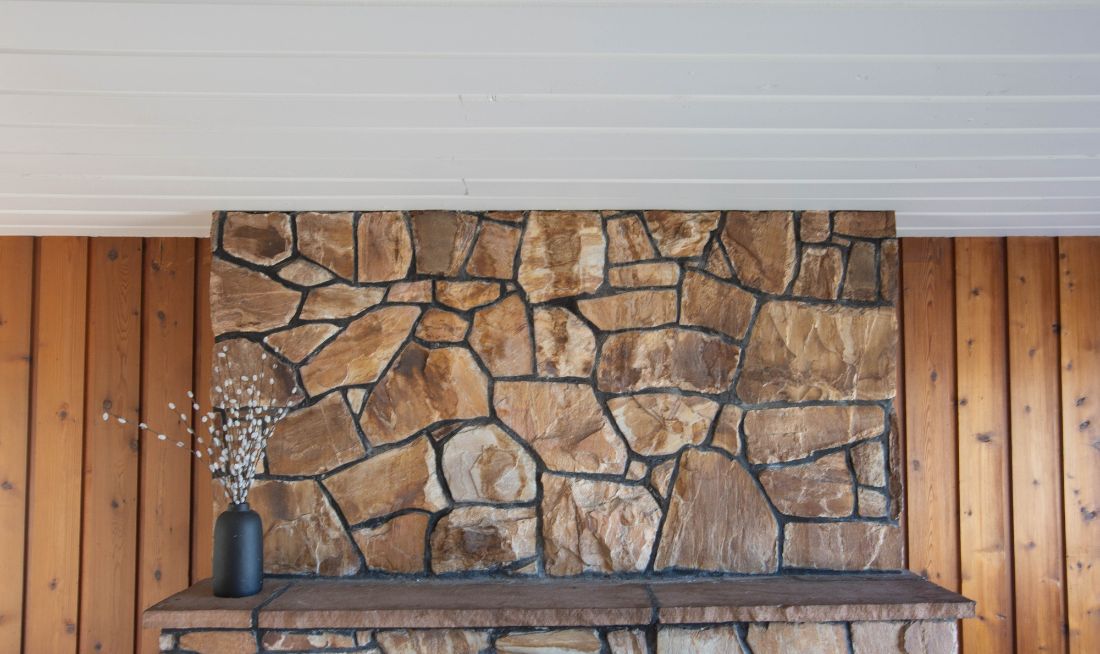
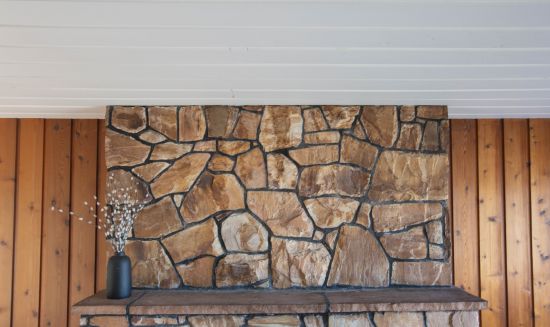
Before
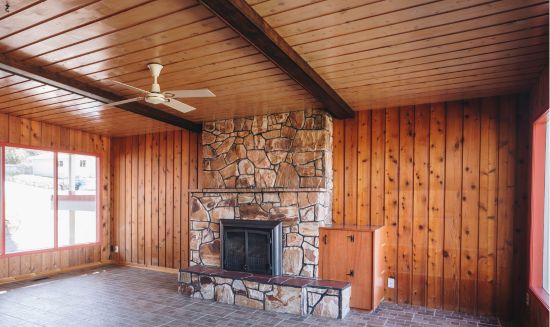
After
Instructions
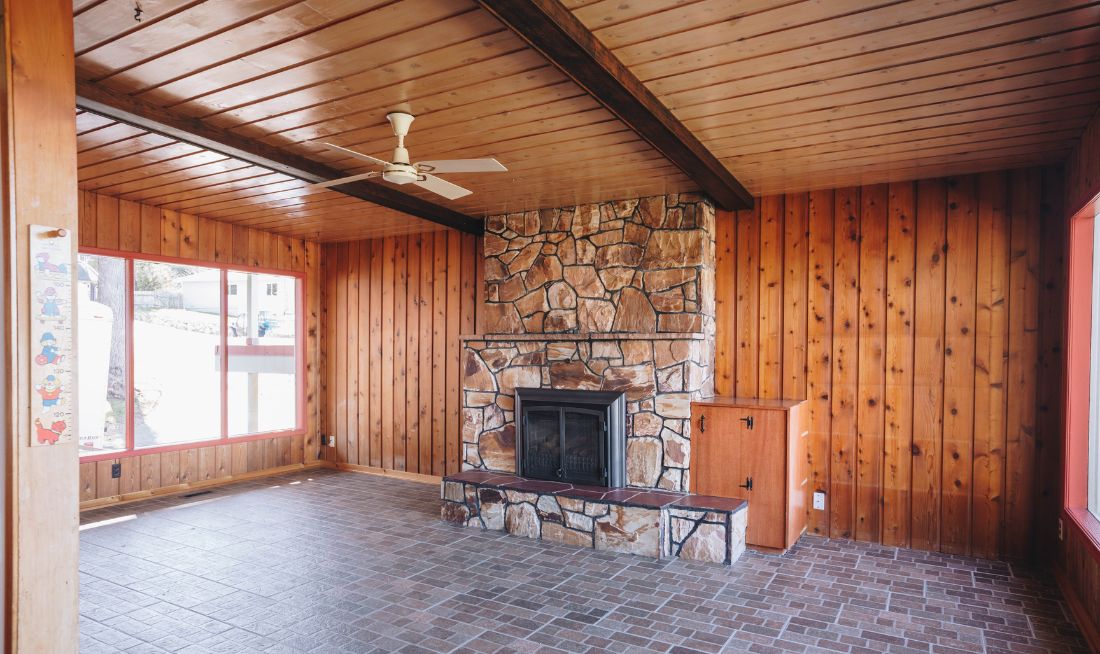
The ceiling is all wooden planks, but has previously had some kind of white-wash or varnish finish added. The biggest thing you need to watch for when painting a wood ceiling, is bleed through, or tannin bleed. This happens when tannins from the wood work their way to the surface and discolour or stain your paint.
Step #1
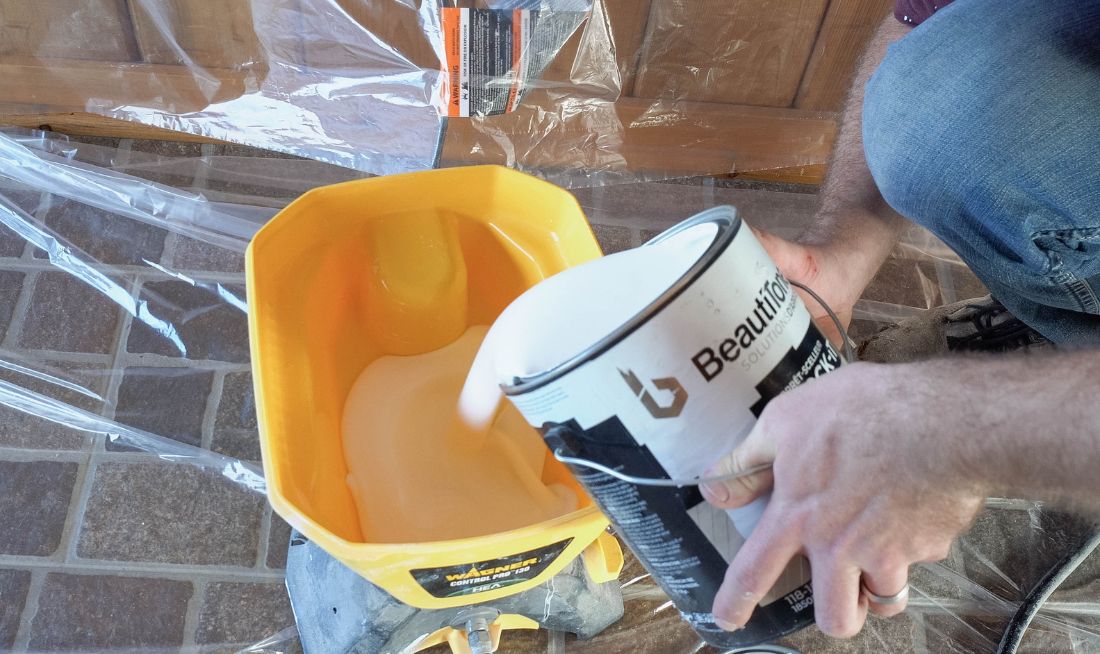
To avoid any discoloration, we used a good stain blocking primer.
Step #2
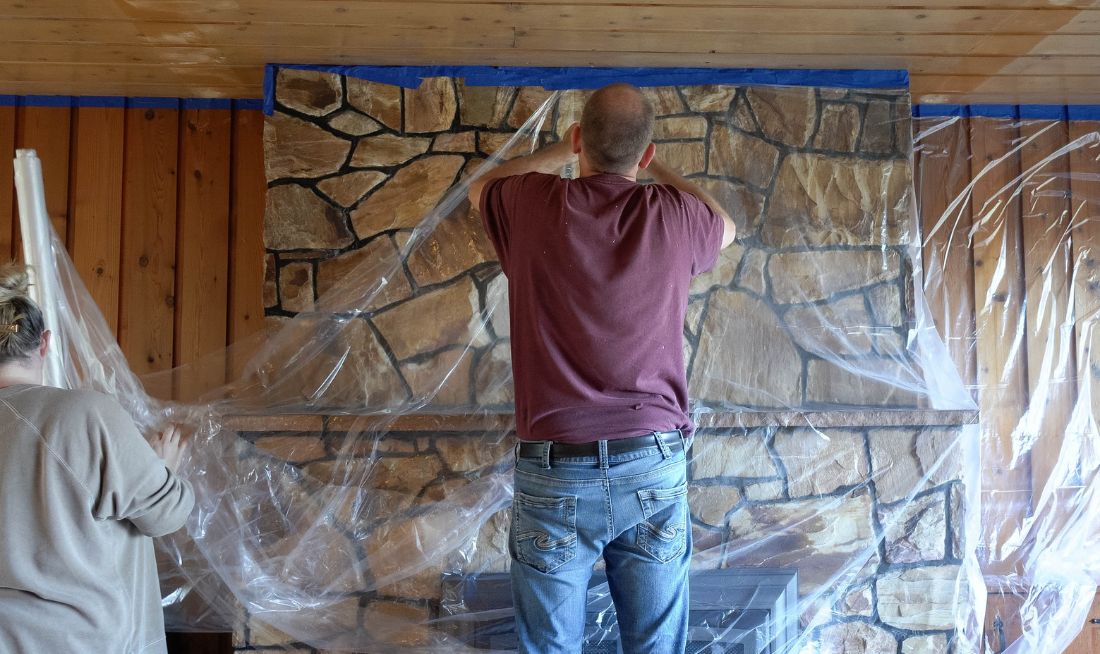
We masked off the entire room to avoid any overspray, and used our Wagner Control Pro 130 to spray the ceiling.
Step #3
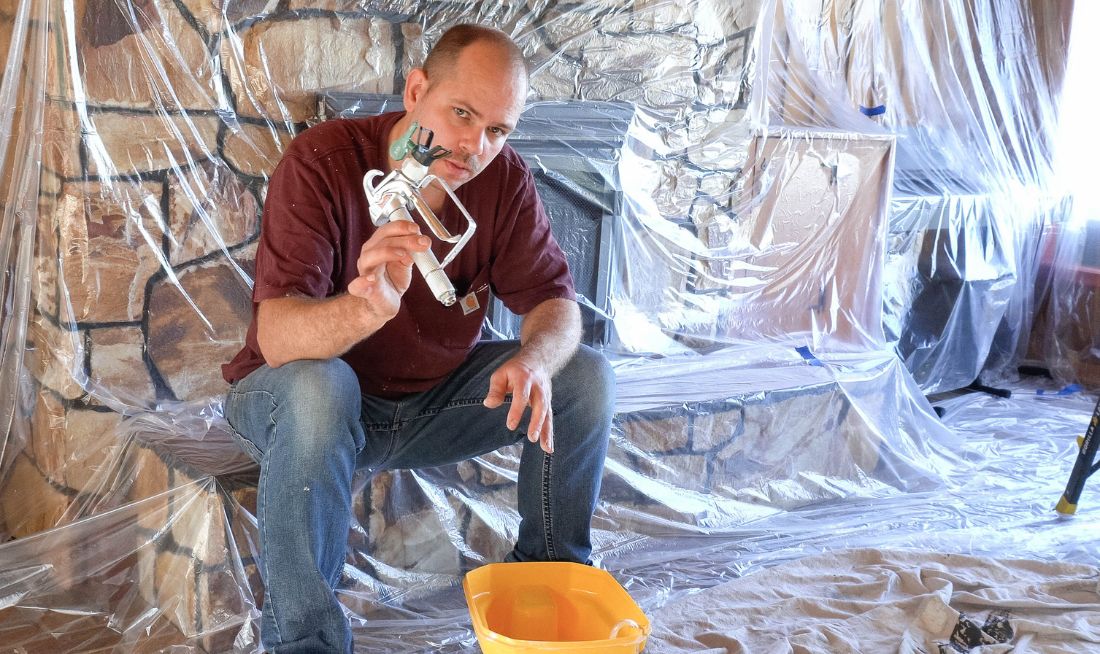
The airless sprayer was definitely the right choice for a wood ceiling like this with so many grooves.
Step #4

The sprayer let us quickly and easily spray in both directions into the grooves and gave a nice, smooth finish. We only had to apply one coat of primer, and then one coat of paint and we were done.
Step #5

There is still so much we have to do to update this space, so make sure to follow along and see how we tackle our fireplace and our entry (or lack thereof!). Check out all the details of our ceiling project, on our blog, Lindi & Russ, and our YouTube channel, Lindi & Russ.
Step #6

Download Project Steps & Shopping List
We’ll never share your email with anyone else