Overview
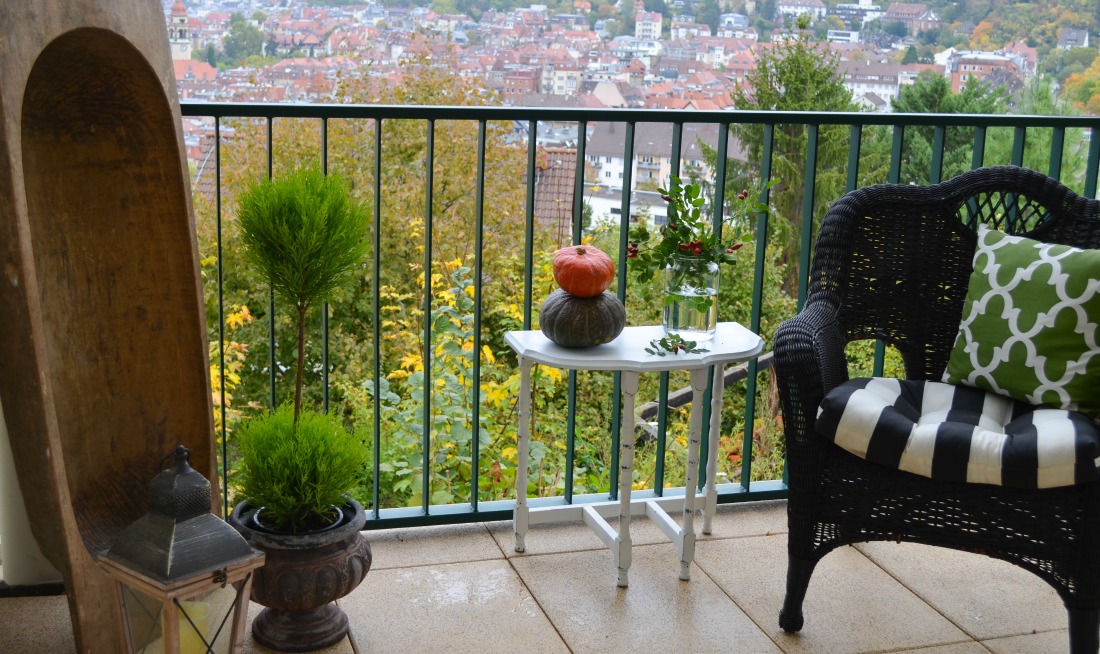
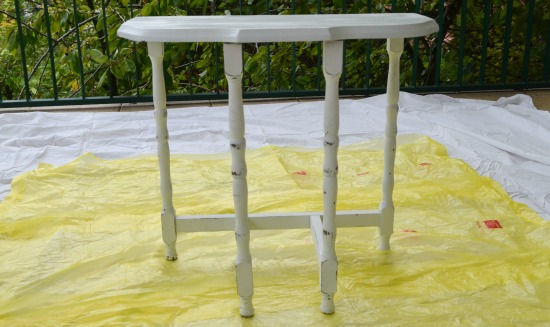
An easy and inexpensive way to beautify your home is to find vintage furniture at yard sales and thrift stores and give those pieces a makeover so they work with your style. One of our favorite ways to update a piece of furniture is by giving it a quick coat of paint and then distressing it slightly with sandpaper. We found this small side table at a yard sale for just a few dollars. It had been painted brown previously, so we reached for our Wagner FLEXiO Paint Sprayer and the small gravity feed cup. In just a few minutes, it was transformed into the perfect piece for our fall balcony.
Before
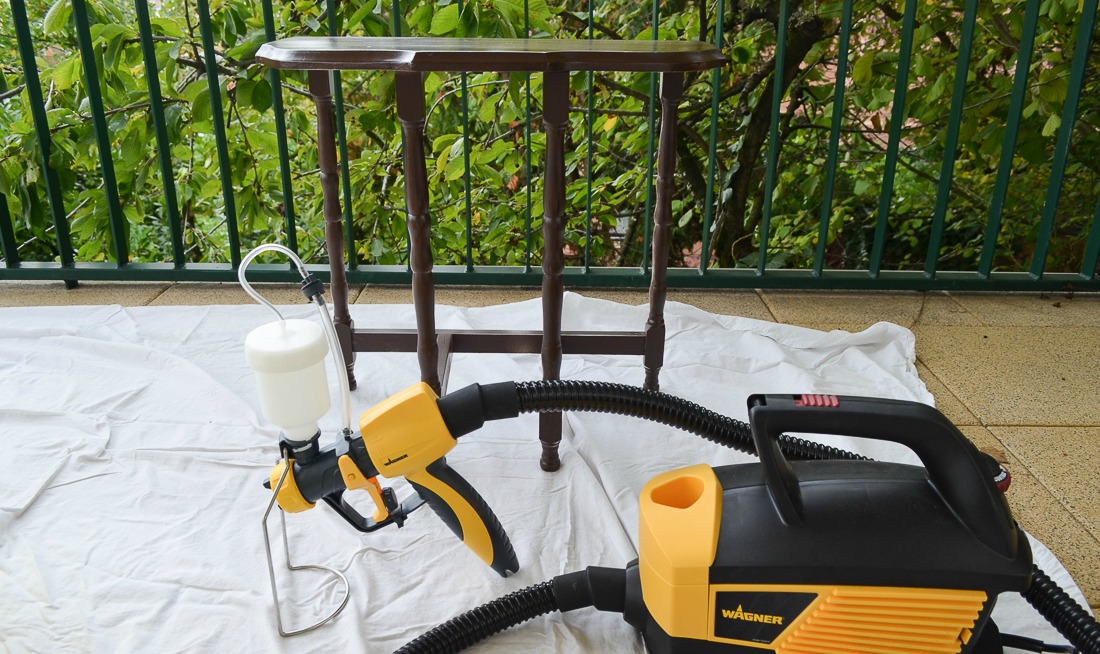
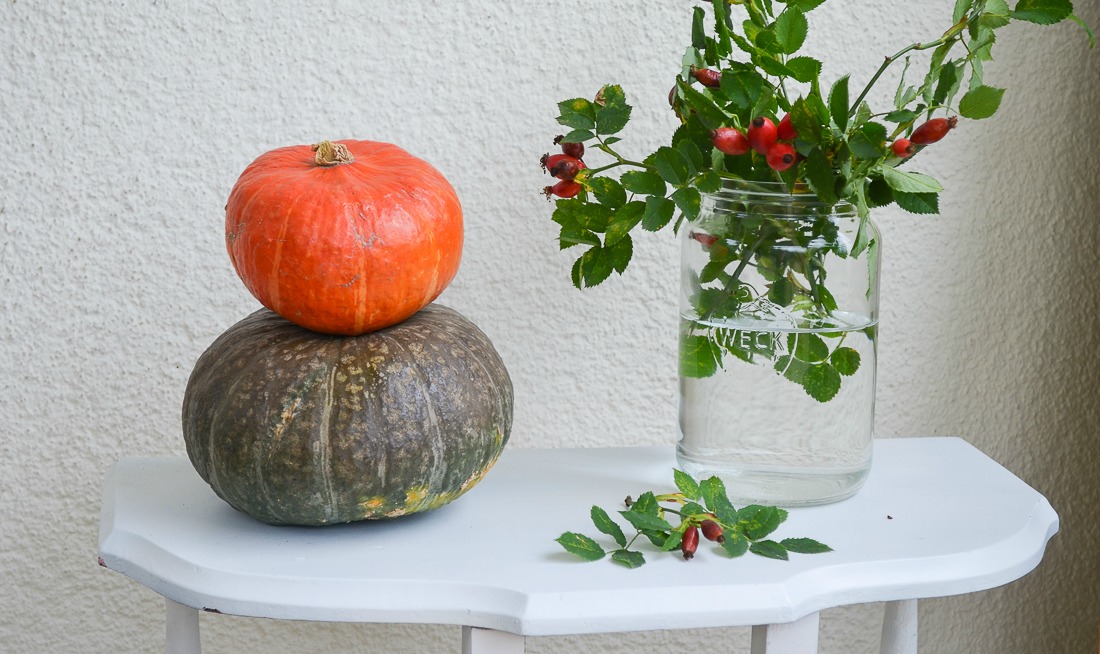
After
Sand and Repair
Surface preparation is key with any painting project. The first step is to remove any dirt or grime from the piece and let it dry. If there are paint chips or flakes, scraping or sanding might be necessary, too (be sure to wear a mask when sanding!). If you are painting a light color over a dark color, a coat of primer might be necessary. Note: for this project, I did not need to use primer. I selected a high quality, flat latex paint that gave me single-coat coverage.
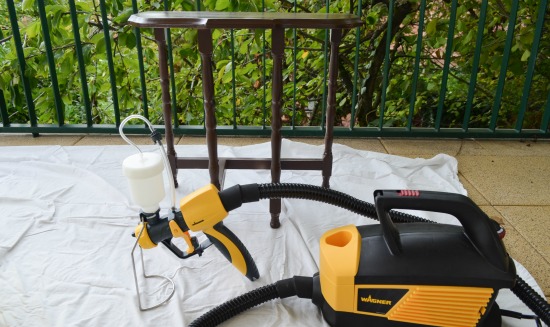
The FLEXiO can be used for all paint and stain projects, large and small. Since this was a small project, I utilized the small gravity feed cup.
Step #1
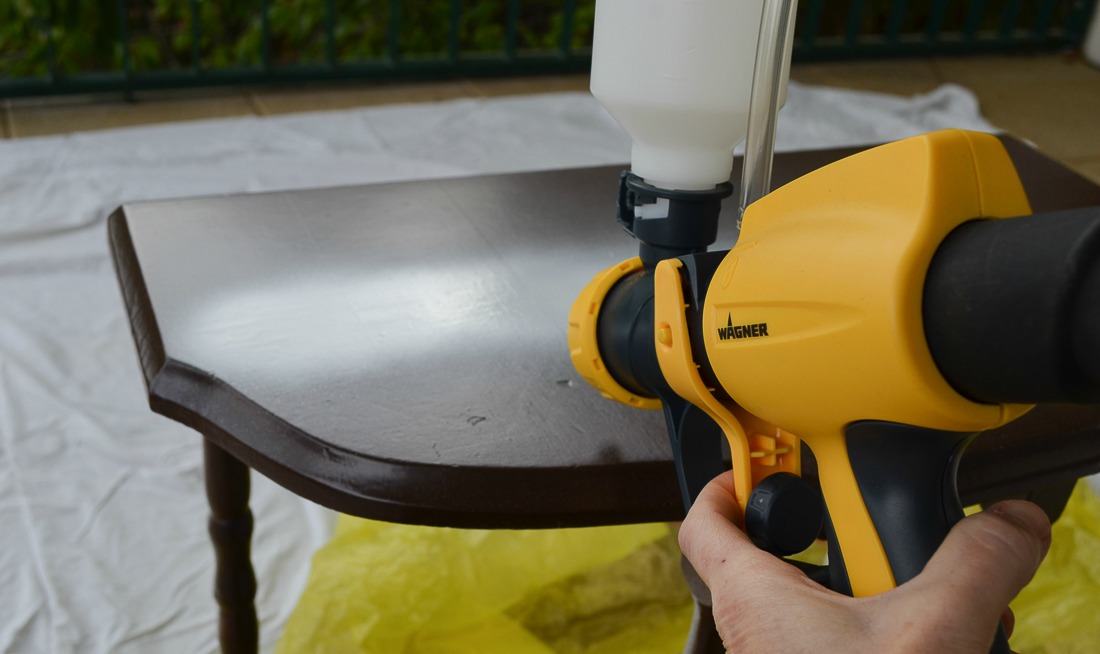
Spray the Paint
Set the material flow by turning the knob on the trigger of the spray gun (tip: for thicker paints, start with the highest material flow setting and then gradually decrease the flow to suit your needs; or for thinner materials, start with a low material flow setting, and then gradually increase the flow).
I used a material flow setting of medium and high air power to coat the table.
Step #2
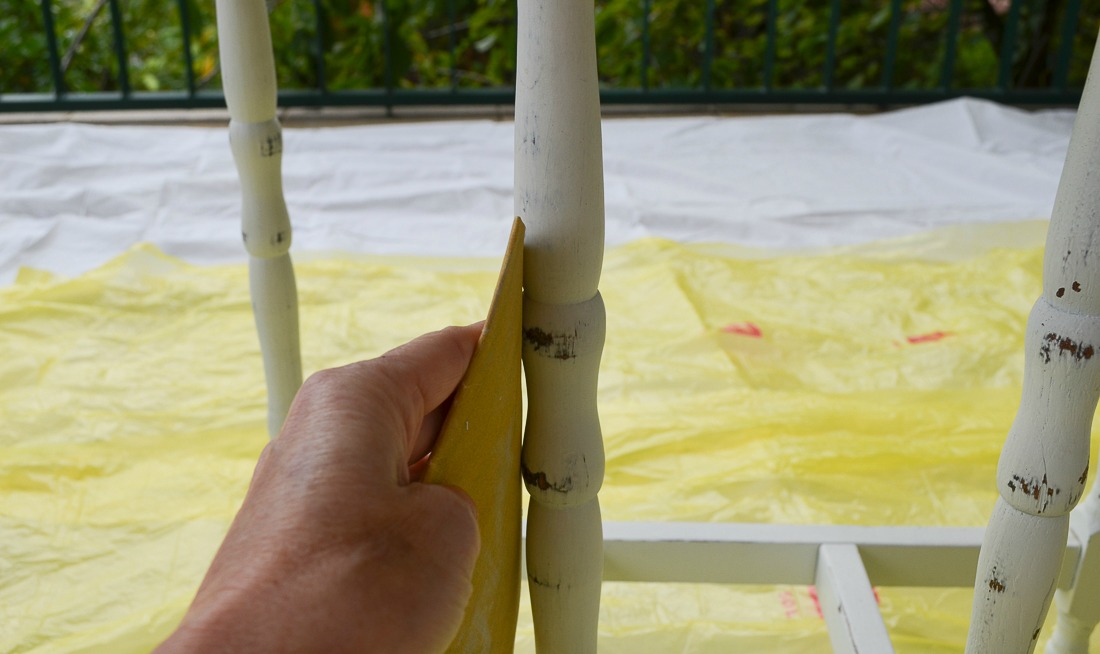
Distress the Wood
After allowing the piece to dry, take a piece of medium grit sandpaper and lightly distress along edges and legs. The goal here is to make it look like the distressing happened naturally over time.
Step #3
Enjoy the “New” Furniture!
Enjoy your new piece of upcycled furniture and congratulate yourself that you created a custom piece for your home so easily and inexpensively!
For more details and photos, please visit us at 11 Magnolia Lane.
Step #4

Download Project Steps & Shopping List
We’ll never share your email with anyone else