Overview
Removing paint from brick, concrete and similar surfaces can be challenging because of the porous surface. This step by step guide shows you how to restore brick back to its natural beauty by removing paint.
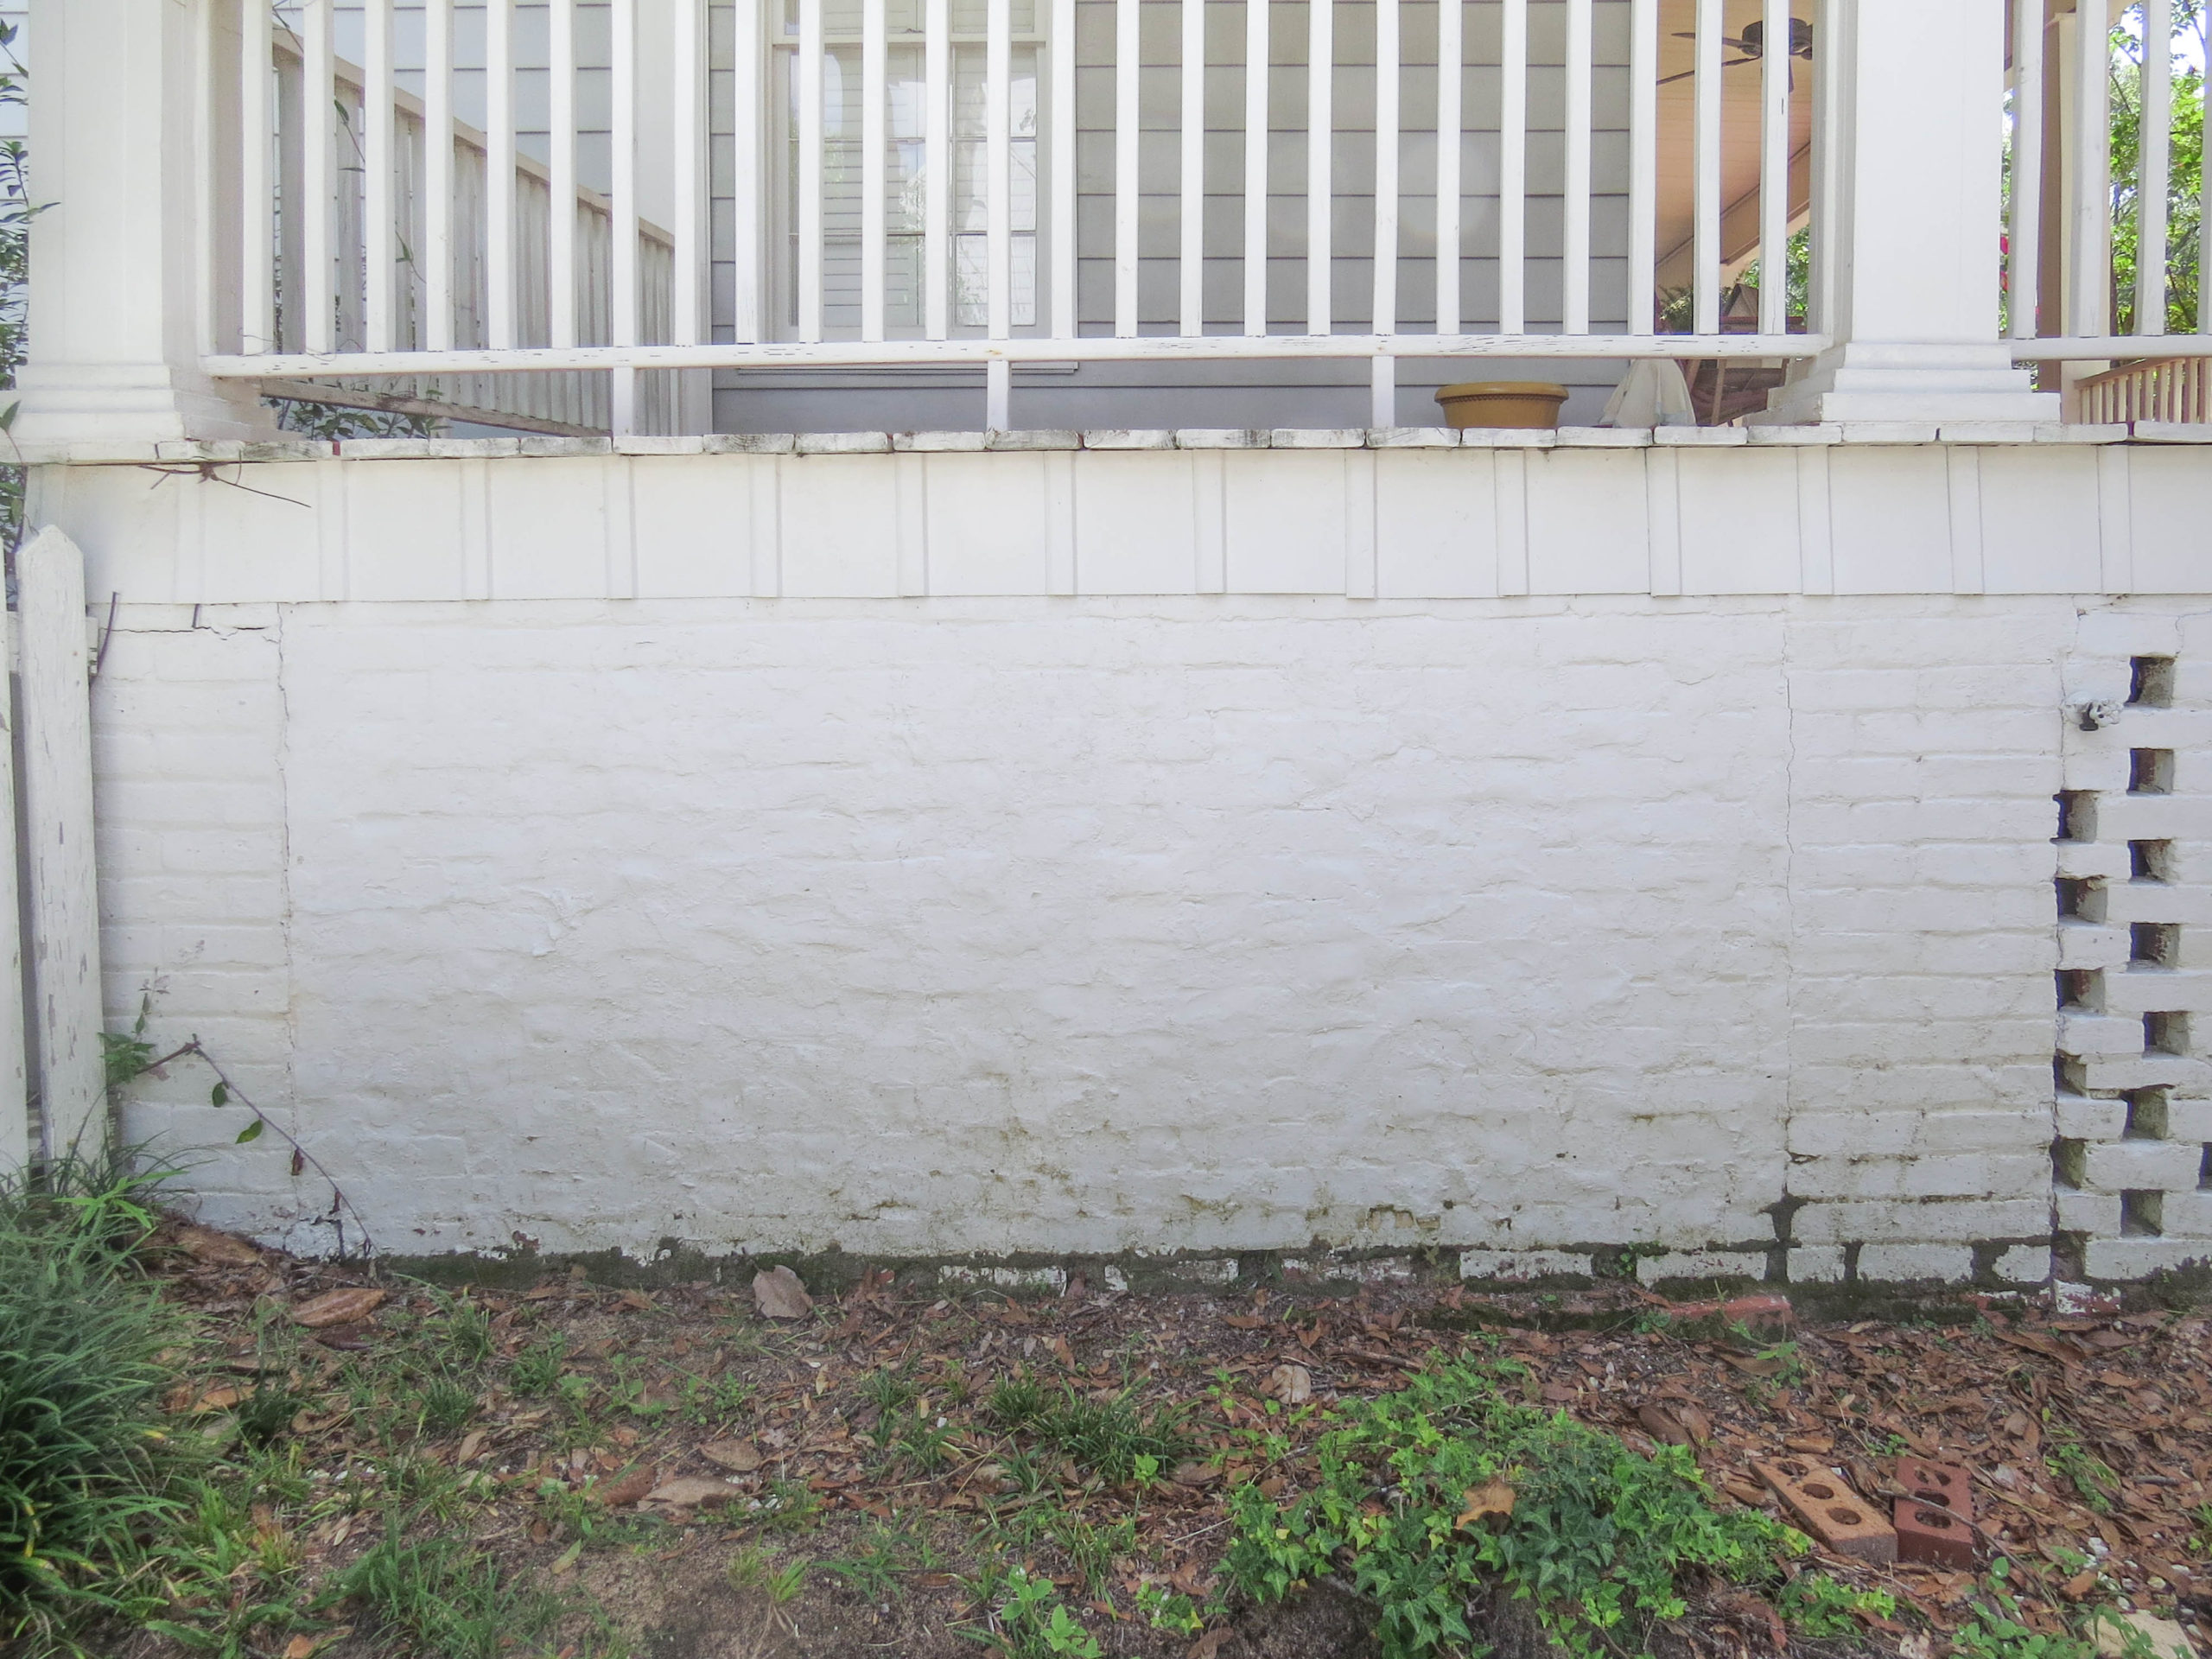
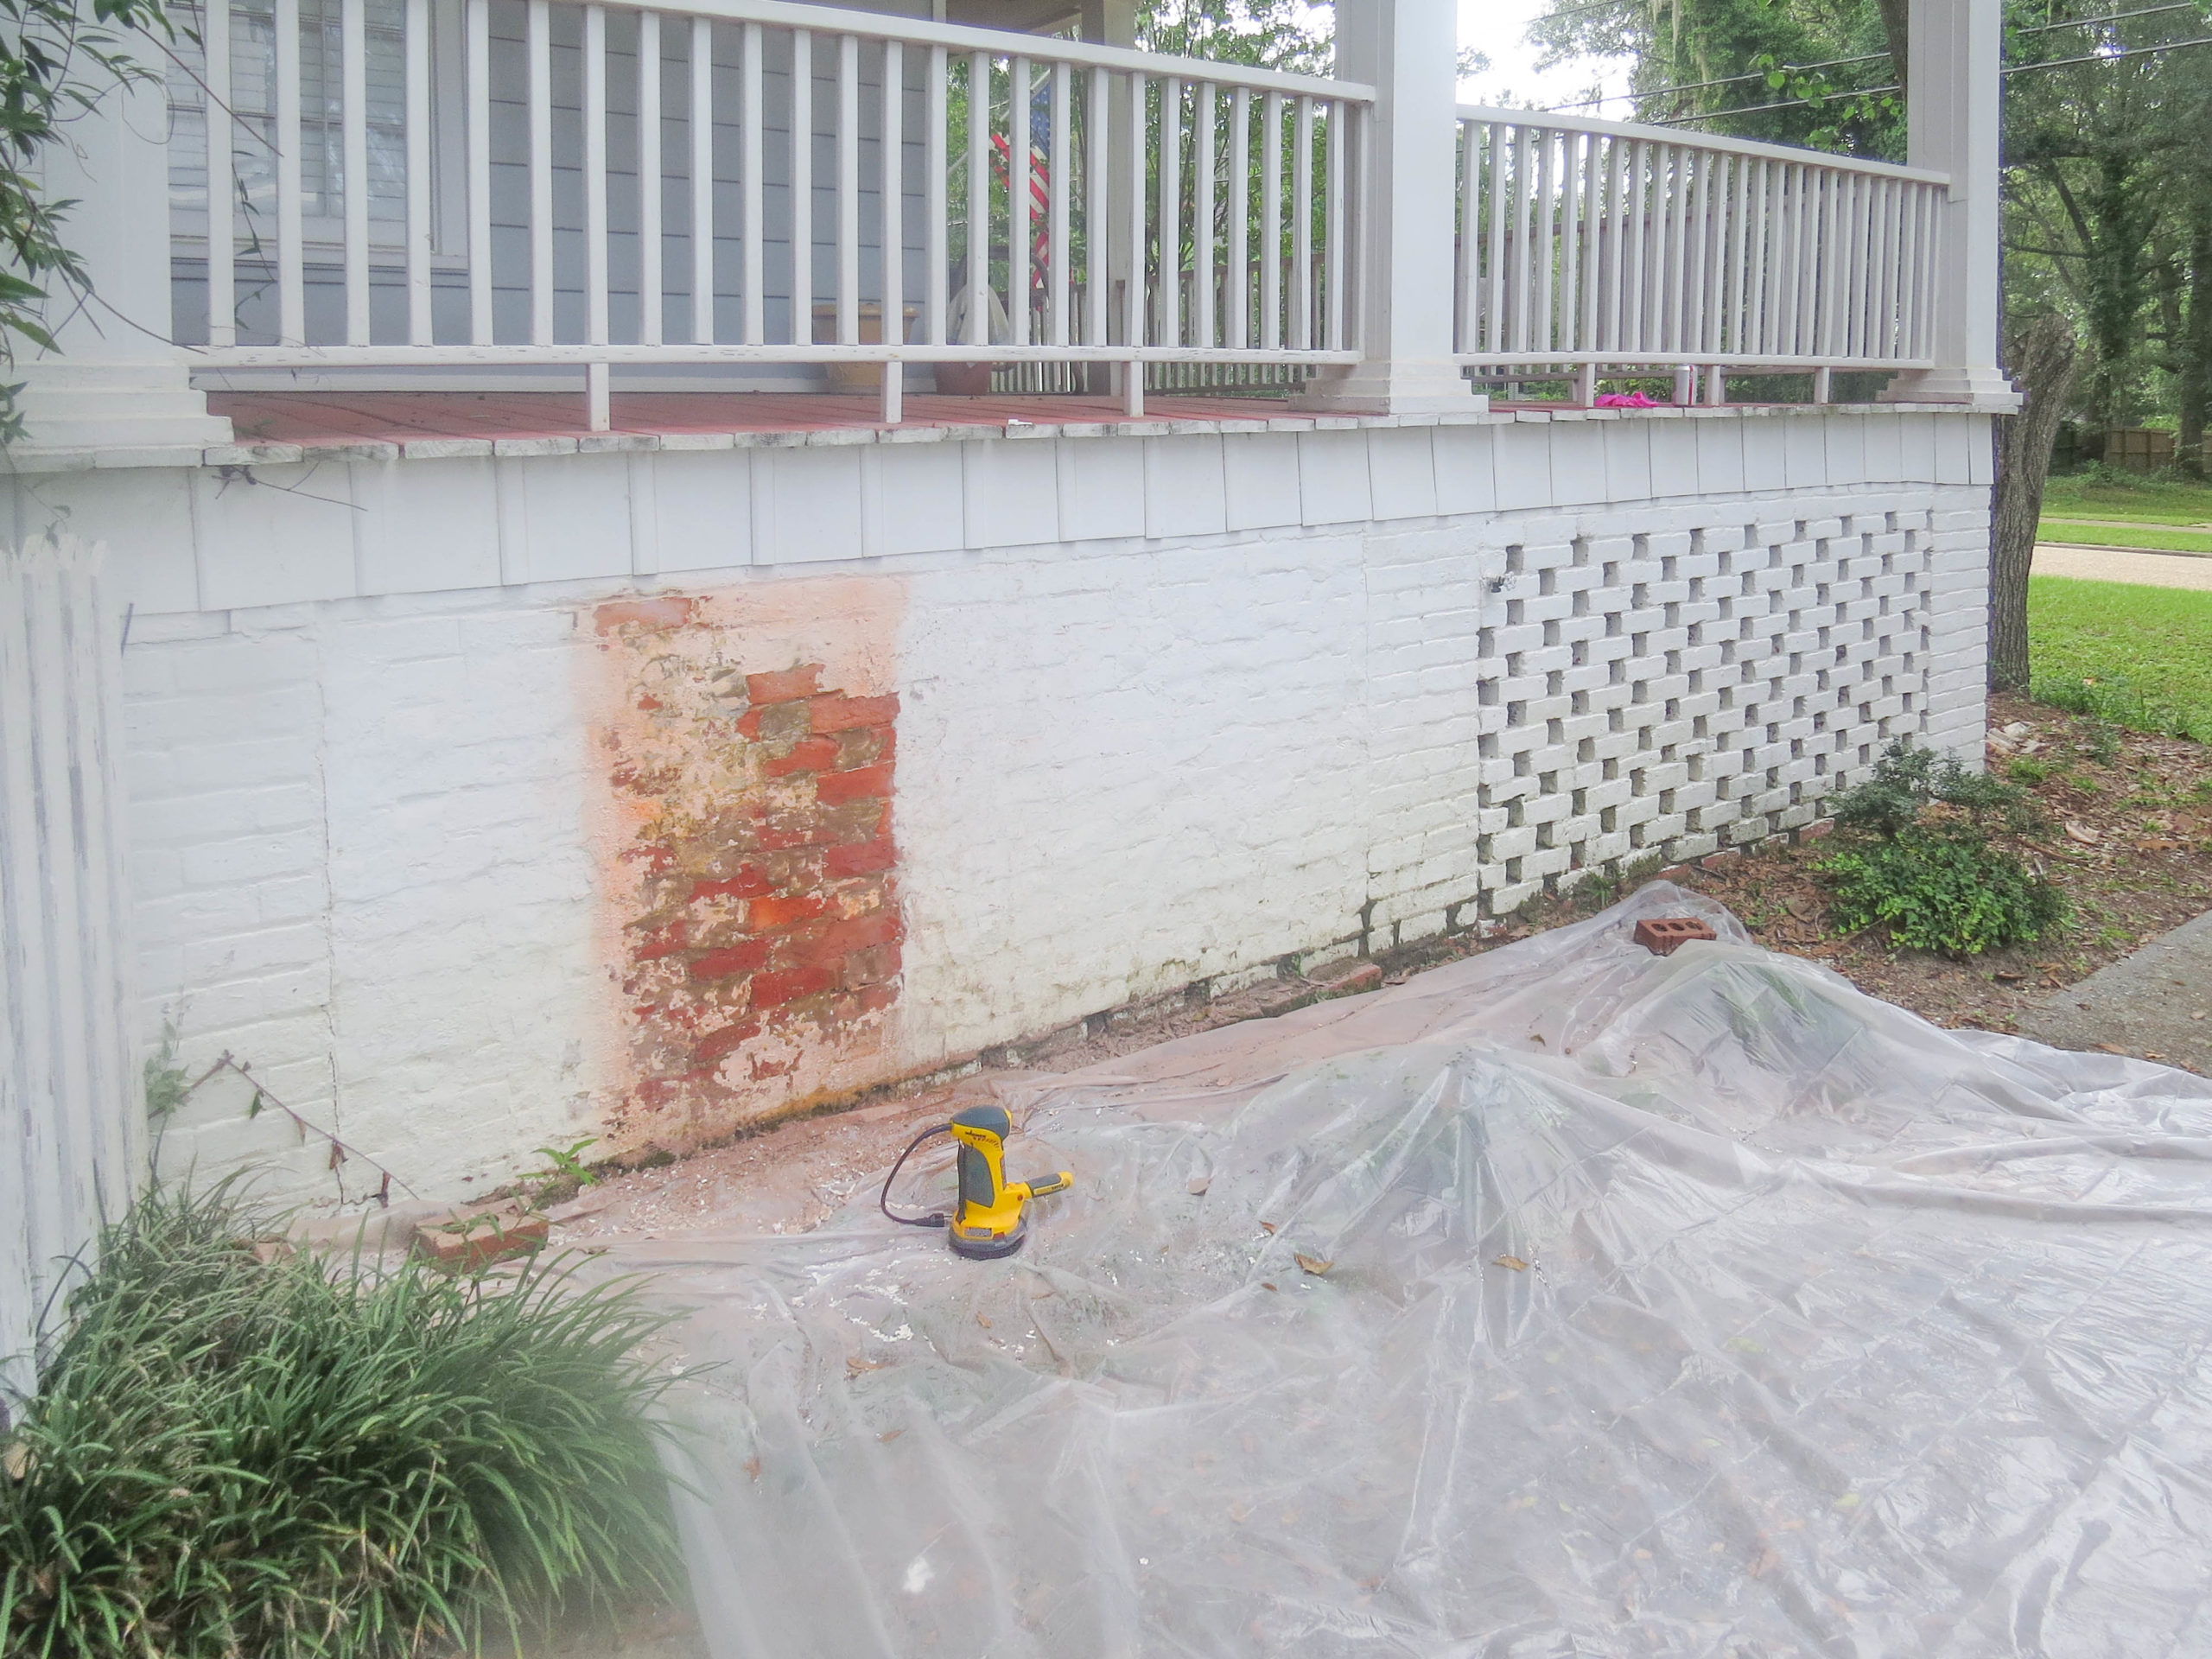
Before

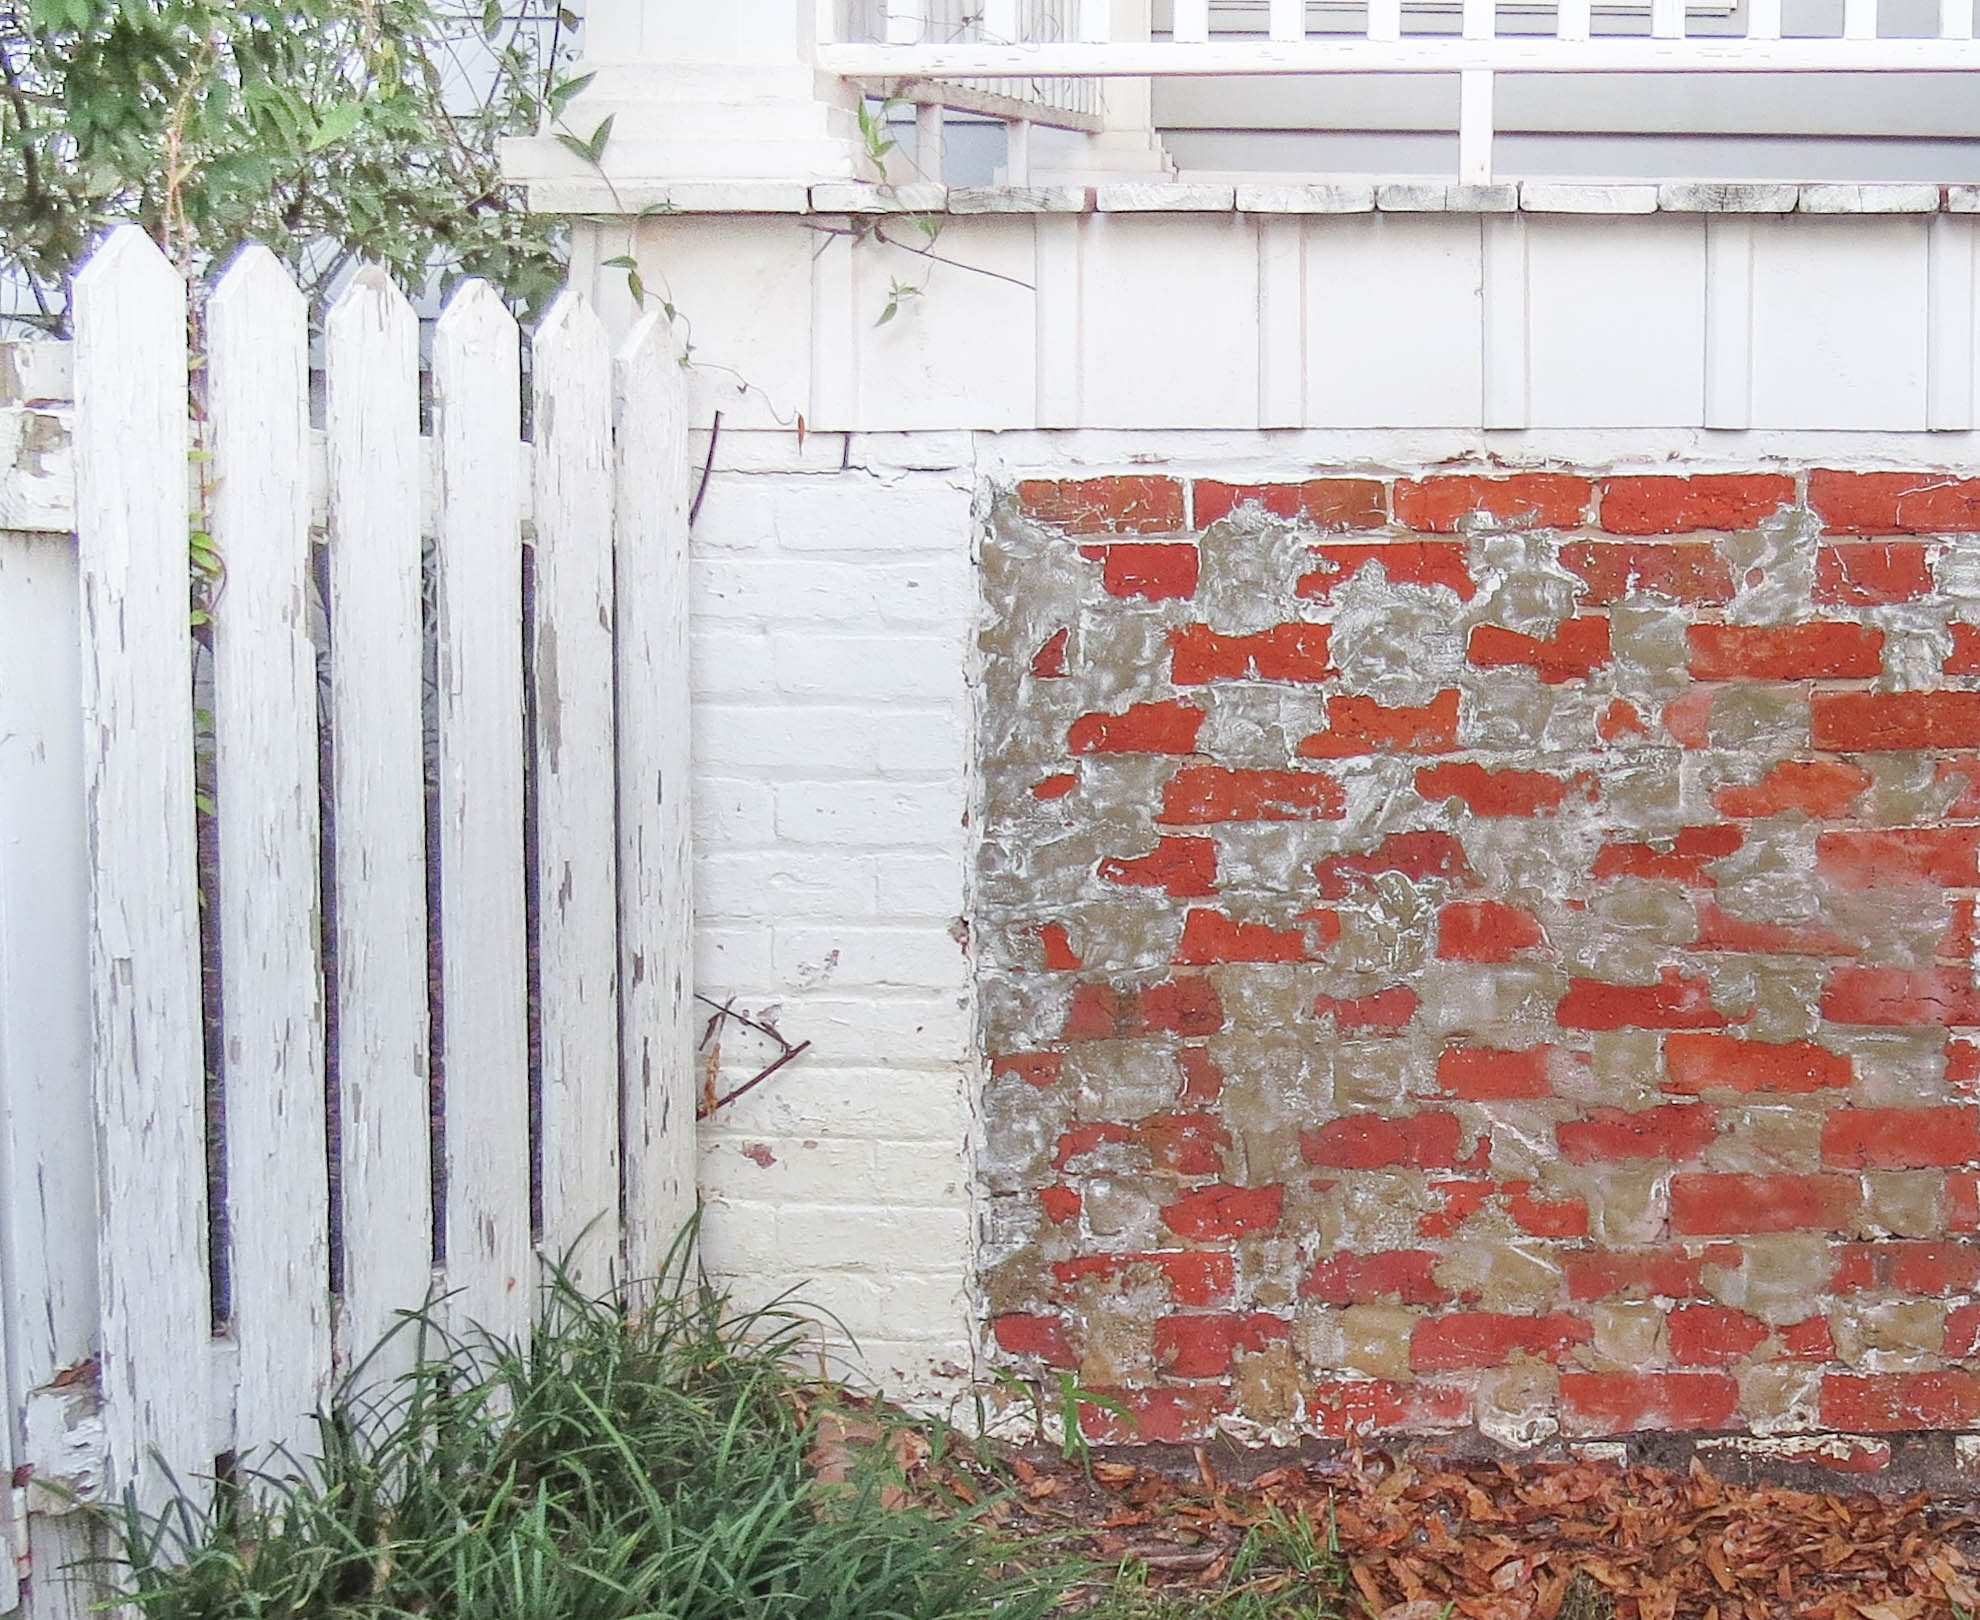
After

How to Remove Paint from Concrete
This Will Require Elbow Grease
Whether you’re removing paint stains or wanting to restore the brick back to its original look, soap and water isn’t going to work. Removing paint from brick will require a more aggressive strategy to get the paint off while preserving the integrity of the original brick in the process.
Step #1
Test a Small Area First
Always Test an Area First
Before beginning your brick paint removal project, we always recommend testing an area first. The best place is usually somewhere discreet like the furthest corner that’s hidden from view. Some of the reasons why testing is a good idea includes the underlying brick is a shade you don’t like, or the brick was painted to mask other imperfections.
Step #2
Prepare Your Workspace
Proper Setup for Easy Cleanup
The part of a DIY project most people enjoy the least is the cleanup, but you can help yourself out by taking the time to prepare the space you’ll be working in. If you’re removing paint from an interior brick wall, then at a minimum you’ll want to use a tarp to collect dust, paint flakes, small debris, etc., that will fall during this process. Also, a tarp or protective plastic can provide an extra layer of protection for floors, trim, etc., that are in the working space. Lastly, masking off doors and vents in the room can assist in containing dust to one area.
Step #3

Protective Wear
Dress for Success with Protective Wear
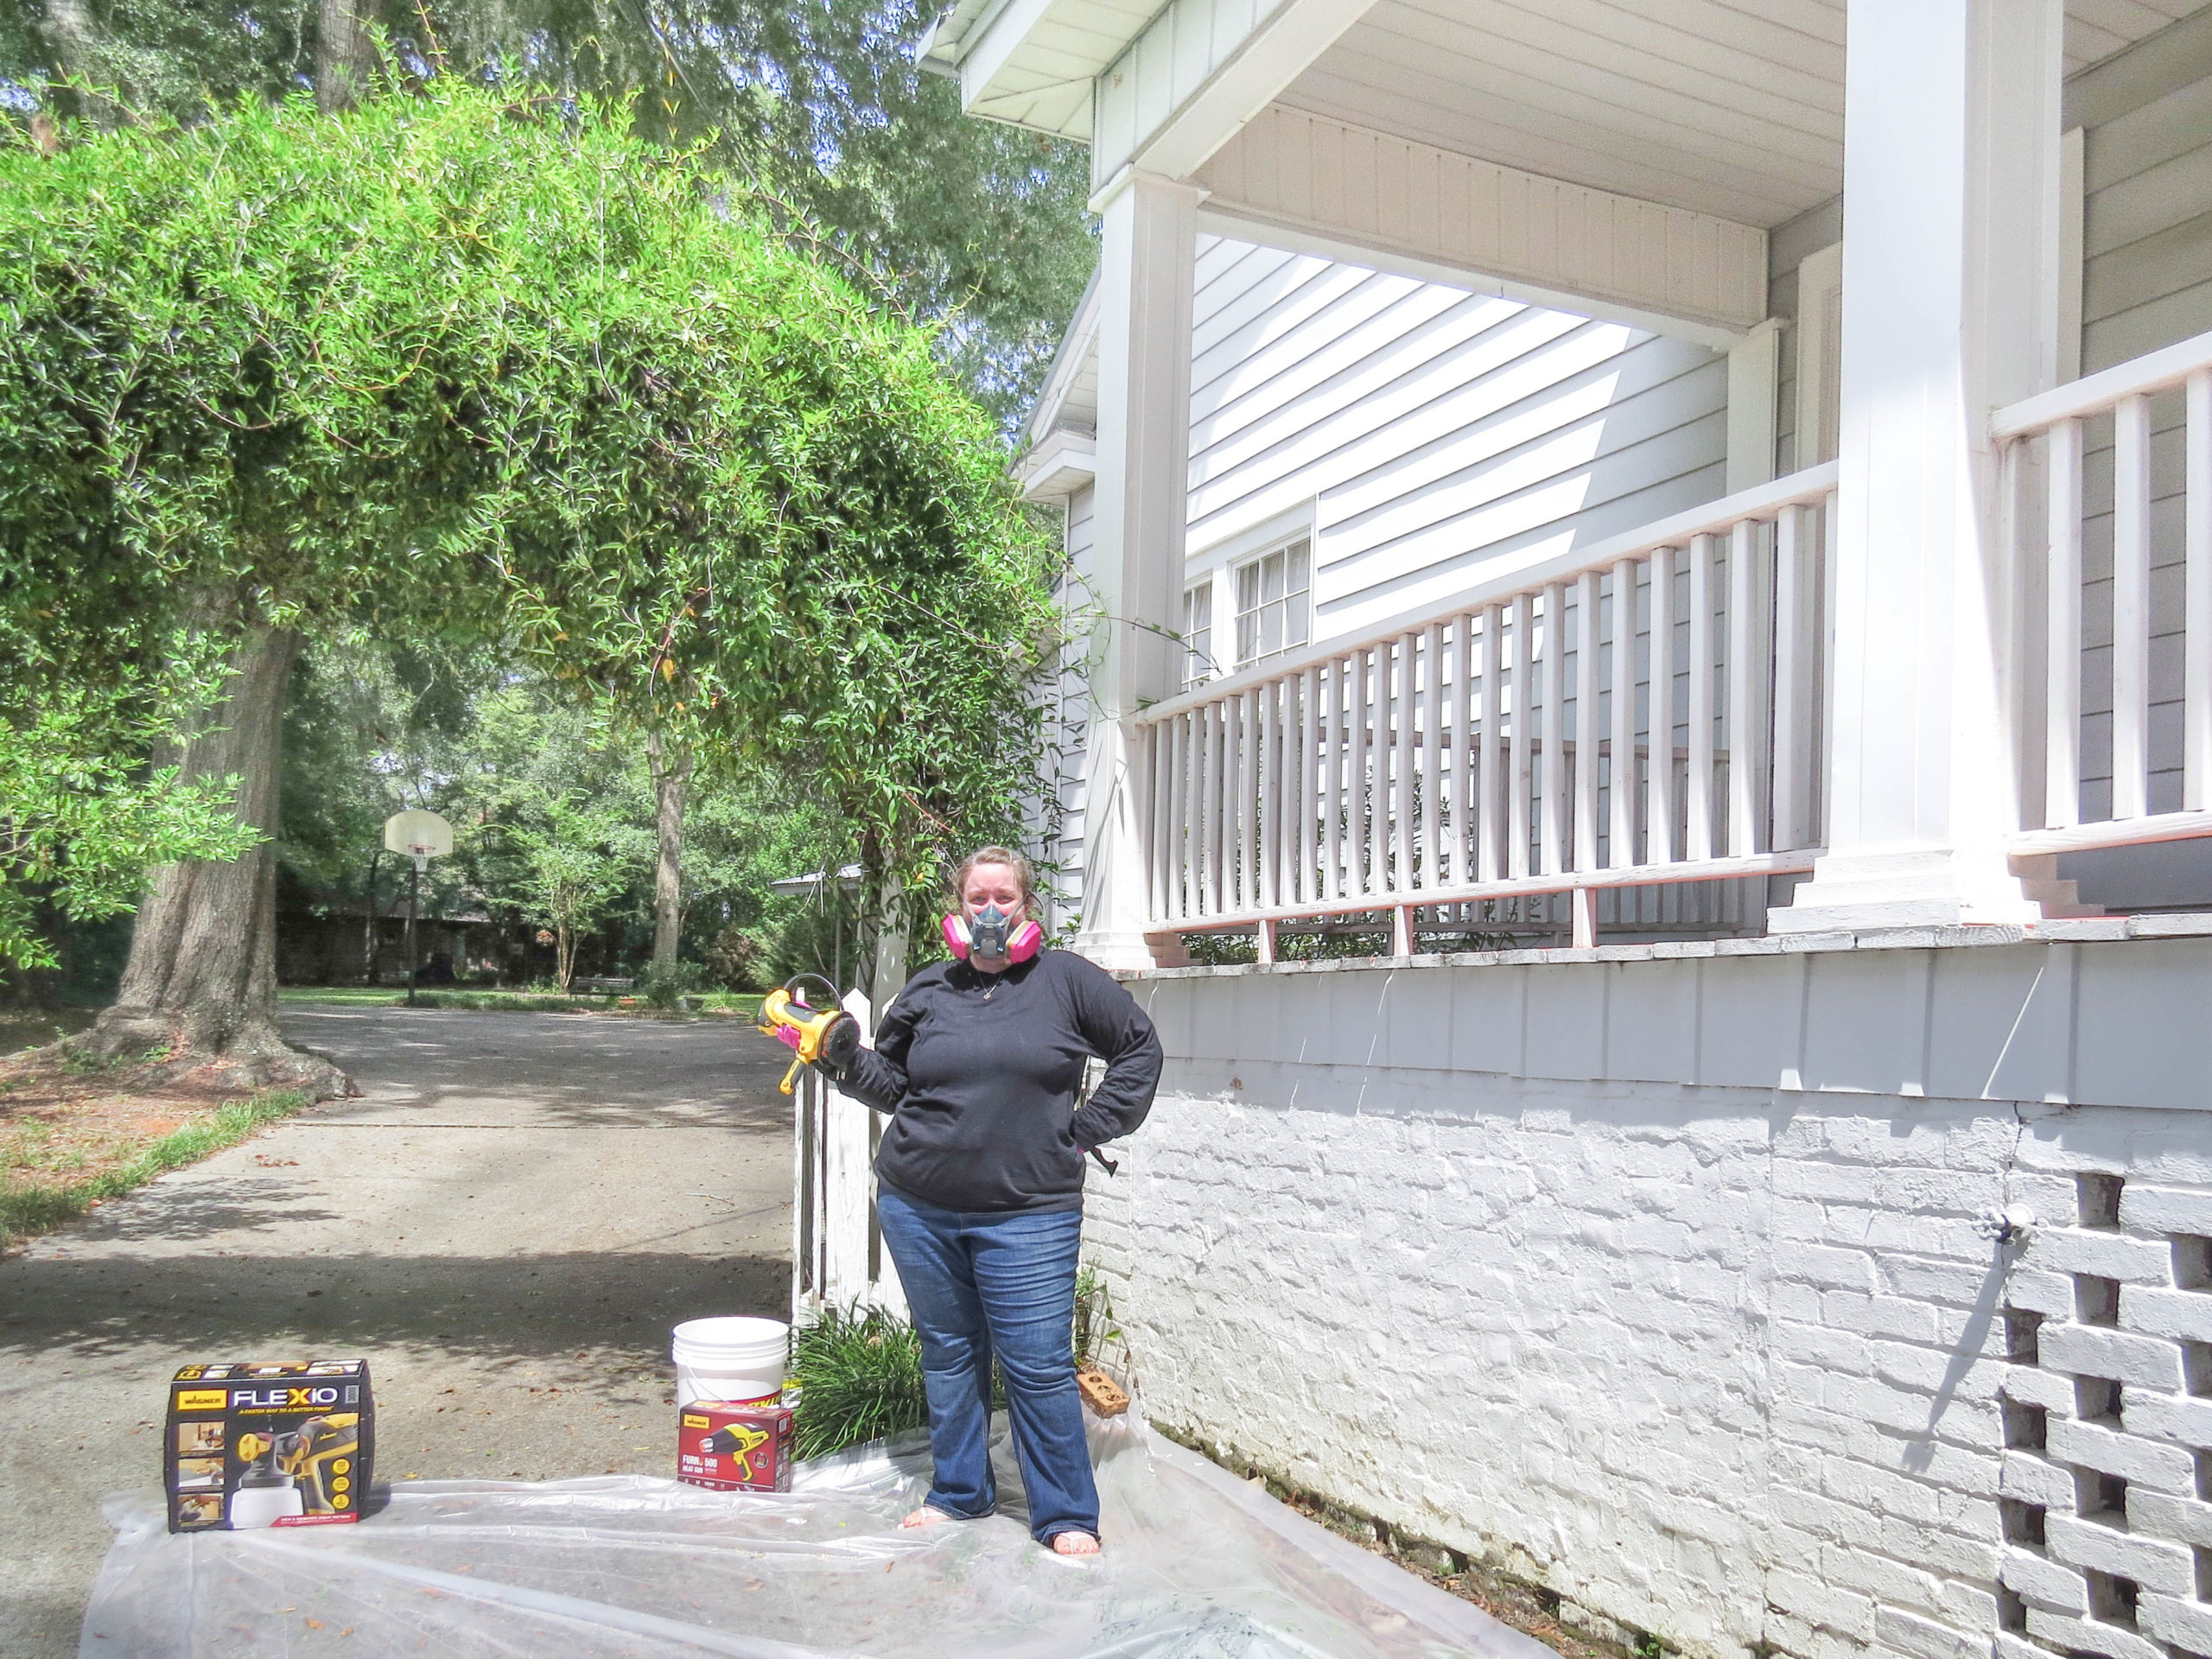
For every home DIY project, we recommend protective wear. For this paint removal project, we recommend at the very least protective eyewear, gloves, breathing mask, long sleeved shirt, and pants. If you’re using a paint stripper, ensure you’re also wearing the manufacturer’s recommended protective wear.
Step #4
Preparing the Brick Surface for Paint Removal
Use Tools Before Paint Solvents
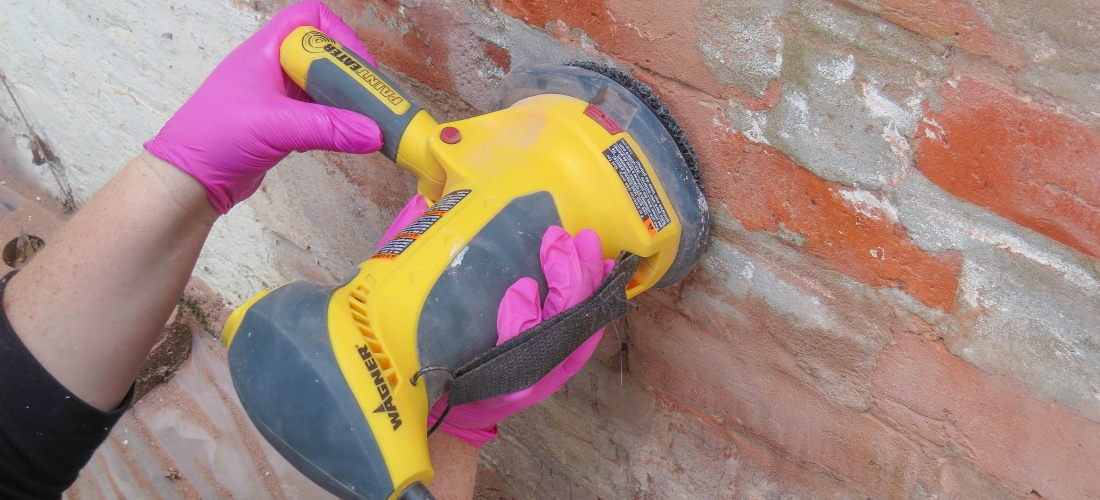
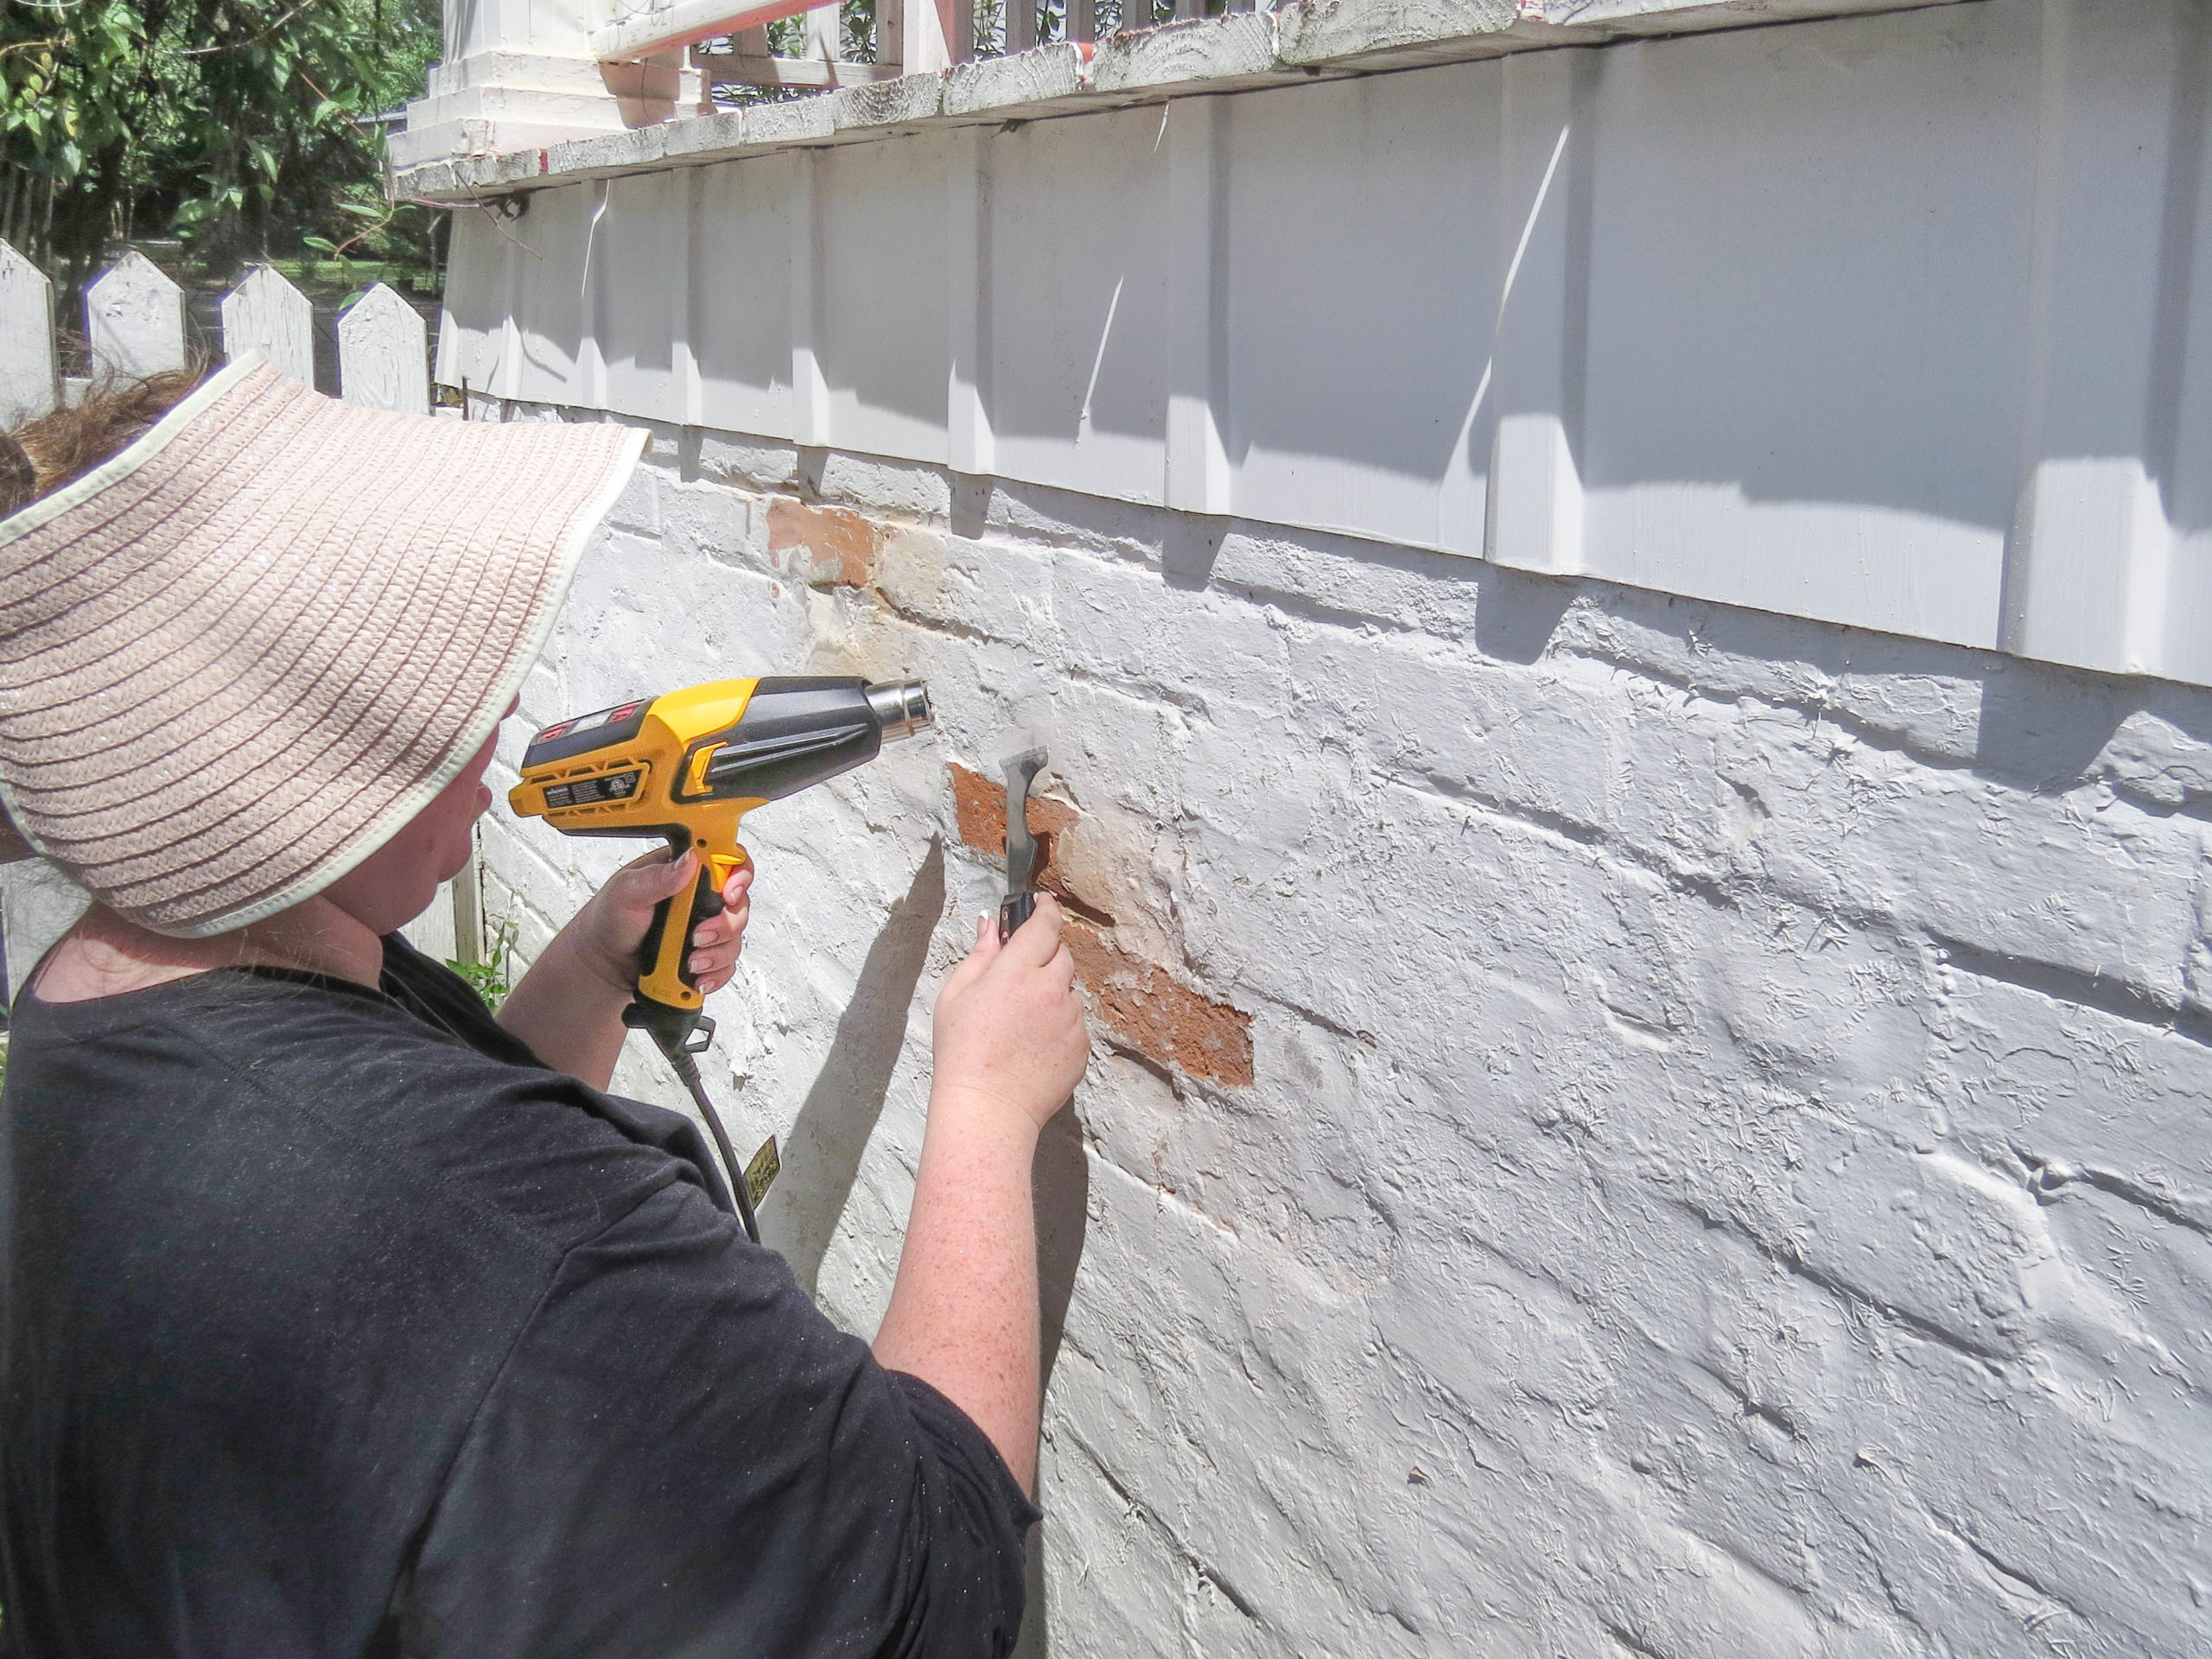
- Before applying any stripping solutions, use the flat edge of a trowel to scrape away any areas where the paint is already flaking.
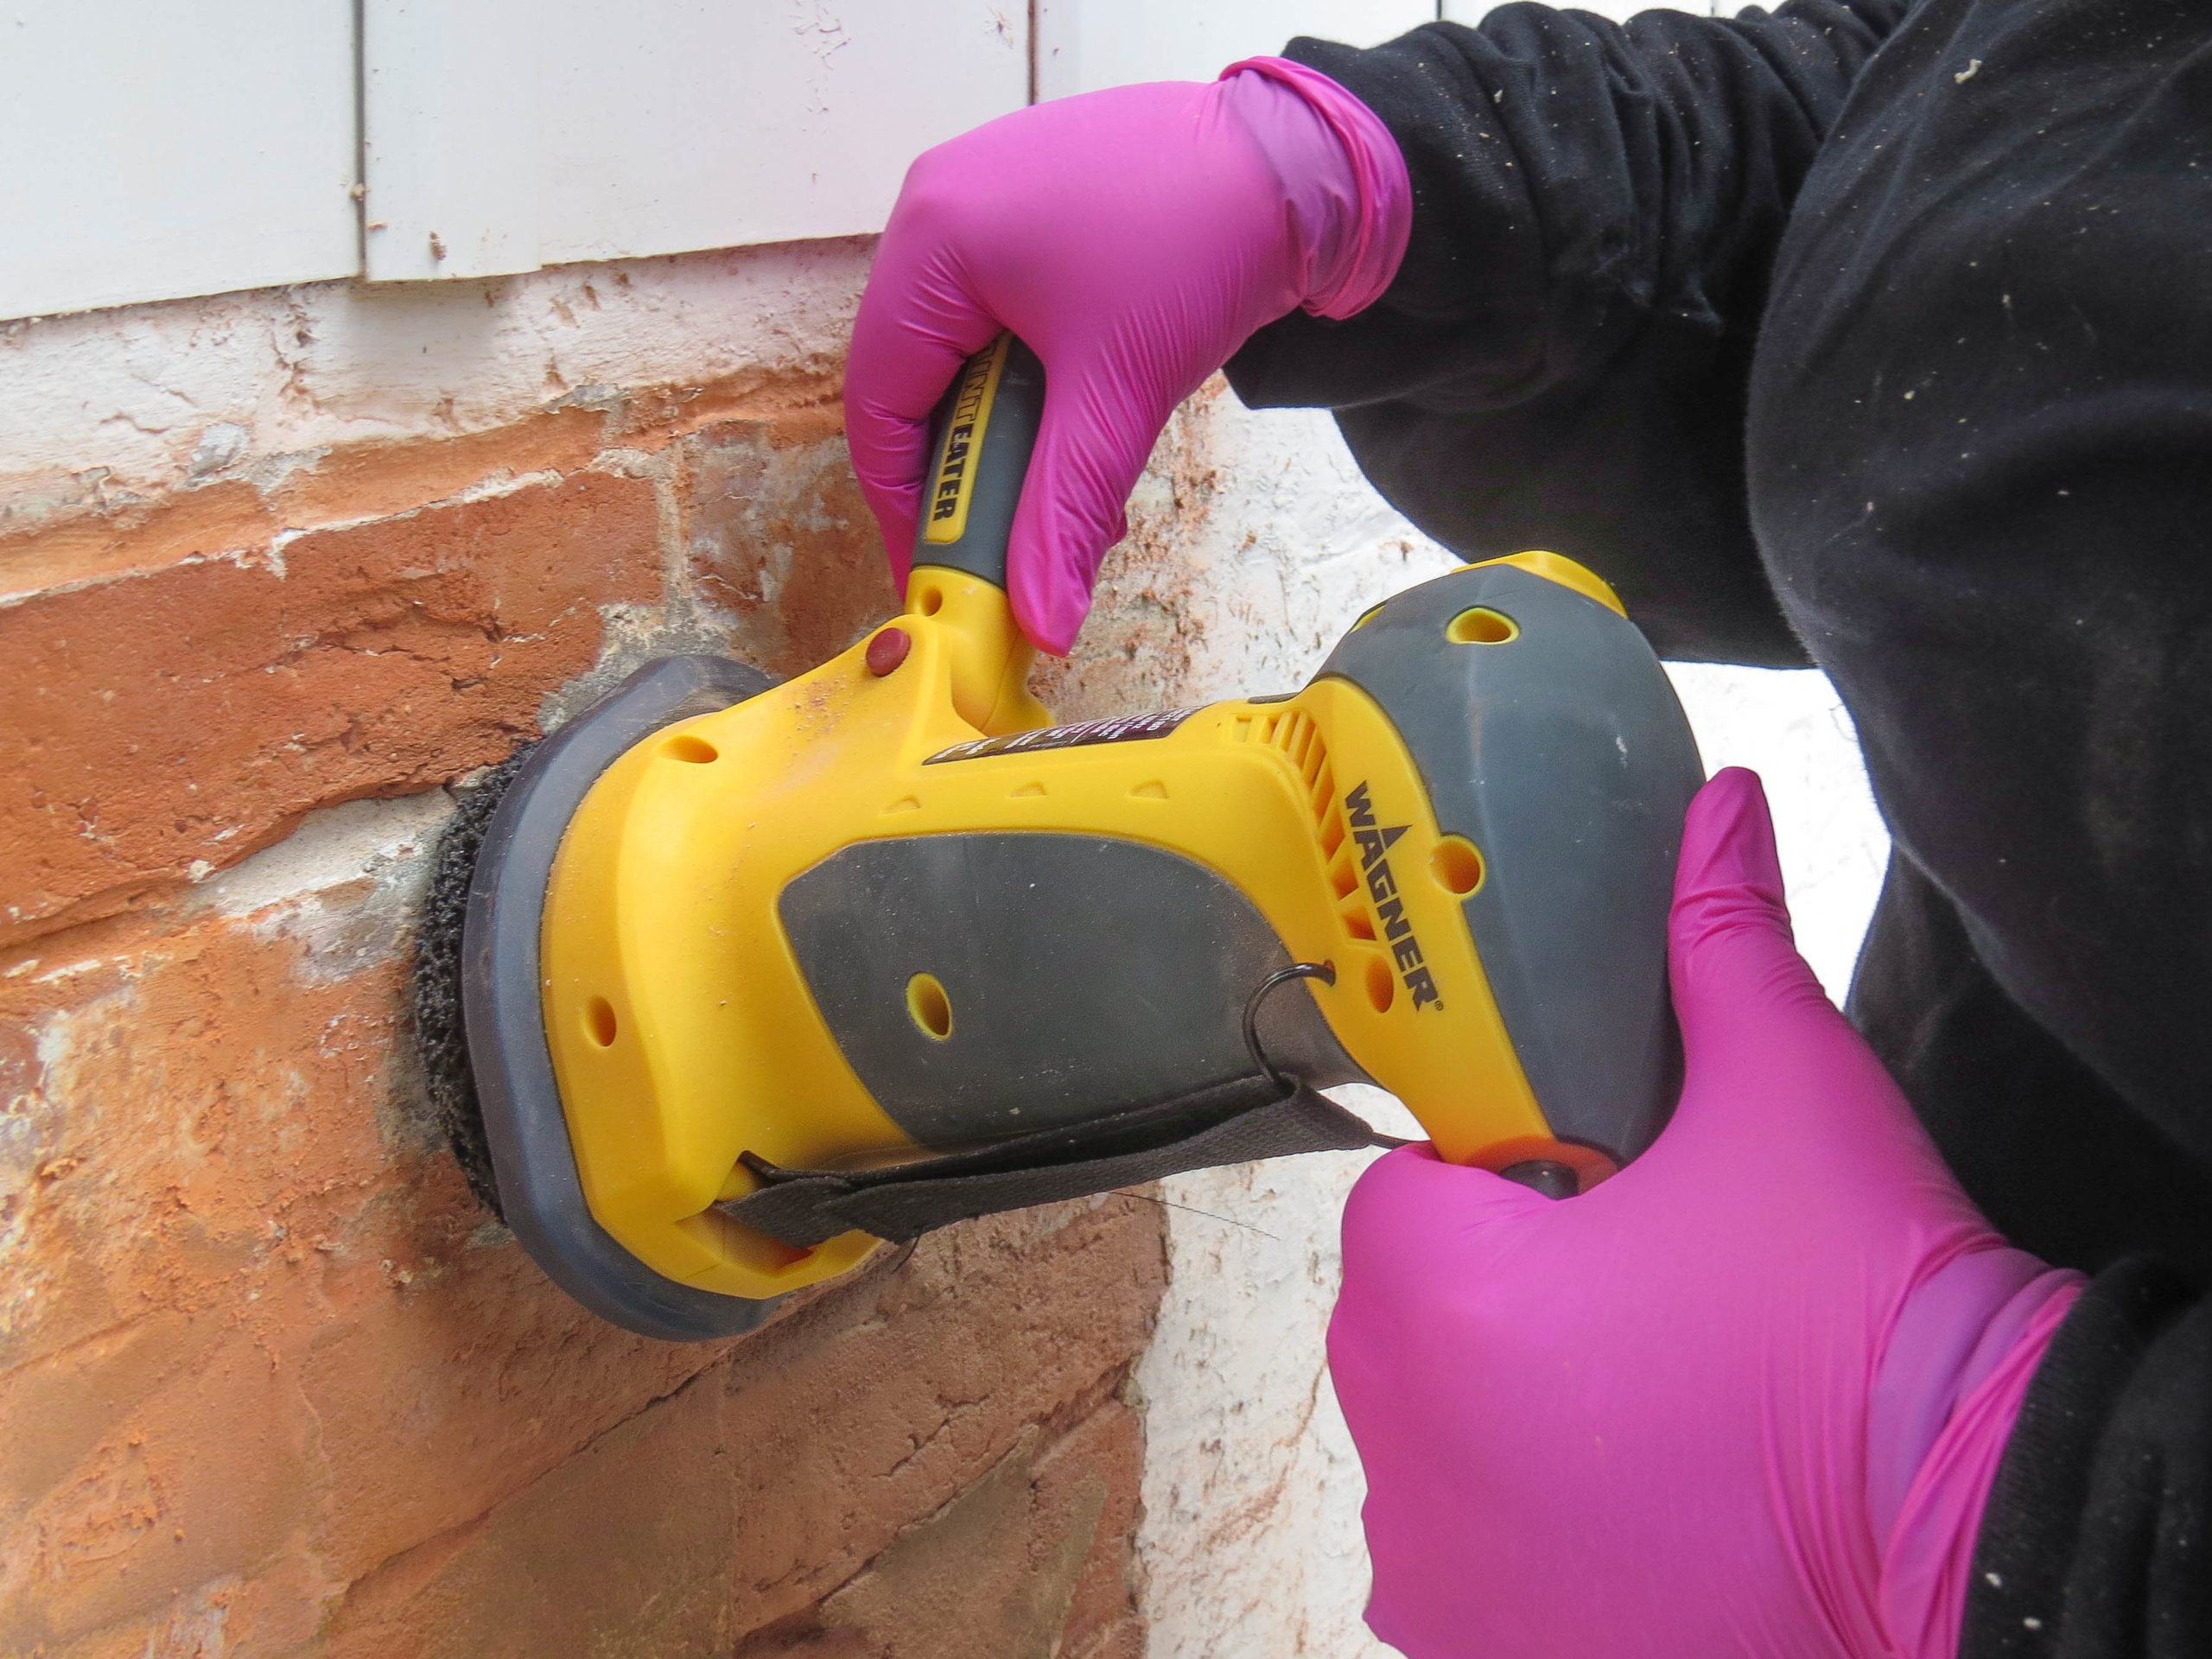
- Then using the Wagner PAINTEATER paint stripper and disc sander, start sanding away at the outer layer of paint.
Pro Tip: if you can see the exposed brick in these areas, then you might be able to use a heat gun to remove the paint. Not only are heat guns a more economical solution, but it’ll also be less messy.
Step #5

Prepare Paint Stripping Solution
Prepare Trisodium Phosphate Solution
In a clean bucket, mix in a 2:1 ratio of one-gallon warm water to one-half cup trisodium phosphate (TSP). Using a long stir stick, mix the solution until all the TSP has dissolved. Using the stiff brush, apply and scrub the TSP solution onto the brick. Once you’ve applied the TSP to all the areas you want to remove paint from, allow the TSP solution to sit and cure for about 10 minutes. After the time has elapsed, scrub the brick again with the same stiff brush. Continue to repeat this process (step five) until all of the paint is removed from the brick.
Step #6
Removing Deep Set-In Paint Stains
Strategic Use of Paint Strippers
If there’s still paint remaining on the brick, then spot treat with a paint remover or paint stripping gel. Then using a scrub brush with a back-and-forth motion, continue to scrub the brick to remove paint that has set deep into the pores of the brick. For incredibly stubborn areas, use a scrub brush and scouring powder. Ensure the area has been brushed with water, then apply the scouring powder and scrub vigorously to remove any remaining paint residue.
Step #7
Rinse the Brick with Plain Warm Water
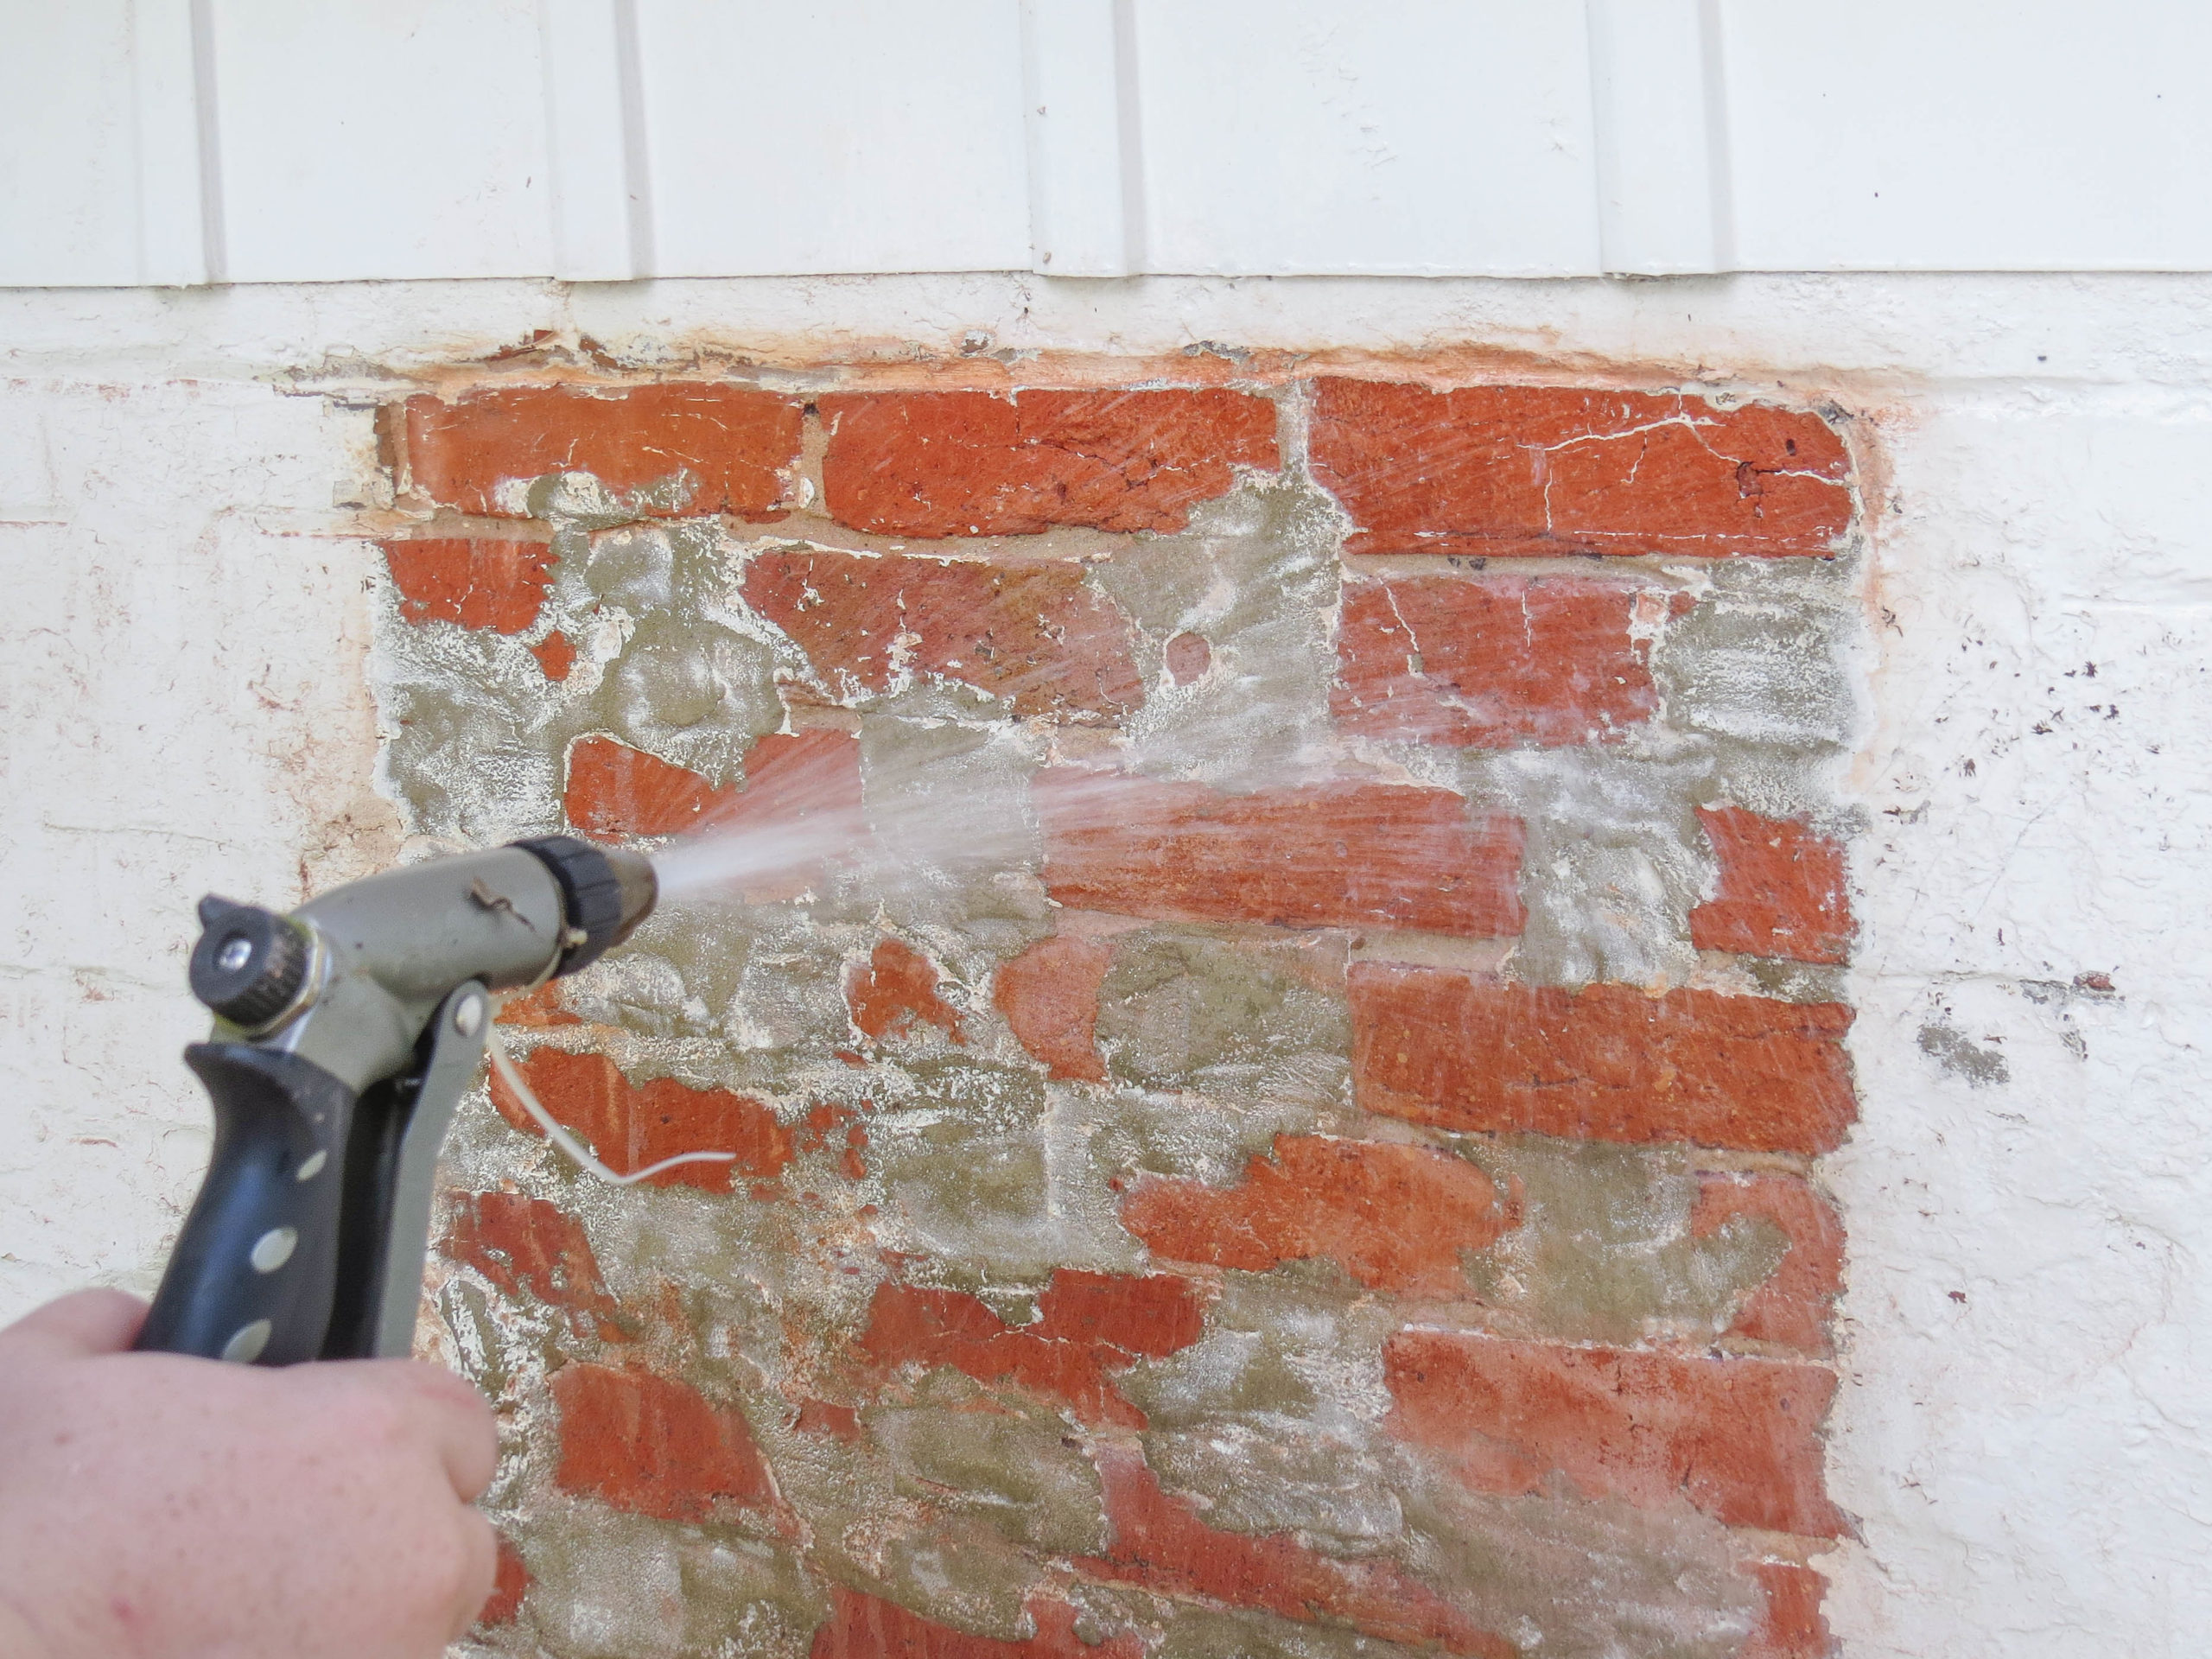
Rinse Surface with Warm Water
Once all of the paint has been removed from the brick, rinse the surface with plain warm water to remove any remaining TSP solution or paint stripping gel. Allow the brick to dry and look for areas that need a second wipe down.
Step #8
Finishing Your DIY Project
Seal or Paint a New Color
Once the surface of the brick is dry, you can paint the brick a new color or seal it with a FLEXiO Sprayer. For additional home DIY projects visit Outdoor Projects or Indoor Projects.
Step #9

Download Project Steps & Shopping List
We’ll never share your email with anyone else