How to Make Windchimes
Hey y’all, I have a fun little heat gun project for you today! If you’ve never worked with resin before this is a great beginner level DIY project… and if you have worked with resin before it’s still a stunning piece!
Ready to get started? For this little dragonfly wind chime there are quite a few pieces: dragonflies, beads, small wind chimes and big wind chimes. The dragonflies are the only part we’re going to be making today.
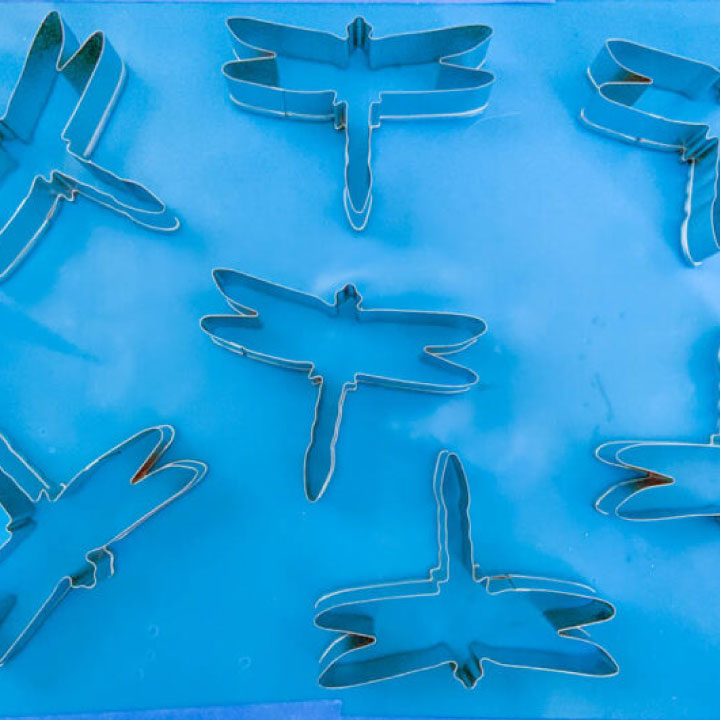
Metal butterfly molds for DIY wind chime project
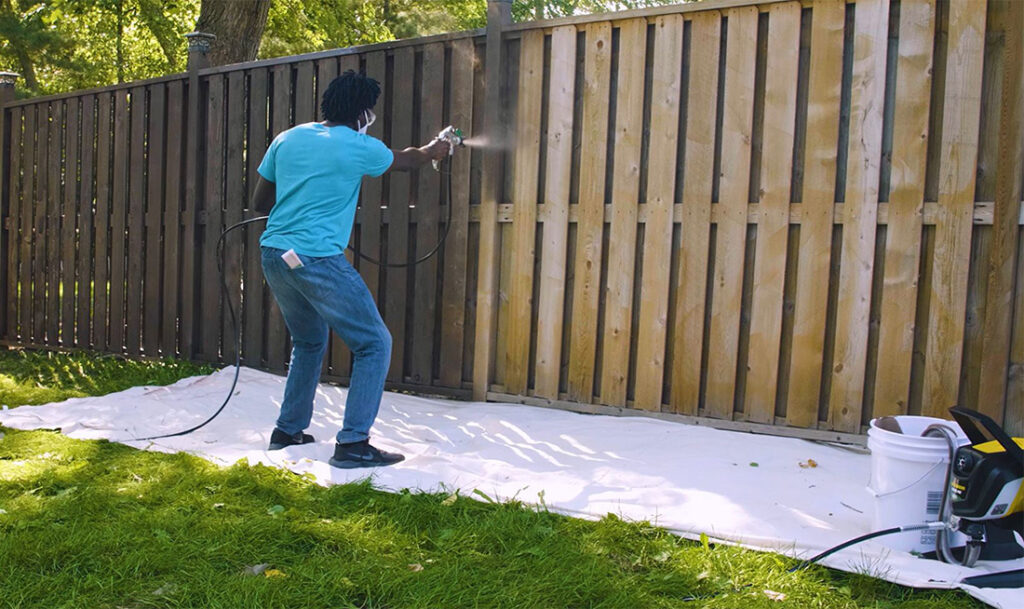
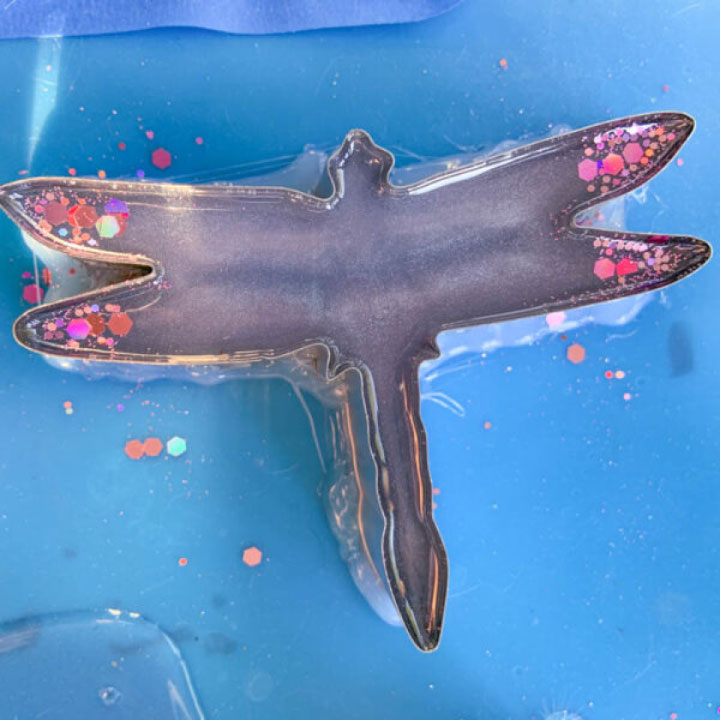
Since we want our DIY wind chimes to be musical I grabbed a few cookie cutters instead of a silicone mold… this way our dragonflies will have a metal edge to make music with the chimes! Go ahead and set your cookie cutters out on a silicone mat and hot glue around all the edges making sure there are no places resin could escape.
Step 1
Use Heat Gun to Pop Air Bubbles
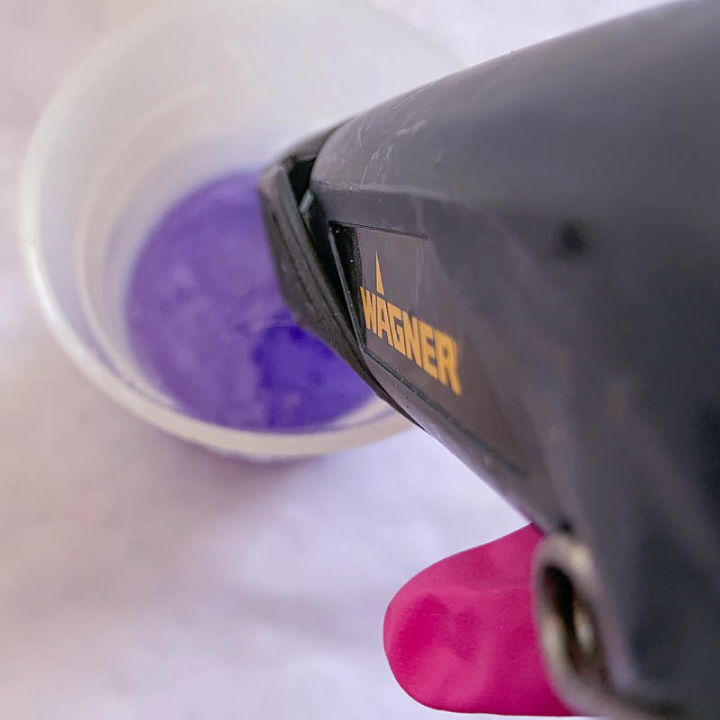
Then mix your resin and pick your colors (I used pink and purple for a fun spring-time feeling). Make sure to wear all your safety equipment (gloves, respirator, goggles… all of it) when working with resin… and if you’ve never used resin before you can follow my beginners tutorial for mixing resin right here.
Once you have your resin mixed up let it sit for about 2 minutes so that all the micro bubbles rise to the surface of the resin. Then take your heat gun and pop all the bubbles! I like to use my little Wagner HT400 for all my resin projects since it’s not hot enough to ruin a silicone mold (like a torch will) but it’s still hot enough to pop all. the. bubbles.
Step 2
Add Glitter to Butterfly Ornaments
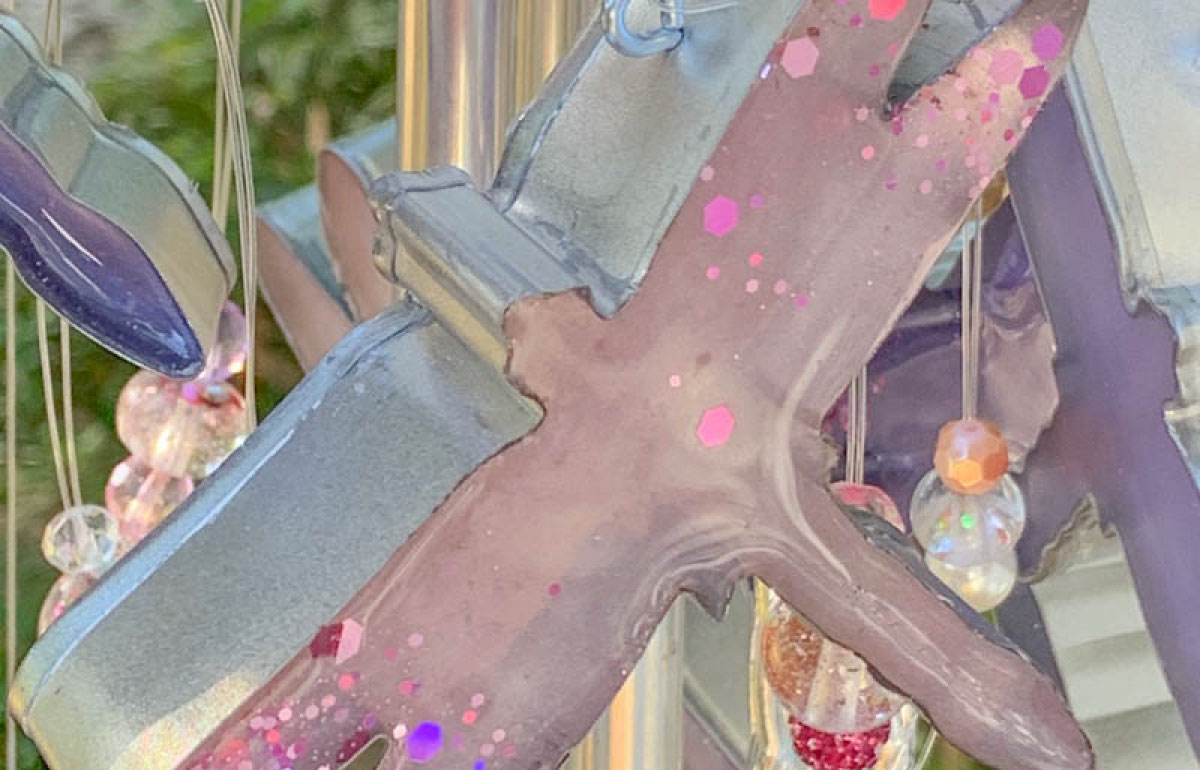
Now that your resin is ready to rock go ahead and pour all of your little dragon flies… then use your Wagner heat gun to pop the bubbles one last time for a truly crystal clear look. Now let your resin sit for about 2 hours before adding glitter to the little dragonfly wings.
This way the resin will be slightly cured and the glitter won’t sink to the bottom of the wings… it will stay on top!
Step 3
Let Your Resin Ornaments Cure
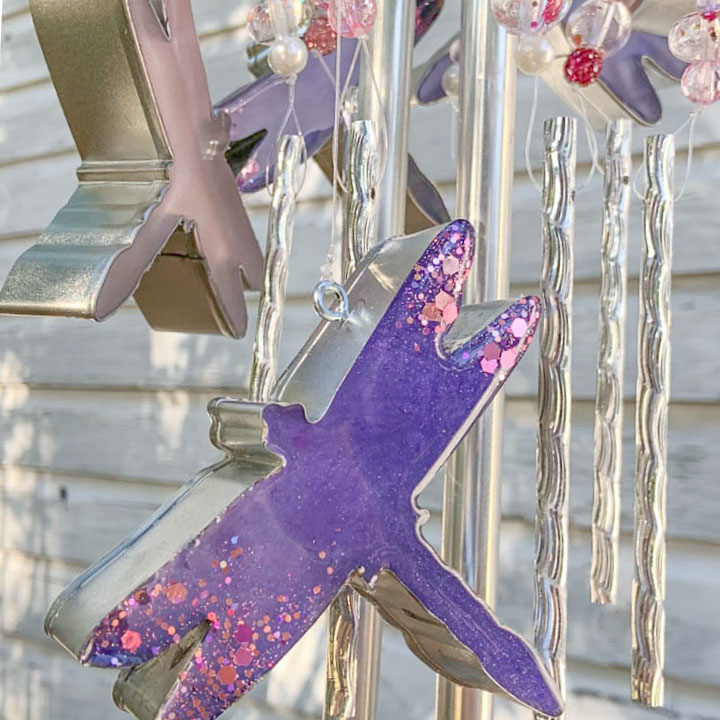
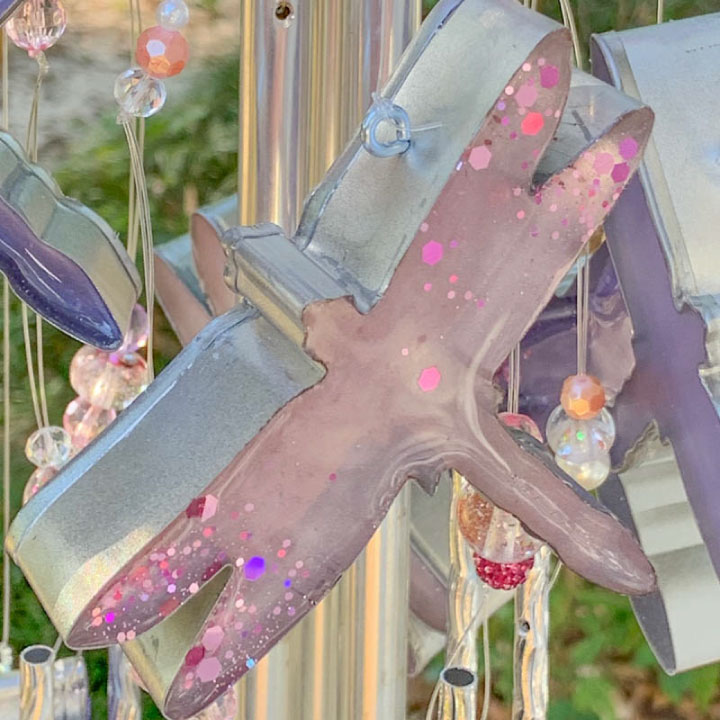
Now set your little dragonfly wind chime ornaments in a clean, dry room with little air movement to cure for 24-72 hours. If you can’t find a room with little dust movement just put a box over the resin to protect it from collecting yuck as it dries!
Once the dragonflies are fully cured you can pop them off the silicone mat and remove the hot glue… beautiful darling!
Step 4
Assemble Your DIY Wind Chimes
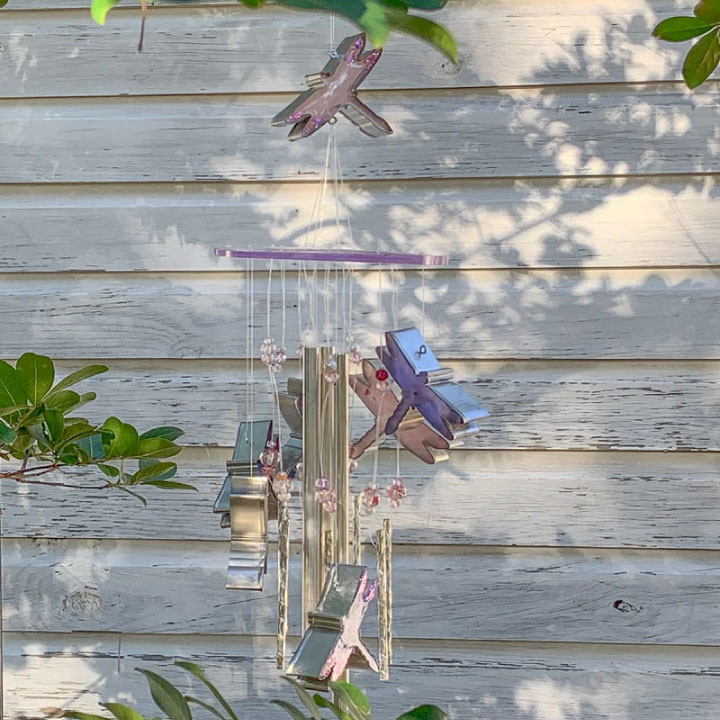
Now all that’s left is putting everything together! I grabbed a few wind chimes, a bit of fishing wire, a large resin circle I made earlier in the week and strung the whole thing together… ta-da! Instant wind chime! (Okay maybe not instant… it actually took a while!).
Step 5
Completed DIY Dragonfly Wind Chimes
This sponsored post was created by Happily Ever After Etc. For the full tutorial (including adding the hardware and stringing all the pieces together) you can check out the full post here. In the meantime enjoy the pretty finished pictures!
Step 6

Download Project Steps & Shopping List
We’ll never share your email with anyone else