Overview
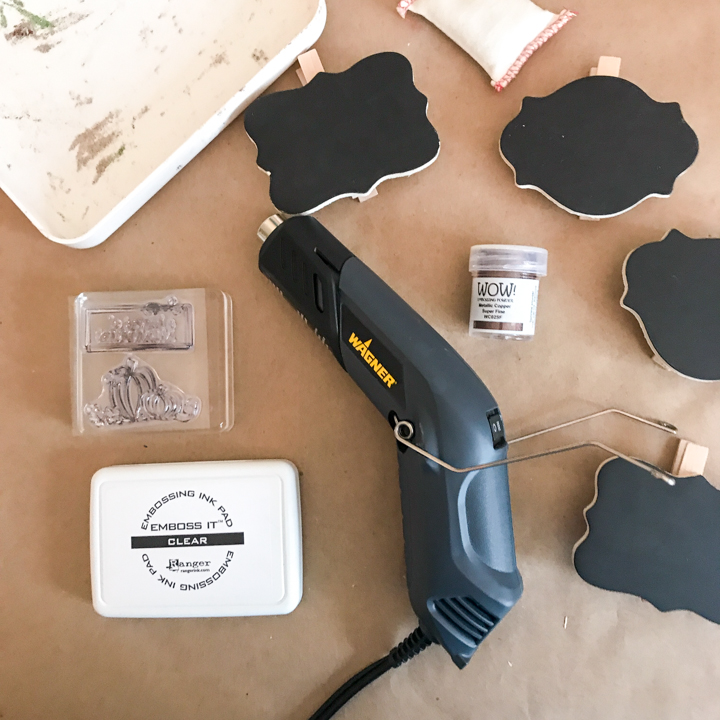
Learn how to add raised, embossed designs to paper, metal, wood, chalkboards and more using a heat gun.
Before
After

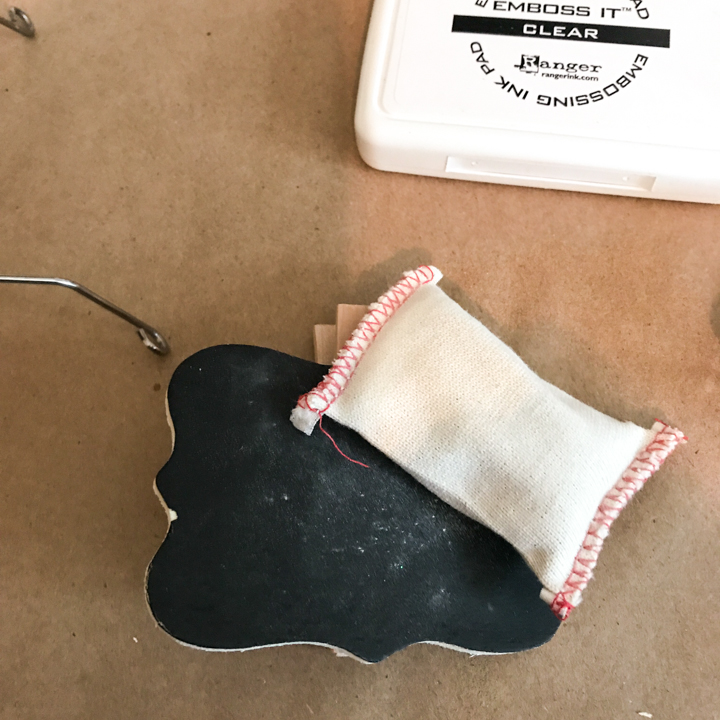
Wipe with Anti-Static Pad
Prepare the surface for embossing by going over it with an anti-static pad, also known as an embossing buddy. This prevents the embossing powder from sticking anywhere but to the ink. If you don’t want to buy an embossing buddy, you can make your own by filling a small white athletic sock with cornstarch or baby powder (you can remove any residue left behind by the anti-static pad after completing the project).
Step #1
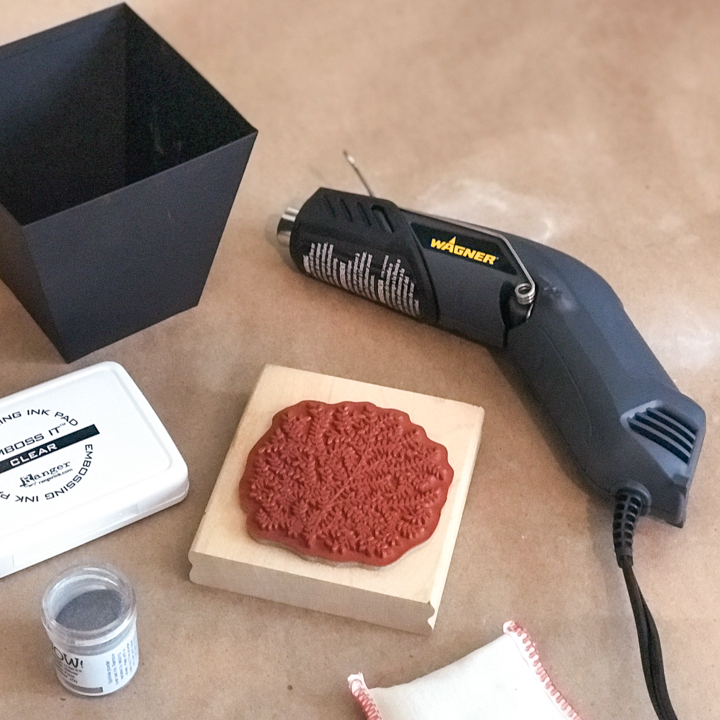
Press Stamp Into Embossing Ink
Press rubber stamp into an embossing ink pad, making sure to cover the entire raised surface with ink.
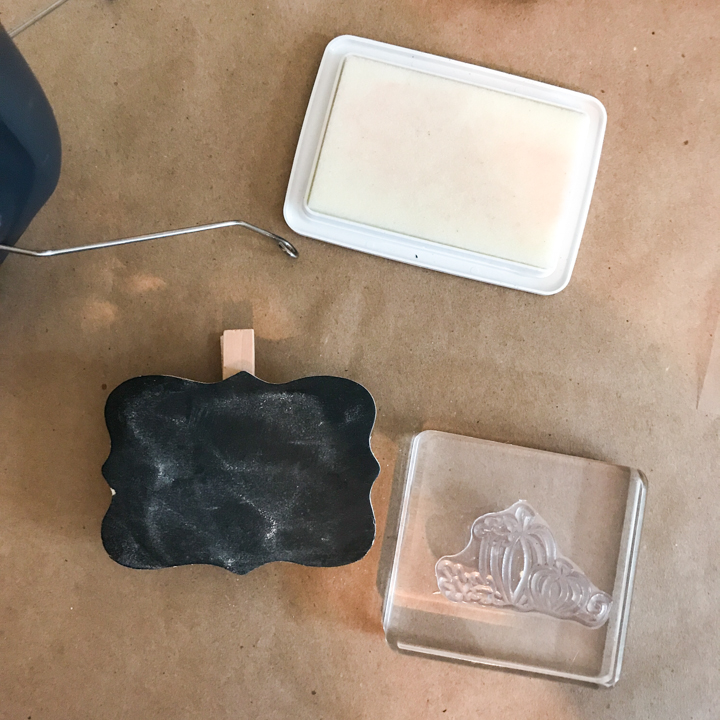
Step #2
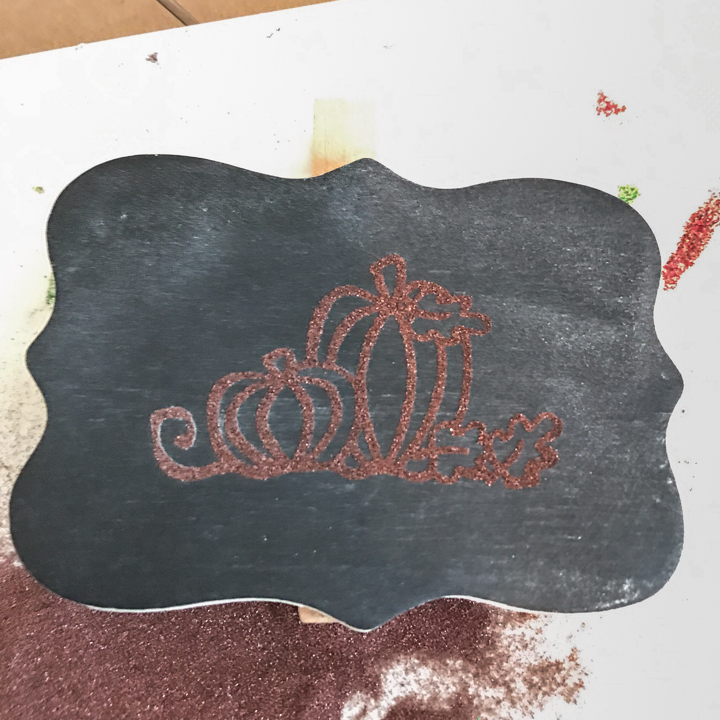
Apply Stamp on Surface
Press the inked stamp firmly onto the surface, being careful not to smudge the design (you can also use embossing pens to write or hand draw a design onto the surface to be embossed).
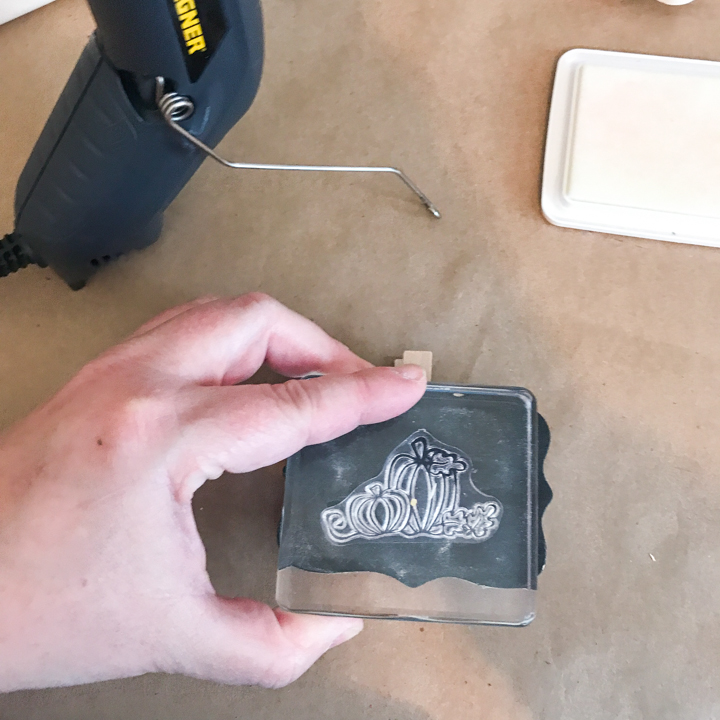
Step #3
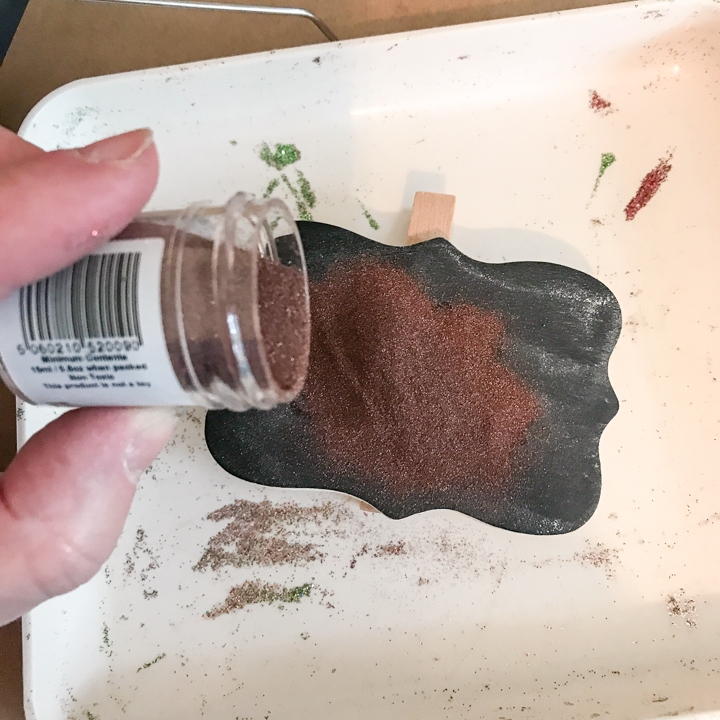
Sprinkle Embossing Powder
While the ink is still wet, sprinkle embossing powder embossing ink. I used a copper metallic embossing powder for this project. Do this over a funnel tray or a clean sheet of paper so you can easily return any unused embossing powder to the container.
Step #4
Shake Off Excess
Shake off any excess embossing powder into the tray.
Step #5
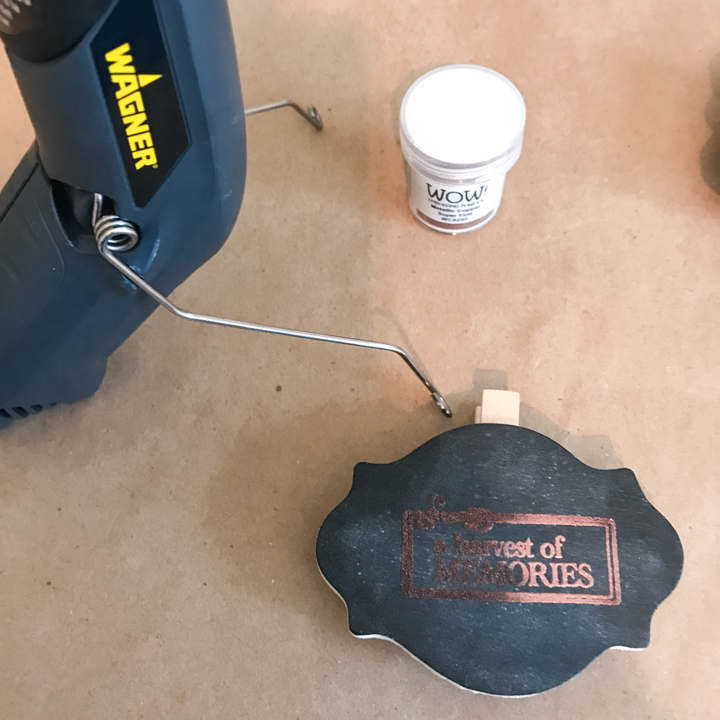
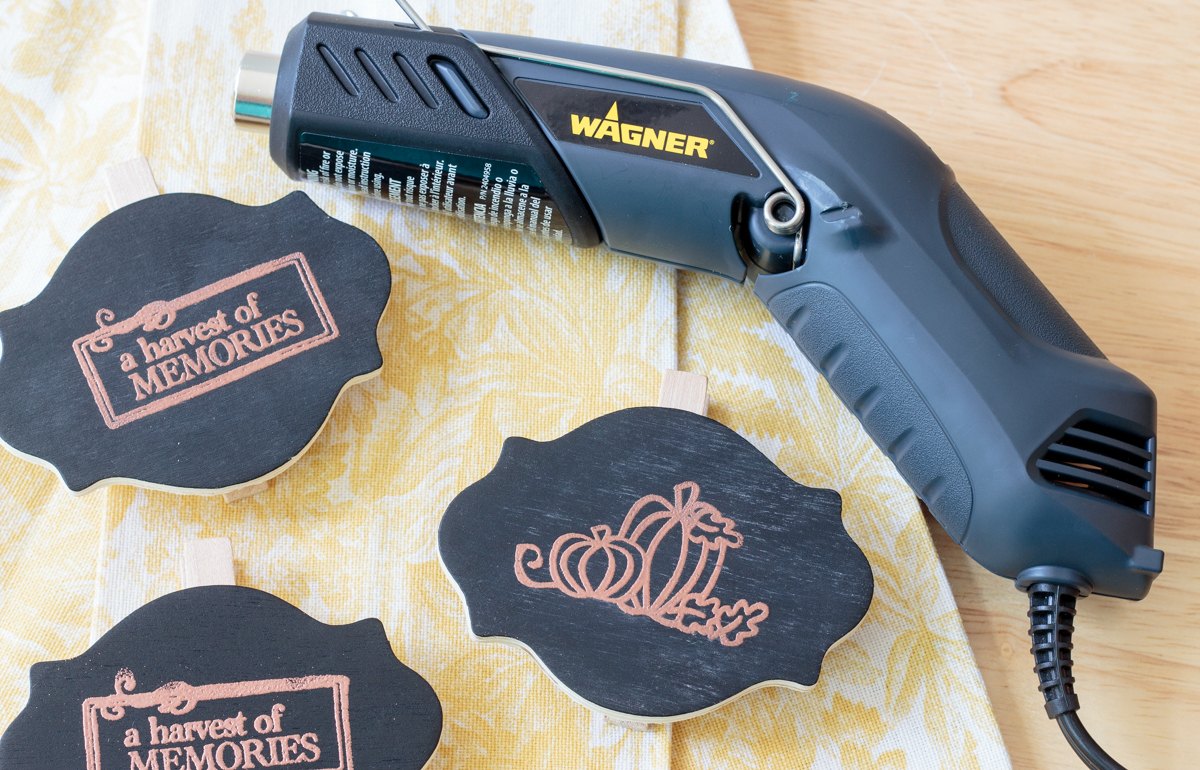
Apply Heat with a Heat Gun
Use the Low setting on the HT400 heat gun to apply heat to the embossing powder. Hold the heat gun above the surface and move in small circles until the embossing powder begins to melt and transform.
Step #6
Allow to Cool
Do not touch the tip of the heat gun, as it may burn you. Allow the heat gun and the embossed surface to cool to avoid burns. You may want to wear heat-protective gloves.
Step #7
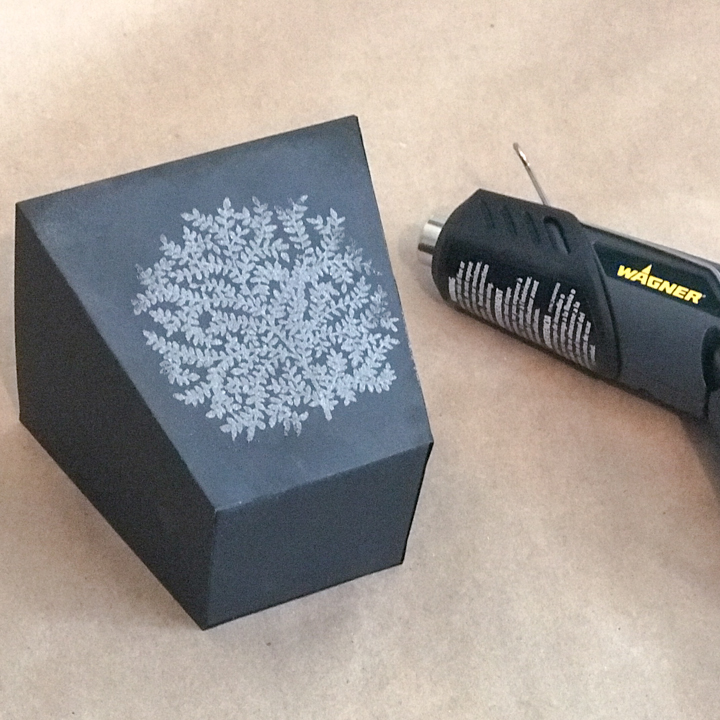
Enjoy The Decor!
Once the project has completely cooled, use a lint-free cloth to remove any residue left behind by the anti-static pad.
Enjoy your embossed decor!
This sponsored post was created by Atta Girl Says. Head to the blog for the full post and details
Step #8

Download Project Steps & Shopping List
We’ll never share your email with anyone else