Overview
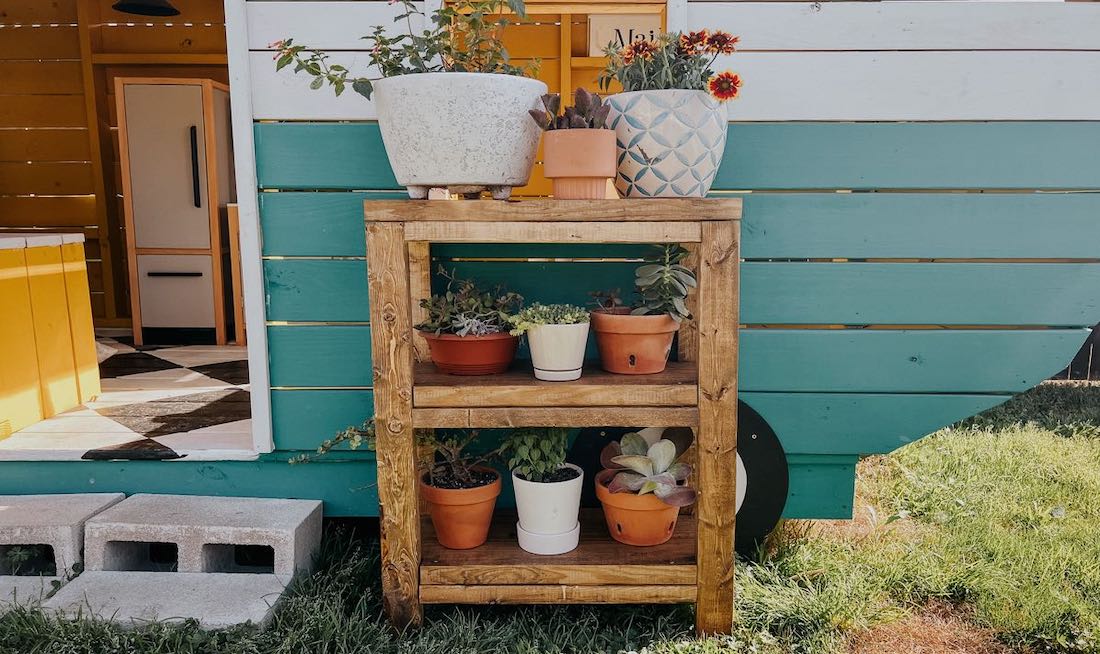
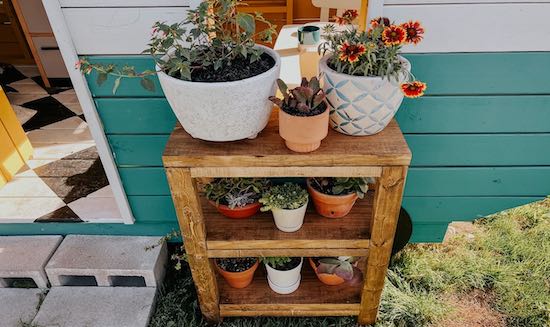
Looking for a simple and cute way to display some plants in your backyard? This little outdoor plant stand was built in just a day using scrap wood! It’s a quick and easy project that will hold a ton of plants, and look great while doing it.
Build legs
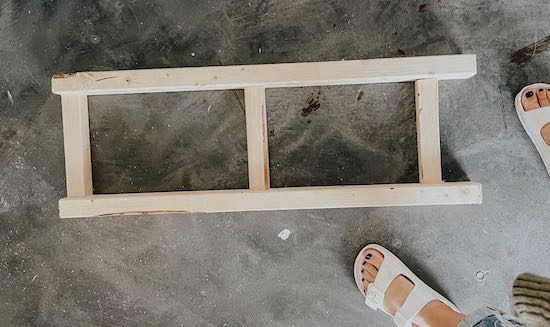
Start by building the sides for the plant stand. I used 2×3 wood for the legs and 2×2 wood for the supports, but you can adjust based on what you have on hand or what you prefer! I added three supports between each leg using pocket holes, and spaced them approximately 12” apart.
Step #1
Assemble frame
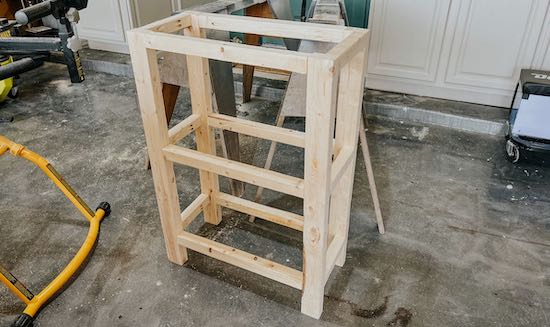
After building both sides, use 2×2 lumber to attach the two together. Add supports that line up with the three you’ve already added, to create a place to set a shelf. I used pocket holes to attach these supports as well.
Step #2
Add shelves
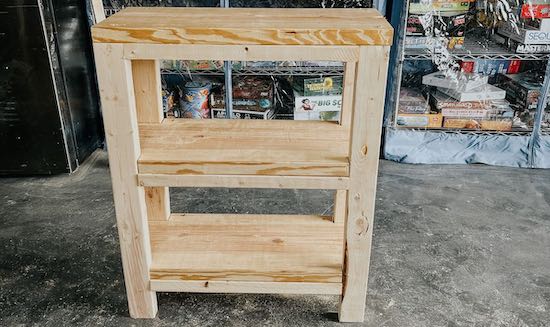
Now, you’re ready to add the shelves! I used some 2×12 lumber I had on hand, but you could also use planks of smaller wood and create slatted shelves. I cut notches out of each corner on the bottom two shelves so that the shelf could slip into place. The shelves are attached with wood glue and a screw in each corner.
Step #3
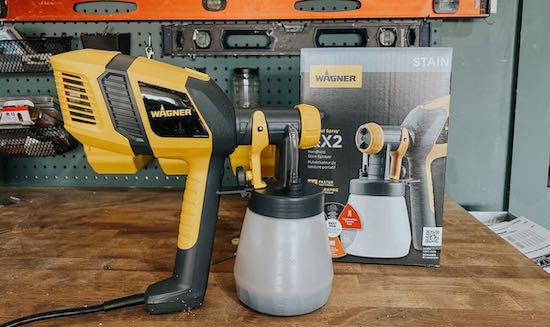
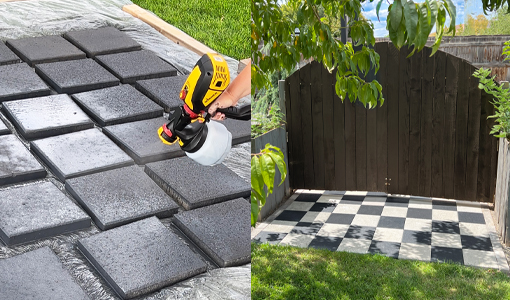
Grab your stain sprayer
I used Wagner’s Control Spray Qx2 Stain Sprayer for this project. It’s a small, lightweight stain sprayer that is perfect for small outdoor projects. It’s quick and easy to use and makes a project like this (with lots of sides and corners and edges) go much faster.
Step #4
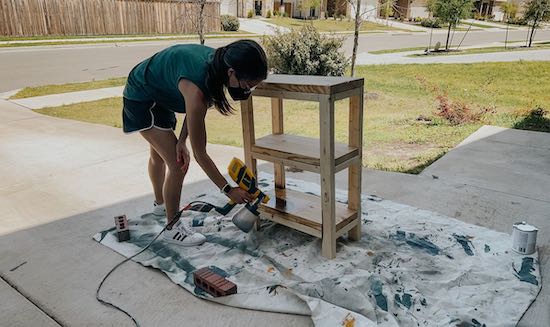
Stain
It took about 5 minutes to stain this from start to finish – which is less than half the time it would have taken by hand! You should also seal the shelves using Spar Urethane or another outdoor-grade sealer. This can also be done using your sprayer!
Step #5
Fill with plants
Now you’re ready to fill it up! Put it in a spot that gets plenty of sun in your backyard and add all of your favorite plants.
You can check out the full blog post by Love and Renovations for more details!
Step #6

Download Project Steps & Shopping List
We’ll never share your email with anyone else