Overview
My mom expressed an interest in having a little kitchen garden but due to health and mobility
issues, she can’t have an inground garden. I decided to make her some raised garden beds so
that she wouldn’t have to bend over to access the plants.
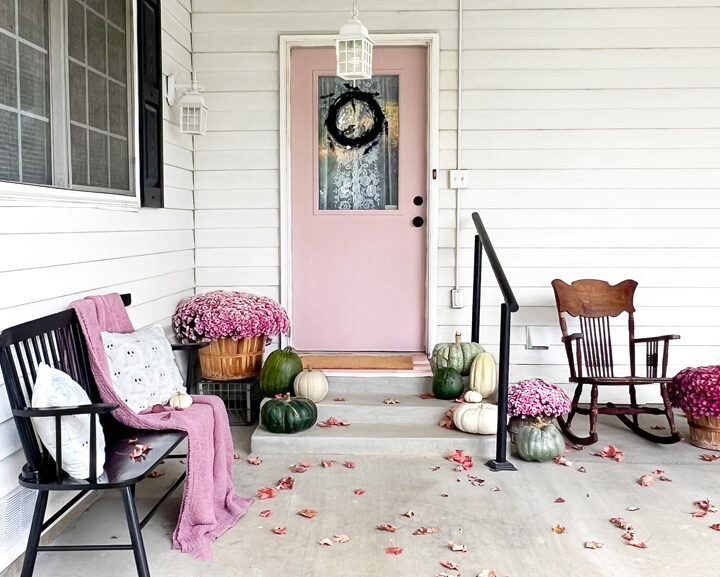
Before
After
Instructions
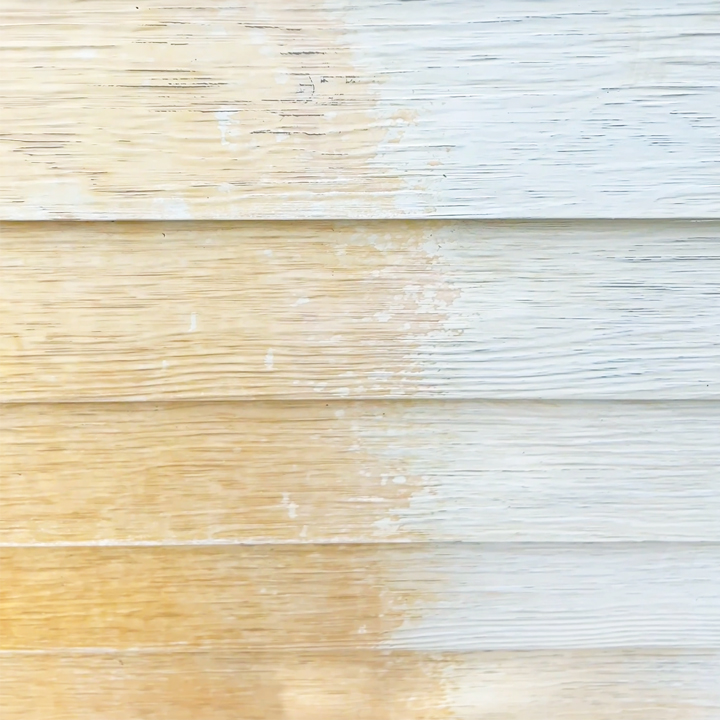
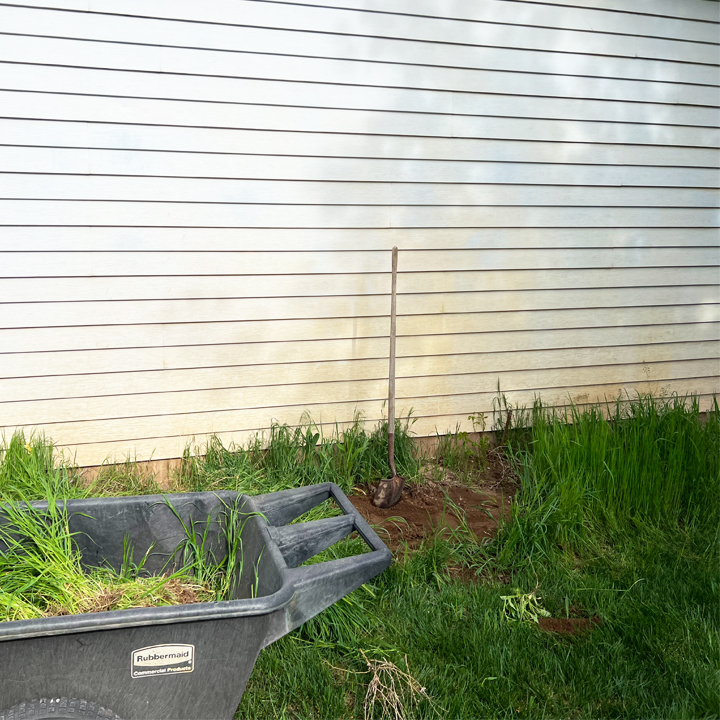
Prepare the Space
First I needed to clear a spot for the garden beds to go. The back of her garage is just outside the kitchen door. I removed some piles of dirt, trimmed back the tall grass, and leveled the area. Her siding was stained from the iron in her well water, so I scrubbed it clean. And finally I added a thick layer of bark.
Step #1
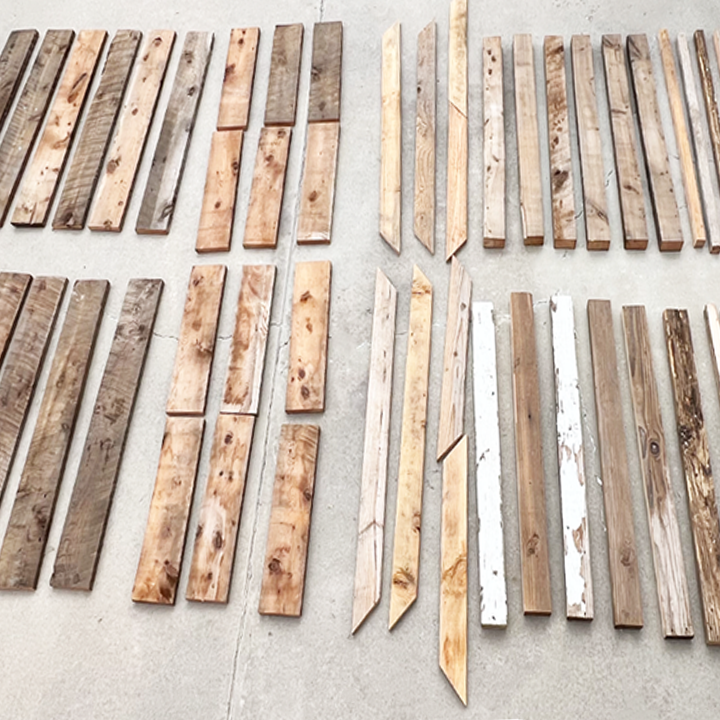
Gather the Wood
I have an overabundance of scrap wood taking up valuable space in our garage so I have vowed to use as much as I can this year. We were able to use quite a bit for this project.
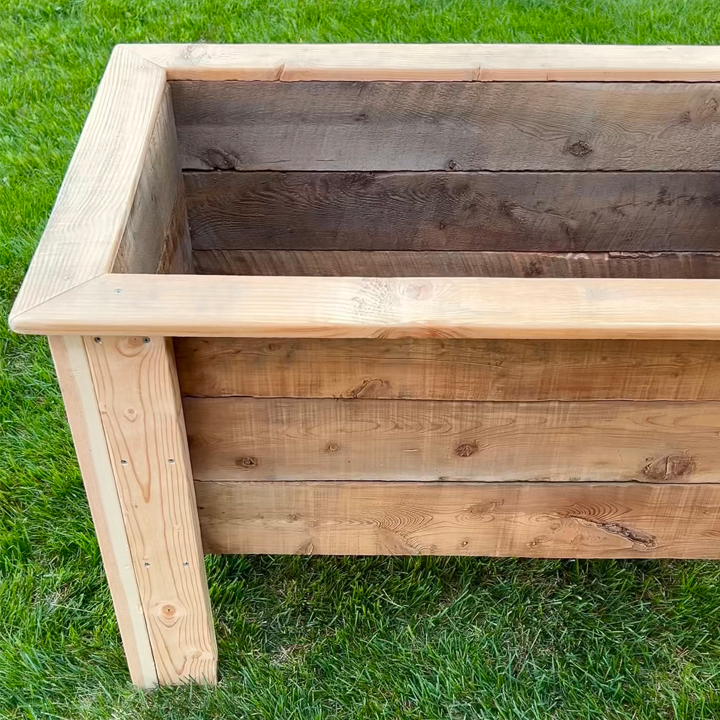
Step #2
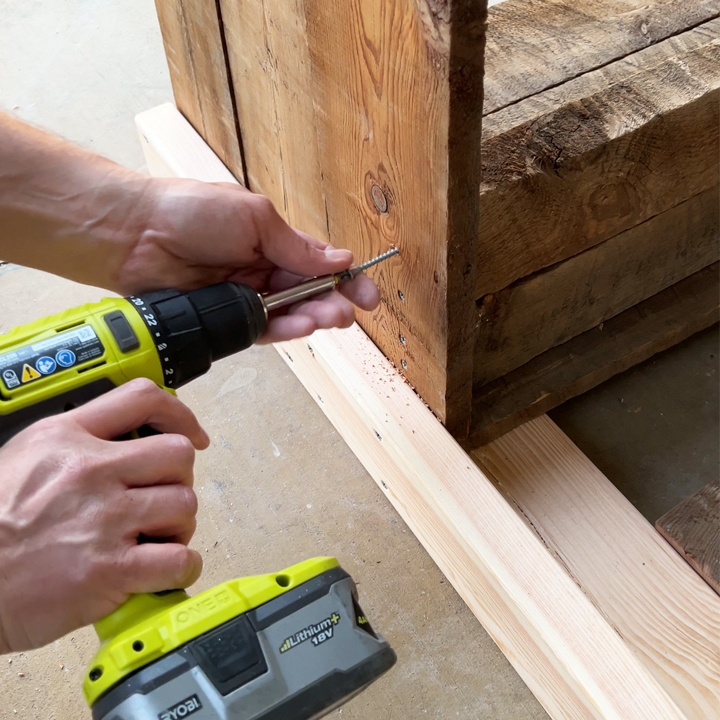
Assemble the Box
We assembled the actual garden boxes. The 2×4 legs hold all the other boards together.
Step #3
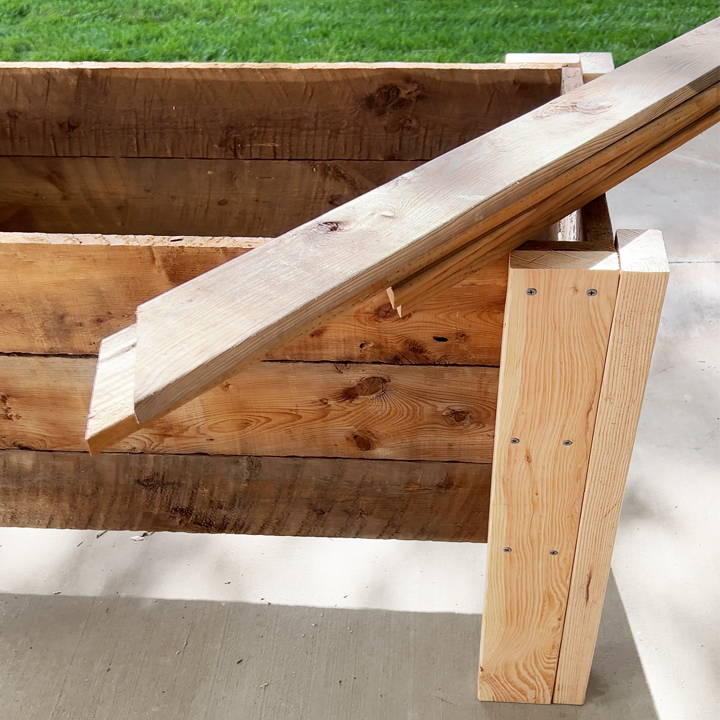
Add Trim
Then I added some 1×4 boards on the top to trim it out and hide the top of the legs. I sanded them and hosed them off thinking that we were good to move on to painting until I noticed a few visitors in the fields surrounding my mom’s house.
Step #4

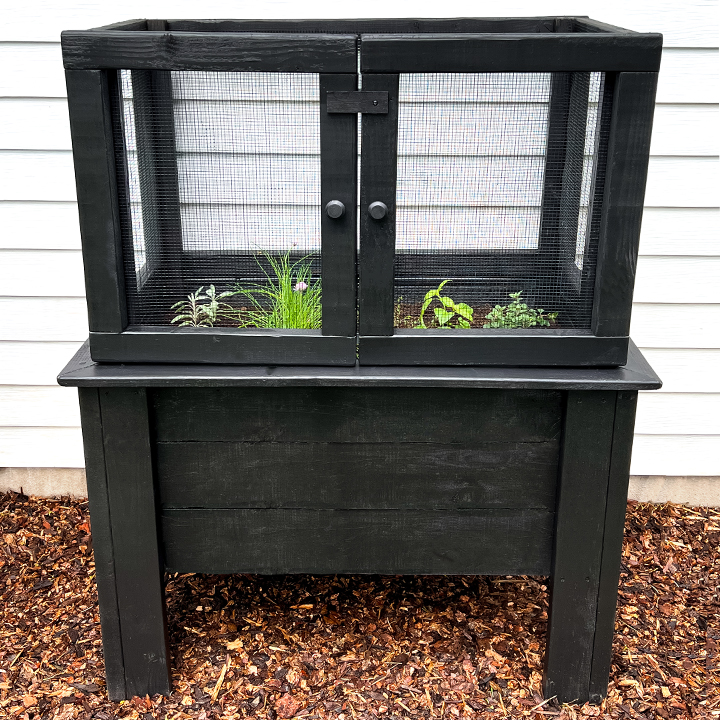
Plan for an Enclosure
My mom lives close to the mountains and occasionally has deer visit her property. Even though there are plenty of things in the field for them to eat, I decided to add an enclosure to the garden beds to protect the veggies in case the deer ventured up to the house.
Step #5
Get Ready to Paint
I was finally able to paint! I painted instead of staining since there was a mix of old and new
wood. My mom’s house is white with a black roof and black shutters so I thought black would
look the best. Plus I just love how greenery looks against black.
Step #6
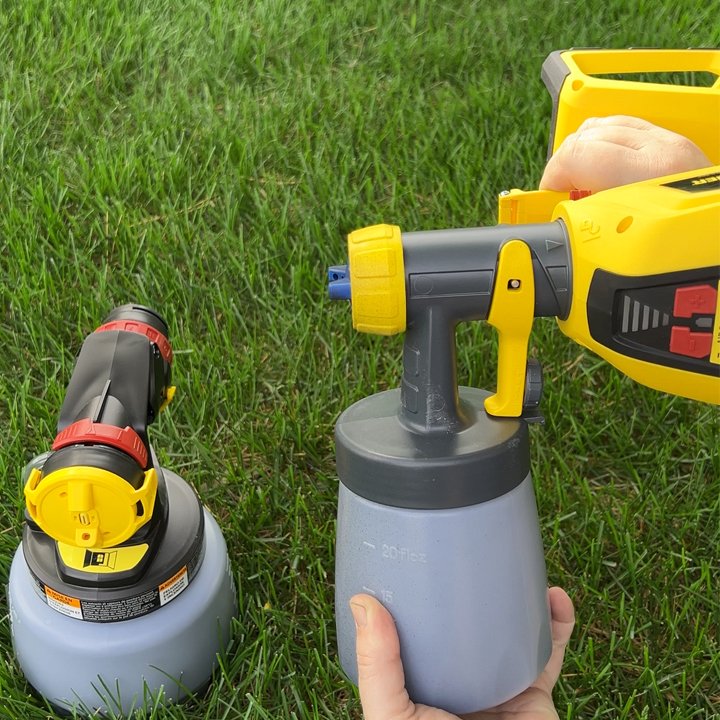
Grab the FLEXiO 3550
I was so excited to use the Cordless FLEXiO 3550 for the first time. It comes with two batteries and depending on the spray settings, each battery will last 7-20 minutes. The sprayer also comes with two nozzles. One for smaller projects with a fine finish and a larger one for covering more area.
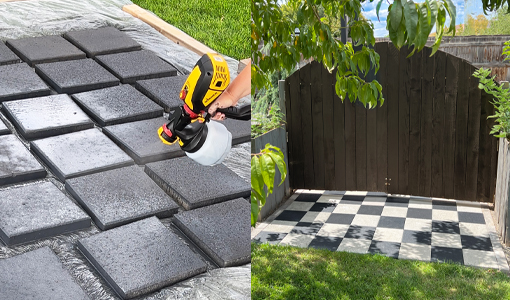
Step #7
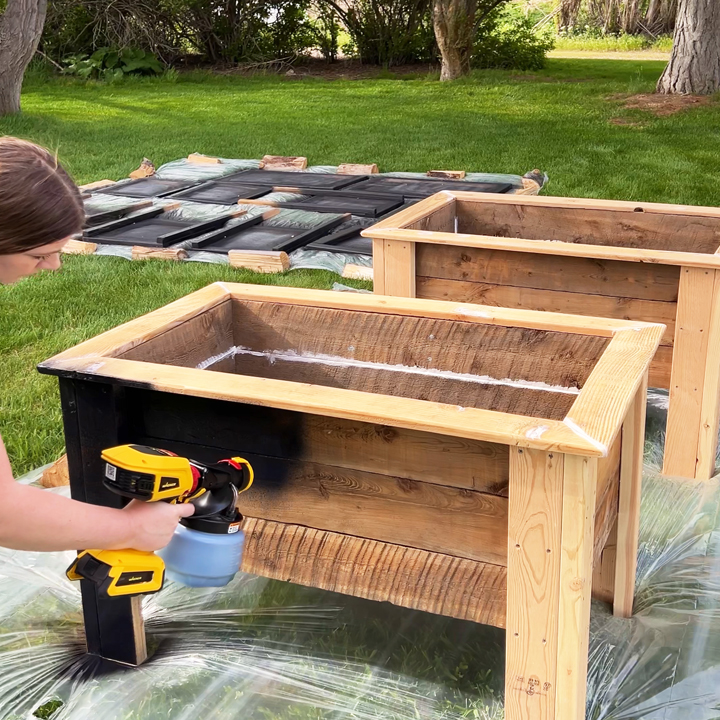
Spray the Garden Bed
I used the small spray nozzle for the enclosure pieces since the boards were skinny and then
easily swapped out and used the bigger nozzle for the planter boxes because I knew the old,
dry wood would suck up the paint. The fact that the nozzles can detach from the motor makes
for easy clean up too!
Step #8
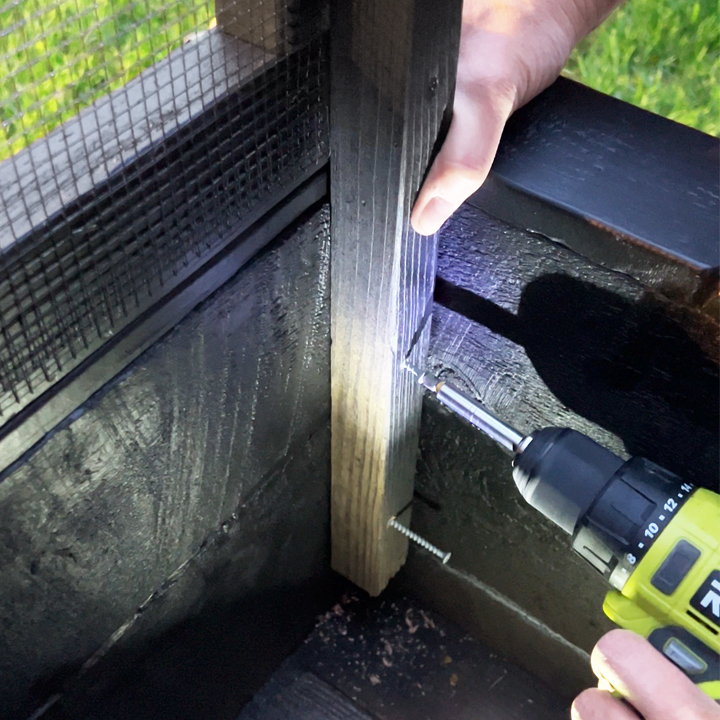
Attach the Enclosure
Once the paint had dried, we attached the enclosure. The 2×2 boards in the corners help to
secure it to the box.
Step #9
Plant Your Garden!
I added sticks and bark to the very bottom of the garden beds and then filled the rest up with garden soil. This was when we showed my mom and she helped me plant! I can’t wait to see the raised garden beds when the plants are fully grown! I am so happy I was able to help my mom be able to garden this year.
See the full post by Stacy Risenmay here.
Step #10

Download Project Steps & Shopping List
We’ll never share your email with anyone else