Overview
Hi everyone! This is Colleen from Lemon Thistle, and I’m so excited to share this total deck refresh with you. This is my sister’s first home and has so much potential. The first makeover we took on was her tired wooden deck. From chipping paint and rotting wood to this fresh, gorgeous space in just one weekend? With tools from Wagner, it’s definitely possible! Let’s chat about how.
Before
After

FIX DECK
The first thing we did was replace the damaged boards. We carefully pulled them up using a pry bar, removing nails and then replacing the damaged portions with fresh boards. We also hit down any nails that had loosened up over the years.
Step 1
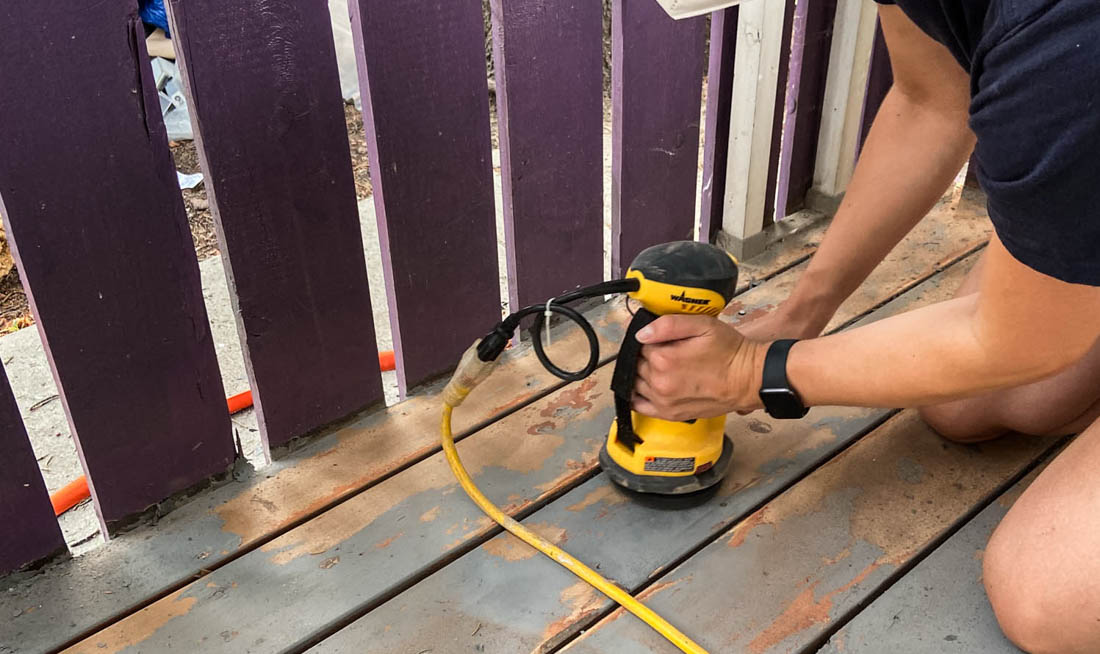
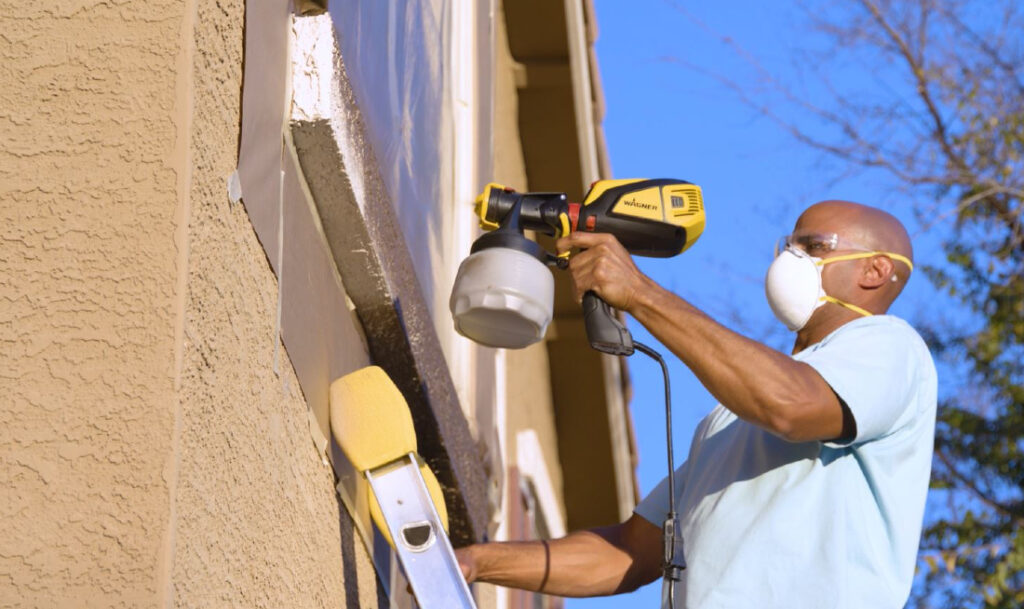
SAND THE DECK
Then it was time to prep the deck for painting. I’ve been looking for an opportunity to try the Wagner PaintEater and this was the perfect one. The PaintEater is a disc sander with a spongy wire disk instead of sandpaper. It skips the wire brushing step and makes SUCH quick work of the sanding. Plus, since it’s spongy, it gives a beautifully feathered edge to the sanded area. We went through three of the sanding discs for the deck.
Step 2
PRIME THE NEW RAILING BOARDS
Next up was priming! Since the purple paint was mostly in great condition, we only primed the new boards on the railing. This just helps to seal the wood so that the sheen of the paint would be even across the new and old boards.
Step 3
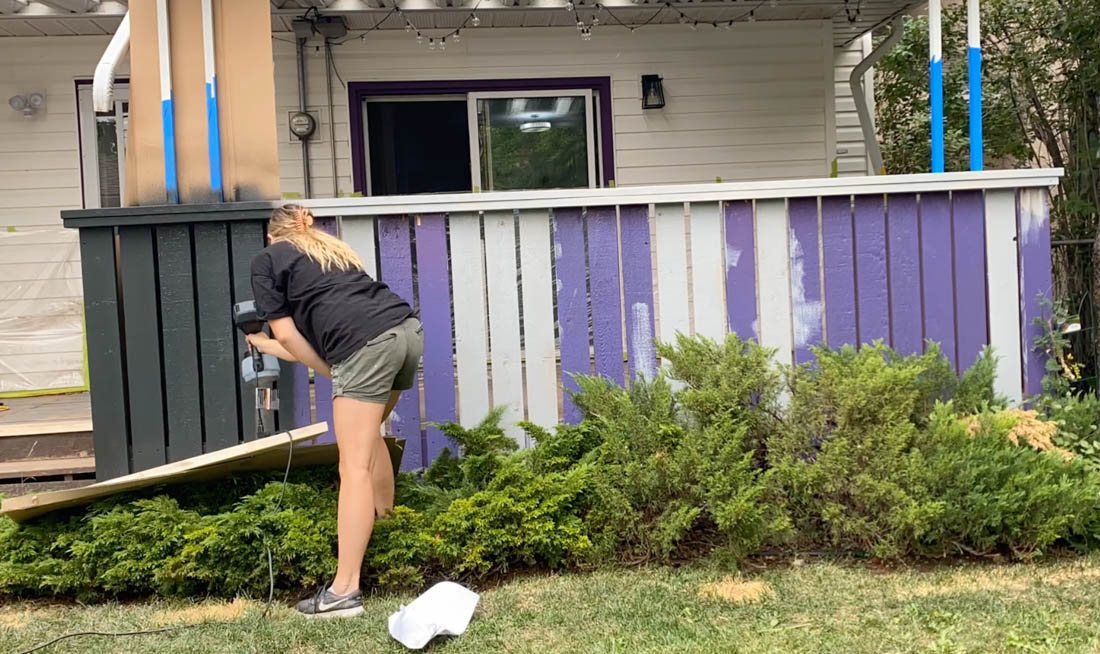
PAINT THE RAILING
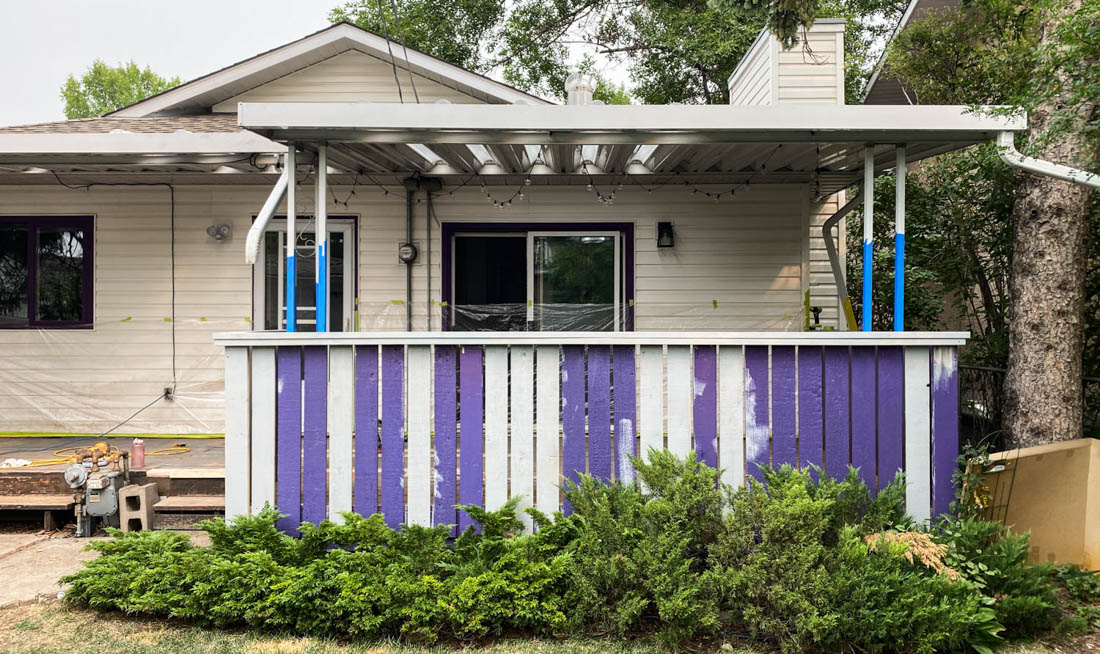
In the morning, we got to painting the railing. We masked the house and the posts to support the roof and held up cardboard behind the spray area to avoid overspray.
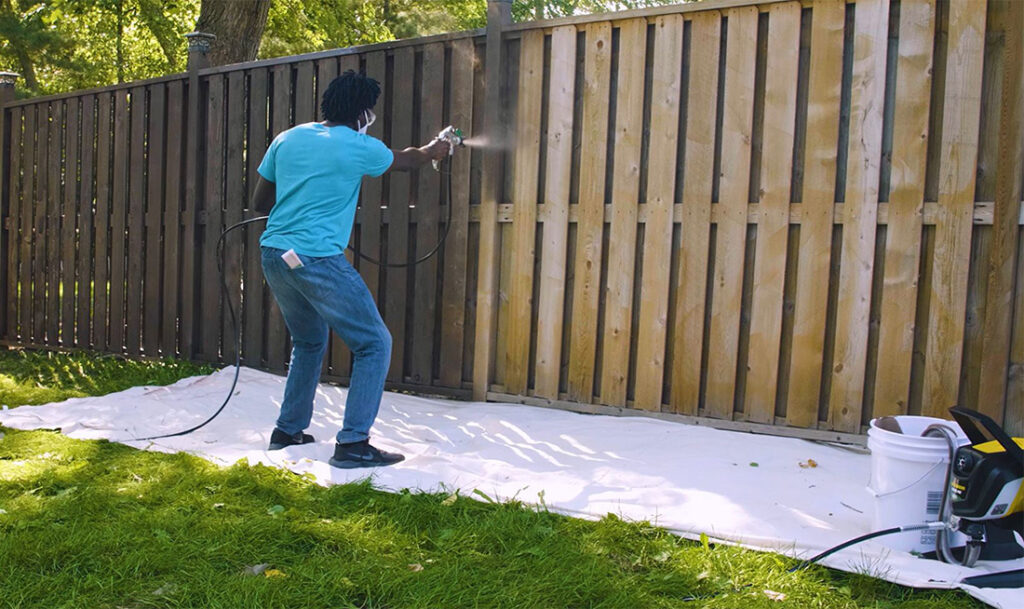
For this project, I used the new Wagner FLEXiO 2500. I stuck to the high air pressure and a pretty high material flow for this to get a nice even coverage. I moved quickly to avoid drips. As always, test your spray pattern on cardboard or scrap wood before starting your project and make sure to wear a mask! I’d recently stained my fence using a paint sprayer, so this went really quickly for me. I knew to spray each side of each board to get in the gaps before doing one spray down the center of the board to fill in the spray pattern. I changed the direction of the spray to vertical to get in the nooks of the top edge of the railing as well.
Step 4
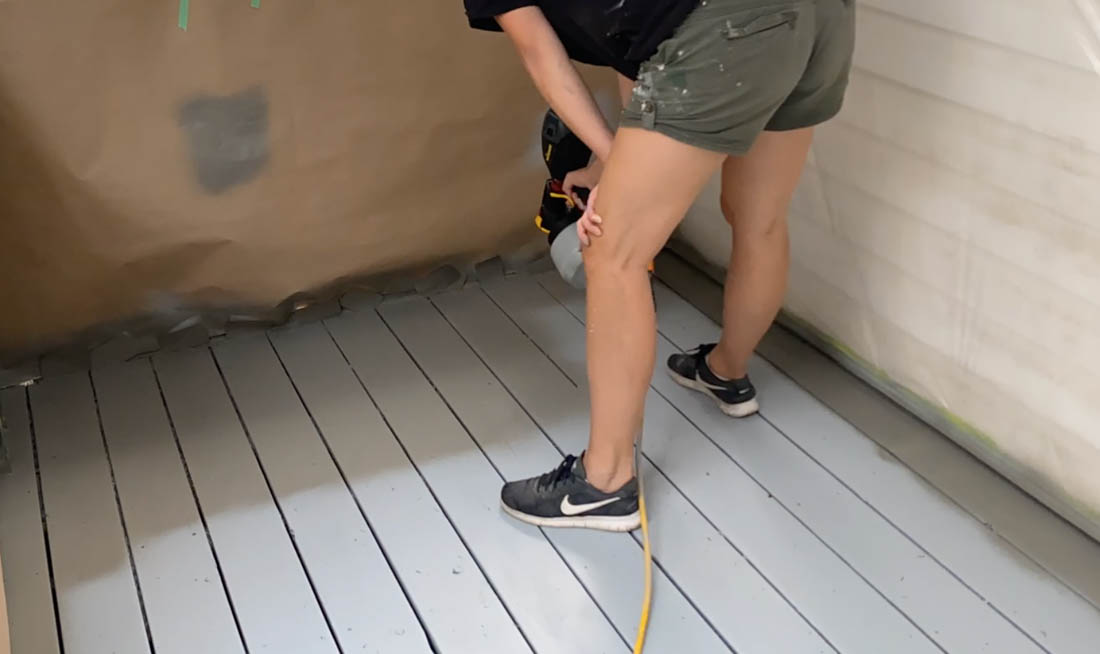
PRIME + PAINT THE FLOOR
Next, we masked the railing to get to the floor painting. We primed the entire deck instead of just the new boards. The idea here is that it will adhere better and help to seal the layers of paint and old wood better so that this paint job can last longer than the previous one. This painting went super quick, just make sure to face the pickup straw forward so the paint sprayer can be angled down. We chose a deck and floor paint for the deck floor in a muddy kind of grey. This color plays so well with the bone-colored siding and the charcoal trim and railing.
Step 5

RESET YOUR DECK!
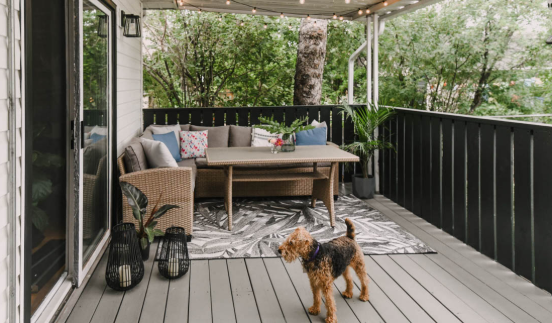
We let this dry overnight before walking on it or putting furniture back. We also painted the trim on the house with the charcoal color and swapped out the patio light. These changes all together totally modernize the space, and it feels fresh and welcoming. I’m so impressed with how quickly this space transformed! It really is testament to how much these Wagner products speed up the painting process.
Step 6

This sponsored post was created by Lemon Thistle. You can read more about the transformation and what else we have planned for the space at our blog post over at Lemon Thistle.
Step 7

Download Project Steps & Shopping List
We’ll never share your email with anyone else