Overview
Learning how to stain a fence with a sprayer is a quick and easy way to get a beautifully even coverage on your fence and achieve a professional looking finish. While it takes a bit more time in preparation (hello masking!) the ease of spraying saves hours of work!
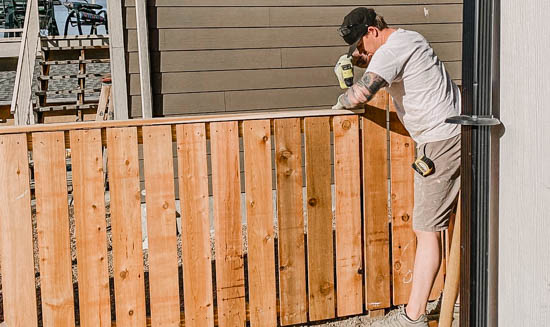
Before
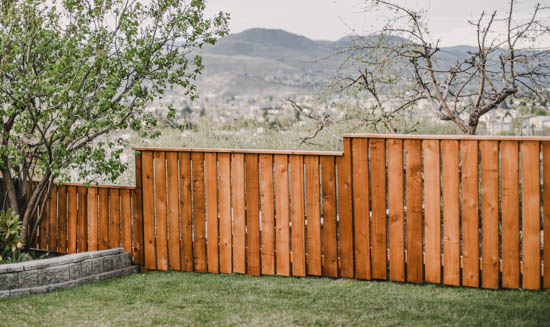
After
Prep surface and mask
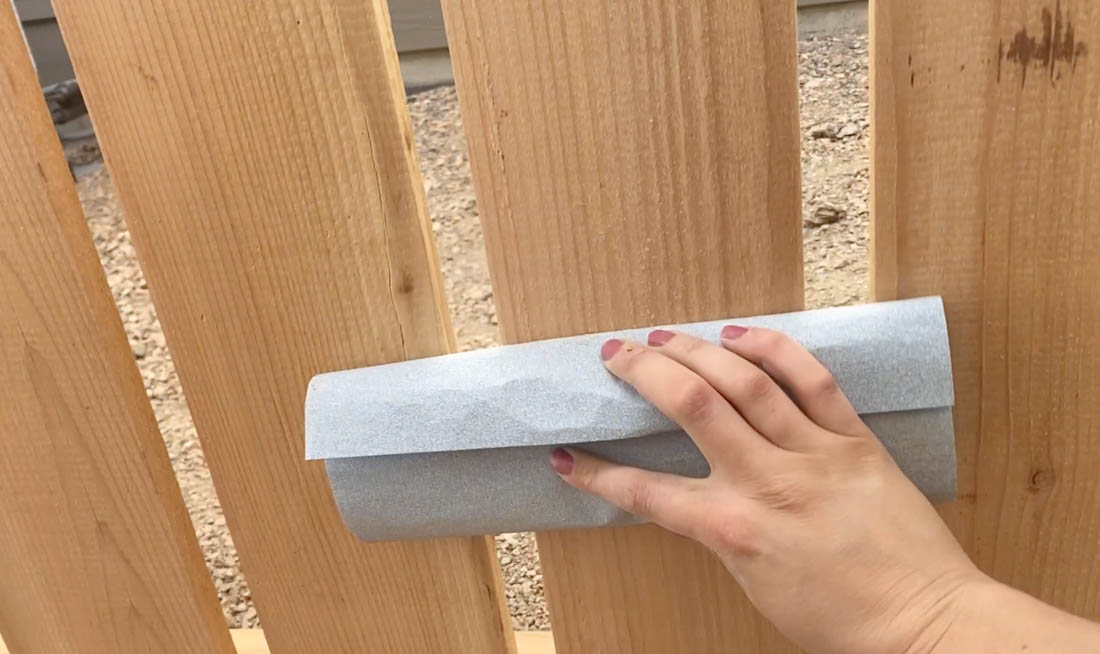
Start With A Clean Surface
Prep the fence for staining by either pressure washing, using a wire brush or sanding. If you choose to pressure wash, make sure to let it dry completely (3-5 days) before staining.
Masking Lets You Work Quickly
Masking is an important part of preparation! Cover any surfaces you do not want to risk overspray on using plastic or flooring paper. Painter’s tape for rough surfaces will stick to most outdoor surfaces.
Step 1
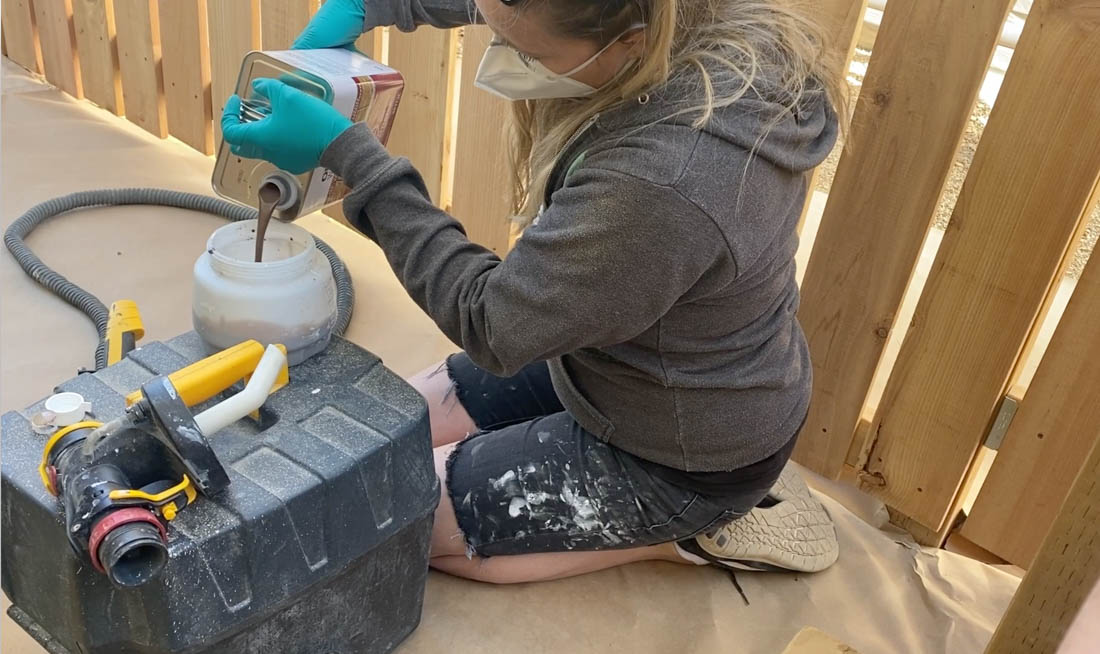
Get your sprayer ready and test it
What Stain Should You Use
Set up your sprayer with stain. I like to choose a water clean up, waterproofing stain, in a semi transparent shade. Water clean up stains are effective, and a breeze to clean out of your sprayer!
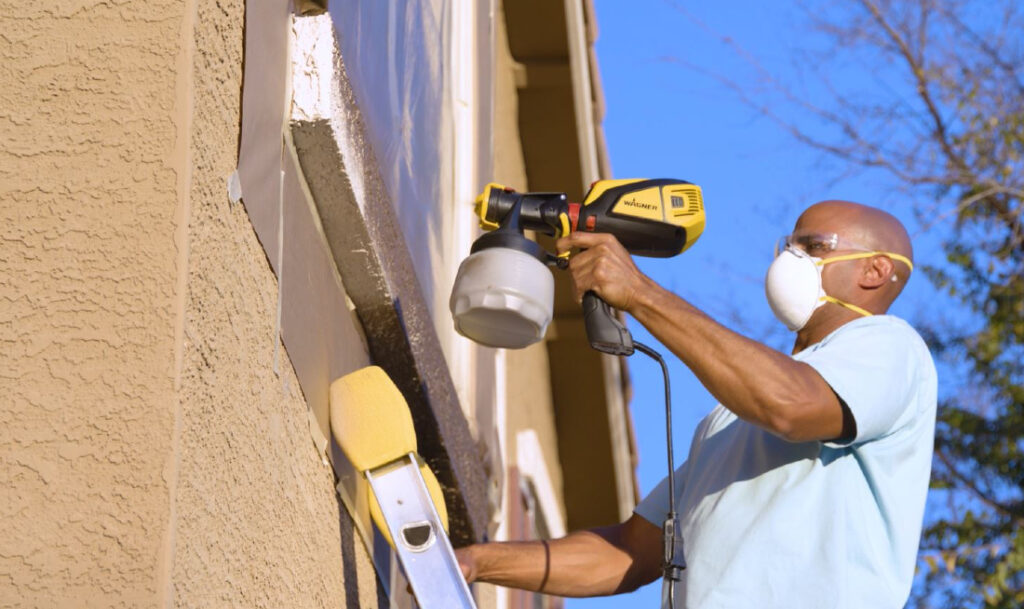
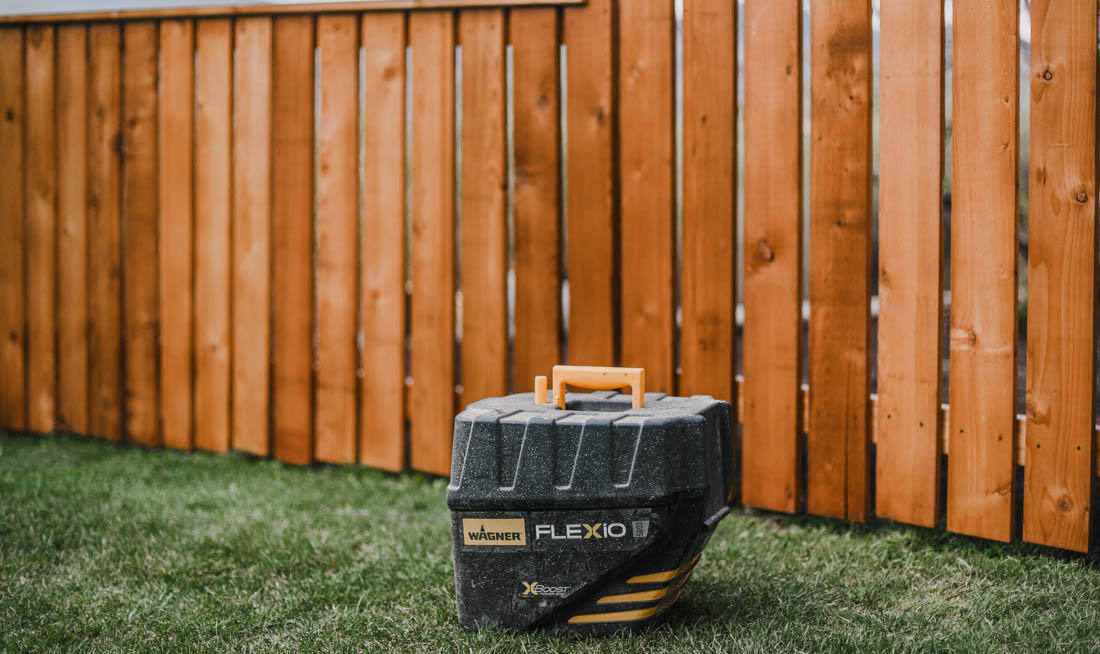
Large Stain Sprayer for Large Projects
I used the Wagner FLEXiO 5000 for this project. By having the gun separate from the motor, the lighter weight allowed me to work longer without taking breaks. I used the regular spray nozzle and set it to a one or two material flow (keep this low with stain!) and around an 8 for airflow.
Practice & Test Spray First
It’s important to test your settings on scrap wood, cardboard, or the included practice spraying poster before moving on to your fence. Adjust settings, familiarize yourself, and troubleshoot as need be before spraying stain on your project.
Step 2
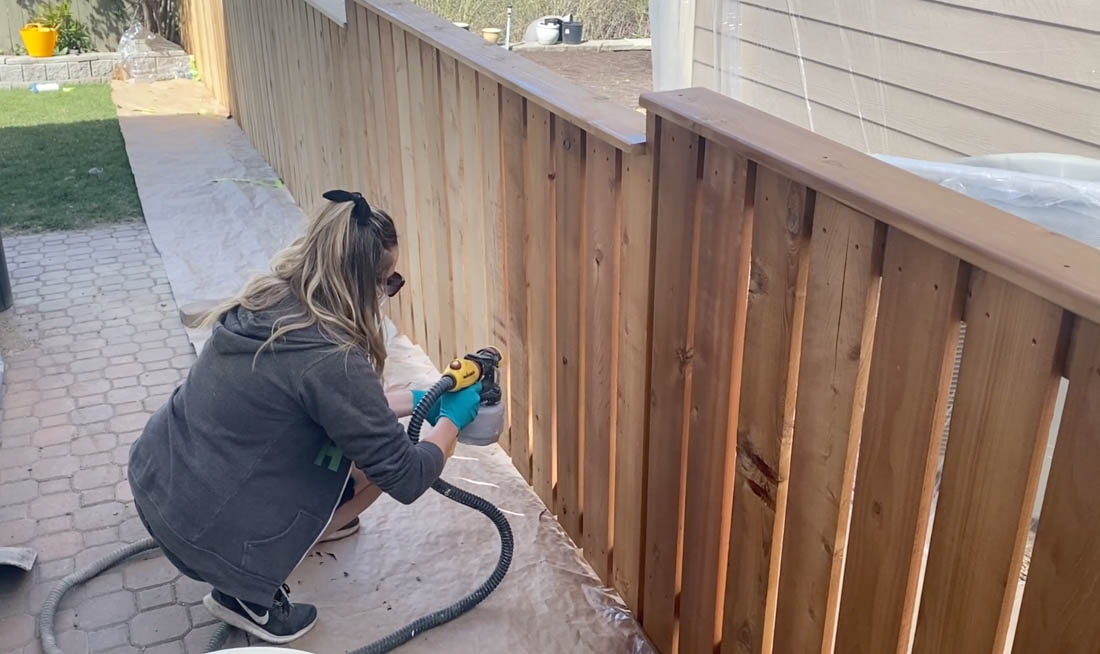
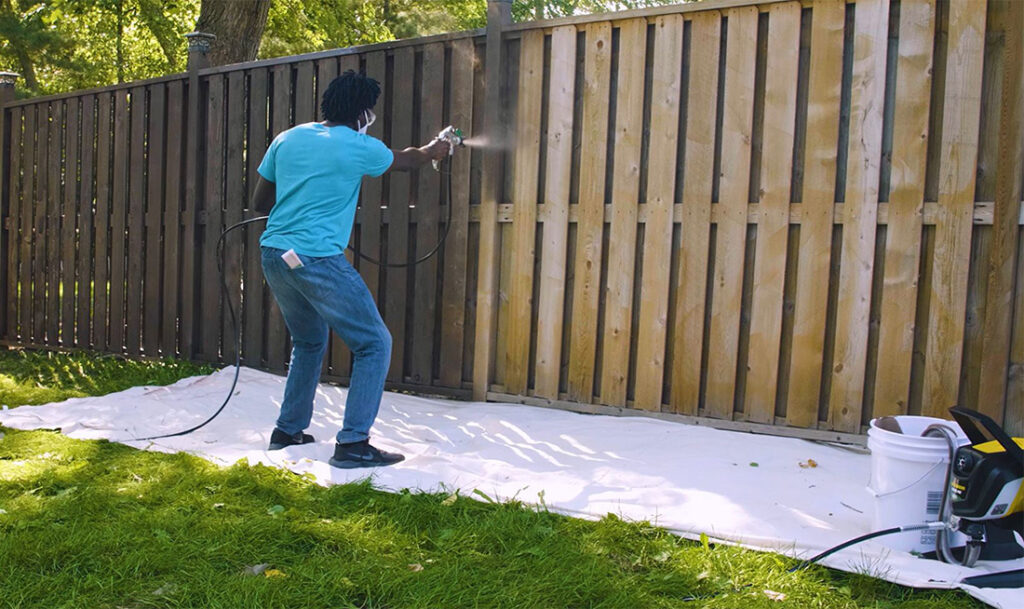
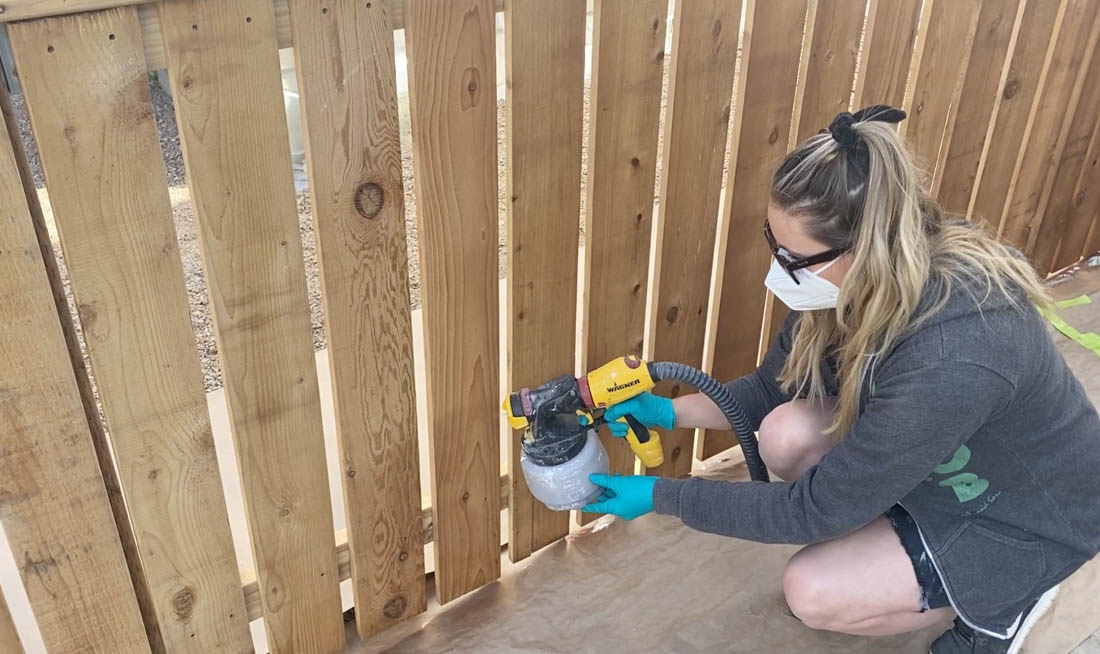
Start staining
Keep the Sprayer Moving
Spray that fence! This is by far the quickest part of the whole process. Make sure to keep moving the stain spray gun while the trigger is pulled and move in a methodical pattern for even coverage. Take care to aim at each surface (edges!), using the vertical or horizontal spray pattern to get an even coverage and directional spray as needed for each section of the fence.
Step 3
Allow stain to dry and wash your sprayer
Clean Your Sprayer Immediately
While the stain dries, clean your sprayer with warm soapy water. Proper cleaning will ensure your sprayer works well for future projects. Once your sprayer is clean and the fence is dry to the touch, remove masking and admire your project!
Step 4
Enjoy your refreshed fence!
This sponsored project was created by Lemon Thistle. Head to the blog for the full post and details about this project, or watch the video!
Step 5

Download Project Steps & Shopping List
We’ll never share your email with anyone else