Overview
When life gets busy, it’s easy to overlook your home’s exterior. Over the years, the shutter paint fades, the wood develops rot, the weeds invade your yard, and your home begins to look tired. If you’re looking for an inexpensive, weekend solution to boost your curb appeal, here is how you can paint your shutters and garage for instant curb appeal!
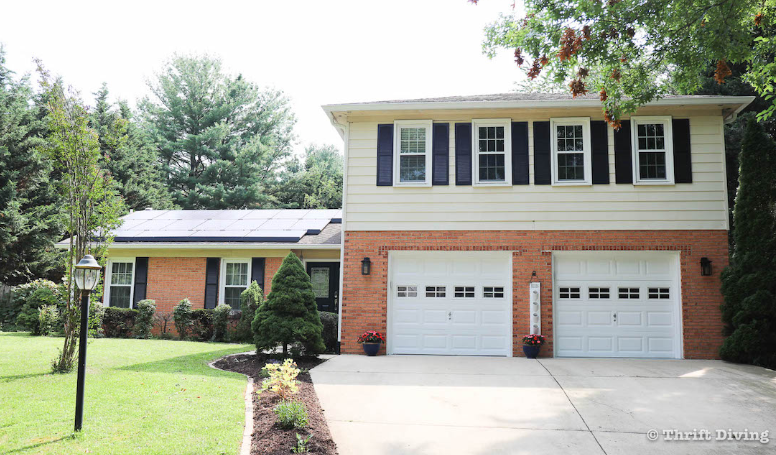
With pretty painted black shutters and fresh white garage doors (and new lighting, flowers, and gardening!), this home looks amazing in just 2 days with a couple gallons of paint and the Wagner FLEXiO 4000 HLVP Paint Sprayer!
With new paint on the shutters, brighter garage doors, and some much-needed de-weeding and cleaning up, my house looks amazing! (Don’t get me wrong–we still need to replace the original aluminum siding, and I honestly despise the color of this brick and am trying to convince my family that paint does wonders for ugly brick). Overall, it definitely looks more fresh!
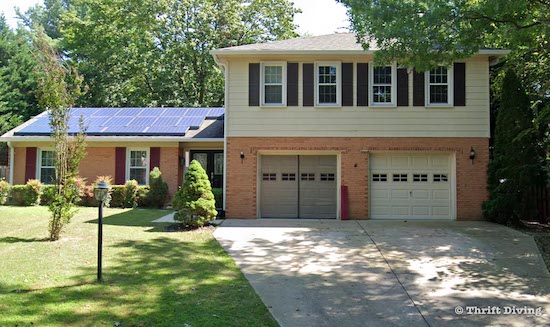
Before
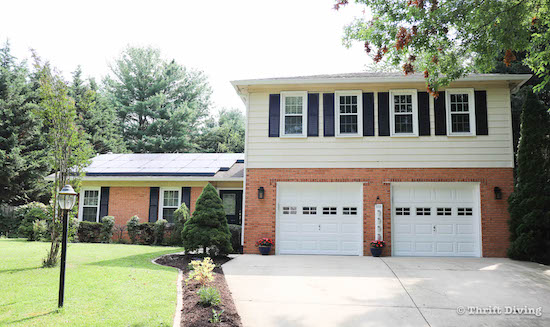
After
Tools and Materials
Gather a few materials and supplies before getting started.
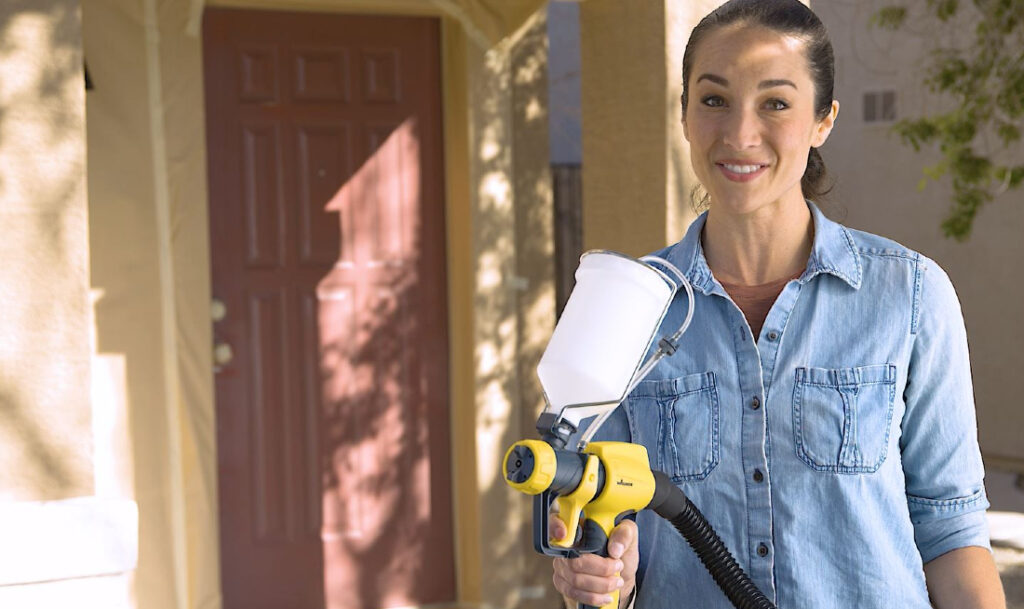
- Wagner FLEXiO 4000 HVLP Paint Sprayer
- Benjamin Moore black paint
- Benjamin Moore white paint
- Ladder (optional)
- Power drill with drivers and drill bits
- Hose
- Cleaner and Degreaser
- Painter's tape
- Painter's plastic or masking paper
- Small paint brush
- Dust mask
- Gloves
- Cleaning towels
Step 1
Remove the Old Shutters
Reaching the top of your home to remove your shutters can be a daunting task if you don’t have a tall enough ladder or the confidence to climb. If necessary, hire a handyman to remove your shutters. You can do the painting; you just need the handyman to remove the shutters.
Step 2
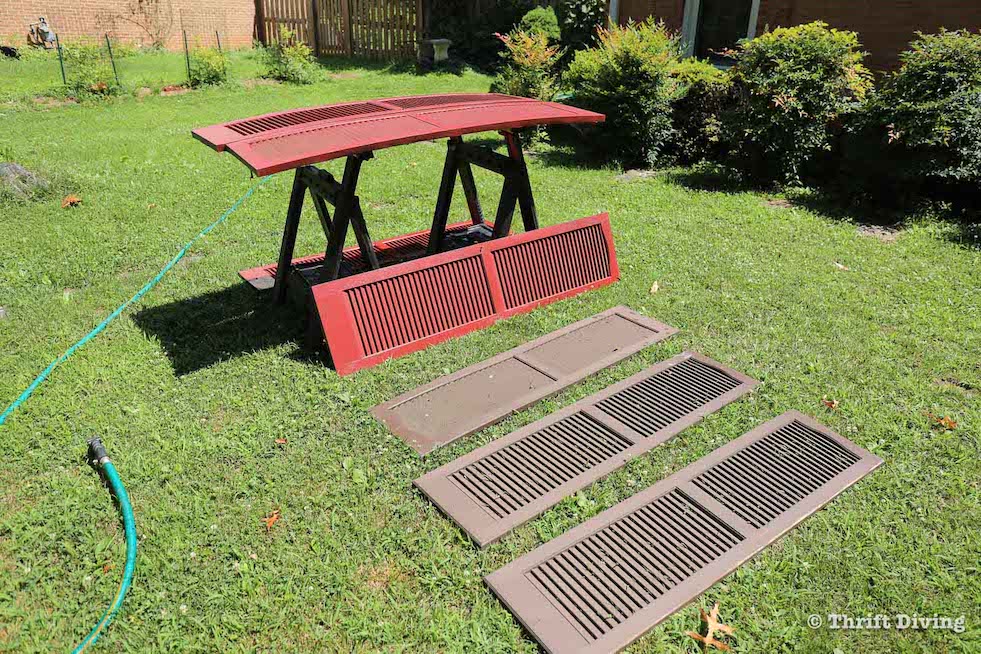
Clean Off the Shutters
Shutters are filthy because of the beating they take day in and day out. Wash off the shutters with a hose to remove cobwebs. Follow the spraying with a cleaner and degreaser or use a mixture of vinegar and water.
Step 3
Paint Your Shutters
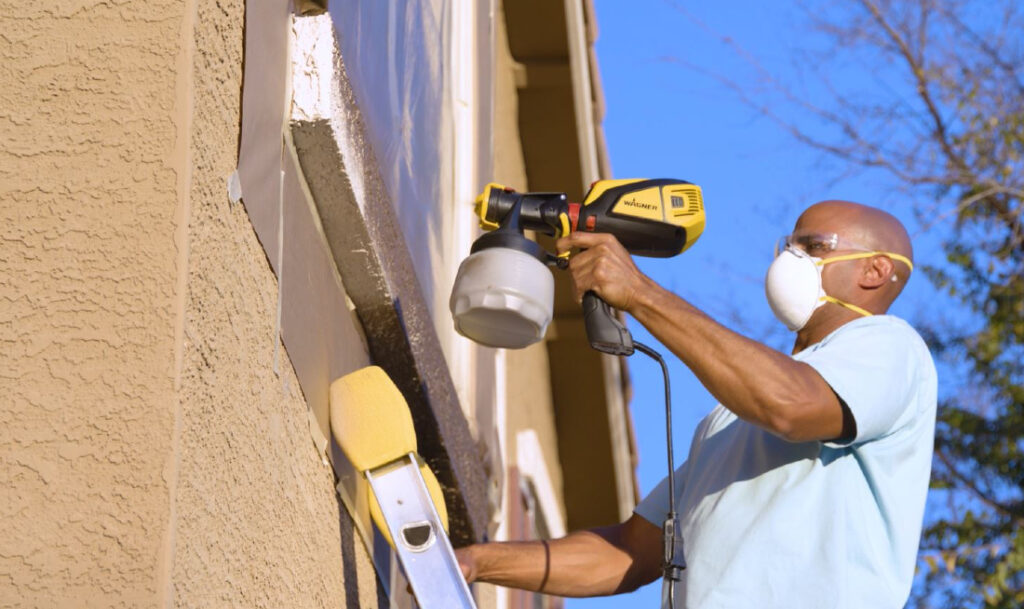
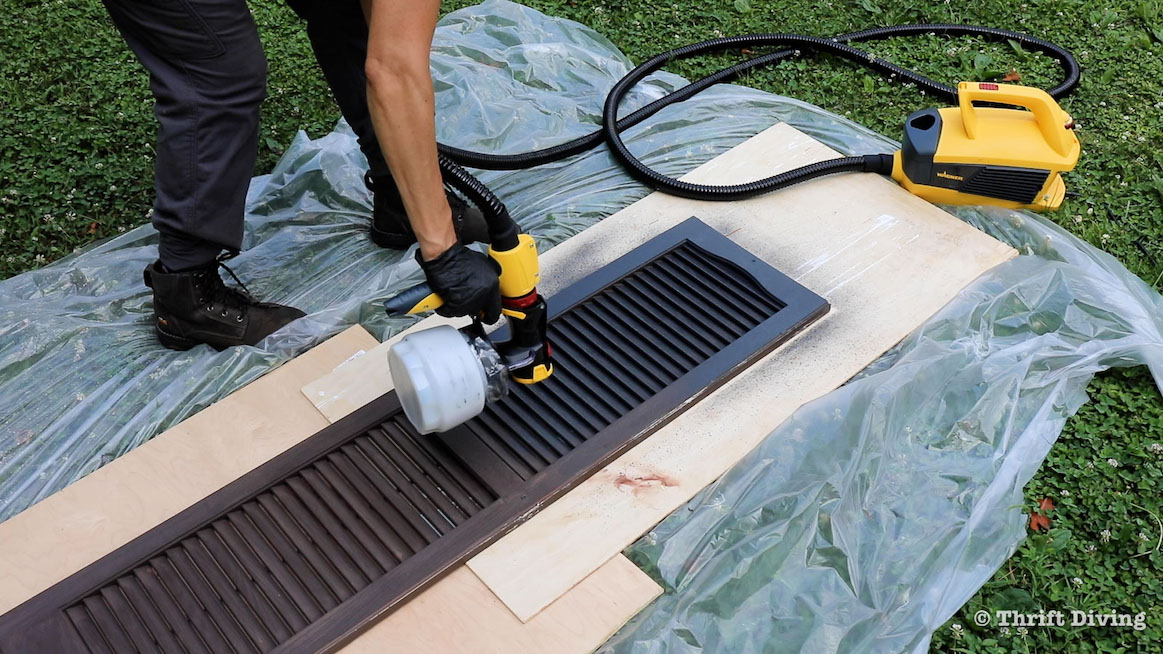
Let the shutters completely dry before painting. For this part of the project, the easiest way to paint your shutters is with a paint sprayer. I’m using the Wagner FLEXiO 4000 HVLP Paint Sprayer.
Painting shutters with louvered openings would be tortuous to do with a paint brush. When using a paint sprayer like the Wagner FLEXiO, you simply pour your quality exterior paint into the cup (you shouldn’t have to thin the paint), twist the handle into place, plug in the blower, pick your spray pattern (they even provide a large paper practice spray pattern sheet before you start spraying on your “real” project), then start painting!
Step 4

Add Multiple Coats
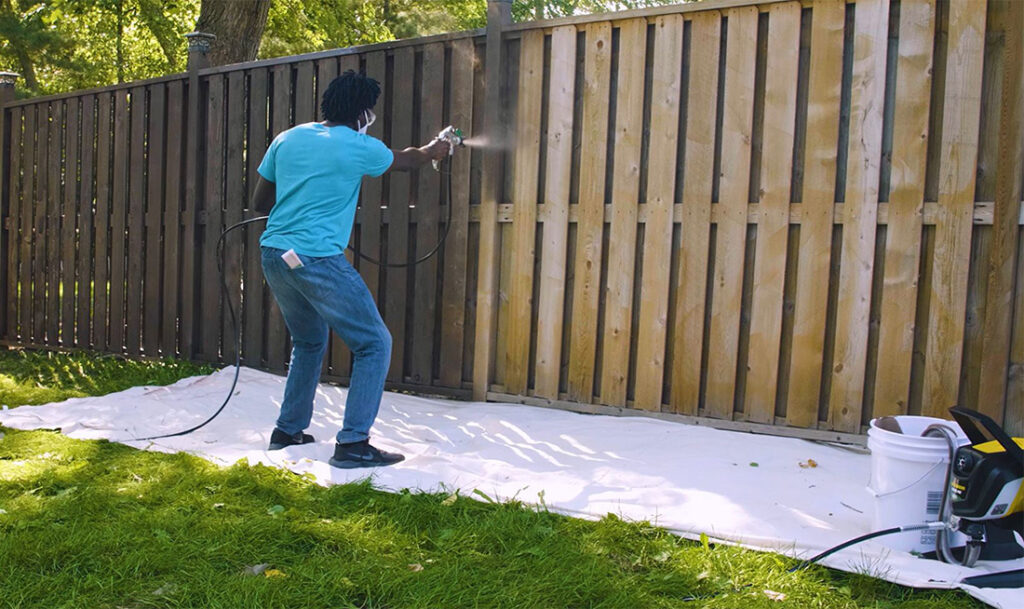
As you’re working, if you need to adjust the paint sprayer, there are a couple dials on the handle, such as the adjustable pattern width and the material flow control. On the blower, you’ll find the variable airflow control.
Add 1-2 coats of paint on your shutters. Because the FLEXiO applies paint well, you may only need one coat but add an extra coat for better coverage.
Step 5
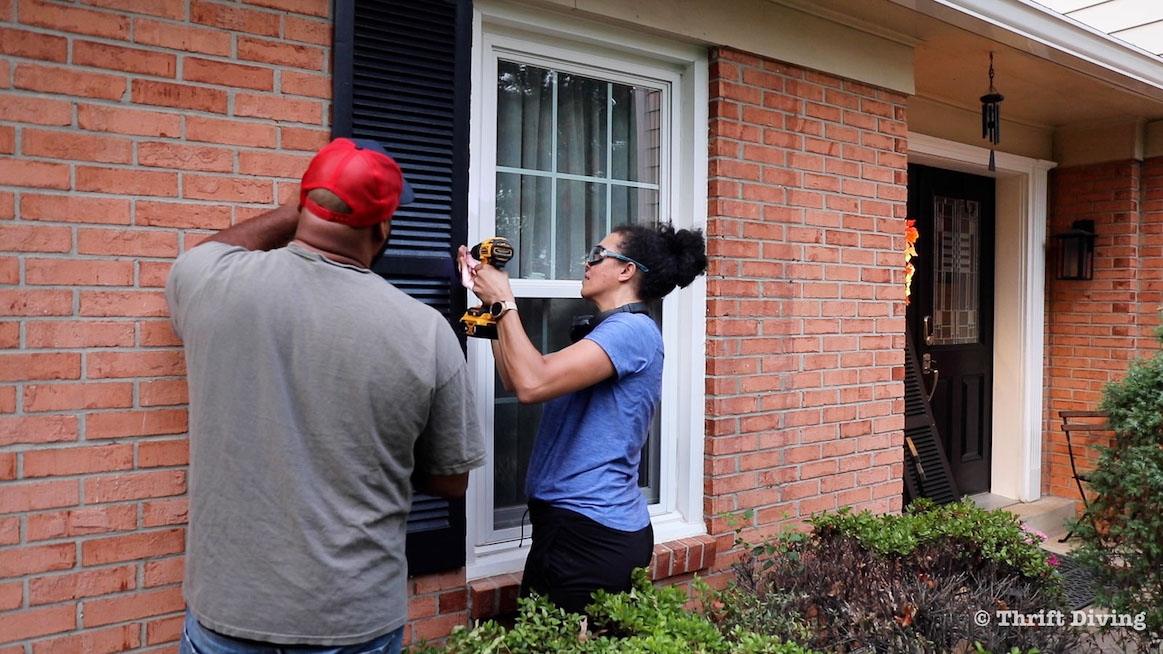
Reattach Your Shutters
Let the shutters completely dry before reattaching them to the house. Shutters attached to siding are easy to reattach with exterior screws. To attach shutters to brick, use a hammer drill and concrete screws if necessary.
Step 6
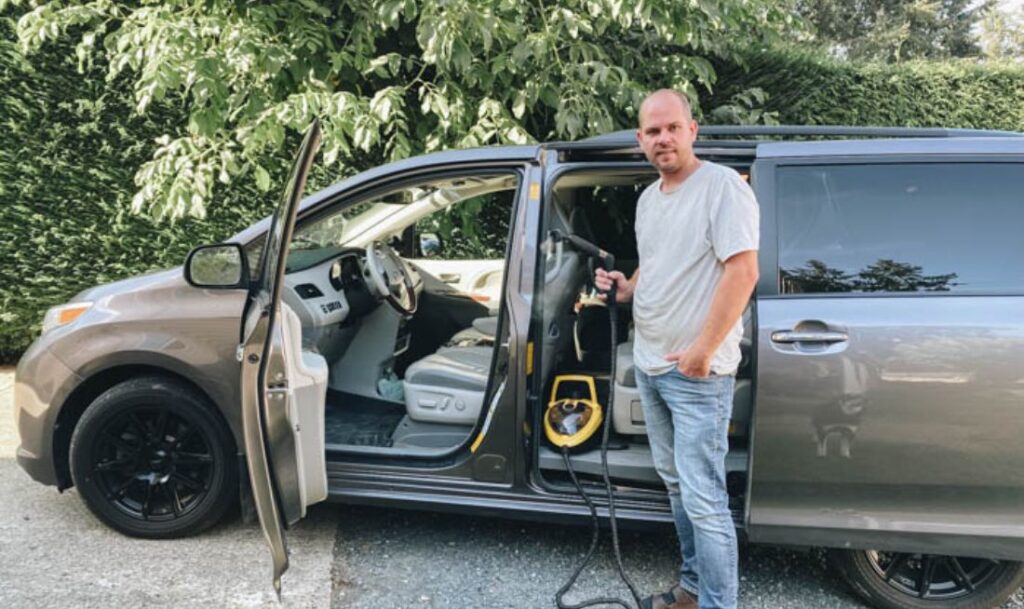
Thoroughly Clean the Garage Doors
Just like cleaning your shutters, you definitely need to clean your garage doors before painting them. You can use the cleaner and degreaser, but you can also use a mixture of vinegar and water.
To clean my garage doors, however, I used 30-Second Outdoor Cleaner. Mold and mildew gently remove the grime from your home and garage doors. Using a pressure washer on your siding is too intense and shouldn’t be used on siding. However, there are several brands of ready-to-spray cleaner that simply attaches to a garden hose and once sprayed on, can be easily hosed off.
Step 7
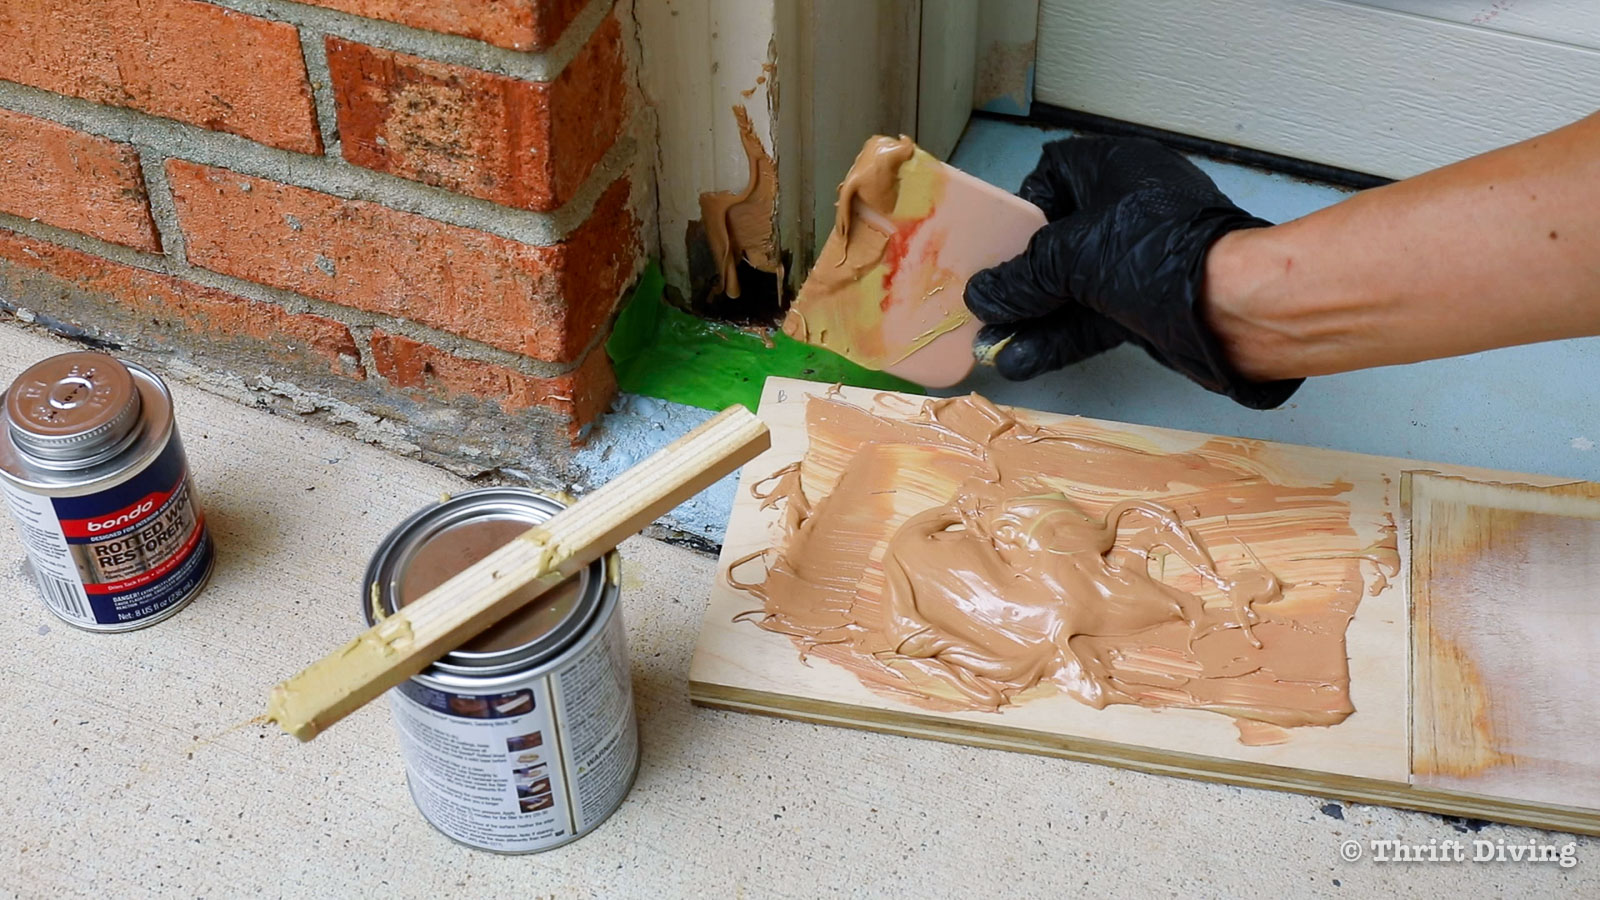
Fix Any Rotted Wood
Trim around doors and windows often gets rotted. Used a rotted wood restorer first, followed by the wood filler to patch the rotted wood.
Let the wood filler dry for 2 hours, then sand as smooth as possible. Put painter’s tape down underneath of the area you’re patching to prevent dripping the wood filler onto your concrete or flooring.
Step 8
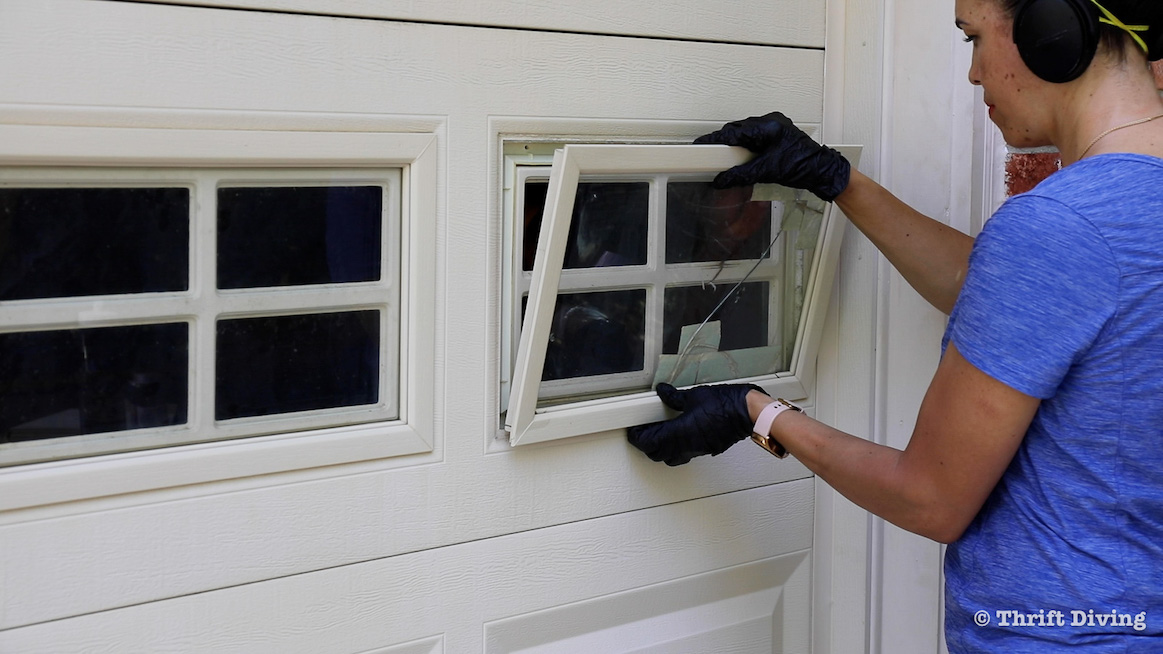
Tape Off to Prevent Overspray
Using painters’ plastic or masking paper with painter’s tape to tape off around the garage to prevent overspray. You’ll also need to remove any glass inserts in your garage doors. This step needs two people: one to hold the insert with glass, and the other to unscrew the insert from the inside.
Step 9

Download Project Steps & Shopping List
We’ll never share your email with anyone else