Overview
Looking for a fresh updated look in your backyard? Staining your wooden fence not only helps it look great and prevents it from silvering, it also protects against rot and other damage from the sun and rain. A stained and sealed fence will last longer (and look better longer), and it’s a simple project to tackle with a Wagner Control Stainer 350!

SURFACE PREP
Clean Before Spraying
Before stain spraying your fence, you’ll need to thoroughly clean it – and the easiest way to do this is with a pressure washer. This removes all dirt and debris from the fence and makes your stain job a lot more likely to last. Be sure to give your fence a solid 24-48 hours to fully dry before staining!
Step #1
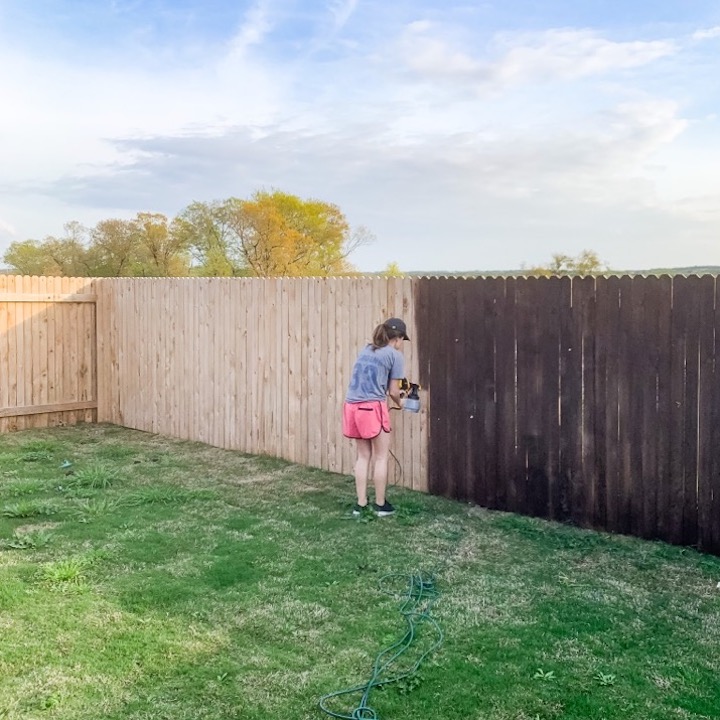
STAIN SPRAYING
I used Wagner’s Control Stainer 350 for this project. It’s meant to be used with stain and other thin materials, and has less overspray than other sprayers might with these super thin products.
Best practices for stain spraying:
- Move slowly and steadily.
- Keep the stain sprayer no more than 6-8 inches away from the fence at all times. The further away you get, the more likely you are to have overspray!
- Do not bend your wrist as you work – keep the stain sprayer parallel to the fence. This helps ensure as much material as possible actually makes it onto the fence.
Step #2

SPRAYING VS ROLLING
Plan Ahead With Your Neighbor
If you are able to talk with your neighbors and set up a barrier on their side of the fence, you can stain all of the fence with no issue. However, I wasn’t able to set that up with my neighbors so I simply used my sprayer all the way up until I reached their house, then I stopped and switched to a roller and paintbrush.
I took this extra precaution because our houses are pretty close together – but if your houses are more spread out, you might be fine! I found that there was no issue with spraying on the neighbors side as long as there wasn’t anything near the fence – the tiny particles of stain won’t damage (or even be visible on) their grass. The only thing you really need to worry about is if you’re near a house that the overspray could hit.
Step #3
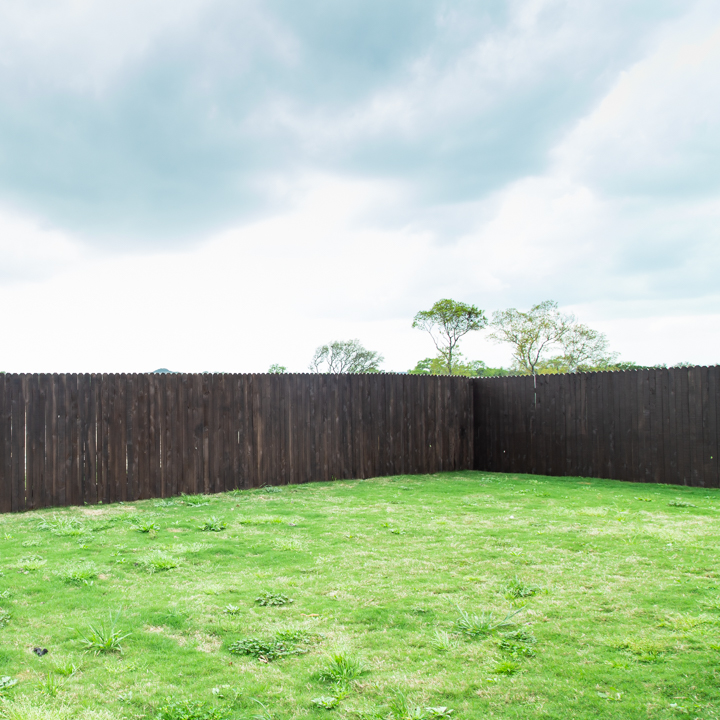
SAVE TIME USING A STAIN SPRAYER OVER A BRUSH
Stain Spraying Saves Time
It took about three hours to stain spray two-thirds of the wood fence that isn’t near a house. But it took another SIX HOURS to stain the last third! Needless to say, stain spraying the fence saved a lot of time versus using a brush.
Step #4
SEALER
Remember Sealer
If you don’t purchase a stain + sealer in one, you’ll also need to seal the fence afterwards – but I recommend a one-step product to make the job go faster!
Protect Your Investment
Staining your fence isn’t a small project, but it’s totally worth the effort! Fences are a big investment, so make sure you take care of it and do what you can to prolong its life. I promise, with your Wagner sprayer in hand, it’s a lot less intimidating than you’d think!
This sponsored post was created by Love and Renovations. Head to the blog for the full post and details
Step #5

Download Project Steps & Shopping List
We’ll never share your email with anyone else