Overview
We’re going to paint a big room today… 15 x 17 in a matter of a few hours. In fact, we’re painting my Mom’s living room with 2 coats of paint and the entire process took about 5 hours (including a lunch break!). The best part? The ugly gold paint that has been in this room since Mom bought the house 10 years ago is finally gone! And the Sea Salt paint color Mom picked is absolutely beautiful.
But in order to get from ugly gold to beautiful sea salt we’ll need to prep Mom’s living room and paint it from top to bottom. So I’m going to walk you through all the steps: from moving the furniture out of the way, taping the molding, cutting in the edges and painting the walls with my new PaintStick EZ Roller. My secret weapon to painting quickly and easily (without the mess). Ready to get started?
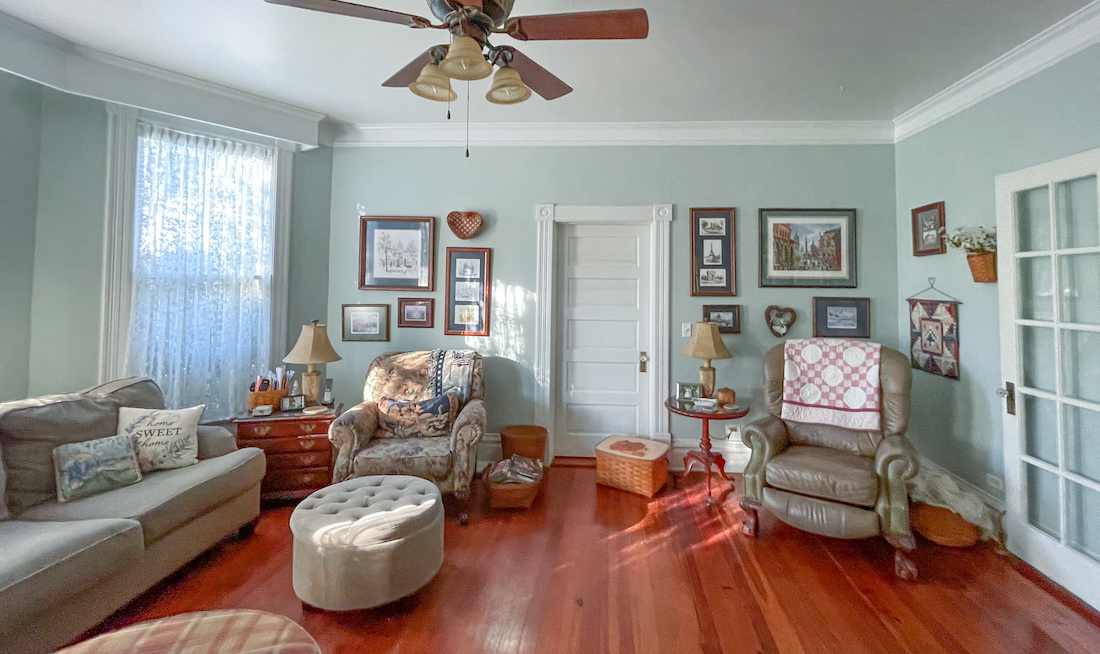
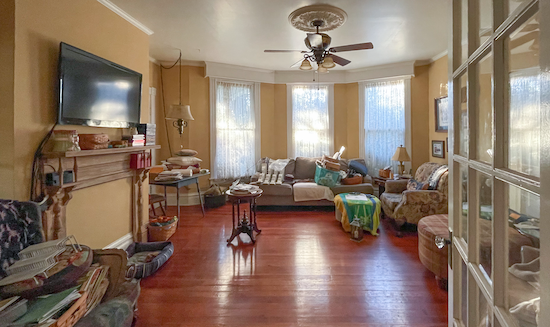
Before
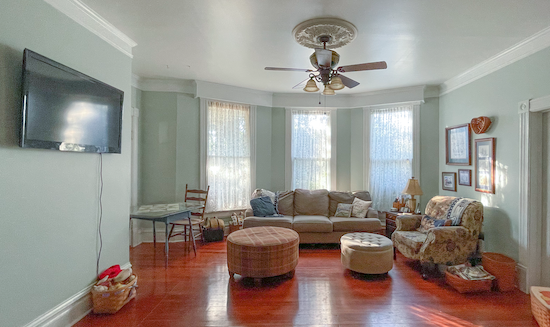
After
Instructions
Prep the Space
Before we get started with the painting we need to spend a few minutes prepping the room. That means moving any furniture out of the way, wiping down the walls to remove any dust and dirt and taping off the molding.
If you’re a really excellent painter you may skip taping the trim but for most of us painters tape is our friend.
Then fill any holes with putty and sand any rough spots and we’re good to go.
1
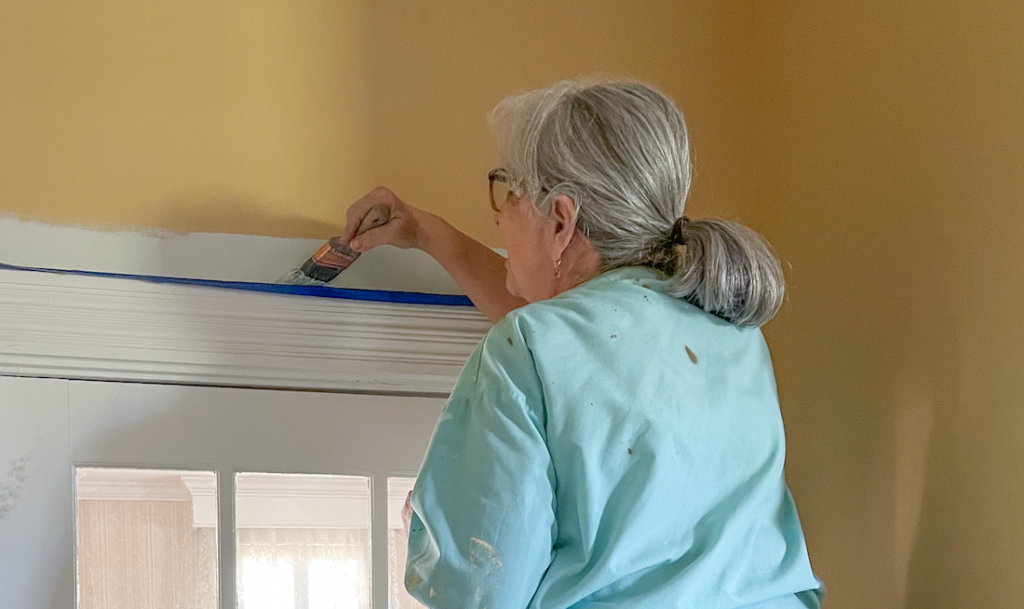
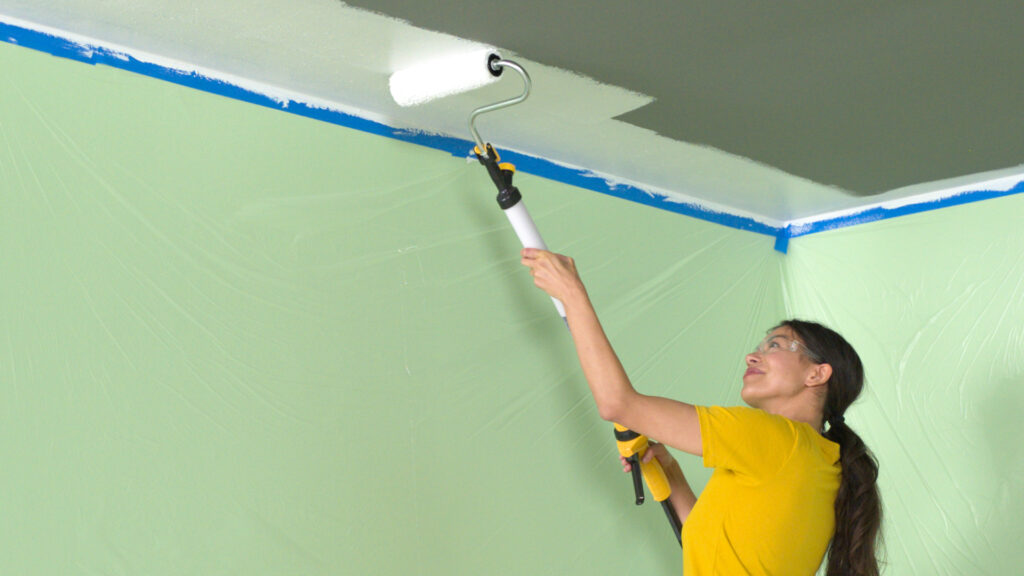
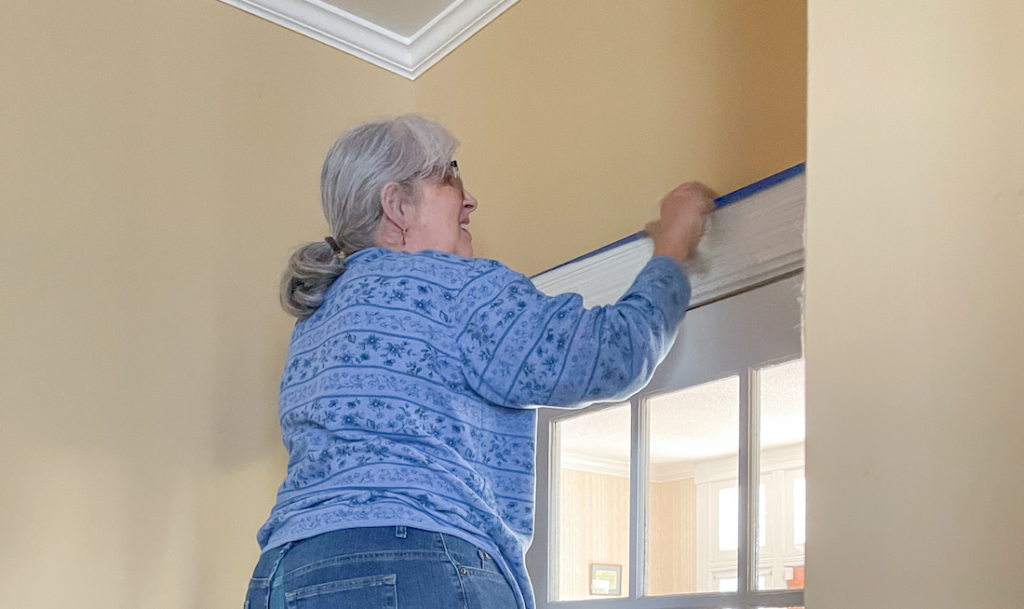
Cut in the Trim
Ready for the paint? Let’s get started by grabbing a brush and cutting in the edges of the room. Basically we’re going to paint (as straight as possible) right next to the trim (baseboards and crown molding) or ceiling.
Make sure that you’re painting a 3-4 inch strip next to your trim so that we can roll right into this cut line for a flawless (brush stroke free) finish. The EZ Roller we’re using leaves a silky smooth finish on the wall so we don’t want to switch from silky smooth to brush stroke city. A wide cut line lets us feather the edges for a smooth transition.
2
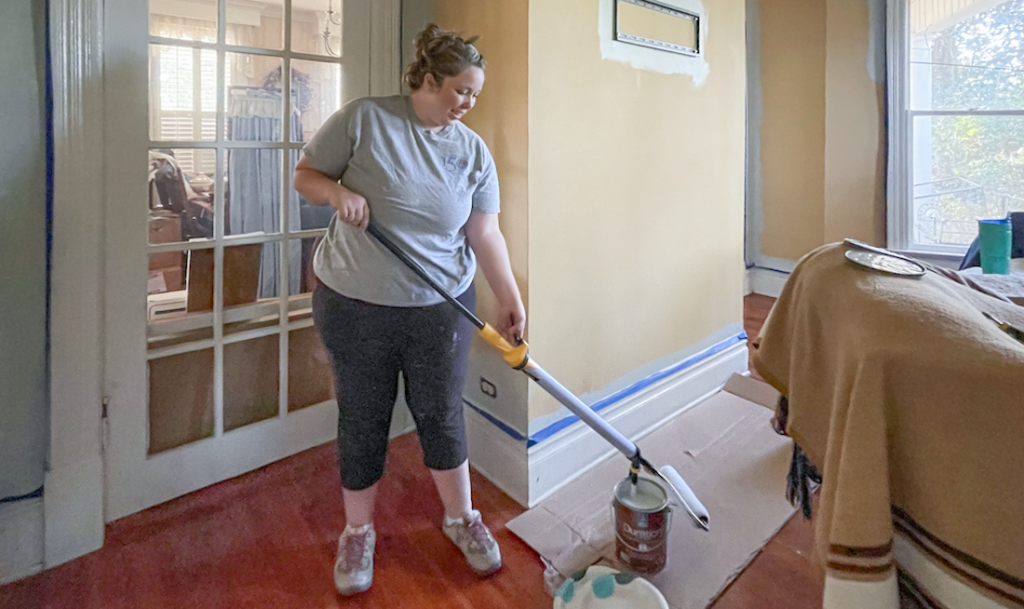
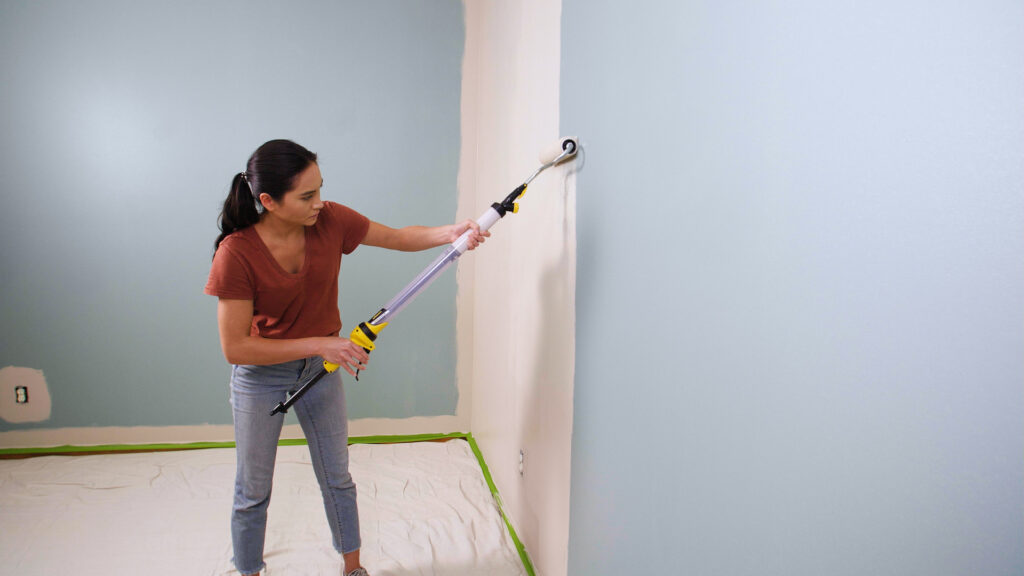
Set up Your PaintStick EZ Roller
Ready for the fun part? This little EZ Roller Paint Stick paints a 8×10 wall without needing a refill and it’s twice as fast as a standard roller. PLUS you don’t need a paint tray so say goodbye mess and hello to saving time.My two favorite things!To use this little paint stick you’ll insert the paint straw directly into your can of paint and make sure it clips under the edge. Then you’ll place the nozzle directly over the end of the paint straw (make sure there’s a tight seal!) now pull the plunger to fill the handle with paint.Now you’re ready to roll!
3

Download Project Steps & Shopping List
We’ll never share your email with anyone else