Overview
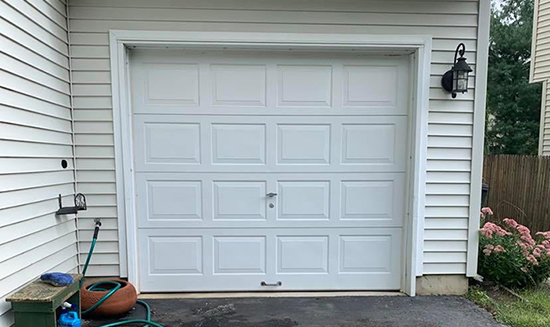
You might be surprised at how easy it is to take a boring garage door from drab to fab! After years of looking at my plain garage door I decided to give it a makeover. It really didn’t take much effort and the results are surprisingly impactful! I wanted to give the illusion of the carriage style garage doors with windows and decorative hinges, but I didn’t want to spend the money to actually replace the door. Fortunately, painting faux garage door windows is a very easy and inexpensive way to get the look!
Before
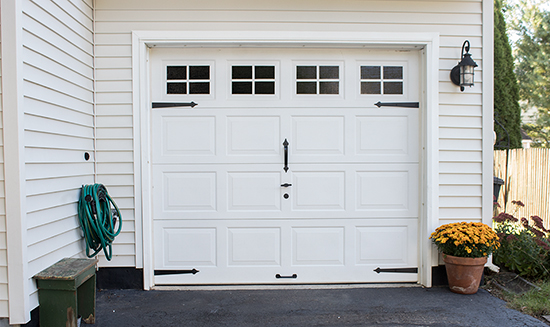
After
Stencil Faux Windows
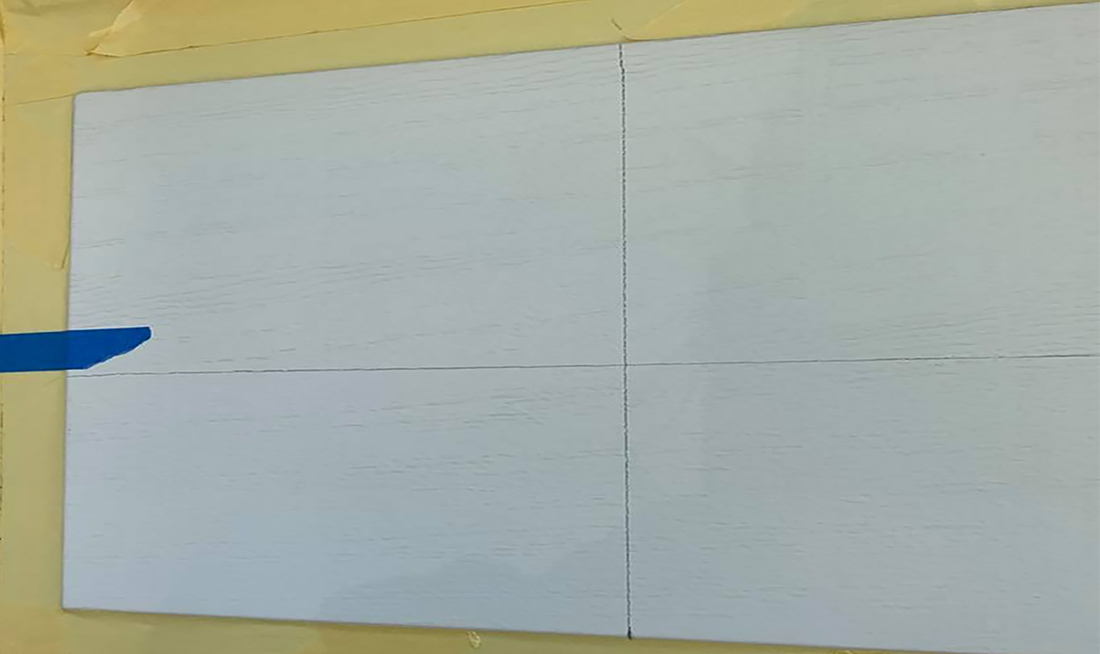
Create the Faux Window Frames
- I began this garage door project by using the top row of squares on the door, and I taped around the border of each square first.
- Next, I measured the centers of each square both horizontally and vertically. I used a level to draw pencil lines across each way.
Step 1
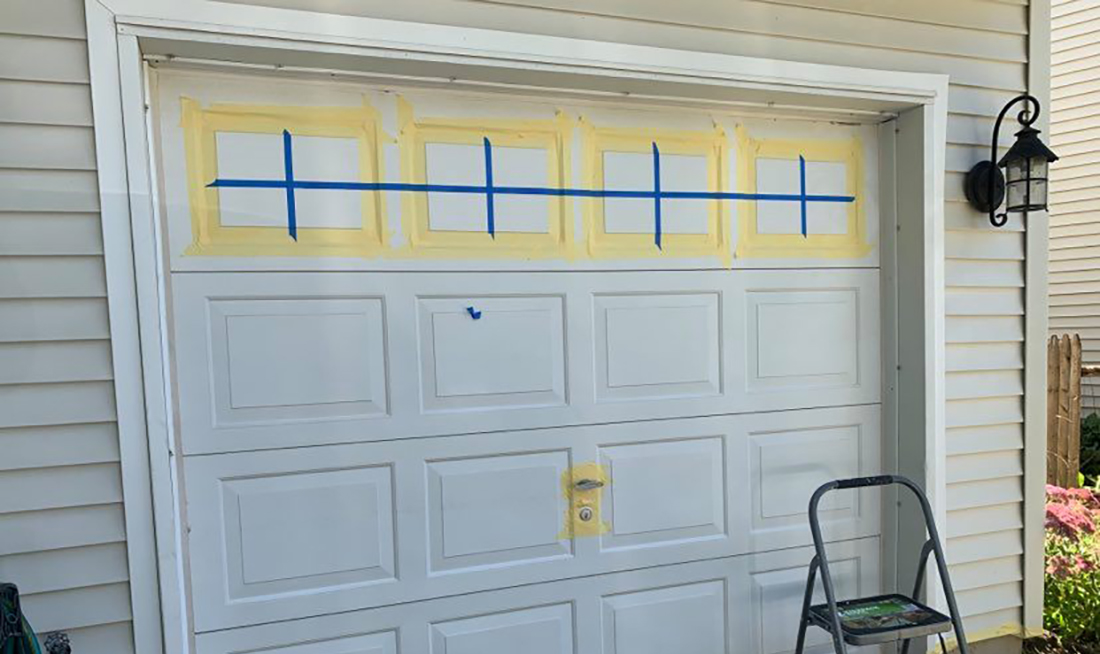
Tape and Mask
Use Tape for Window Frames
- I used skinny painter’s tape over each of the pencil lines to create the window frames
- Press down on the painter’s tape firmly to ensure good adhesion and to prevent any bleed through.
Step 2
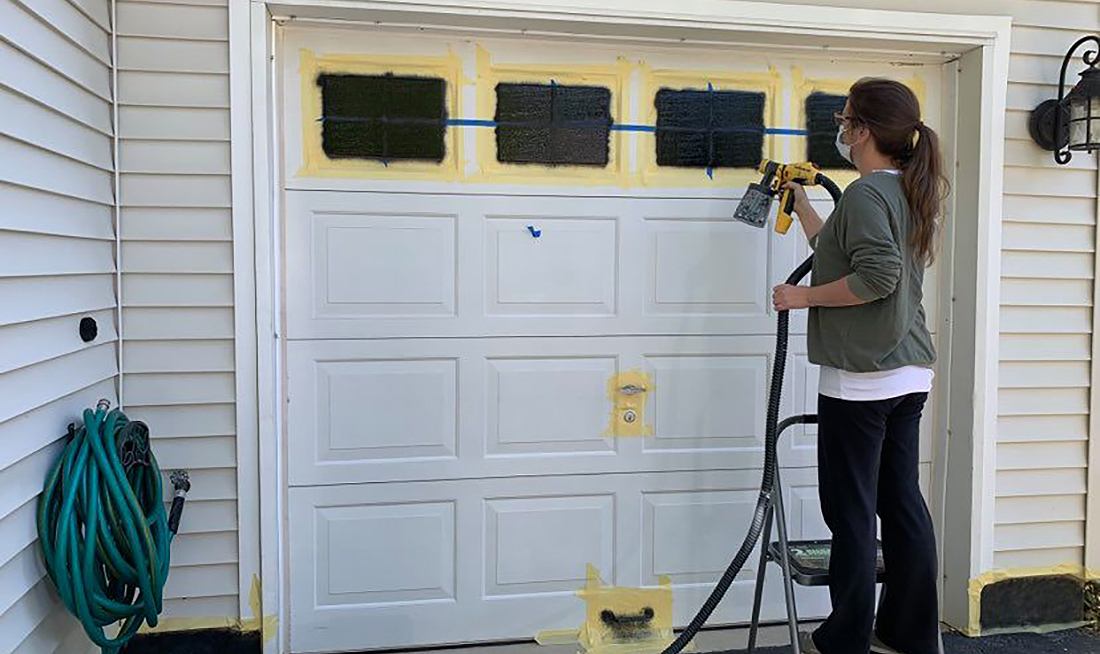
Paint the Garage Door
Black Paint for Windows
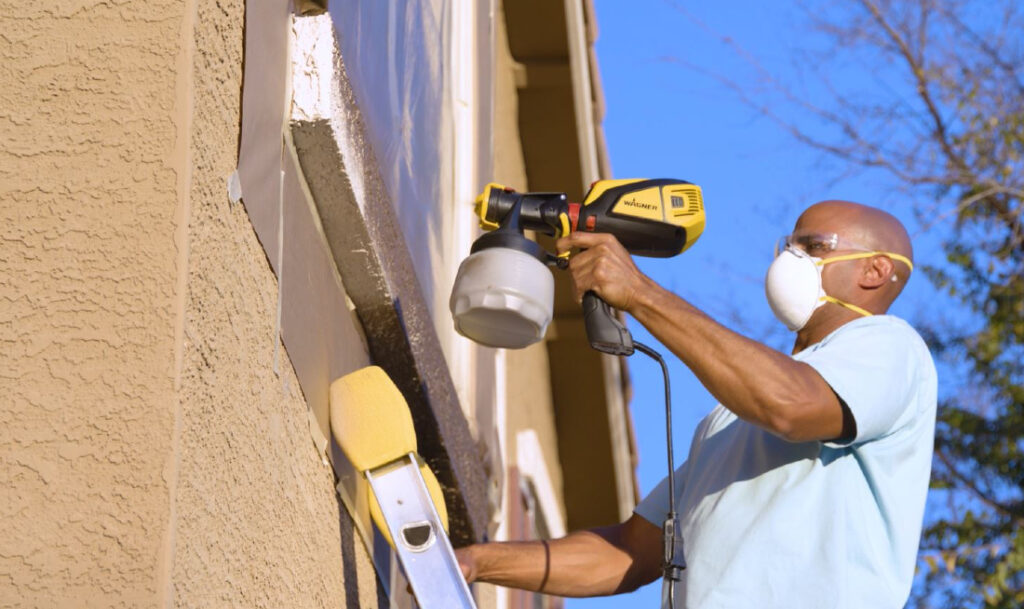
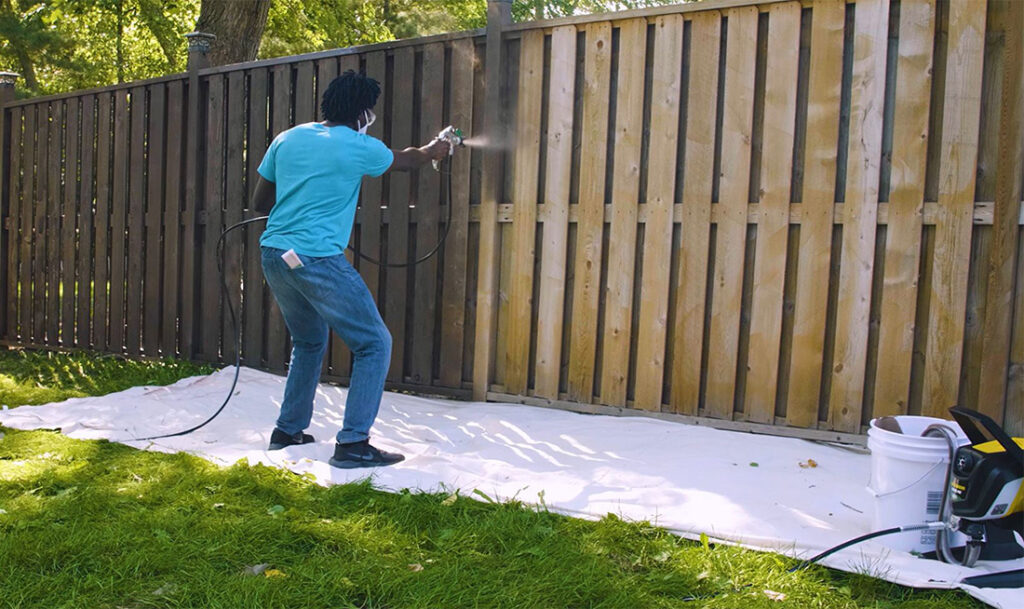
- Once I had everything taped off, I set up my FLEXiO 5000 paint spray gun. I’ve used my paint sprayer before on stencils and it always gives me a nice, crisp line.
- I used an exterior paint that prevents rust in a shiny finish. The high shine finish will help.
Step 3
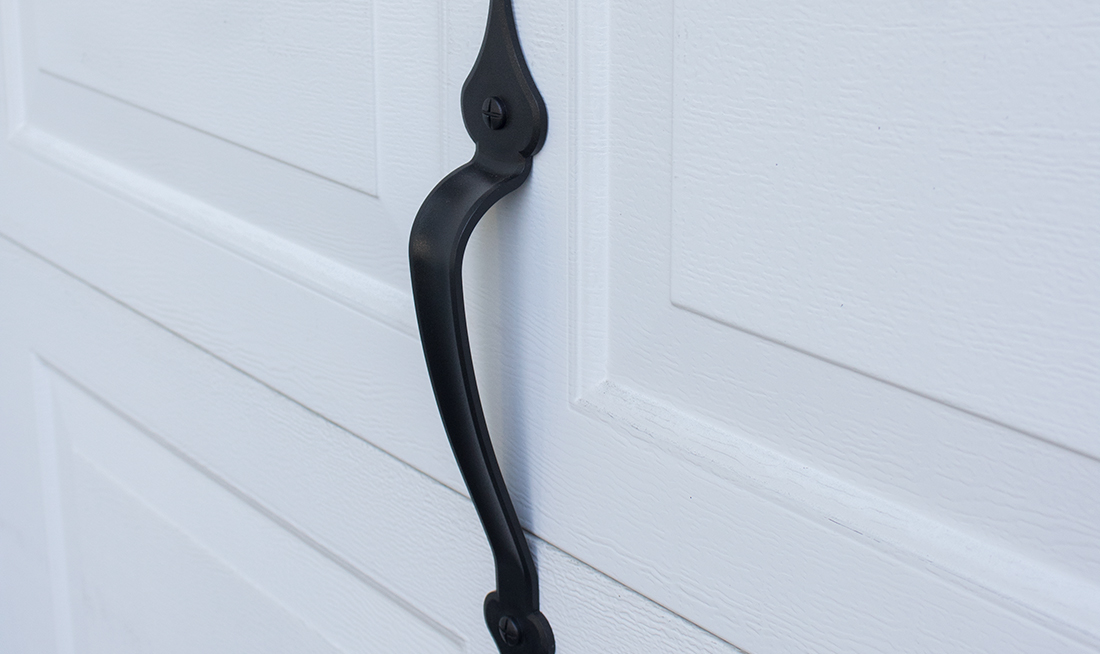
Add Hardware
Let the Paint Dry & Add Hardware
- Once the “windows” are painted, allow it to fully dry before removing the painter’s tape.
- As the paint is drying, add decorative hardware to complete the transformation.
- I found this set of hinges and handles that are actually magnetic. They stick right to your metal garage doors with no tools needed!
Step 4

Enjoy the New Garage
- This simple makeover could not have been easier and the before and after is like night and day! All for under $40!
- This sponsored post was created by The Honeycomb Home. Head to the blog for the full post and details.
Step 5

Download Project Steps & Shopping List
We’ll never share your email with anyone else