Overview
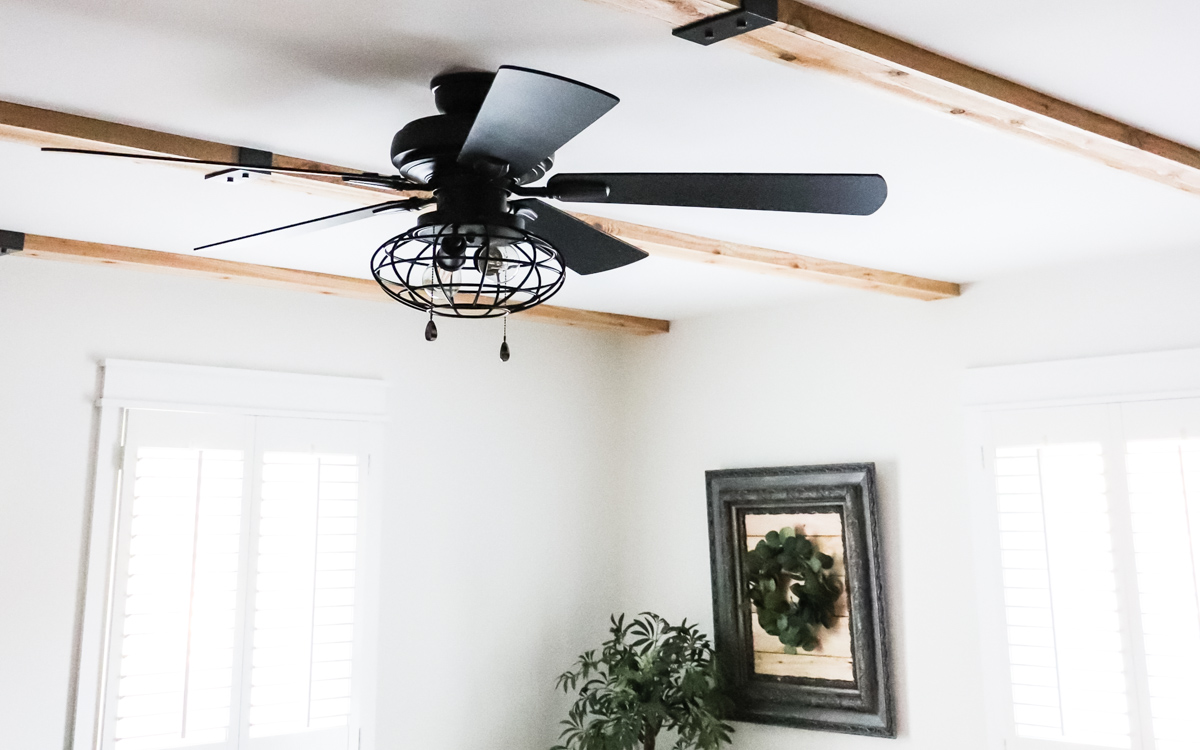
For anyone who hates living with their popcorn ceilings – these tips can save you time and headache! Have you moved into a fixer and are haunted by your ugly popcorn ceilings every night when you stare at them from your bed? I needed to come up with a way to fix the ceilings that would be quick, easy, and virtually mess free. Here are some tricks to removing popcorn ceilings in one day and end up with a gorgeous, smooth ceiling.
Shop Vac Scraper
Safety First
Before you begin tackling this project, it’s important to remember that some popcorn ceilings may contain asbestos. If your home was built prior to the 80s, get yourself a testing kit. Also, make sure to wear goggles and a breathing mask. Since you are working on your ceiling, you will have some popcorn fall and possibly drop on you.
DIY Shop Vac Scraper
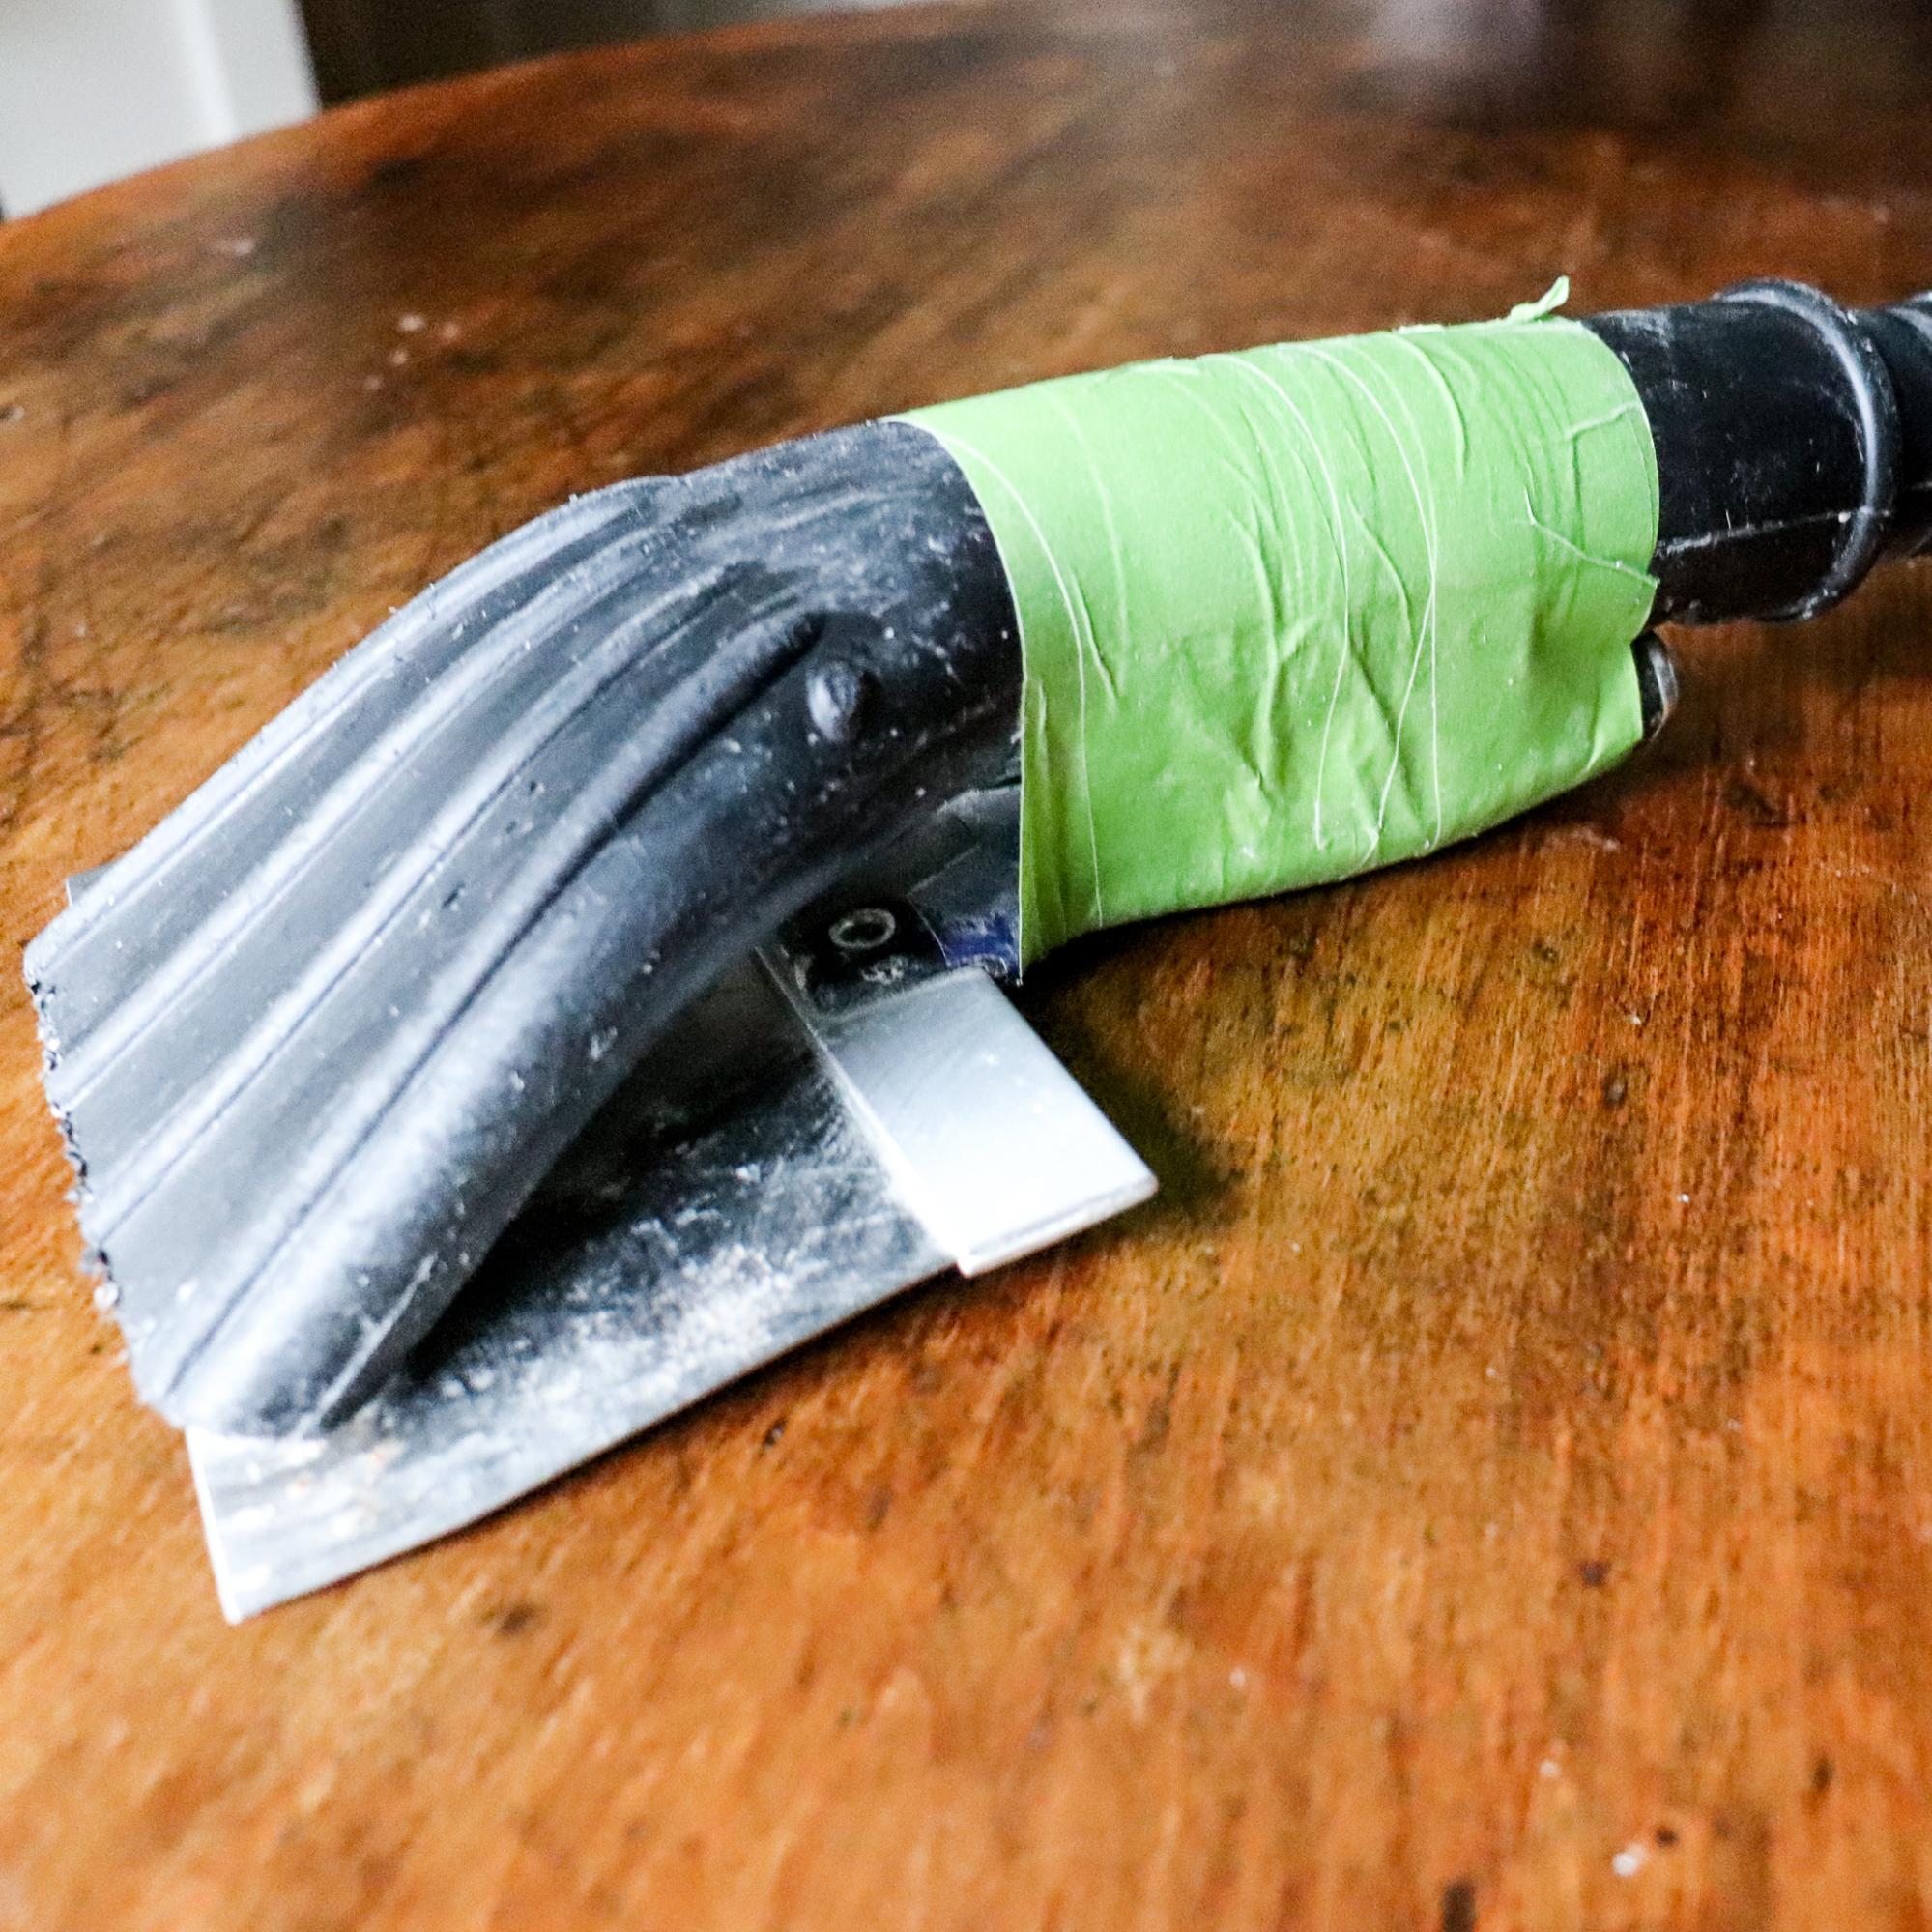
One trick to removing popcorn ceilings is having the right tool for the job. Meet my modified shop vac scraper. I took this simple drywall spackle knife and taped it to my shop vac attachment. When you scrape your ceiling, all the popcorn is sucked away into the shop vac, leaving you with hardly any mess.
Another trick is to use our 3 step process that we did on repeat until the popcorn was gone!
Step 1
Spray With Water
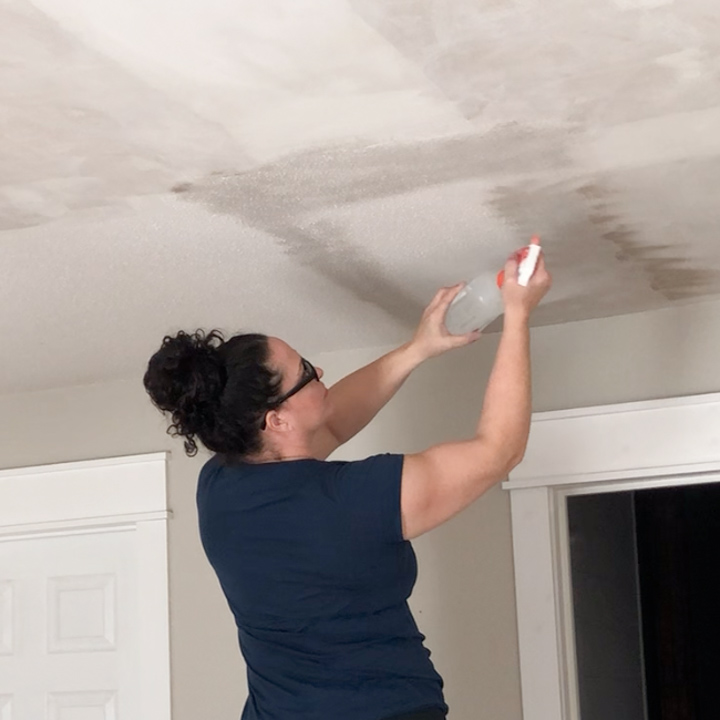
Soften the Popcorn Texture First
Using your spray bottle filled with warm water, spray an area and let the water soak the popcorn for a moment. By lightly wetting the popcorn, it reduces the powdery mess and also makes the scraping process easier.
Step 2
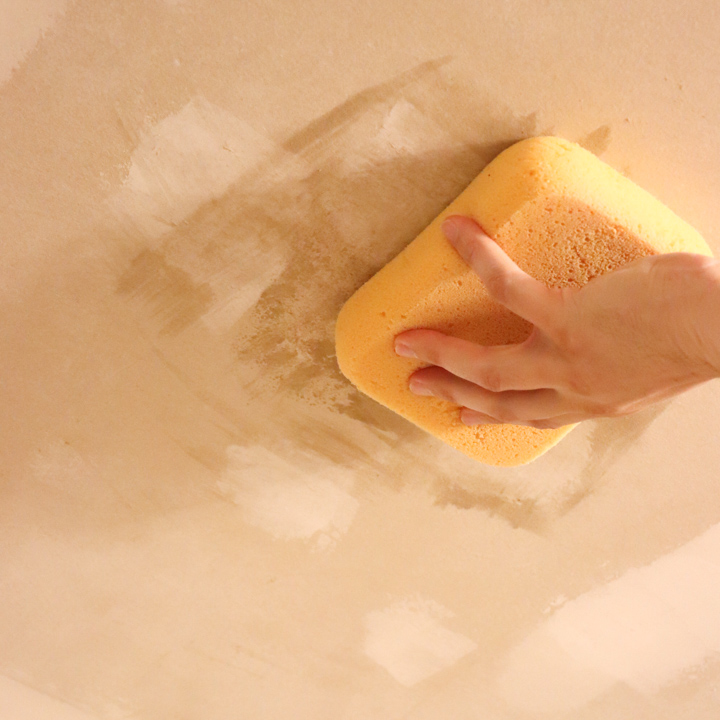
Sponge sand
Remember to Multi-Task
While the popcorn is softening with the warm water, this is a great time to take a large sponge, lightly dampened, and sponge sand, wiping over the areas you just scraped. Damp sponge sanding helps smooth the ceiling and give you a visual of what areas you may need to scrape again, or need to repair.
Step 3
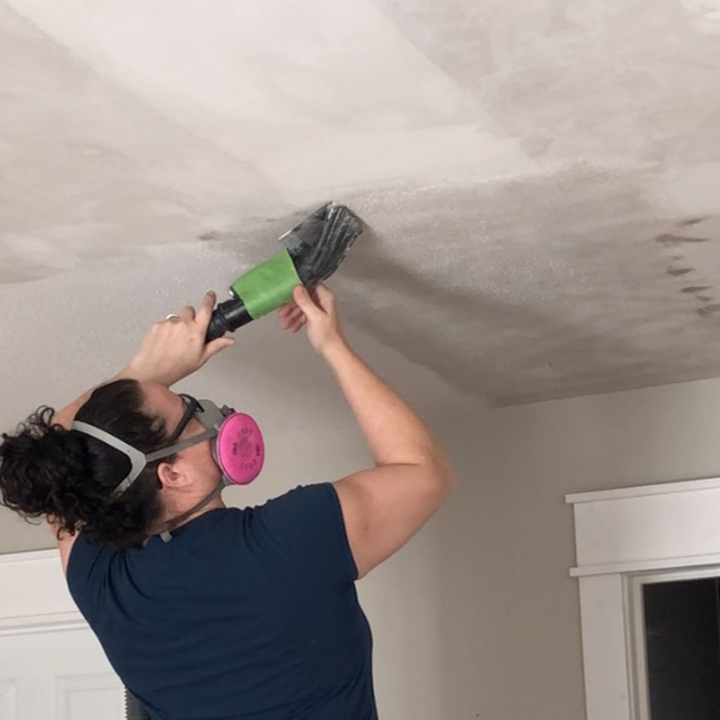
Scrape the Popcorn Ceiling
Use Your Shop Vac Scraper
Turn on your shop vac and lightly scrape the ceiling removing the popcorn using your modified vacuum attachment.
Step 4

Repeat
Repeat Steps 2, 3 & 4
Simply repeat this Spray, Sponge, Scrape routine until your entire ceiling is popcorn free.
Repair Imperfections
Now you are ready to move on to fixing any nicks and marks in your ceiling to create that smooth finish. Once the compound is fully dry, now you are ready to paint.
Which brings me to another secret trick to removing popcorn ceilings!
Step 5
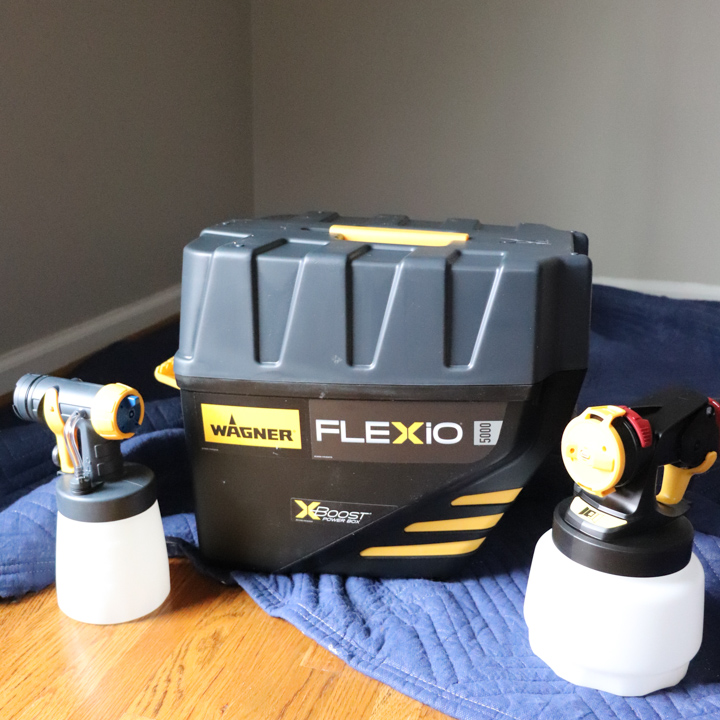
Use a Paint Sprayer
Get a Smooth & Professional Looking Finish
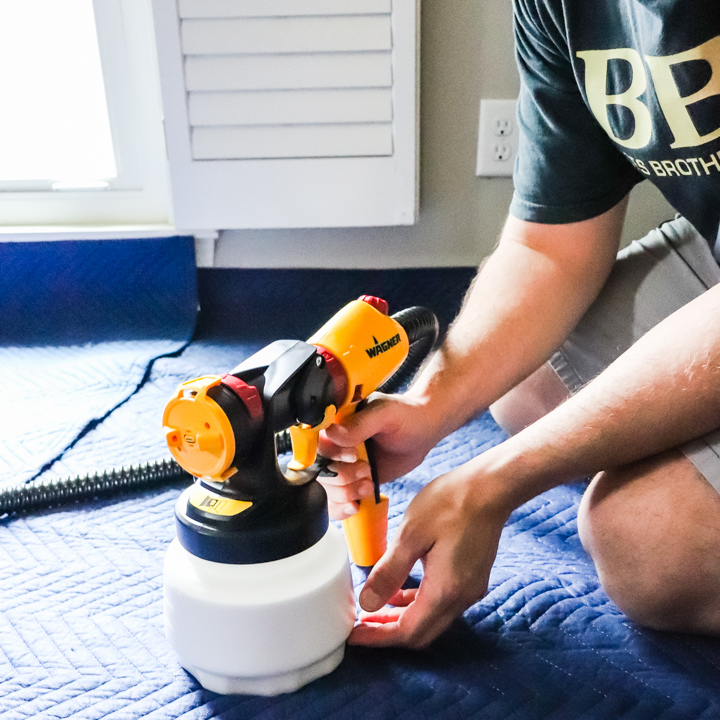
The FLEXiO 5000 HVLP Paint Sprayer made by Wagner SprayTech. Having this tool as a secret weapon became a game changer for me.
Step 6
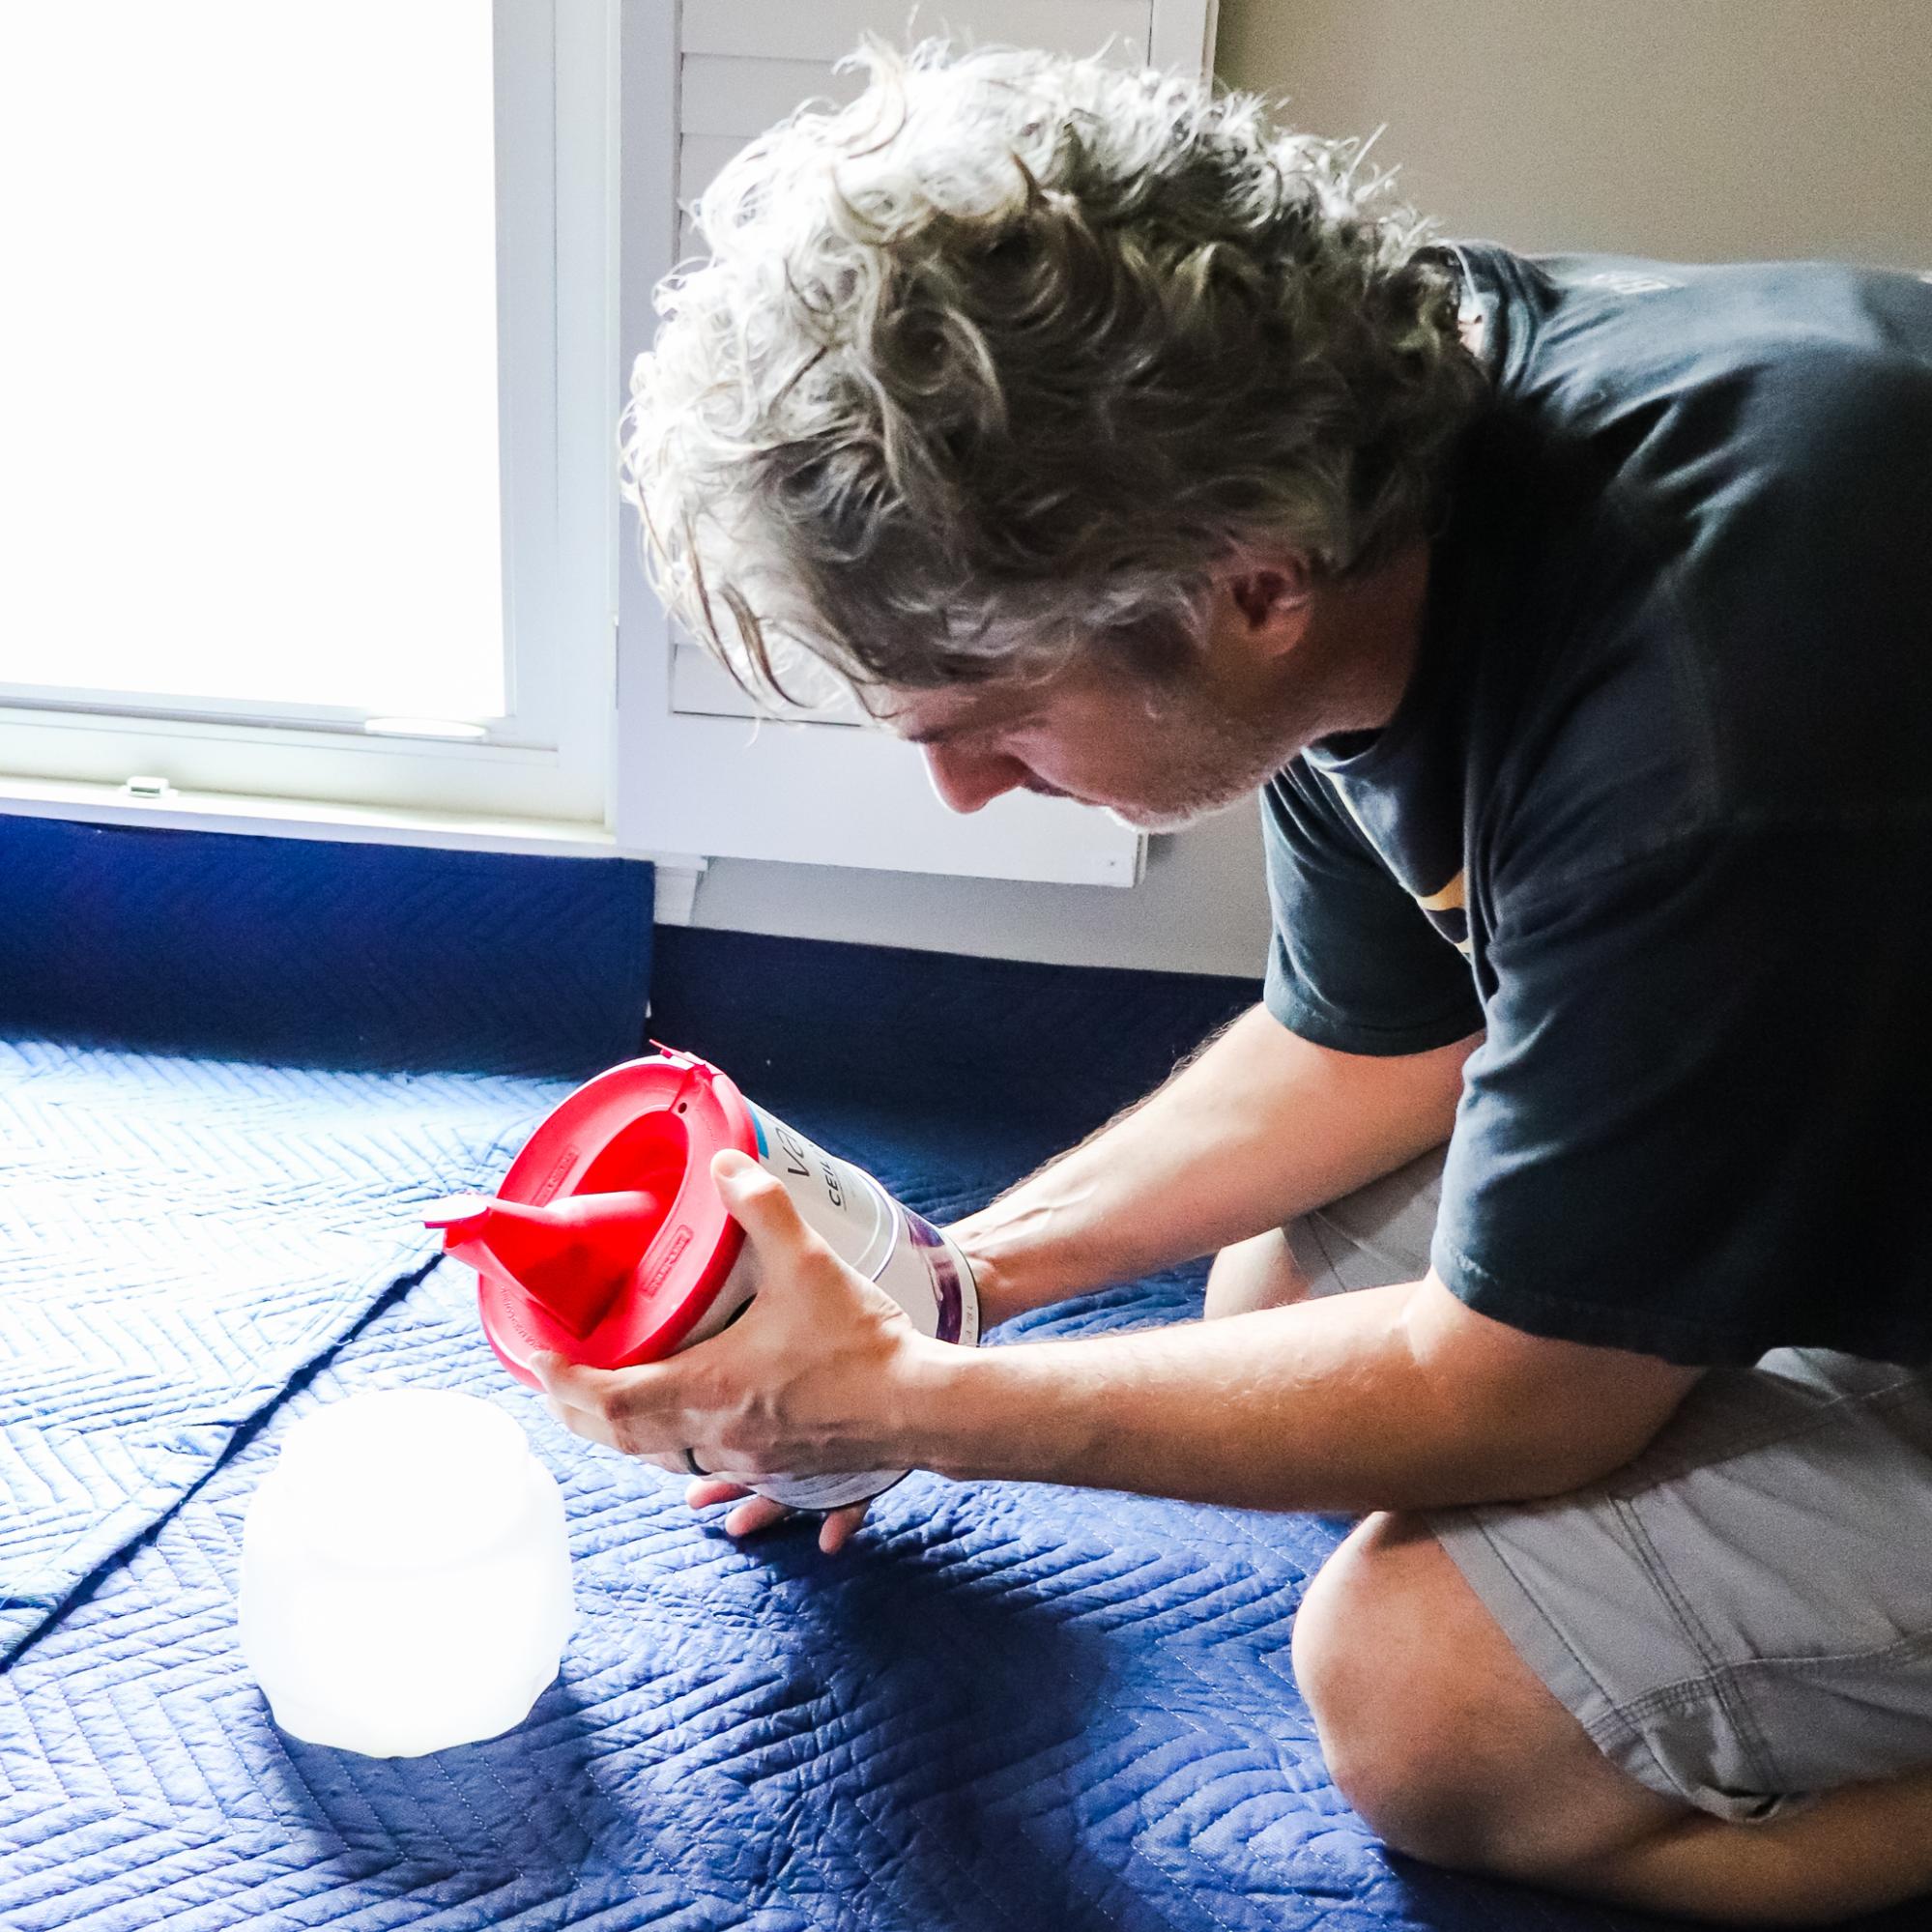
Two nozzle options
Use the Correct Spray Nozzle
The sprayer comes with 2 different nozzles. The larger, iSpray nozzle is ideal for broad surfaces like walls and ceilings and the Detail Finish nozzle is ideal for fine finishing on cabinets and furniture.
Step 7
Quick and easy
You can even use stains in the smaller Detail Finish nozzle!
Since this is the 6th ceiling I have scraped in our fixer-upper, having the FLEXiO 5000 Sprayer made the entire process quick and easy.
Step 8
Comfortable
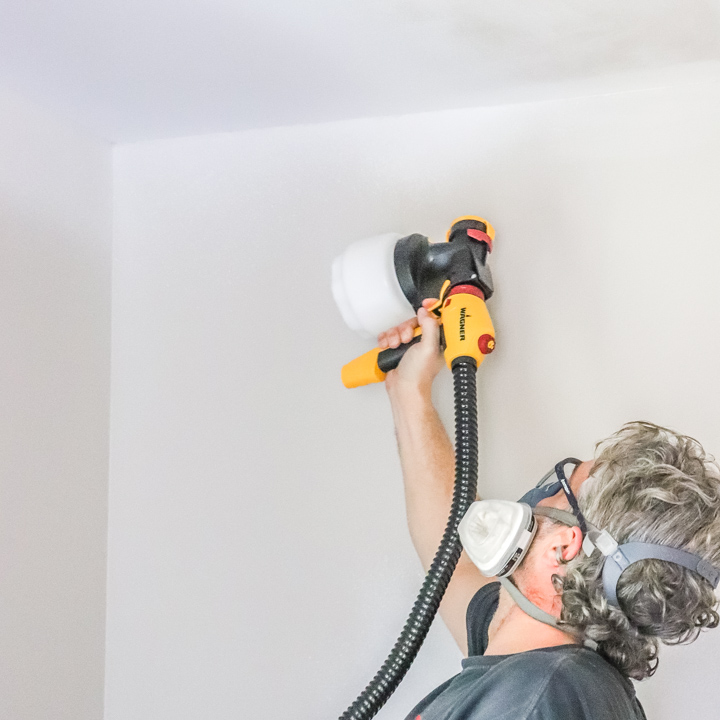
The soft-grip handle is also very comfortable and never felt heavy in our hands even after using it for long periods of time.
Step 9
Download Project Steps & Shopping List
We’ll never share your email with anyone else