Overview
Learn how to build a DIY planter box using a paint sprayer from Wagner to achieve a super smooth finish on the wood and keep it looking great all summer.
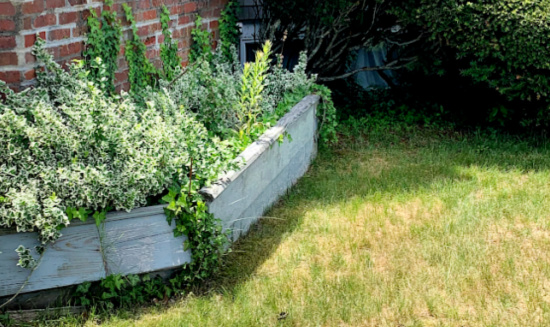
Start with a Vision
This is the before. This is where we started. This is the original planter that we built years ago at my mother’s beach house. It had lasted for years. But it was time. Time for a change. So a couple of weeks ago when we were at the beach house we built a new planter.
Step #1

Imagine What’s Possible
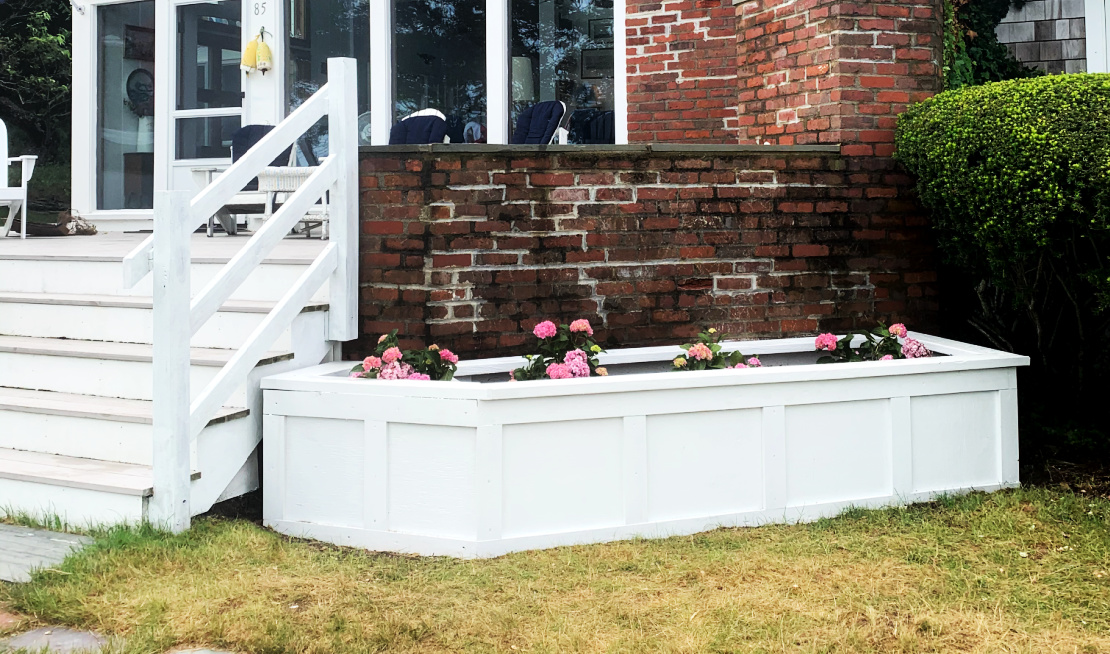
And now? Here’s the after. Here’s how we took the planter from before to after.
Step #2
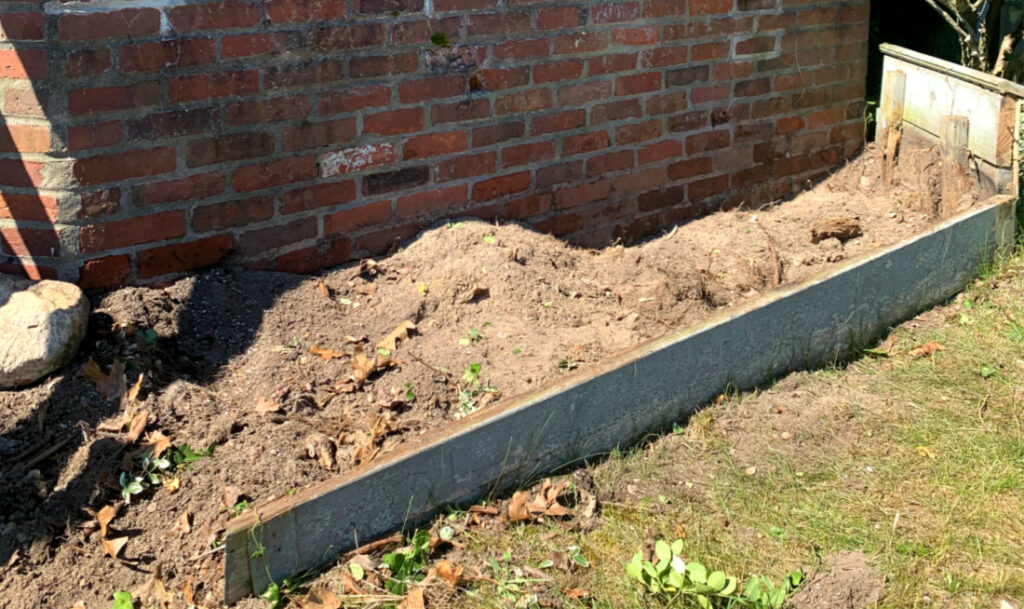
Rip out the old planter
We started the process by ripping out the old planter. Most of the plants in the planter were replanted in other beds. The original planter had a false bottom and dirt had collected under there. We removed the old wood and the piles of dirt and leveled the ground to have a good foundation for the new planter.
Step #3
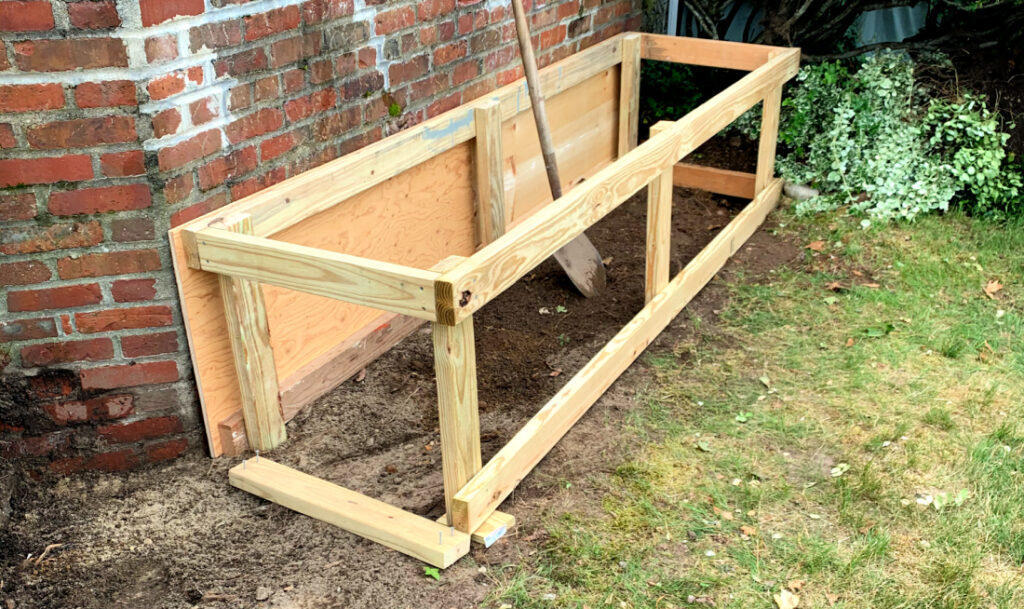
Build a Frame
We constructed the frame for the box. The frame measures: 8′ long X 24″ high X 20″ deep. The box was constructed in two parts. We started with this frame for the box and added an addition to the side of the box that was constructed later.
Step #4
Add addition to the side of the box
The next step was to complete the rest of the planter to wrap around the base of the porch. The size of the addition was as follows: 4′ long X 24″ high X 20″ deep. We built a frame and added plywood to the back, front and three of the sides.
Step #5

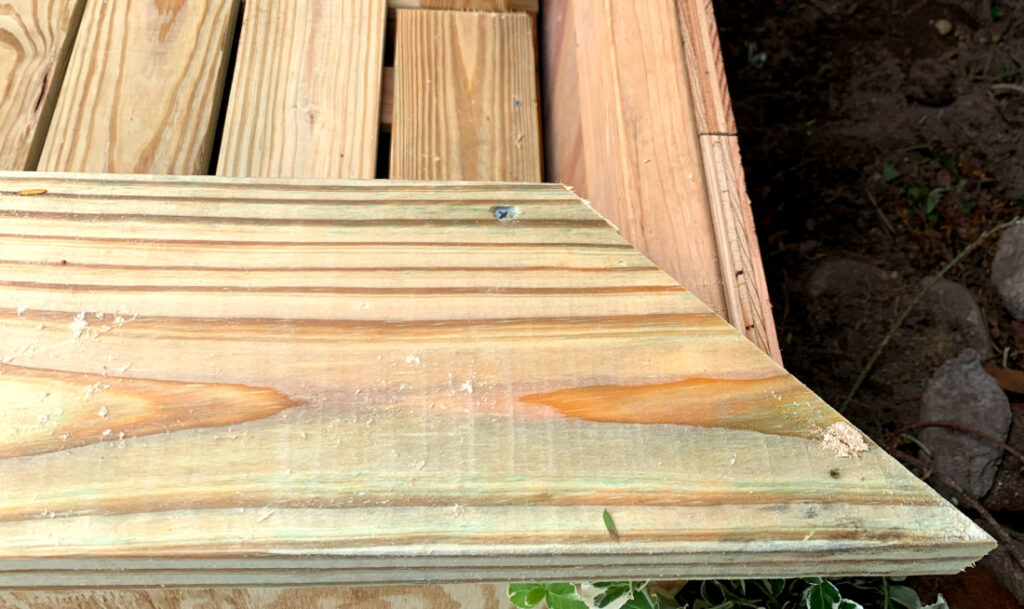
Build the bottom of the box
The bottom of the box is constructed from 1″ x 6″ pieces of treated wood cut width-wise. We left spaces between the boards for drainage. The boards were screwed into place with galvanized screws.
Step #6
Add molding to the flower box
We added 2″ x 6″ treated wood pieces to the top of the box. They were mitered and screwed into place with galvanized screws. The last step to the building process was to add 1″ x 4″ molding pieces to the front of the planter box to give it that classic Cape Cod look.
Step #7
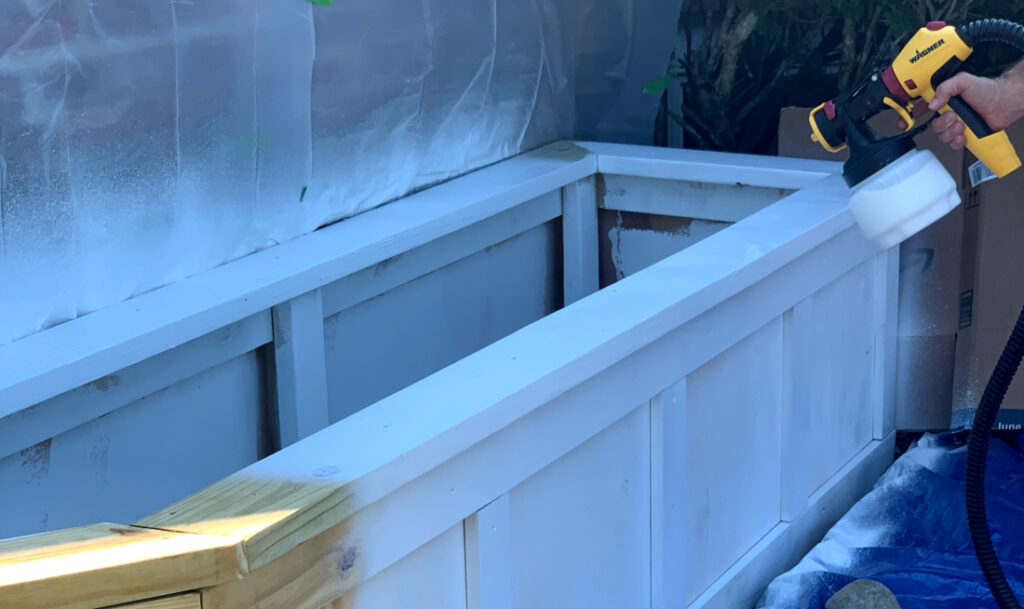
Paint the flower box
Now you’re ready to paint. I used the Wagner FLEXiO 5000 Paint Sprayer. I cannot recommend it ENOUGH! It saves you so much time (especially on a project like this) and the results are so professional and it’s SO EASY to use. All you do is remove the base, fill with paint (we used exterior white paint for this project) and reattach it. No messy tubes or trying to connect with paint cans. And now?
Step #8
Enjoy the Flower Box
It looks like this! We’ve learned so much over these past years and it’s such a joy to build something that lasts. And if we need another planter box in another decade we’ll be ready.
Because my favorite thing that I’ve learned from writing this blog?
If there’s a project?
We are READY.
This sponsored post was created by Thistlewood Farms. Head to the blog for the full post and details.
Step #9

Download Project Steps & Shopping List
We’ll never share your email with anyone else