Let me tell you all about how I used a sprayer to give our deck a complete makeover this summer!
Hello! My name is Emily, and I share decorating and organizing projects at Small Stuff Counts. I recently used a sprayer to stain our deck, and it saved my sanity. If you have a deck staining project in your future, you’ll save a ton of time by using sprayer!
Note: Before you stain your deck, it’s very important that it’s cleaned and prepped thoroughly. I’m going to review the steps for staining here, and you can check out my blog post for more specifics on the cleaning step.

SET UP YOUR SPRAYER
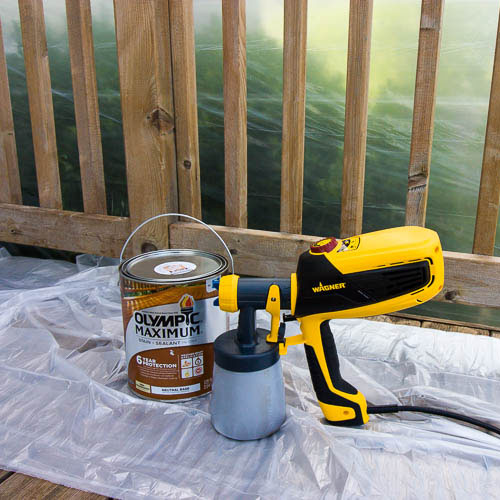
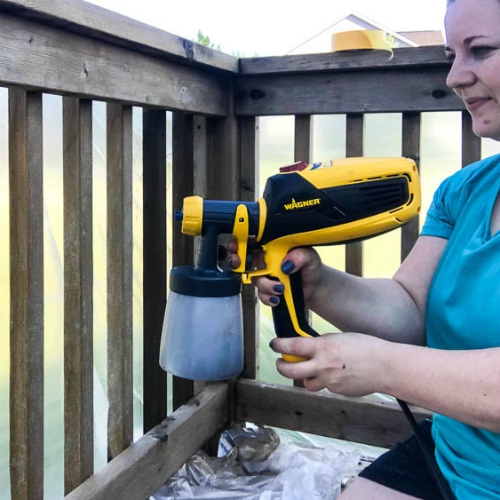
This was my first time using the FLEXiO 3000 and it worked like a charm. I used the Detail Finish Nozzle, set my flow at medium and air power at 2.
Step 1
TEST YOUR SPRAYER
With the settings all ready to go, I filled the cup with stain, plugged it into an outlet, and I was off and running.
If you are new to sprayers, this is a great time to do some test sprays on a piece of cardboard, or the spray poster included with the FLEXiO 3000.
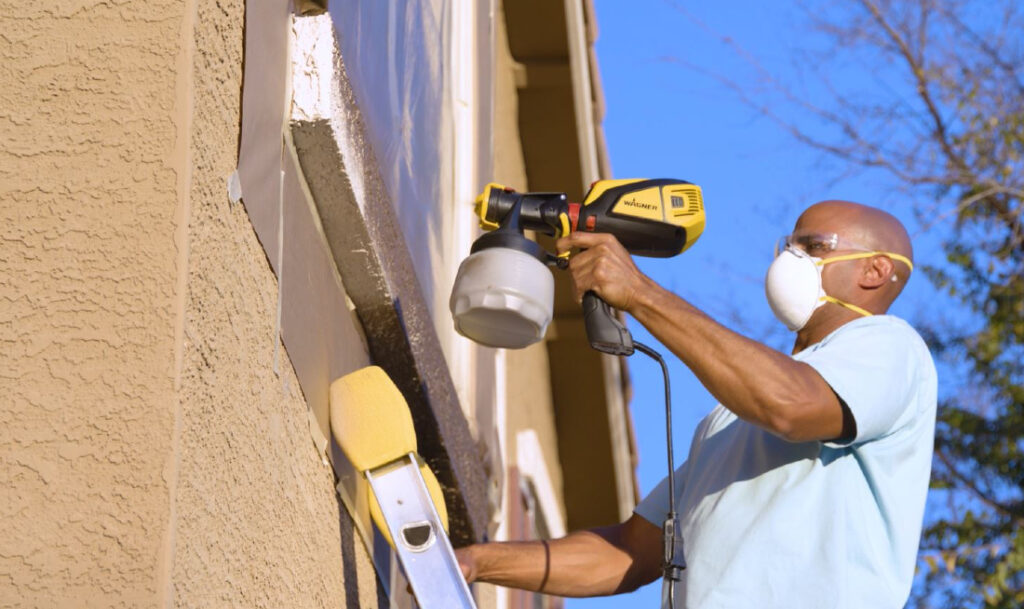
When using a sprayer, you need to make sure you protect the surrounding area from overspray. We taped some inexpensive plastic drop cloths along the side of our house to protect the siding. I also covered nearby plants with plastic.
Step 2
STAINING THE PERGOLA
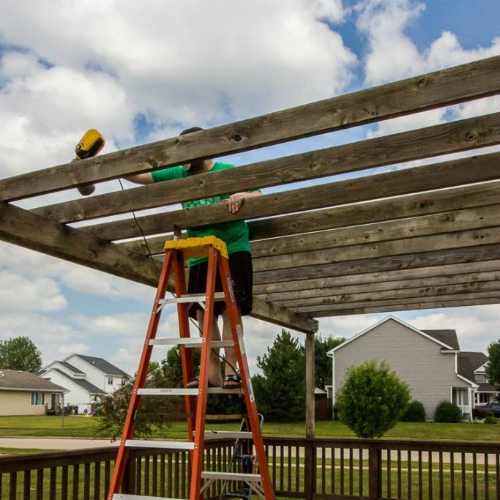
We started off with the pergola above our deck, then worked our way down to the railings, saving the floorboards for last.
The FLEXiO 3000 worked great for our pergola, I can’t imagine trying to cover all of those boards with a roller or brush! Climbing up and down the ladder so many times was time consuming, but using a sprayer kept things moving along.
When spraying our pergola, I covered the floorboards down below with plastic to catch the overspray.
Step 3
STAINING THE RAILING
I cannot imagine using a brush to stain our entire railing–I counted, and we have 100 vertical spindles in our deck railing. Can you imagine brushing stain on all of those? Thankfully, I had the FLEXiO 3000 to speed up this process.
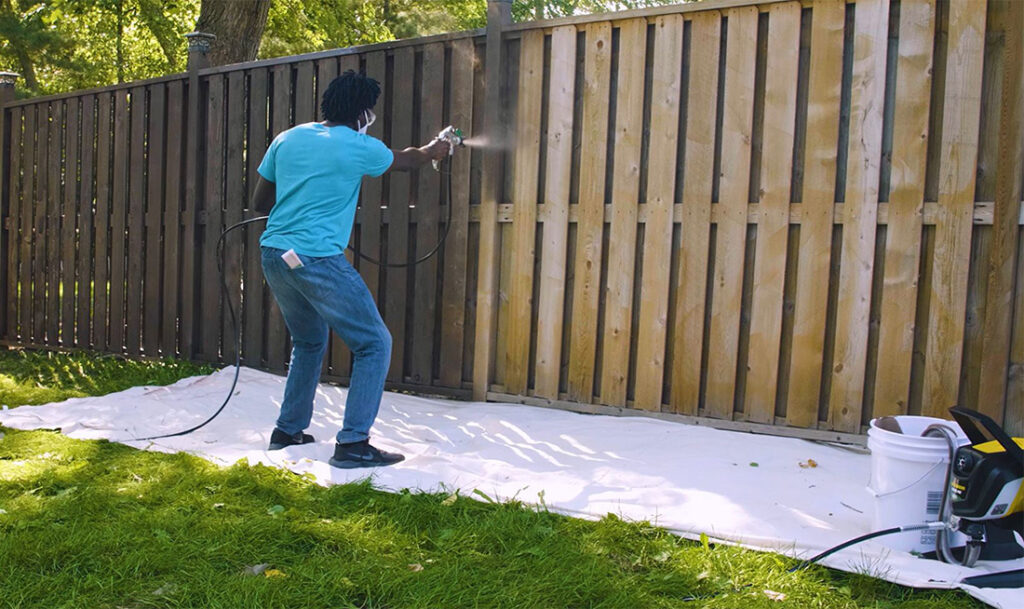
Spraying the railing was very fast, I simply sprayed long, even strokes back and forth, working on one section of railing at a time.
When I was spraying in toward the floorboards, I protected them from overspray with a sheet of plastic. Once I’d sprayed around the outside of the railing, I repeated the same process to stain the inside of the railing.
The entire railing took me around 30-40 minutes start to finish. Staining it by hand would have taken me hours!
Step 4
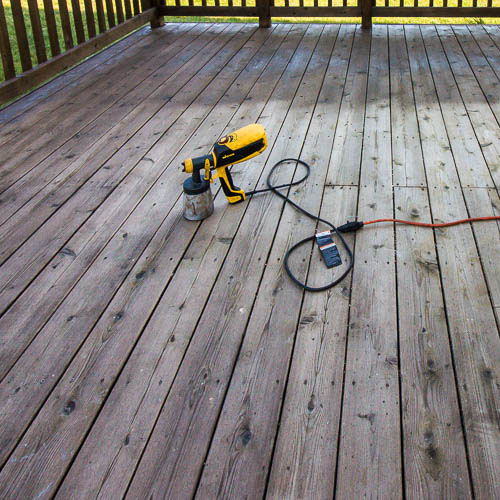
STAINING THE FLOORBOARDS
With the pergola and railing done, all that was left was the floorboards. This part was so simple!
<br. I worked in small sections with a 50 percent overlap on each pass to make sure I got full coverage and an even coat of stain all the way across.
Thanks to the prep work we did to protect our siding with plastic, I was able to spray right up to the edge of the house without worrying about getting stain on our siding.
I started on the far side of the deck and worked my way over to the steps at the end.
Now our deck looks better than ever, and I find us spending even more time out here than we did before. Staining your deck can be a big project, but the FLEXiO 3000 will make it go much faster!
Step 5
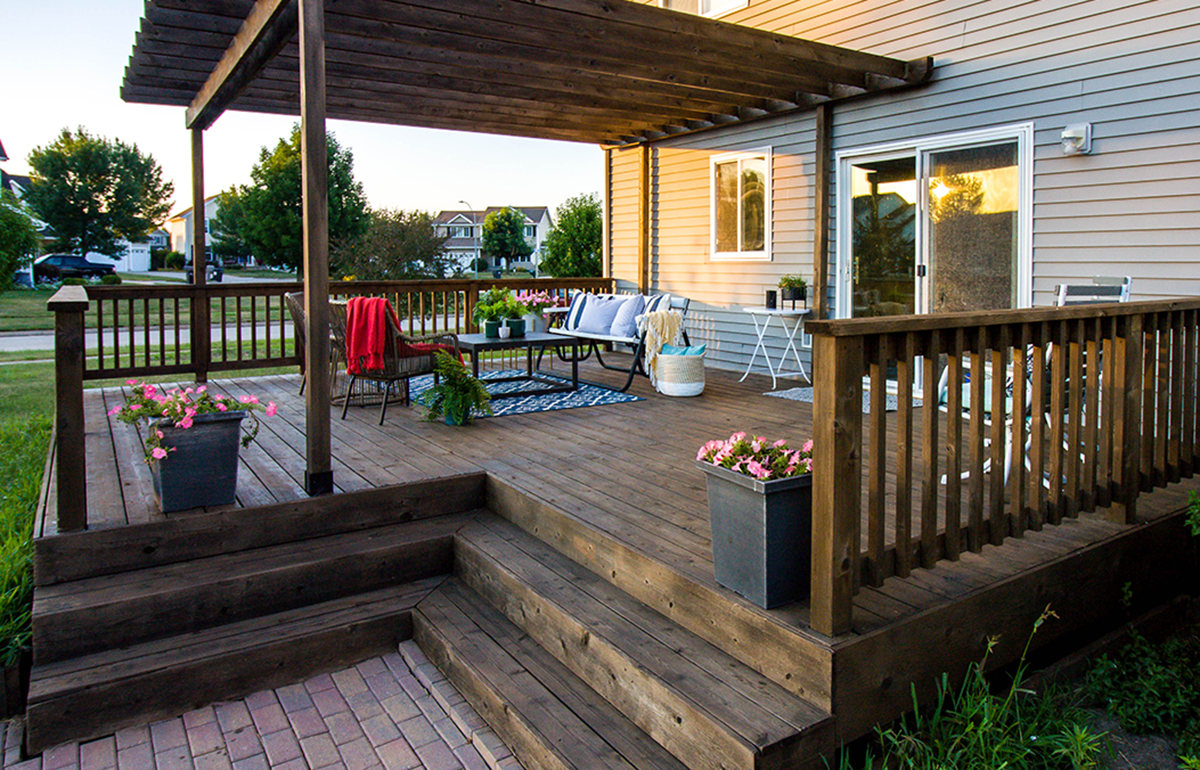
COMPLETED PROJECT
For more details on this project, visit my blog post: How I Stained Our Deck Quickly (And The Thing That Saved My Sanity)
Step 6

Download Project Steps & Shopping List
We’ll never share your email with anyone else