Overview
This drop dead gorgeous shed was transformed from a utility shed into a charming shop using Wagner tools. The shed is the instant home addition of the moment. Clever designers everywhere are turning them into personal spaces, cottages, craft studios and guest suites. With little more then a phone call to a home center, a shed can likely be delivered to your property within a day or two.
When a start-up lavender farm wanted to create a small retail space, they turned a shed into an outpost for welcoming guests to the farm and a space to sell their flower harvest and decorative wares.

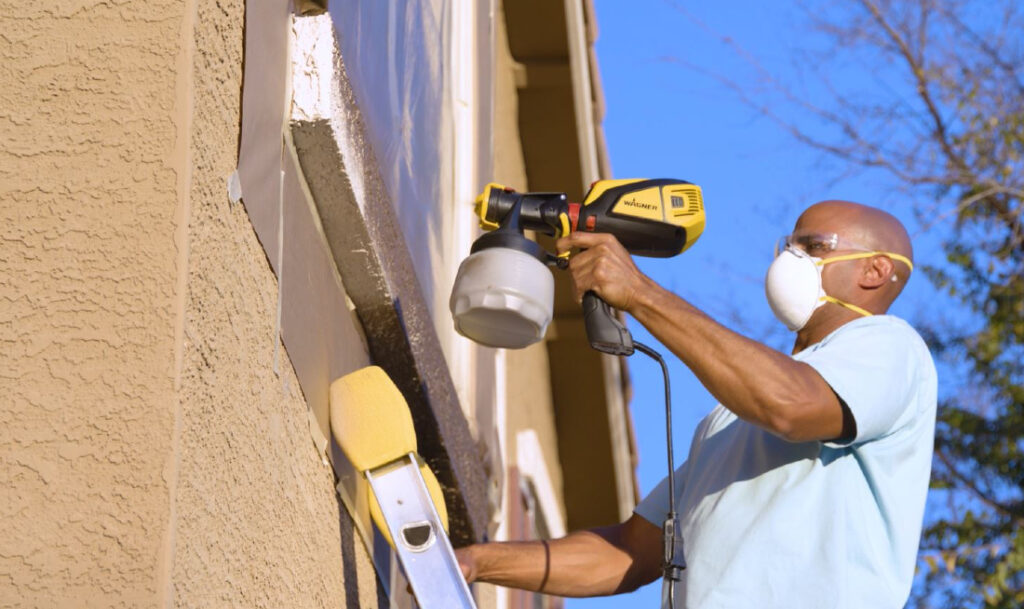
Spray shed exterior
The outside was sprayed to match the farmer’s house color- it was a natural choice. But with a limited budget, they decided to paint the shed interior instead of installing expensive drywall or wood treatments. The effort was easy and the results instant. Using a Wagner FLEXiO paint sprayer, the humble shed was transformed into a quaint shopping spot.
Step 1
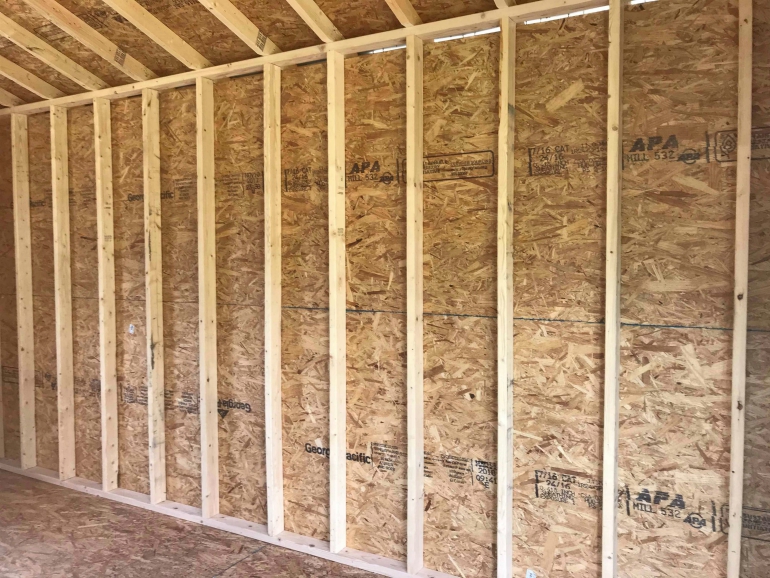
Clean and prep interior
The shed interior isn’t fancy material (it’s just pressed plywood panels and studs), but that’s okay when it comes to creating the vintage cottage look. Clean all walls and studs with a brush and broom to remove any dust and dirt. Cover the floor with a drop cloth.
Step 2

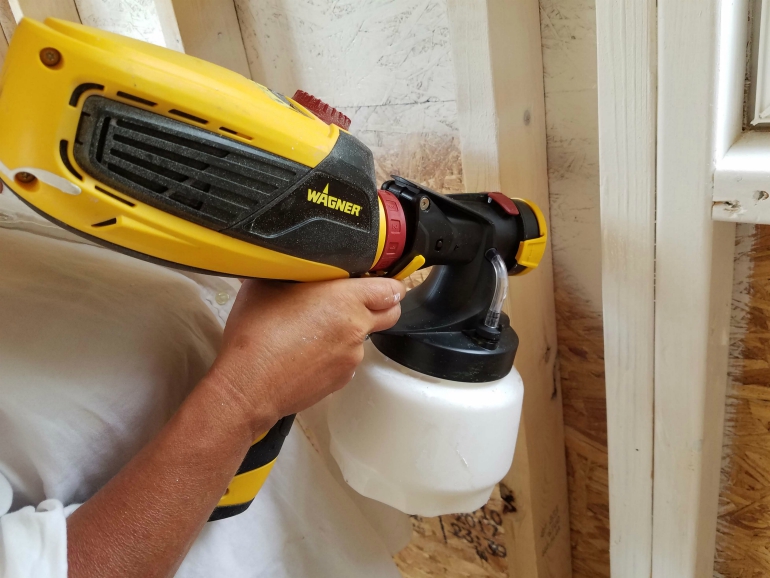
Assemble and fill sprayer
Assemble the Wagner Flexio 3000. Thin a quart of paint with 3/4 cup of water and stir until thoroughly mixed. Add the paint to the sprayer cup.
Step 3
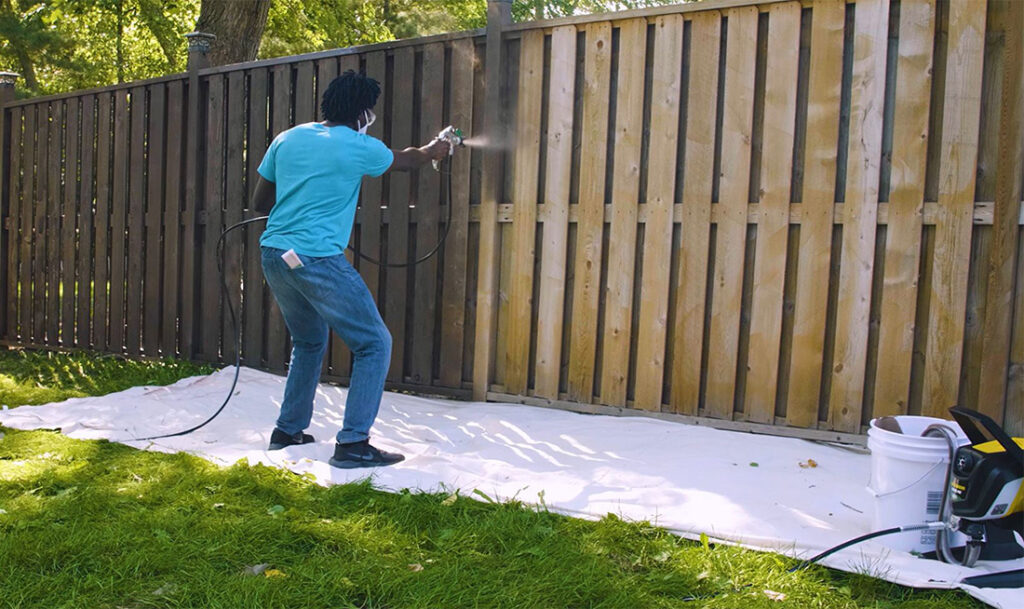
Spray tips
With the sprayer set to medium and a horizontal spray pattern, hold the sprayer approximately six to eight inches away from the surface and spray horizontally from side to side.
Step 4
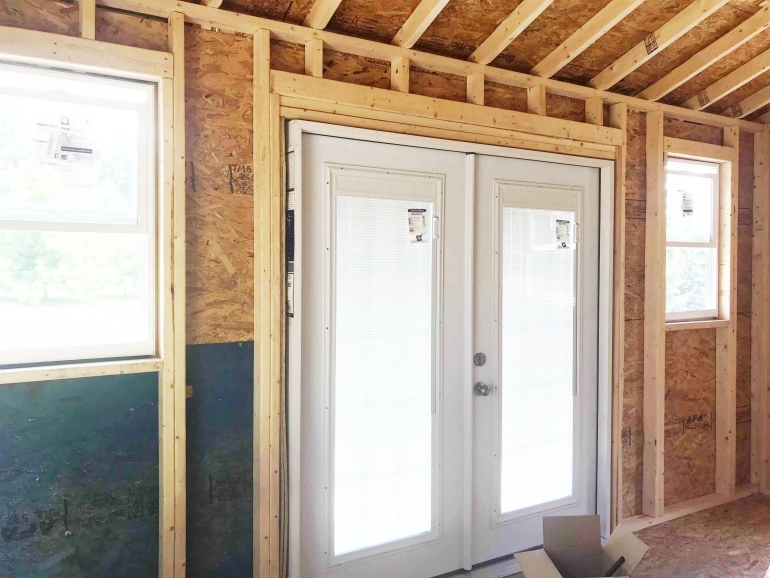
Paint walls
Paint with primer should cover plywood in one coat. Areas with printing or discolored staining will need to be sprayed twice.
Step 5
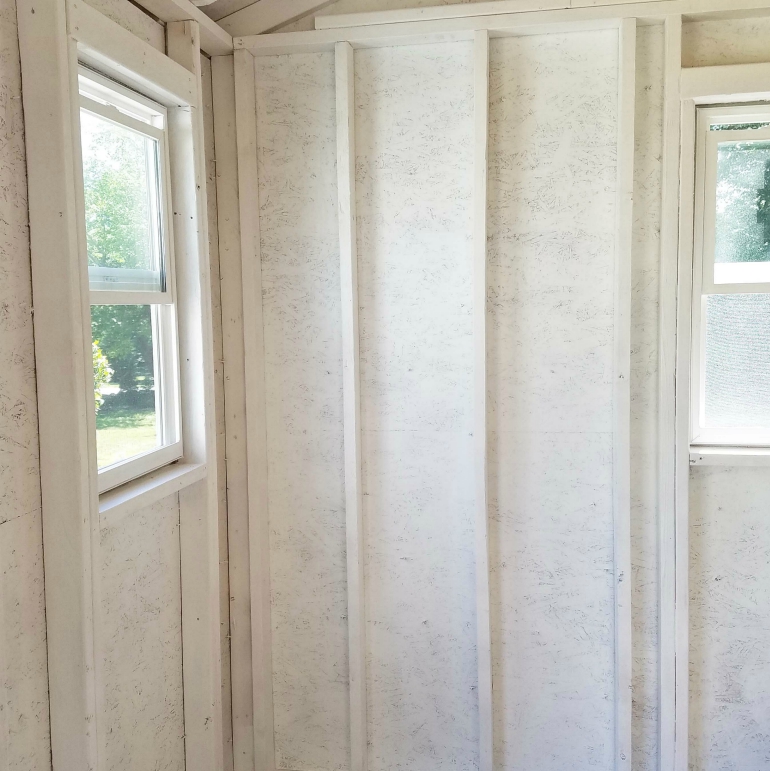
Tips for corners
To paint studs and corners, set the FLEXiO® 3000 to a vertical spray pattern and paint up and down until the surface is completely covered.
Step 6
Cover floor with drop cloth
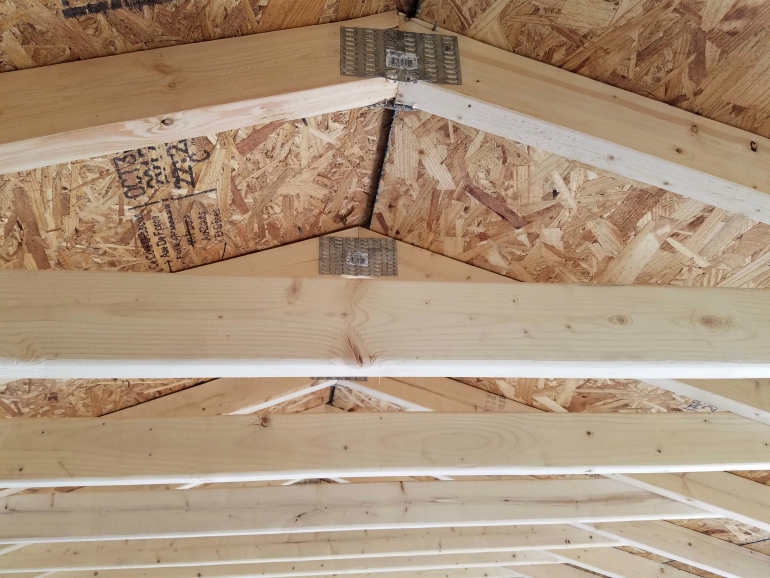
Painting a ceiling with roof trusses is perhaps one of the hardest paint projects possible. All of the angles, corners and crevices make it extremely complicated and difficult. The FLEXiO sprayer makes it easy and fun to coat all of the hard to paint surfaces in a short amount of time. Brush down all the surfaces and trusses to remove any dust and dirt. Cover the floor with a drop cloth.
Step 7
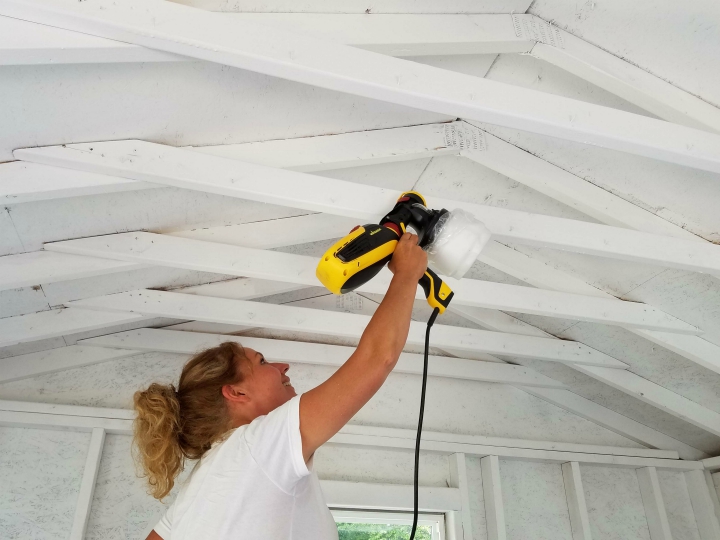
Spray ceiling
With the sprayer set to medium and a vertical spray pattern, stand on a ladder and begin by spraying the flat part of the ceiling. Start in the middle at the peak and spray each side of the ceiling as far and wide as you can reach.
Once completed, begin spraying the trusses. Again, start at the peak and spray as far and wide as possible, moving the ladder as necessary. Remember to spray each side and pay particular attention to painting the area where the trusses meet. The FLEXiO 3000 covers all the angles, nooks and crannies with ease.
Step 8
Clean floor
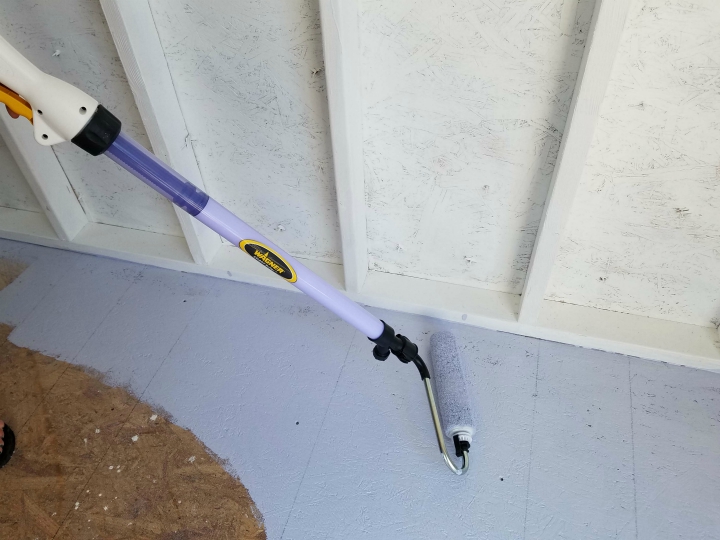
Save the floor until last and simply paint it. The shop owner chose a shade of lavender floor paint to add some color and reinforce the theme. Before painting, clean the floor thoroughly with a broom, then vacuum until no dirt or dust remains.
Step 9

Download Project Steps & Shopping List
We’ll never share your email with anyone else