Overview
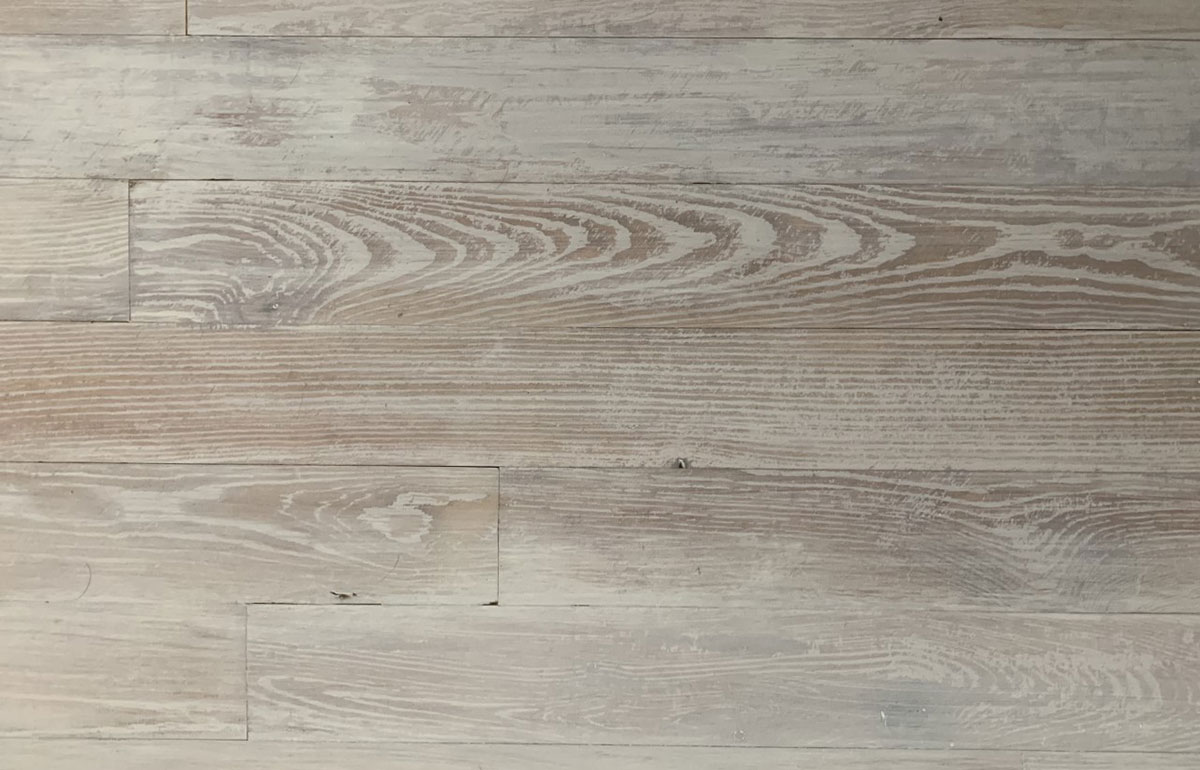
I recently helped a friend refinish the hardwood flooring in her living room. This was the first time I’ve ever done this type of project so there was a little trial and error along the way. I wanted to achieve a whitewashed or pickled finished on these floors. Spoiler alert: even after a few trials these came out pretty amazing.
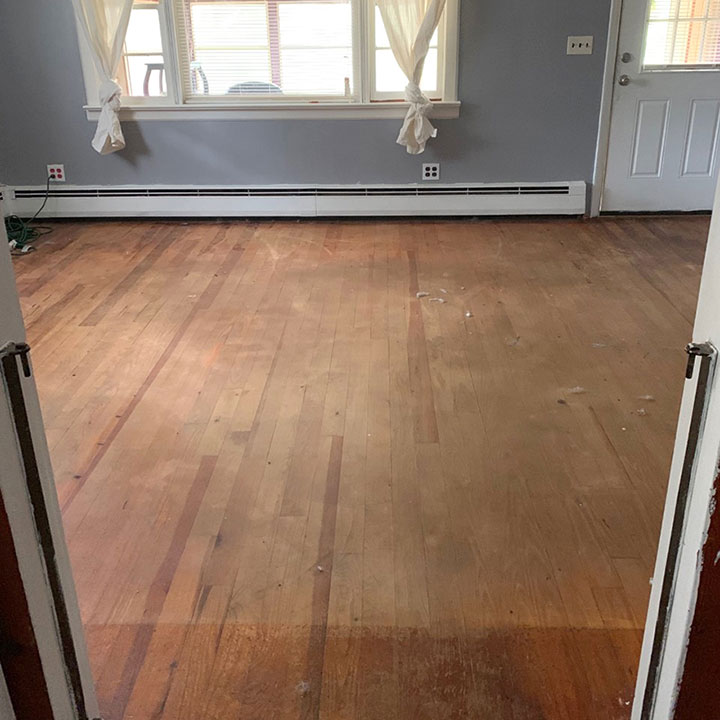
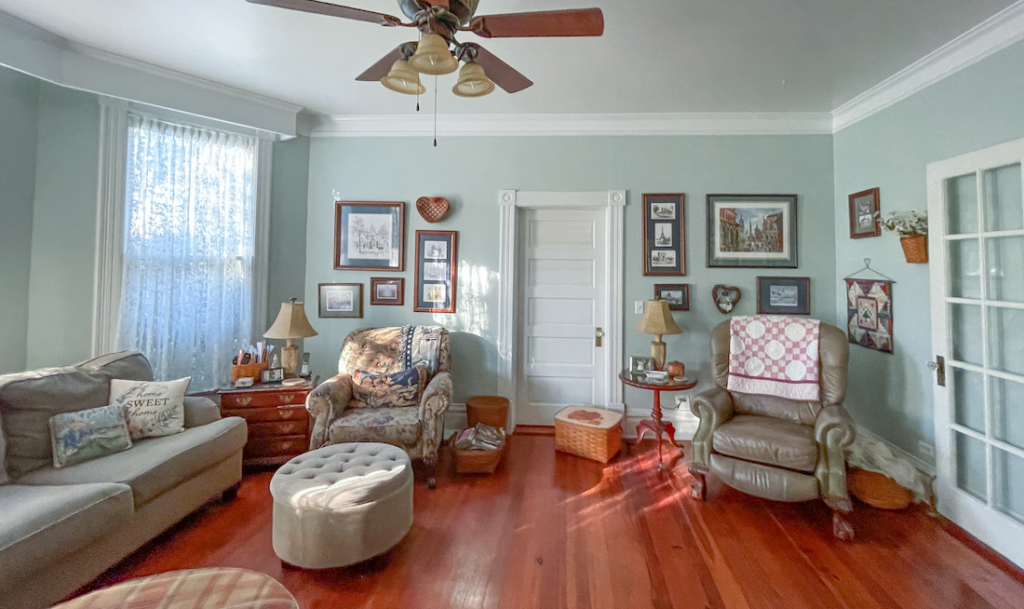
Floors before
My friend bought this house about a year and a half ago and it was in desperate need of cosmetic updating. My husband and I have been helping her along the way as much as we can. This is what the floors looked like before. You can see how uneven they are especially where there apparently had been an area rug.
Step 1
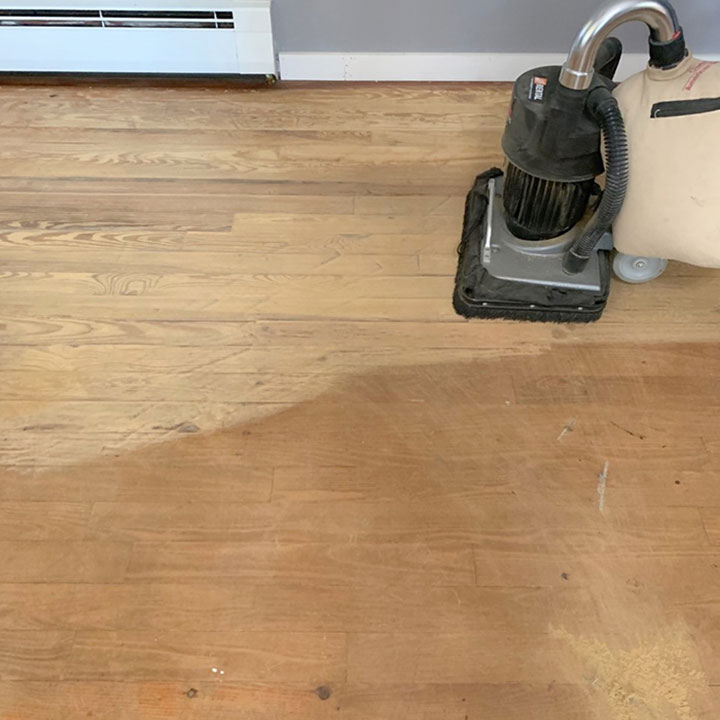
Sand floor
We began by renting a sander from The Home Depot. We used a square buff sander for this project. We picked this one over a drum sander because the floors weren’t so terrible that we needed to strip off many layers, and also because this square model gets up closer to the edges of the wall.
The sanding was quick and easy however the sander didn’t reach fully up to the walls so in those areas we used a palm sander. That wasn’t fun but it worked.
Step 2

Whitewash floor
To achieve a whitewashed or “pickled” look on these floors we used white porch and floor paint mixed with water. The recommended ratio for that is 1 part paint to 3 parts water, but to be honest I just eyeballed it.
I applied it using the dry brush method. If you don’t know what that is, the technique is to use a brush with VERY little paint. I went back over each area with my brush until there wasn’t a drop of paint left on the brush.
This method helps the wood floors underneath show through a bit.
Step 3
Assemble roller
To assemble it, you attach the roller by holding down the clips and snapping it in. The nozzle clips onto the side of your paint can. My can was a mini can, so it was too short to clip onto. However, I was still able to use it. You put the nozzle right into the paint roller and pull back the handle to load up the paint.
Step 4

Apply sealer
After letting this dry overnight I went back over to apply a clear topcoat.
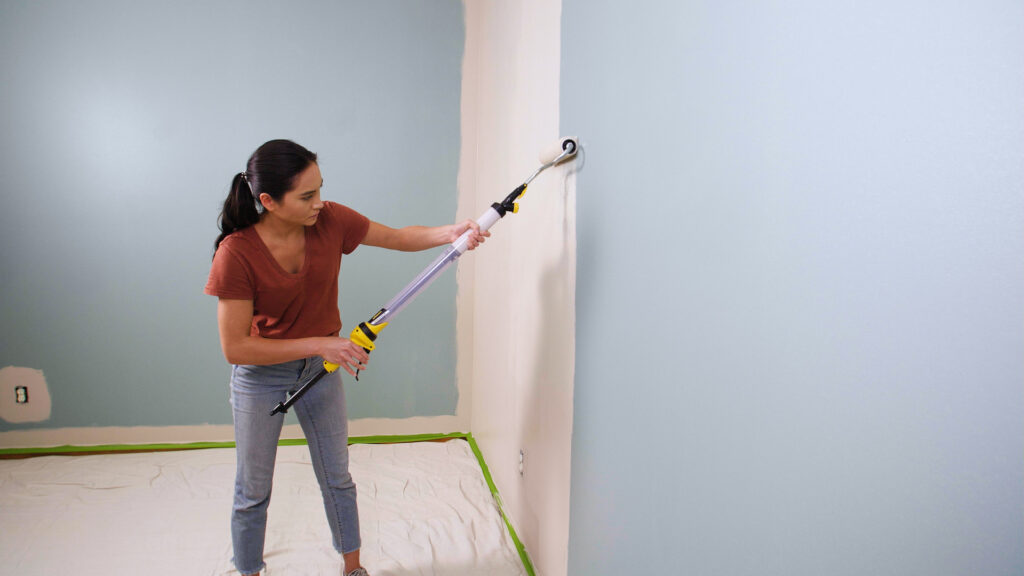
We used a clear water-based polyurethane. To apply the sealer, I used my new SMART Roller from Wagner. It has a built-in reservoir that holds up 22 ounces of paint, eliminating the need to go back constantly reload the roller.
Step 5

Squeeze trigger for material
To disperse the paint, you squeeze the lever near the handle. It’s crazy how much quicker this went without having to run back to a paint tray and reload every few minutes. And that was definitely a welcome relief after hand-painting these floors with a brush!
Step 6

Apply several coats as needed
We applied 3 coats of the sealer letting it dry approximately 2-3 hours in between.
The new whitewashed floors look absolutely amazing. Honestly, the pictures don’t do them justice!
Step 7

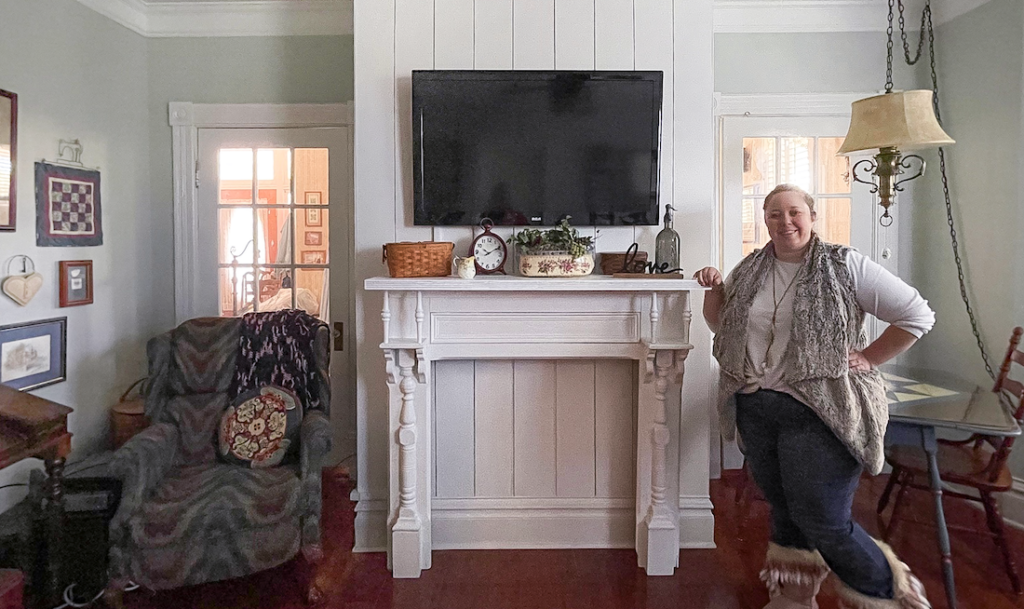
A work in progress
This room is still a work in progress but it’s far better than what it looked like when she first moved in. To see the (really bad) before pics of my friends living room and the one mistake I made along the way visit my blog at The Honeycomb Home.
This sponsored post was created by The Honeycomb Home.
Step 8

Download Project Steps & Shopping List
We’ll never share your email with anyone else