Overview
Last year we had several large trees from our yard removed. Unfortunately, in the process, much of our old weathered fence came down with them. One part that was left standing was the gate and arbor. It had become an eye sore in the middle of the yard.
This year rather than remove it completely, I decided to refresh it and turn it from an eyesore to a focal point. I thought about removing the gate and building something taller and more interesting, but the wood is too weathered to support anything heavier.
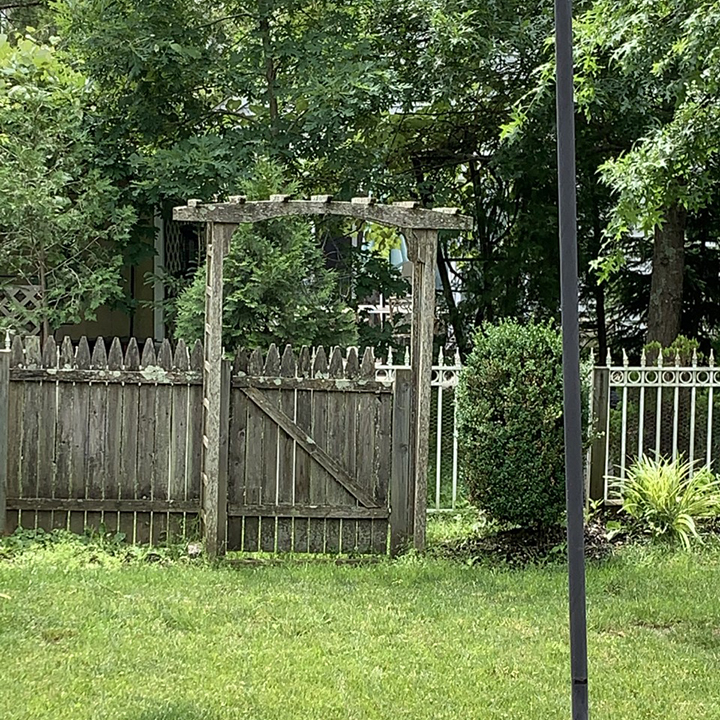
Here is the very embarrassing before photo.
Before
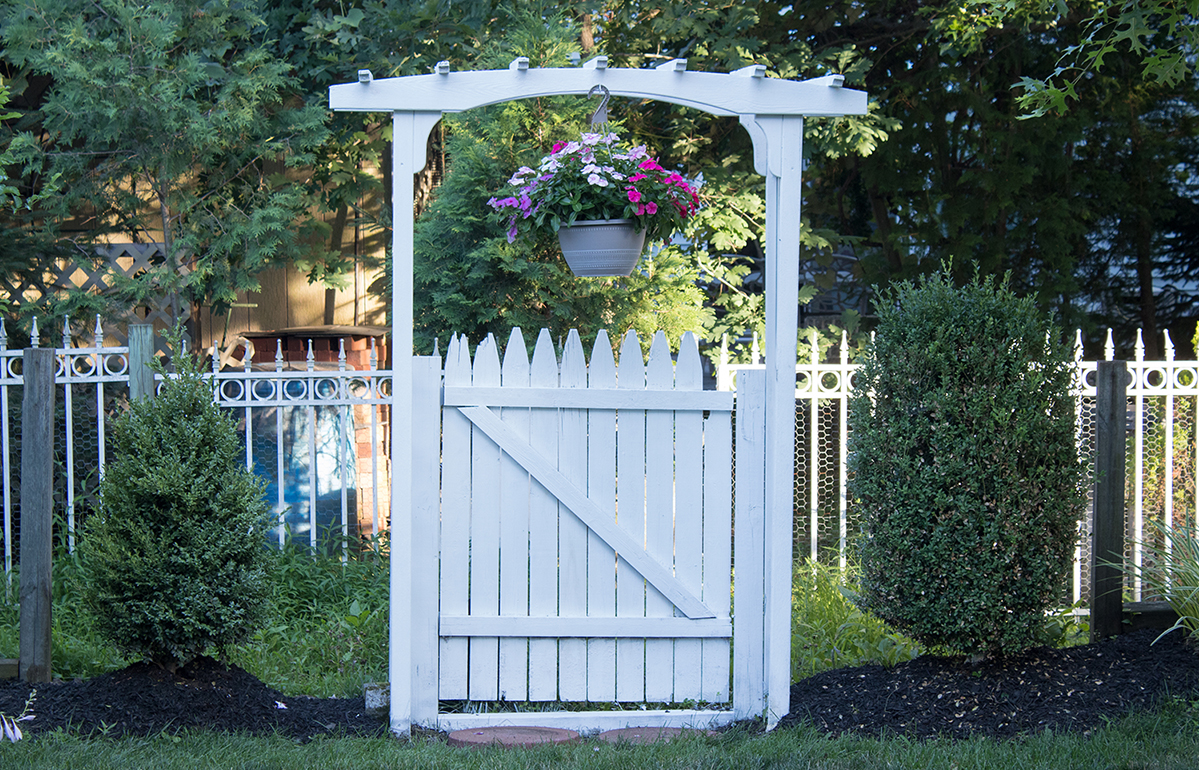
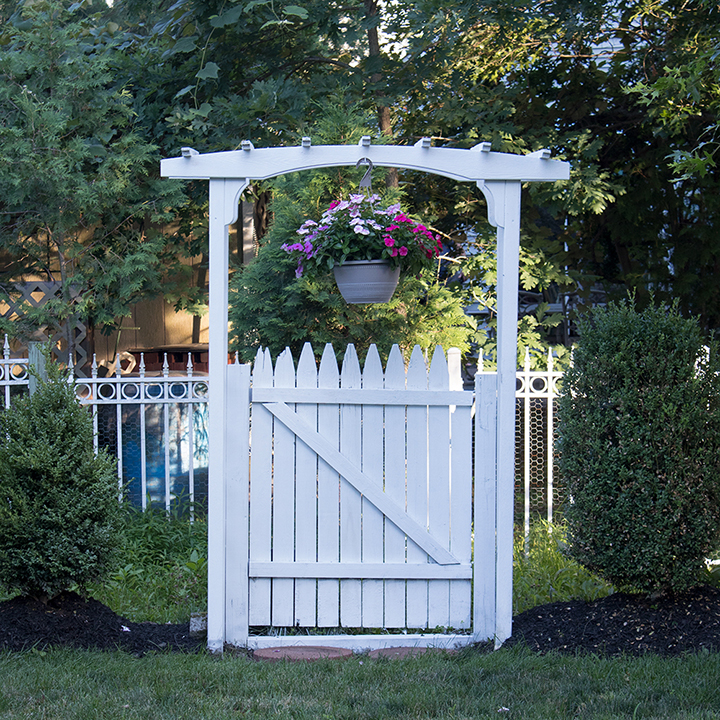
After
Remove any excess fencing
I removed that last section of fence to the left of it first. Next, I set up my Wagner FLEXiO 5000 Paint Sprayer to refresh the gate and arbor.
Step 1
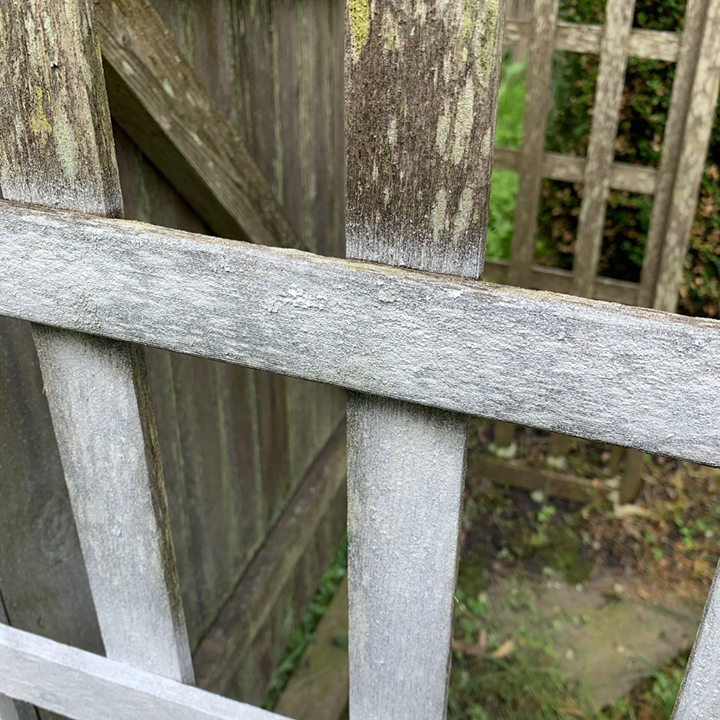
Look closely at the wood’s condition
The wood was so old and weathered it was soaking up the paint like water. It took several coats to cover it.
Step 2
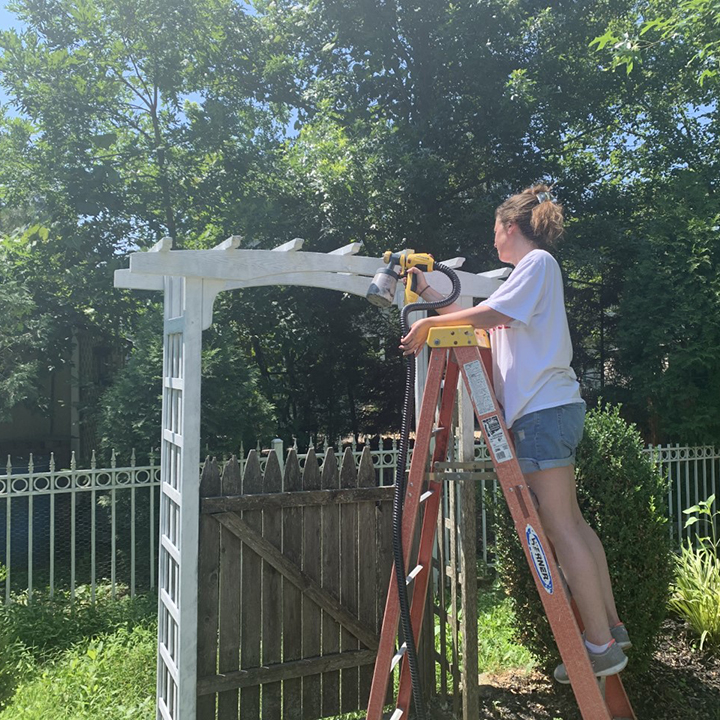
Start painting with your sprayer
This project took several hours even with the sprayer. It would have taken several days if I had opted to use a paint brush!
Step 3
Add landscaping
I had to refresh the landscape a bit as well. I already had a few boxwoods to the right of the arbor, so I added another one to the left of it to balance it out. As soon as they get growing and fill in, this will look much more charming. I also have a wisteria vine on order to plant.
As always, it was worth the effort. A new coat of paint, fresh flowers and a couple of new stepping stones has completely changed the view back here!
Step 4
Enjoy!
This sponsored project was created by The Honeycomb Home. Head to the blog for the full post and details.
Step 5

Download Project Steps & Shopping List
We’ll never share your email with anyone else