Overview
Whether you’re looking to paint a smooth ceiling, or a popcorn-textured ceiling, Wagner has a product that’s right for you! Learn how to get great looking results on a smooth ceiling using Wagner’s Paintstick EZ-Roller and on textured ceilings using the FLEXiO 3500 paint sprayer.
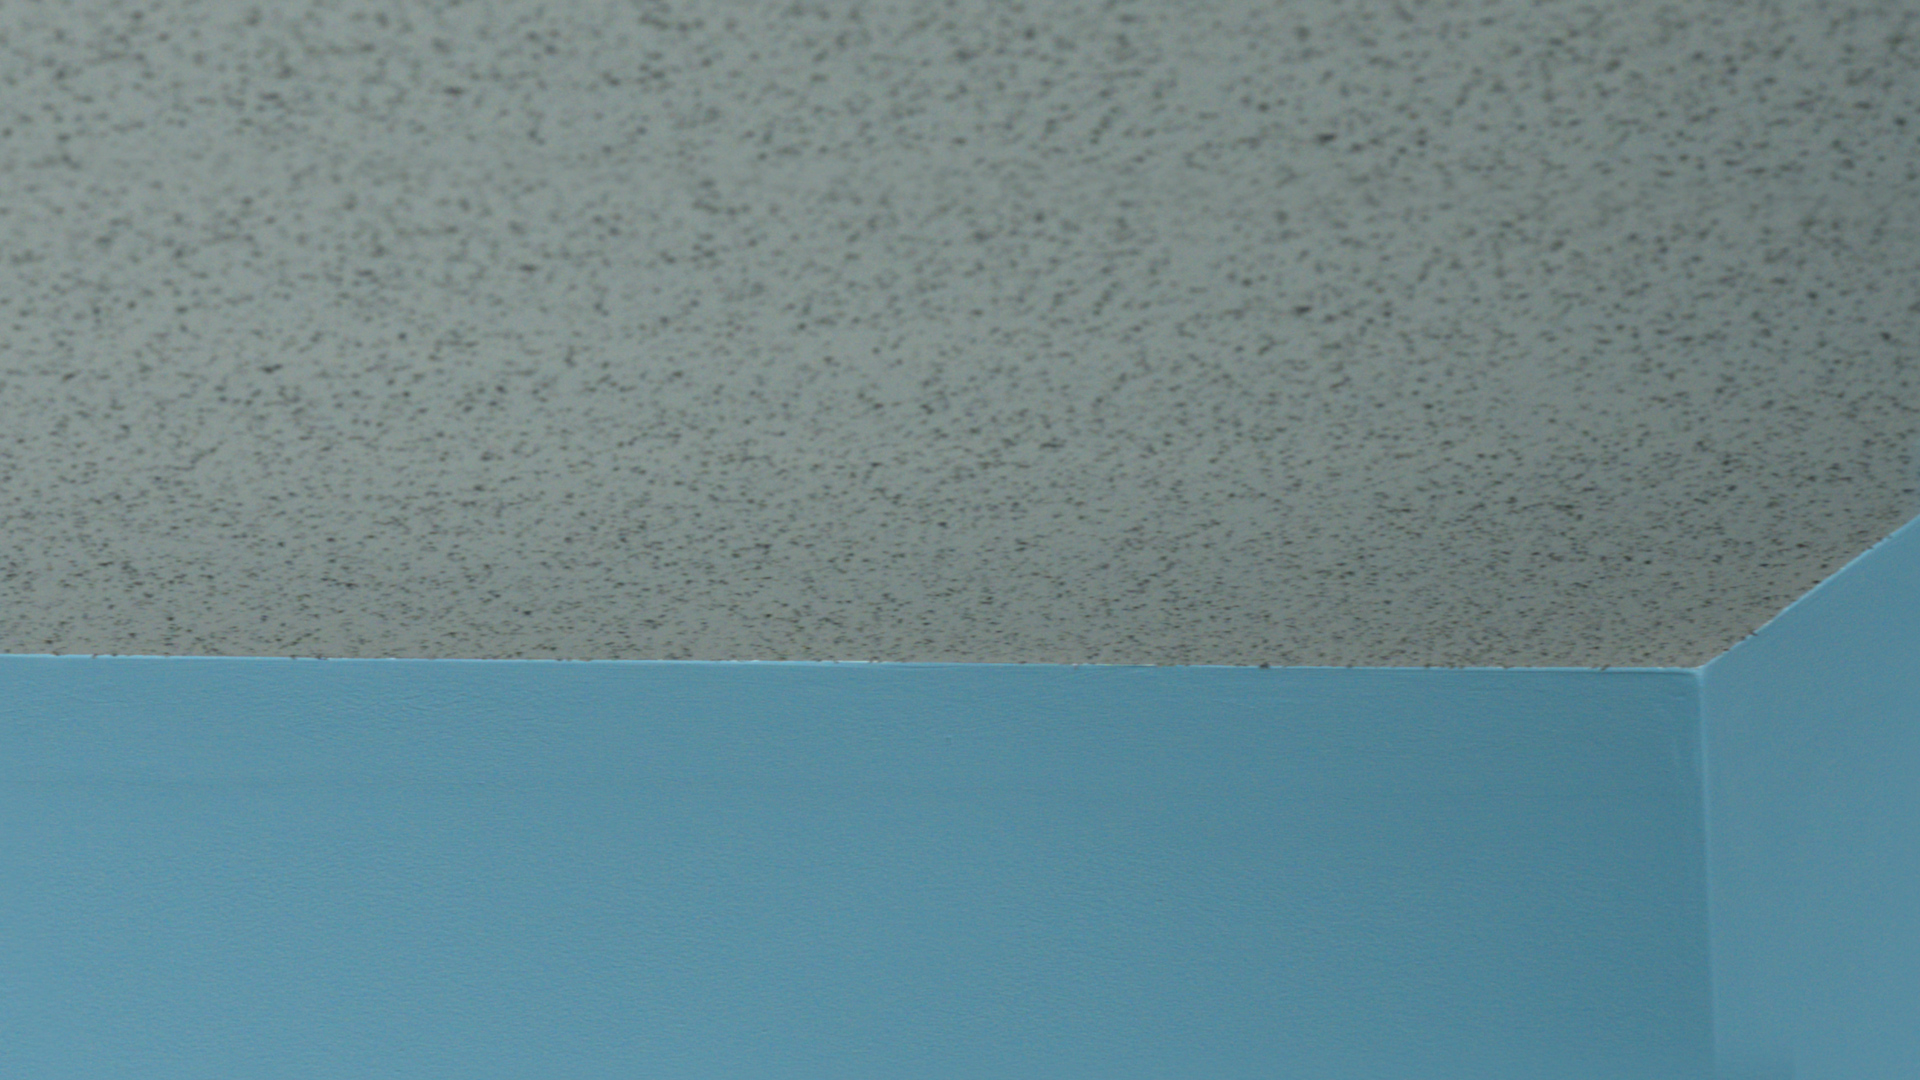
Before
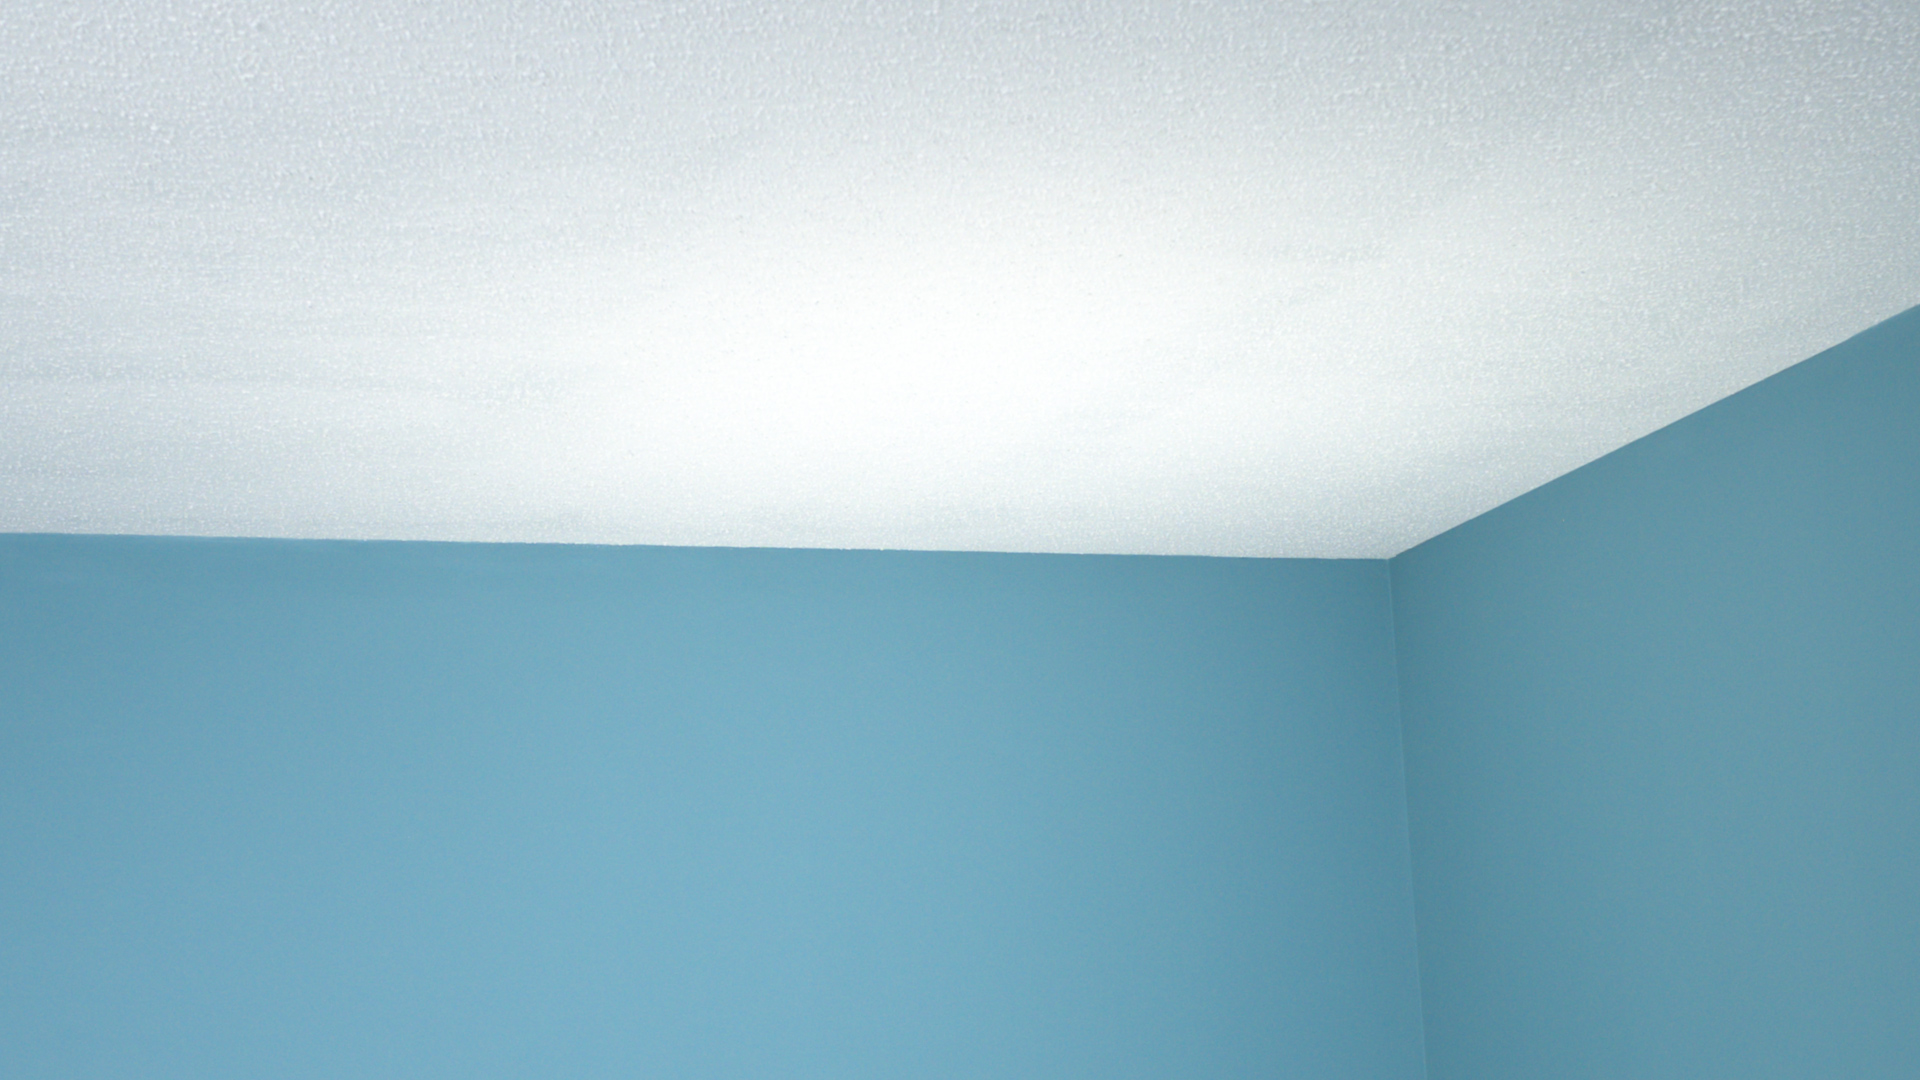
After
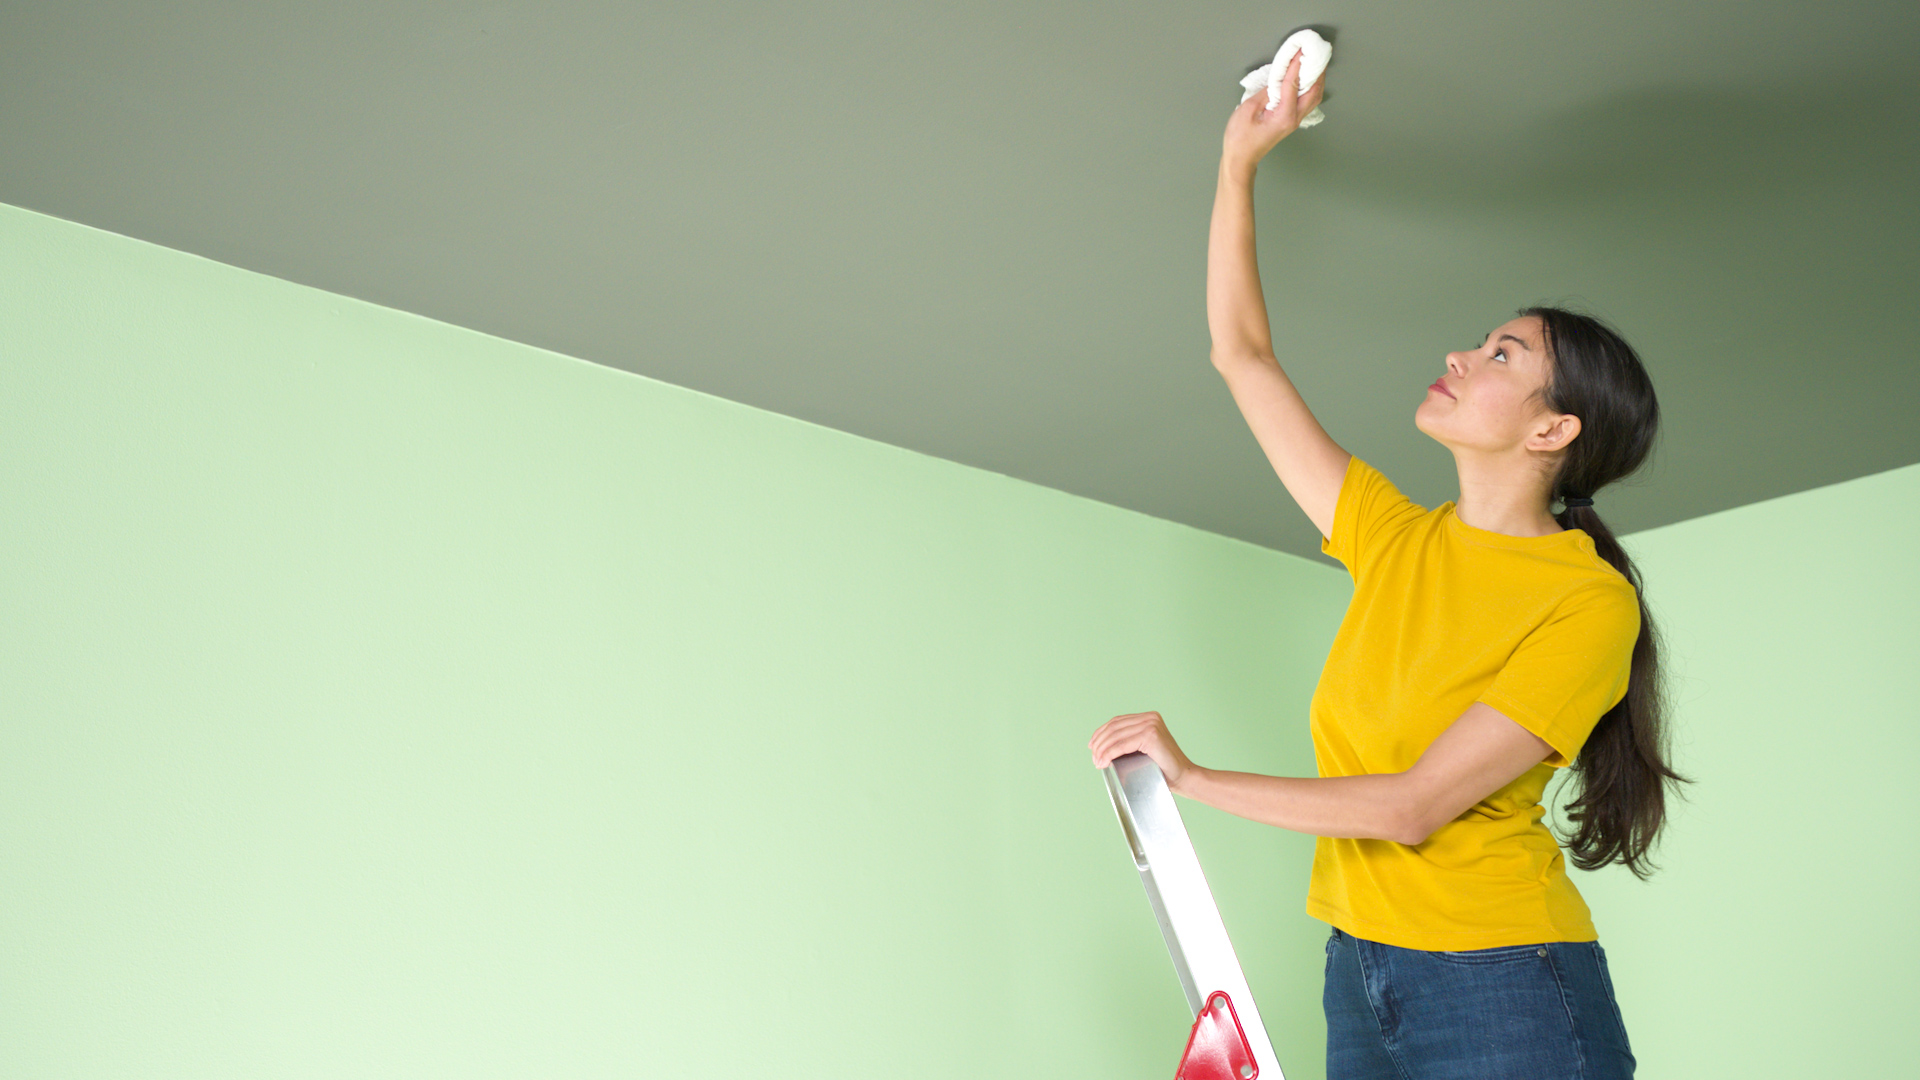
Clean and Patch the Ceiling
Make sure you patch any holes or cracks in the ceiling and wipe down any dust or cobwebs with a damp rag before painting.
Step 1
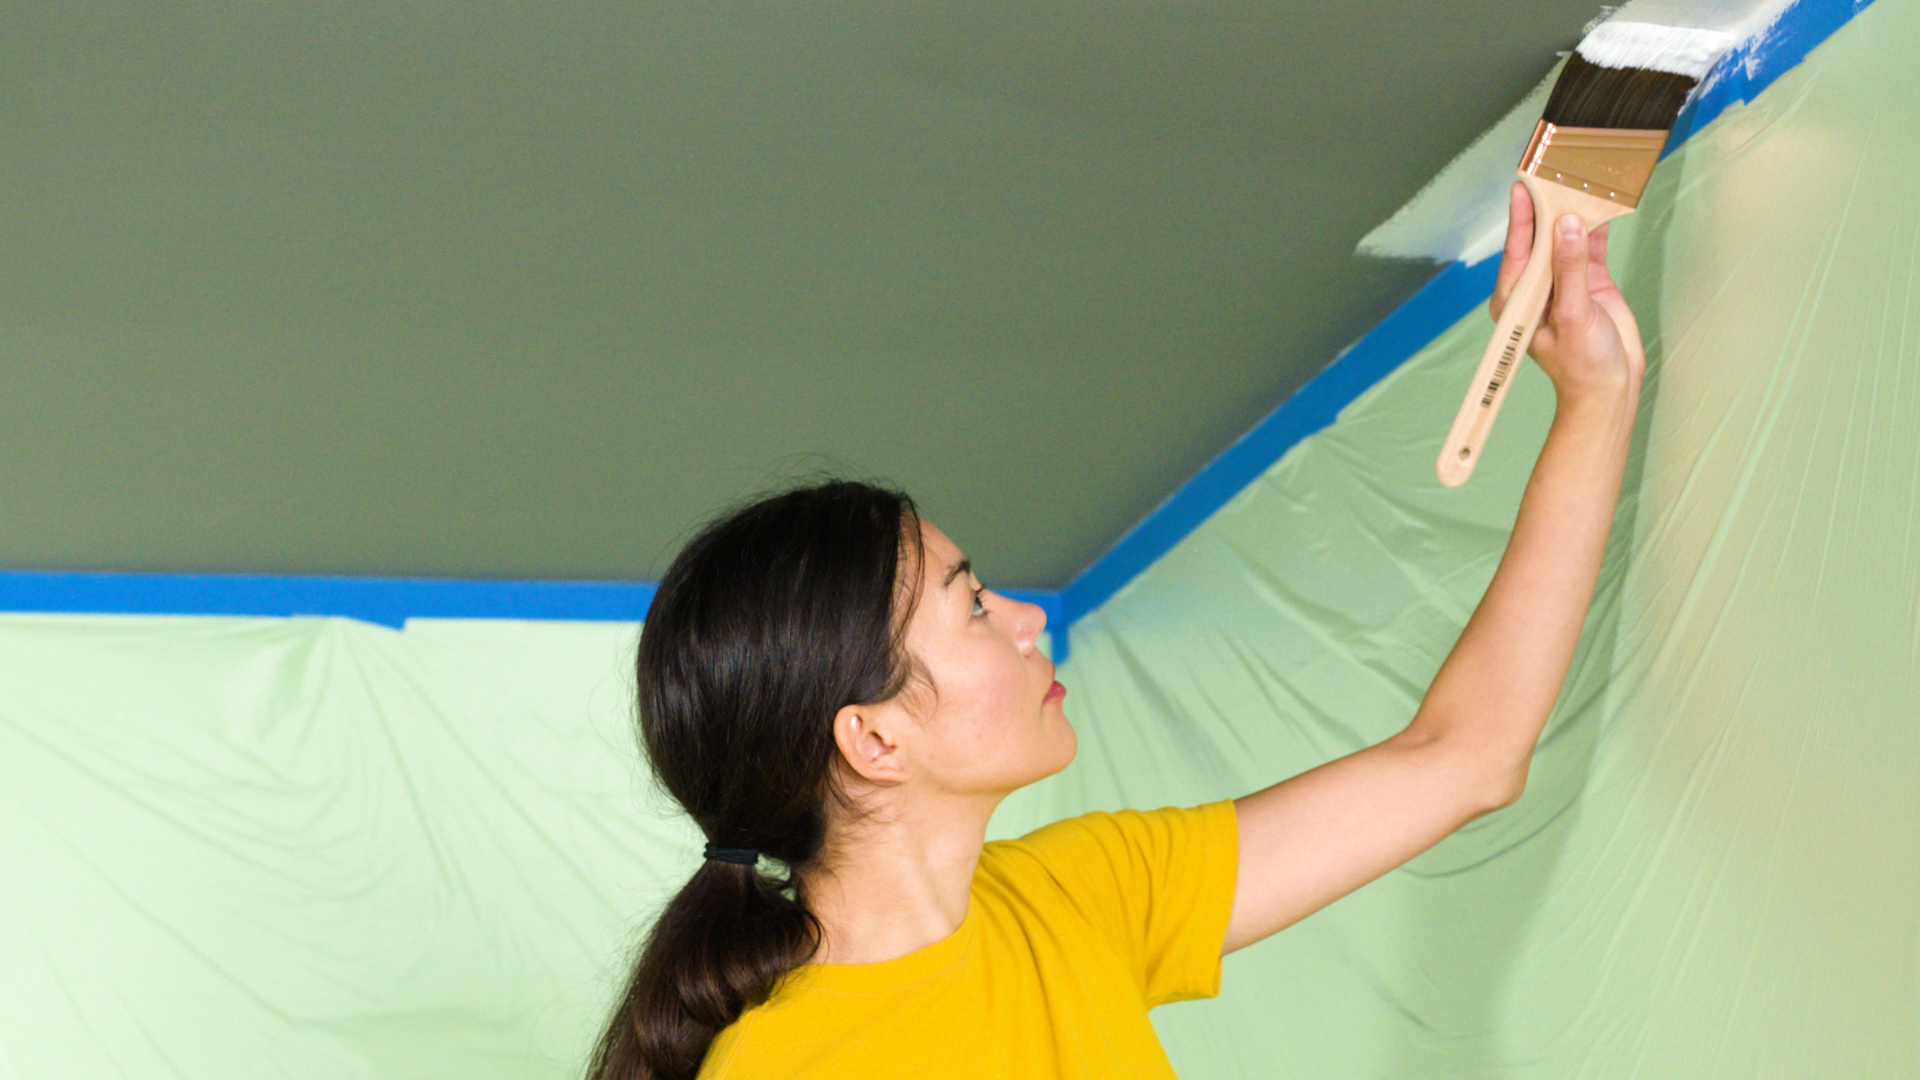
Cut In Around Walls
Start by cutting in around the perimeter of the ceiling with a three-inch angled paint brush where the ceiling meeting the walls.
Step 2
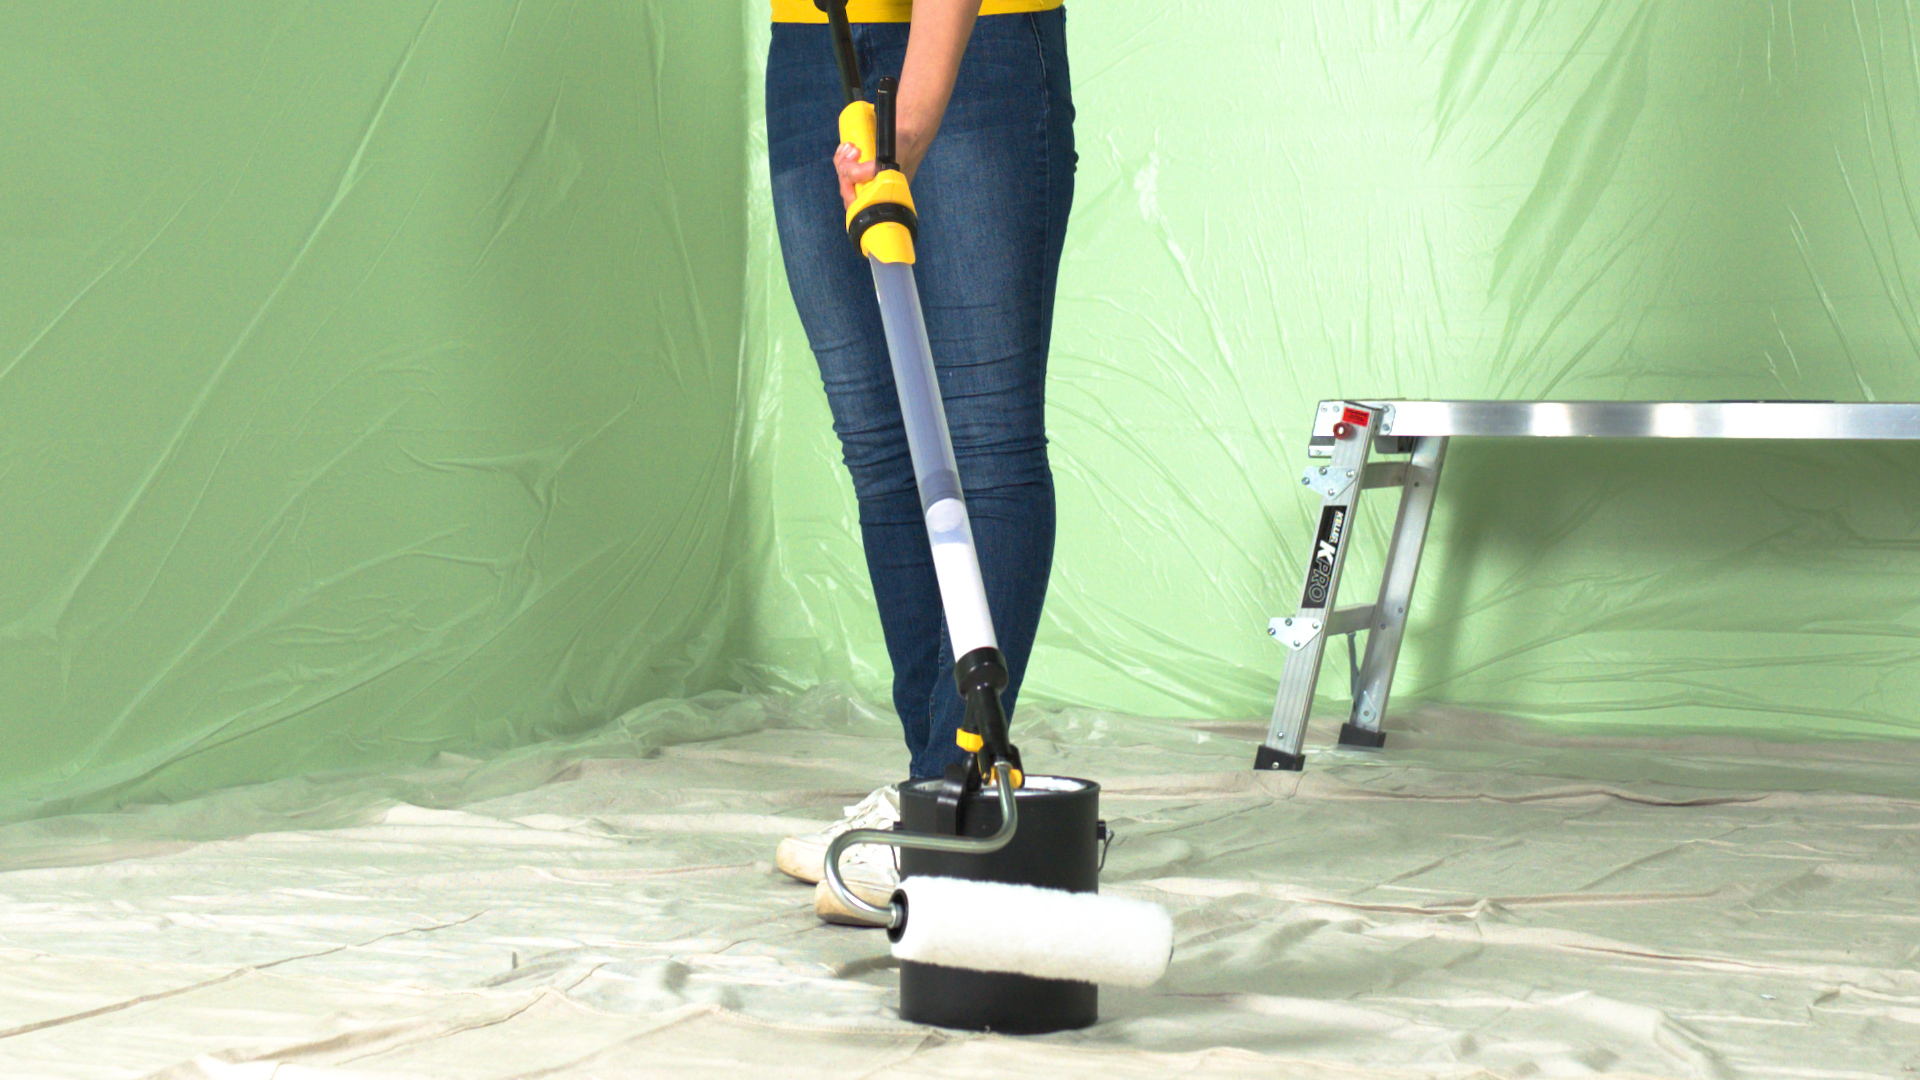
Prepare PaintStick EZ Roller for Smooth Ceilings
Let’s start with the smooth ceiling first. After cutting in, it’s time to start rolling on paint!
We recommend using Wagner’s Paintstick EZ-Roller
because it comes with a 3/8 nap, which
is perfect for lightly-textured ceilings. If your
ceiling has a heavier texture, ¾-inch nap roller
covers are available.
This roller works twice as fast as a regular roller,
because it draws paint directly from the can and
holds it in the handle while you paint!
Step 3
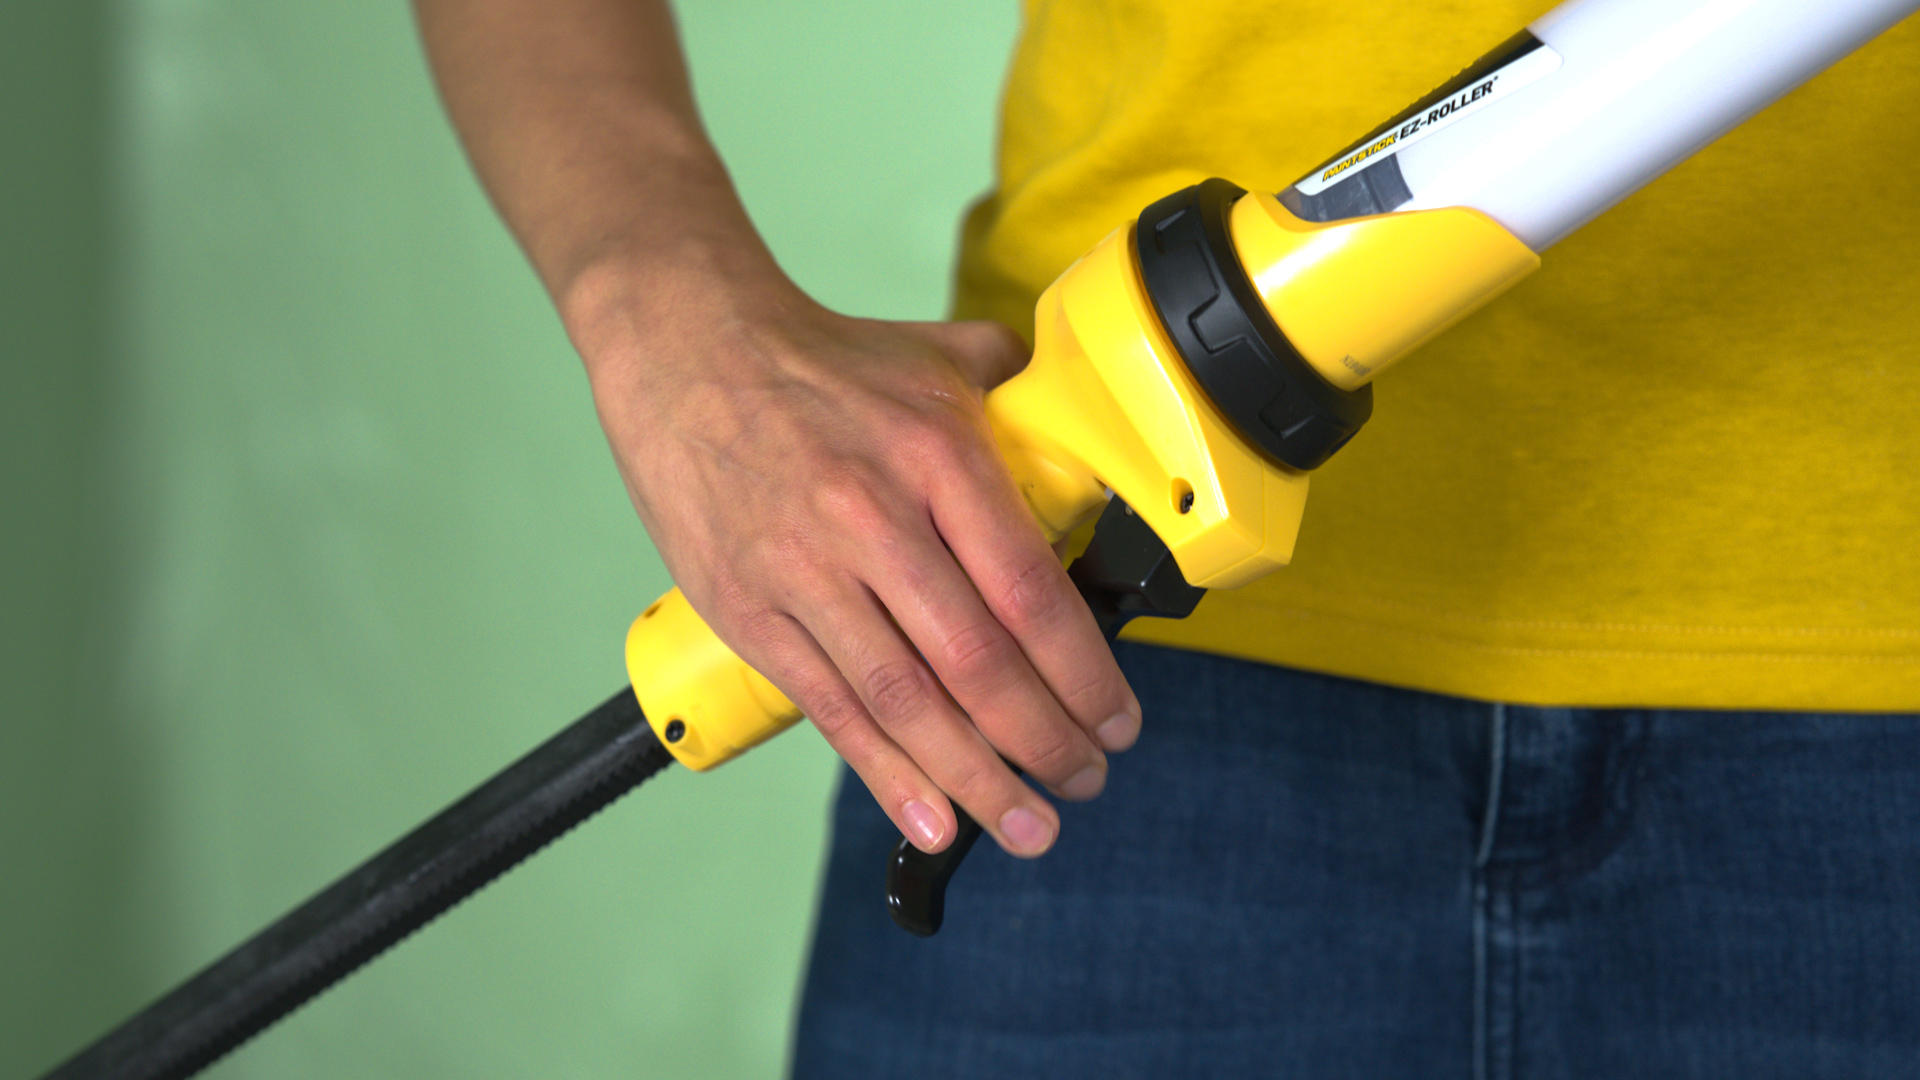
Draw Paint Into Tube and Squeeze Trigger
Using the suction tube, draw paint into the roller from the can and pull the plunger until the handle fills with paint. After that, squeeze the trigger until you start to see paint fill the roller head.
Step 4
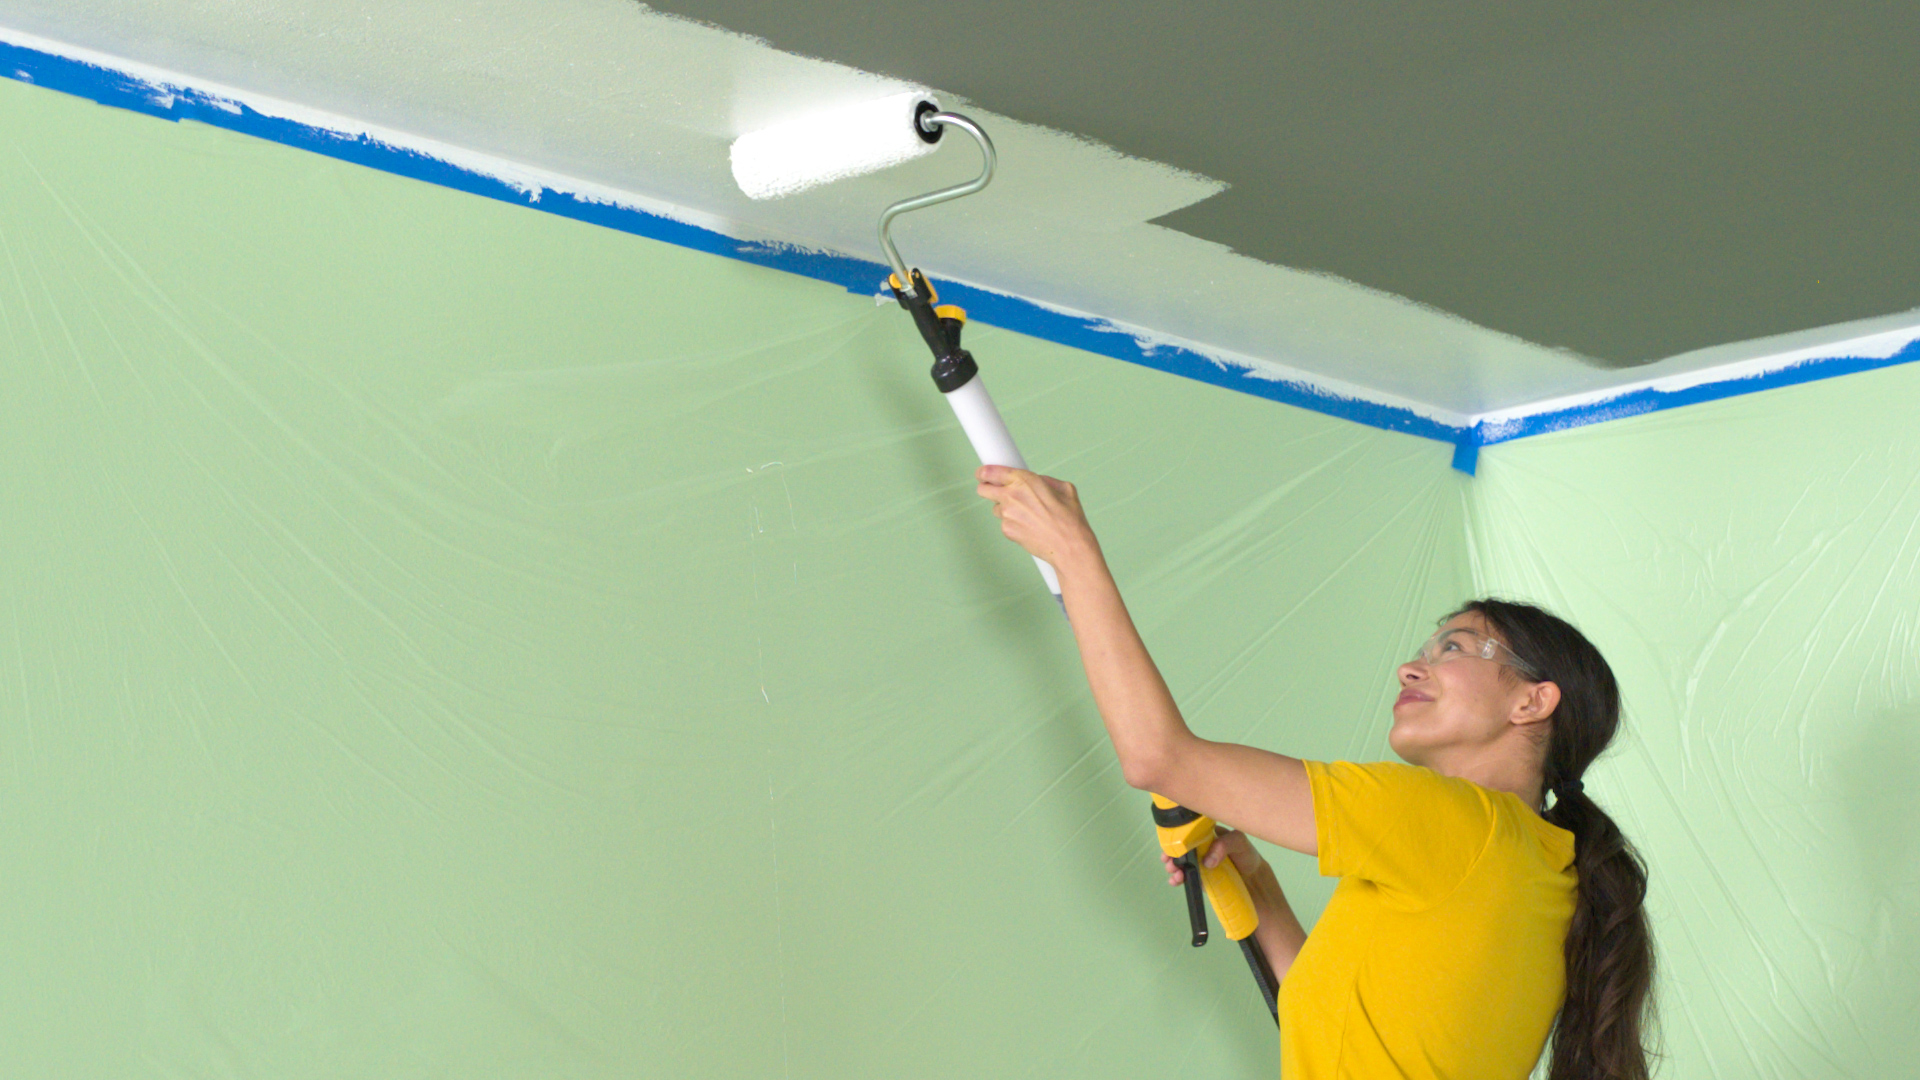
Paint the Ceiling
Now you can start rolling paint onto the ceiling. If you’re applying two coats, wait until the first one is dry before applying the second coat. For even coverage, roll perpendicular to the direction you rolled the first coat.
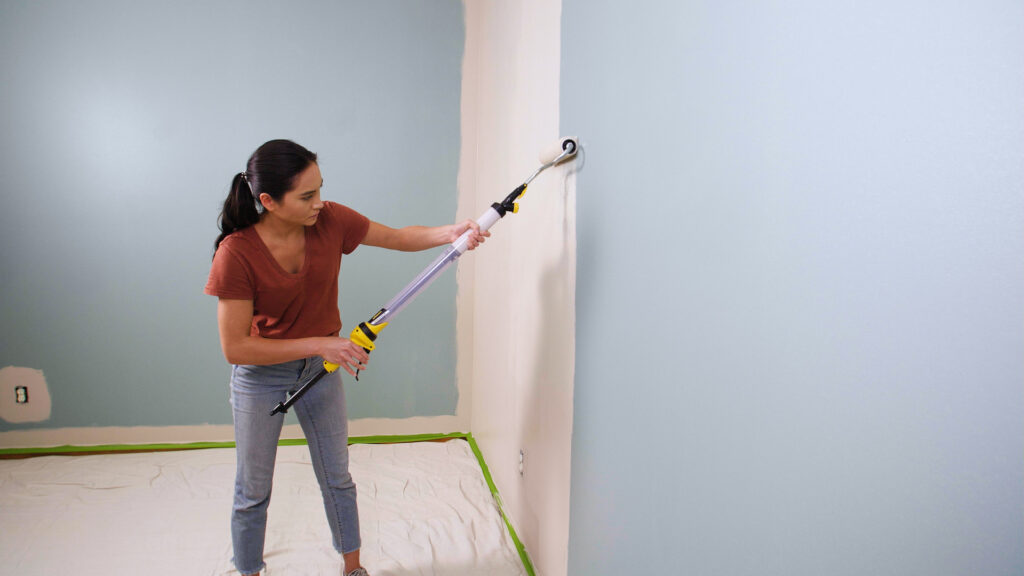
Step 5
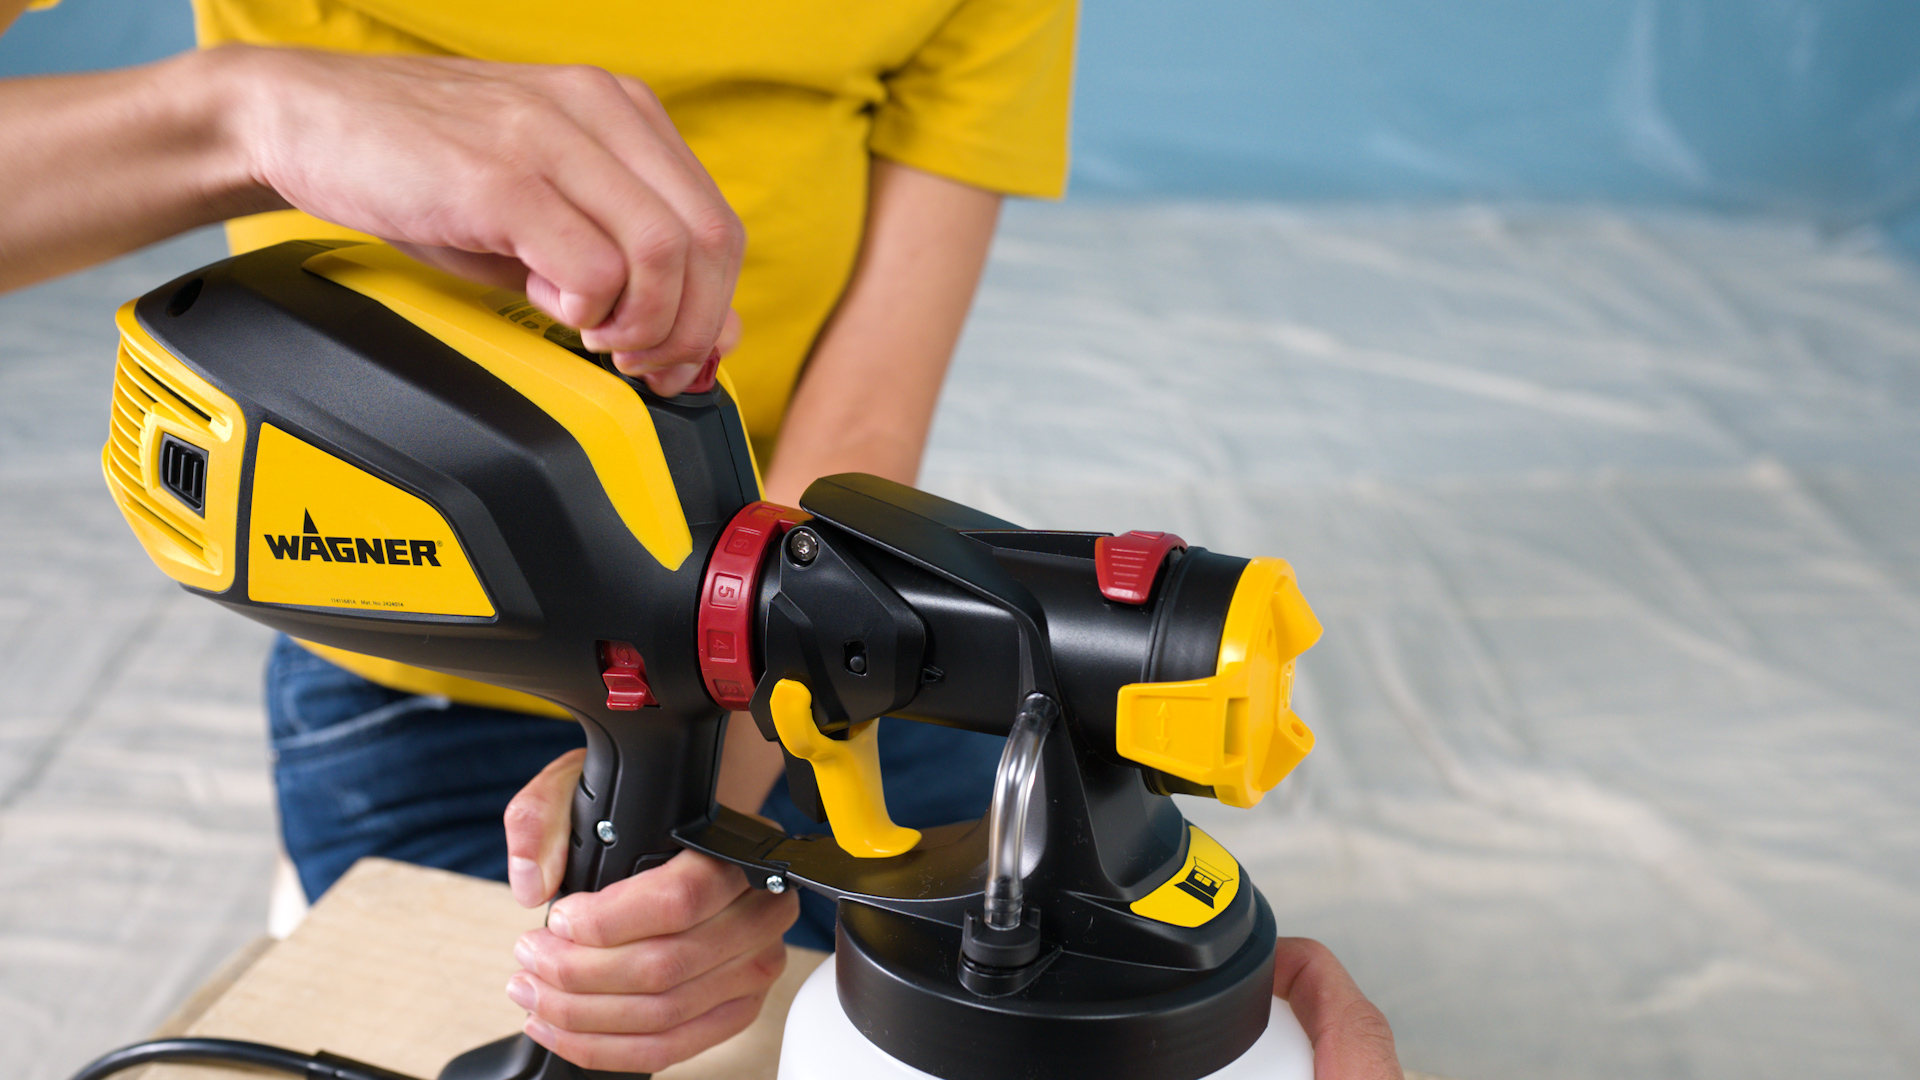
Prepare FLEXiO 3500 for Textured Ceilings
Now it’s time to learn how to paint textured ceilings. We recommend using the FLEXiO 3500 sprayer for this application using the iSpray nozzle.
The FLEXiO 3500 is perfect for applying all
kinds of interior and exterior paints, stains and
clear finishes.
It’s also the perfect tool for painting a textured
ceiling, where it can be hard to get paint into all
of the nooks and crannies without knocking bits
of the delicate texture off.
Step 6
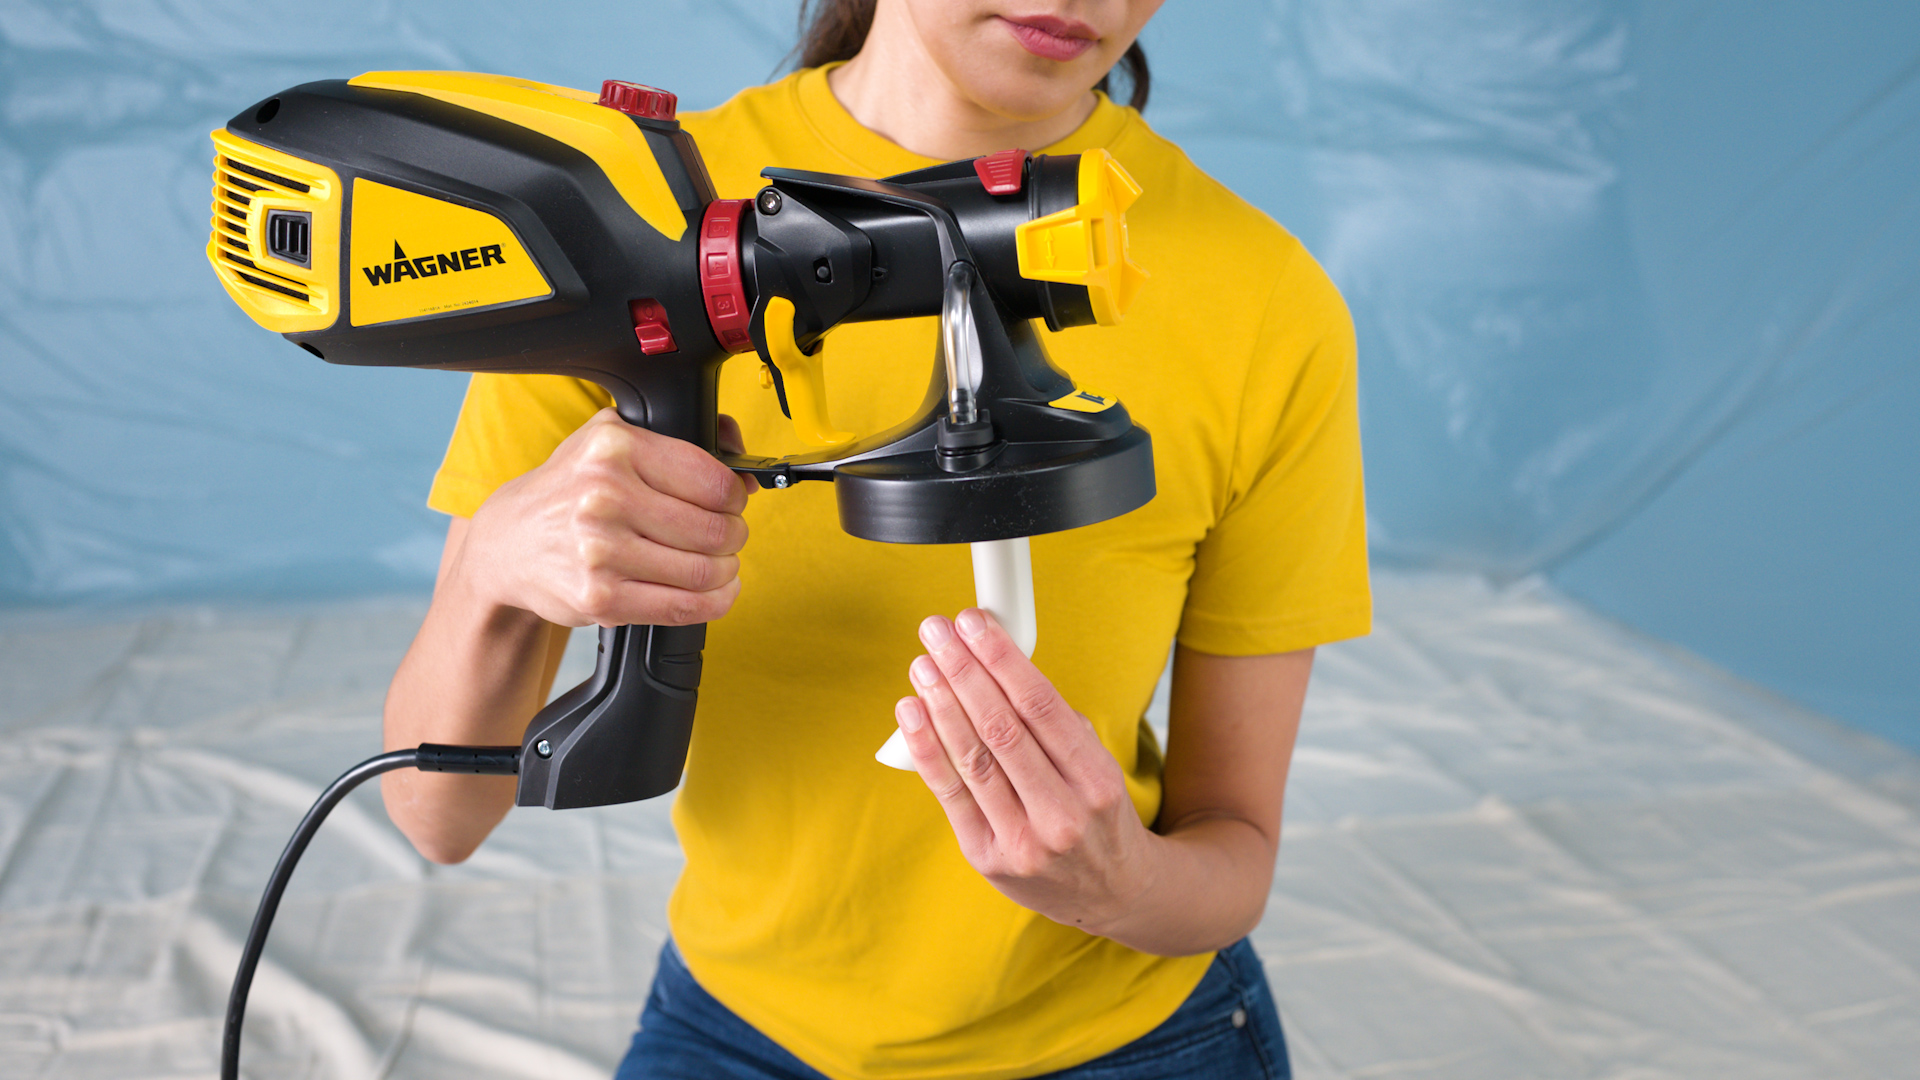
Adjust Sprayer Settings
The sprayer’s iSpray nozzle is perfect for tackling large areas like this ceiling. Just twist the suction tube so it’s pointing down while you spray. That way it’s able to pull all of the paint from the container. Because ceiling paints are usually thick, be sure to also adjust the airflow on your sprayer so it’s near maximum and the flow control to about ten.
Step 7

Mask the Room
Before painting, be sure to mask off the walls with plastic and painter’s tape.
Step 8
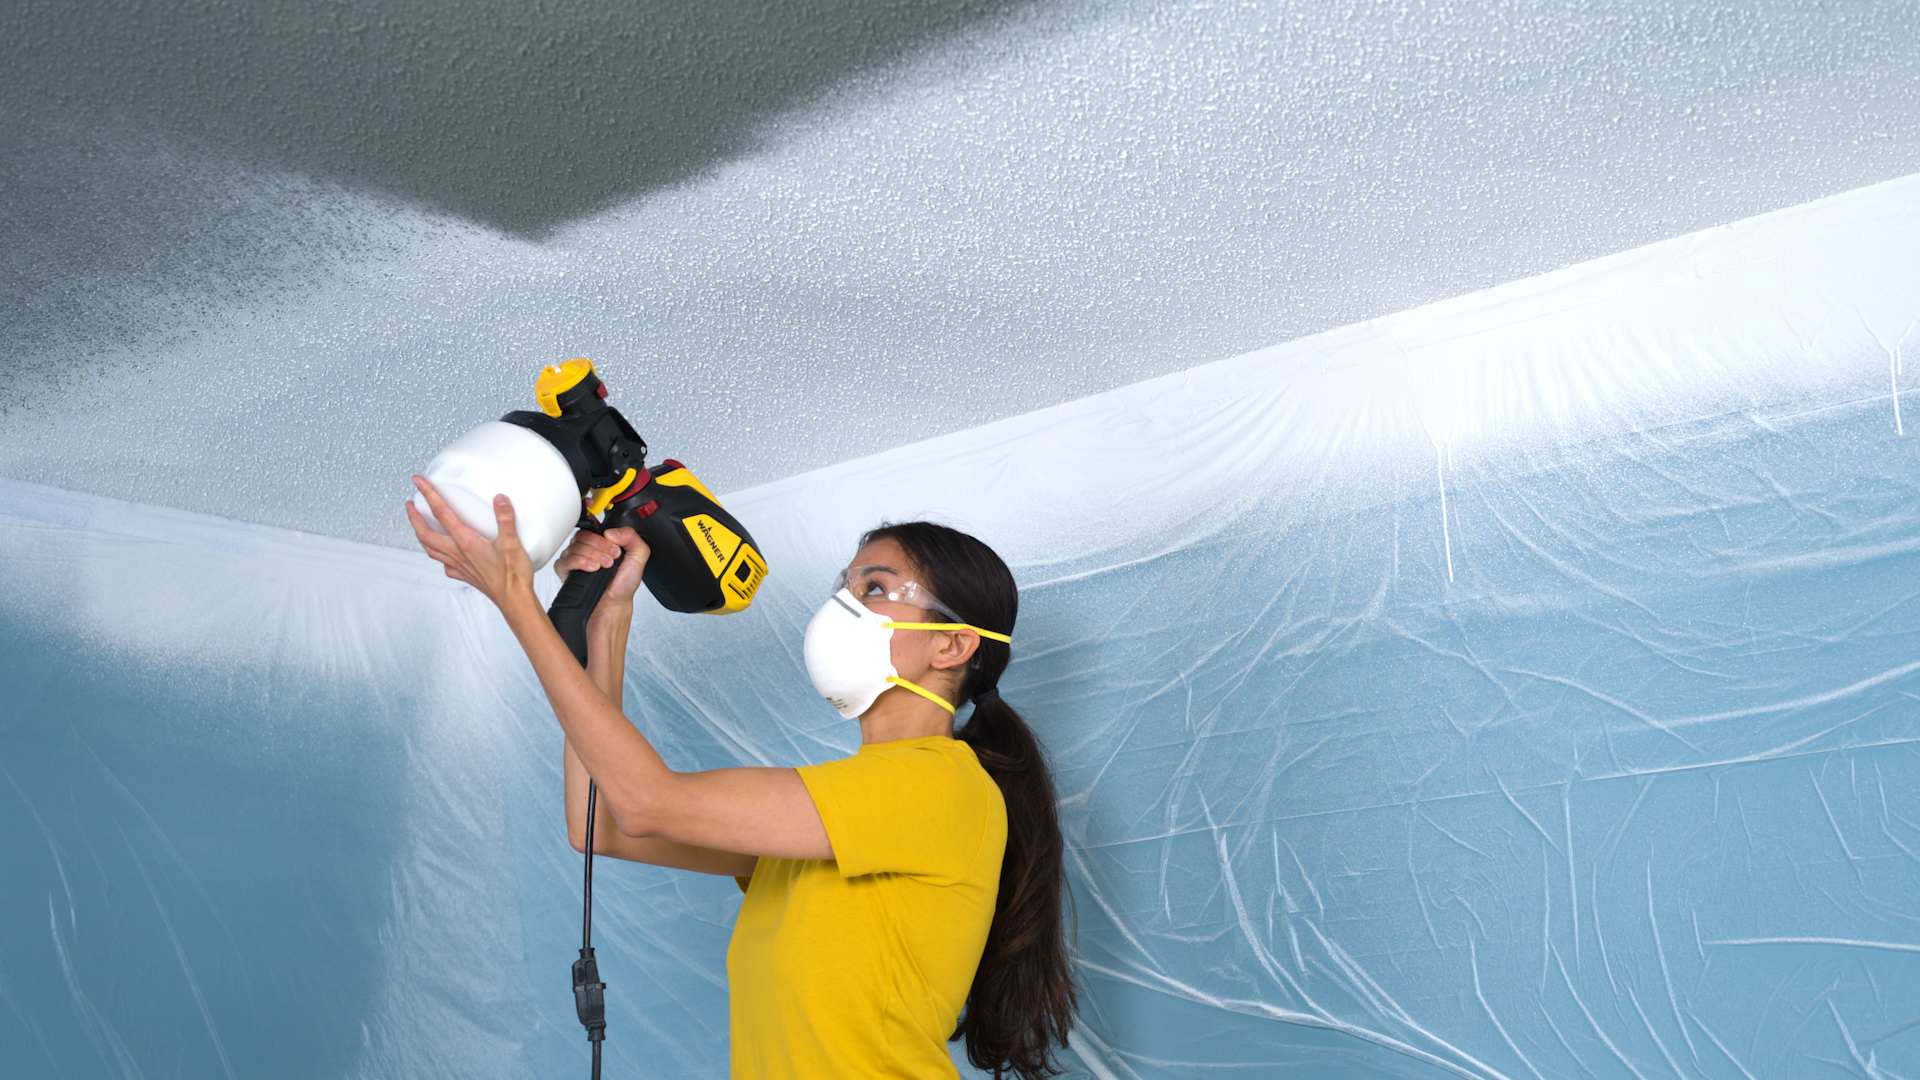
Spray the Ceiling
Now you’re ready to start spraying! Hold the sprayer 6-8 inches from the surface. Overlap each pass by 50% and spray away from you toward the ceiling. Start on one end of the ceiling and follow the length of a wall to create a starting edge. Then work out from that first pass, spraying at a 45- degree angle toward the unpainted part of the ceiling.
Step 9

Download Project Steps & Shopping List
We’ll never share your email with anyone else