Overview
It’s that time of year again where we’re starting to do more indoor crafting projects! Since the leaves are changing and fall weather is coming, we wanted to share this quick melted crayon art project that you can complete with a Wagner HT400 heat gun. This easy crayon melting project idea is the perfect way to add handmade décor to your living space.
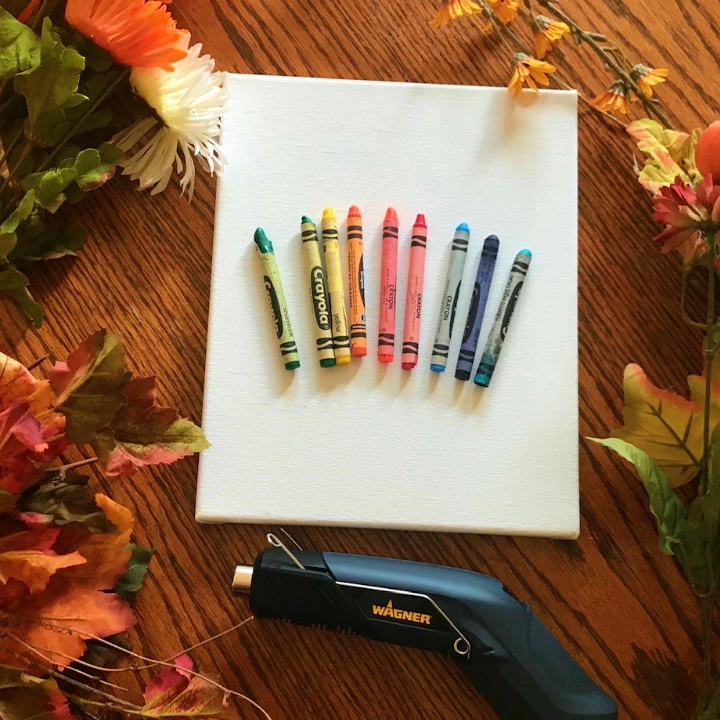
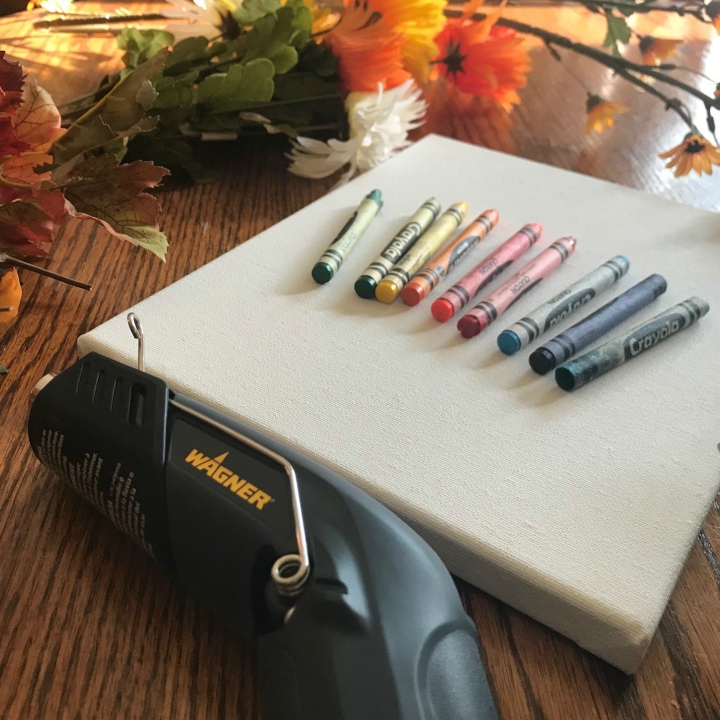
Gather materials
Start by gathering your materials and choosing unique crayon colors for your project! We decided to go with a fall-theme, but you can choose whichever colors and designs you’d like. Popular crayon melting ideas include adding phrases or colored pictures for the wax to drip over.
Step 1
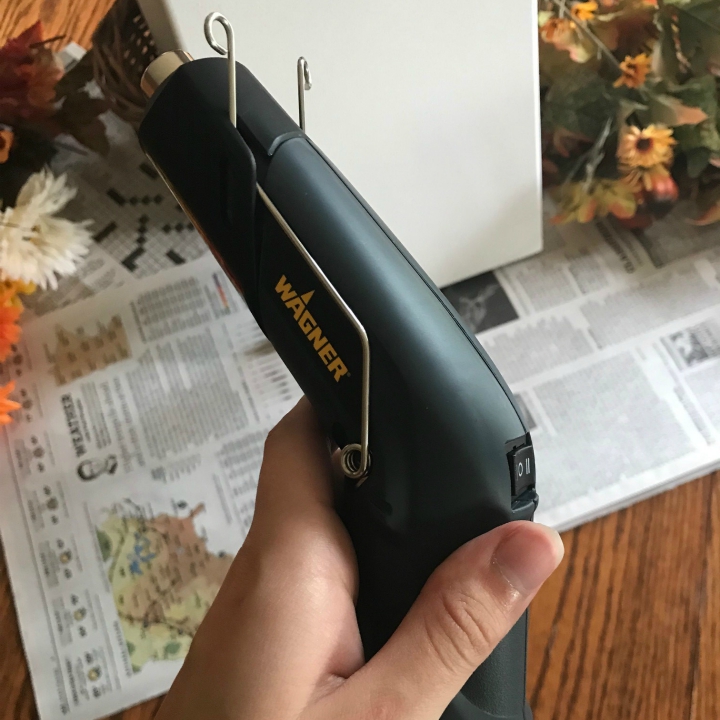
Heat guns provide best heat for melting
It’s important to note that a heat gun like the Wagner HT400 will be a lifesaver when you’re melting crayons! Other tutorials might tell you that a hairdryer will work, but hairdryers usually only reach 140° whereas the HT400 heat gun has two temperature settings: high 680°F (360°C) and low 450°F (230°C).
These high temperatures make it super quick and easy to melt crayons! If you use a hairdryer, you’ll be holding the heat on the crayons much longer to get it to melt.
Step 2
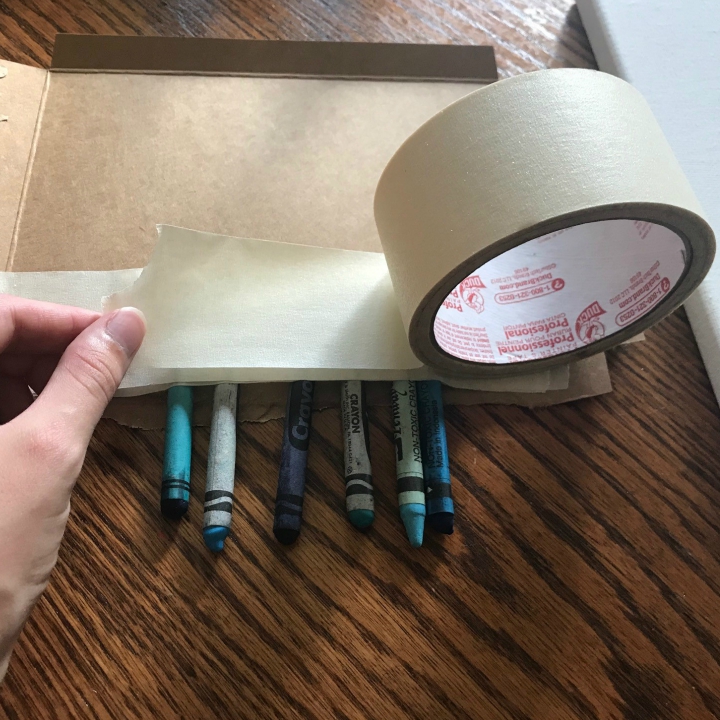
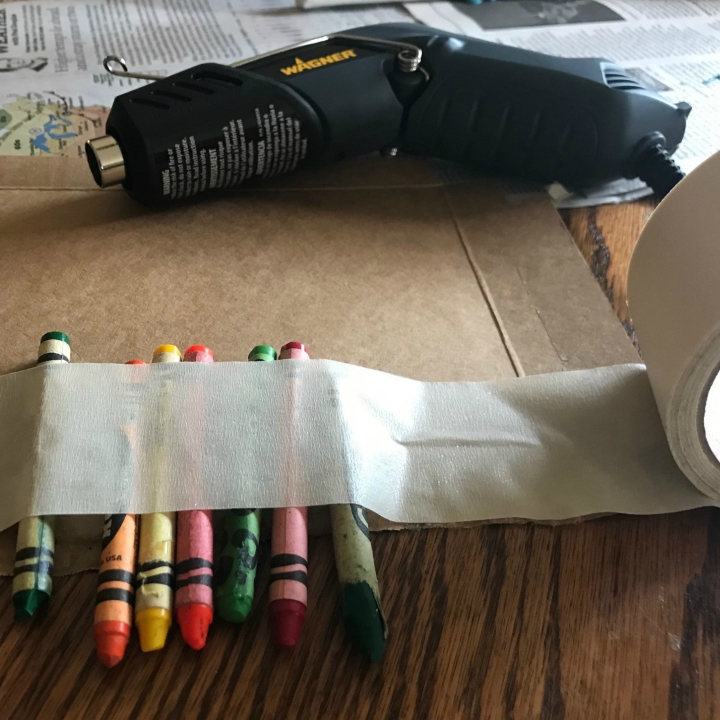
Tape crayons to melting surface
Tape your crayons to a piece of cardboard or directly onto your canvas. We chose to tape the crayons to cardboard so we’d be able to have more control over where the wax drips.
Step 3
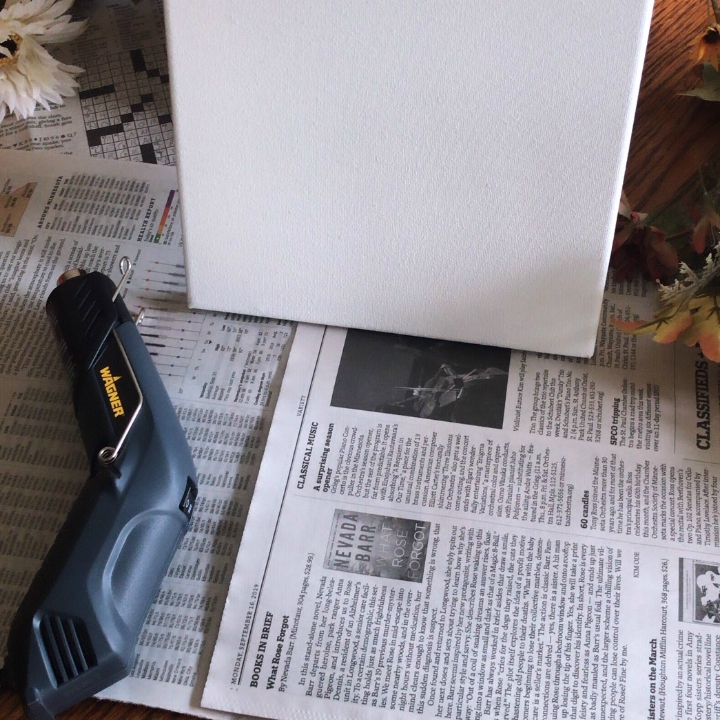
Place newspaper under project
Place down newspaper under the canvas to catch any wax that might miss the canvas.
Step 4
Turn heat gun on
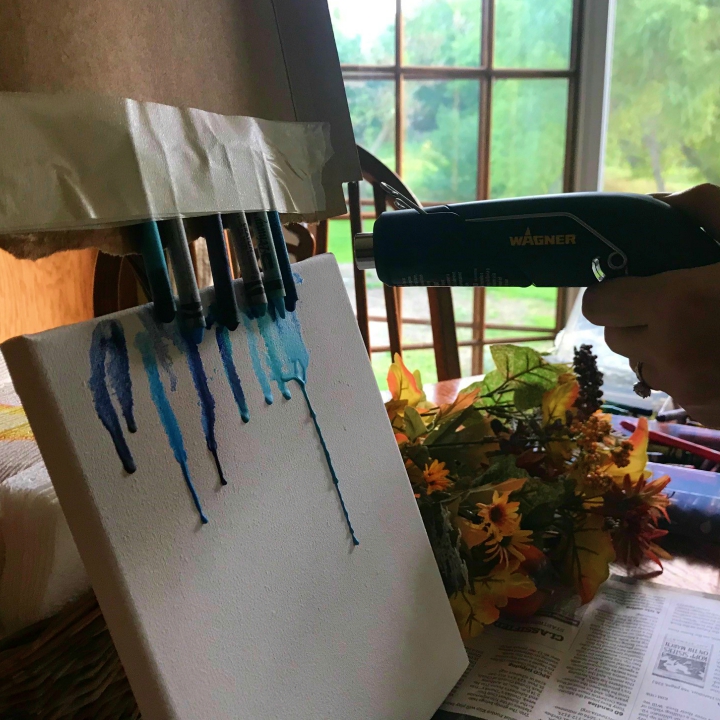
Turn on your heat gun! For this project, we used both temperature settings. We used the high setting to quickly melt the tips of the crayon and then switched to the low setting when we wanted the wax to drip more slowly.
Step 5
Begin melting crayons
To avoid burning the canvas or crayon paper, we recommend holding the heat gun at least 2-3 inches away.
Step 6
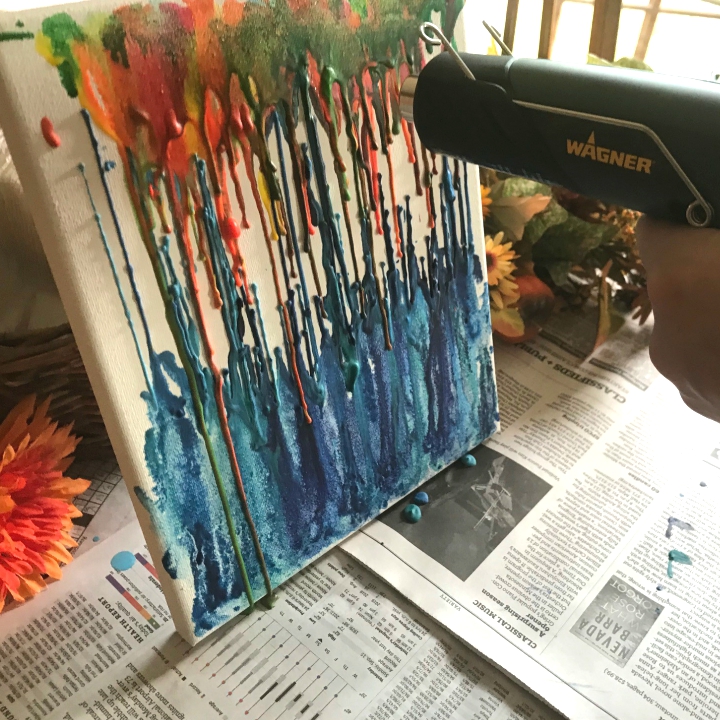
Watch wax melt down canvas
It’s super satisfying to watch the wax melt down the canvas! The best part is that the wax dries almost instantly so you don’t need to worry about long dry times!
Step 7
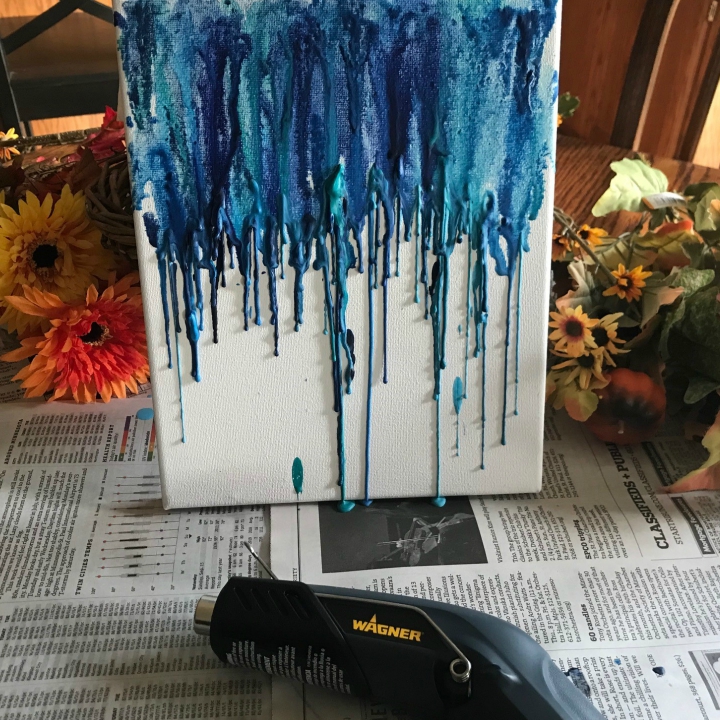
Change colors as needed
Change colors as needed. We wanted to create a blue sky with fall flowers underneath so we created the sky with blue crayons and then switched to orange, red, yellow and green crayons.
Step 8
Flip canvas
We flipped the canvas upside down and applied heat with the HT400 again!
Step 9

Download Project Steps & Shopping List
We’ll never share your email with anyone else