Overview
Hey everyone, this is Lindi from Love Create Celebrate. It’s just about summertime, and there’s nothing I enjoy making more in the summer than planters! We’ve made all kinds of planters in the past, but this summer we tried our hands at concrete ones for the first time and loved it!
Create molds
If you’re never worked with concrete, it’s a great material to use for the outdoors because it withstands the weather beautifully, plus it’s very affordable, at less than $10 for a whole bag! And if you already have some plastic containers and a Wagner FURNO 300 on hand, the project couldn’t be easier to do!
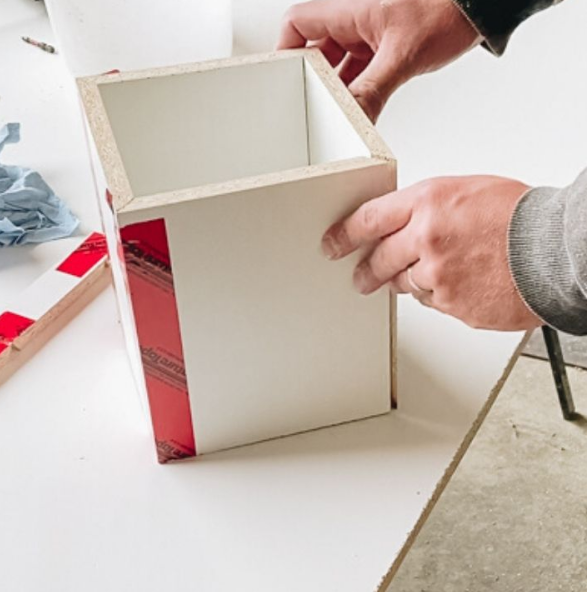
We made a couple of different concrete molds for our patio out of plastic containers we had on hand and melamine (which took a few more steps, but was still very easy to make).
Step 1

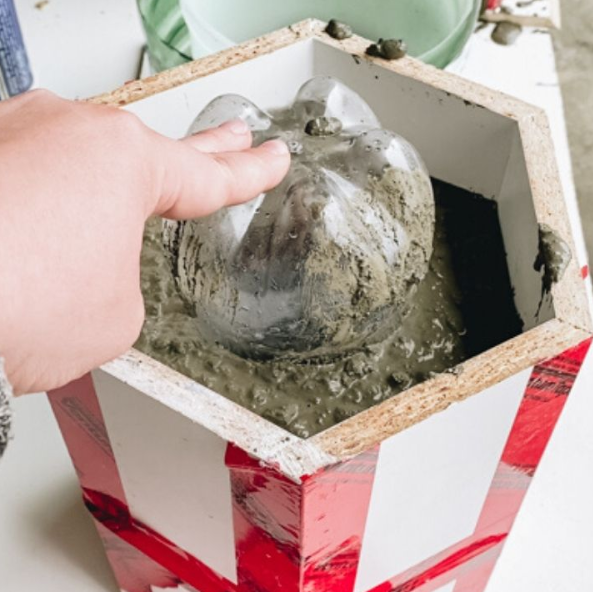
Coat, fill with mixed concrete, and let sit
Once your molds are ready, you simply coat them (we used WD-40 to keep the concrete from adhering to the mold), fill them with your mixed concrete, and let them sit according to your concrete directions.
Step 2
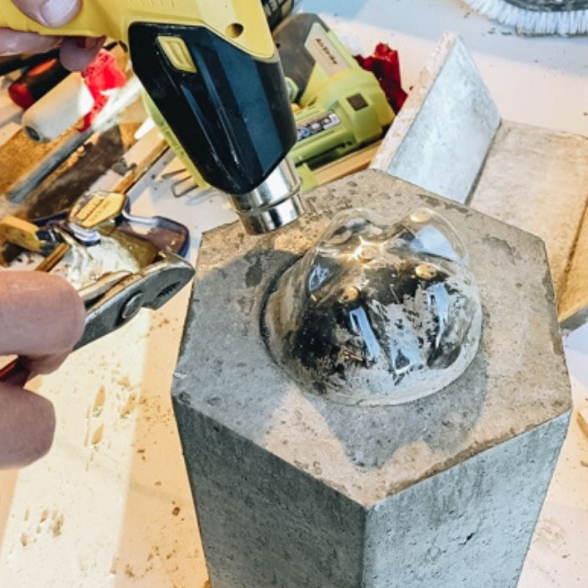
Remove plastic containers with heat gun
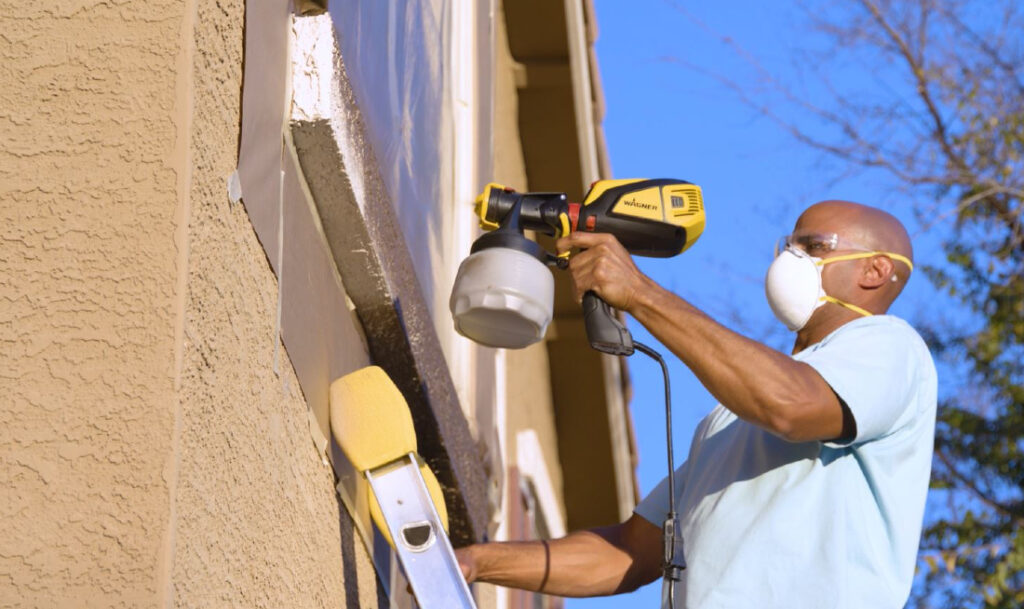
When they are done, you can easily remove the plastic containers from the inside and outside of your planters using your Wagner FURNO 300 Heat Gun!
Step 3
Ensure your area is well ventilated
NOTE: Make sure to work in a well ventilated area and follow the proper safety and respiratory procedures when melting plastic.
Step 4
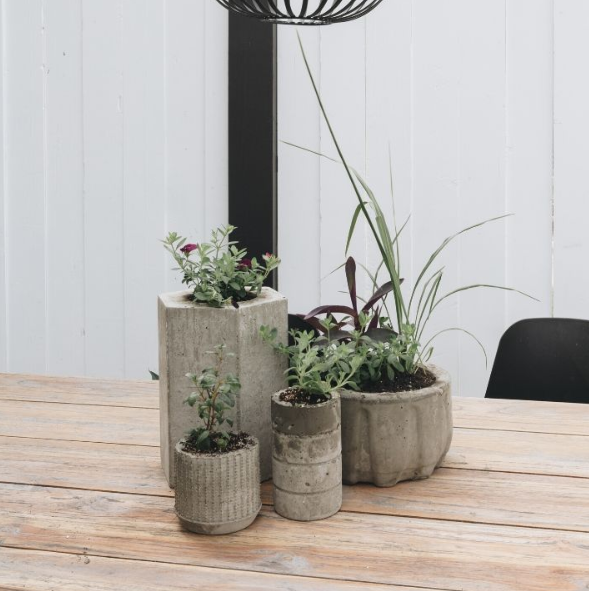
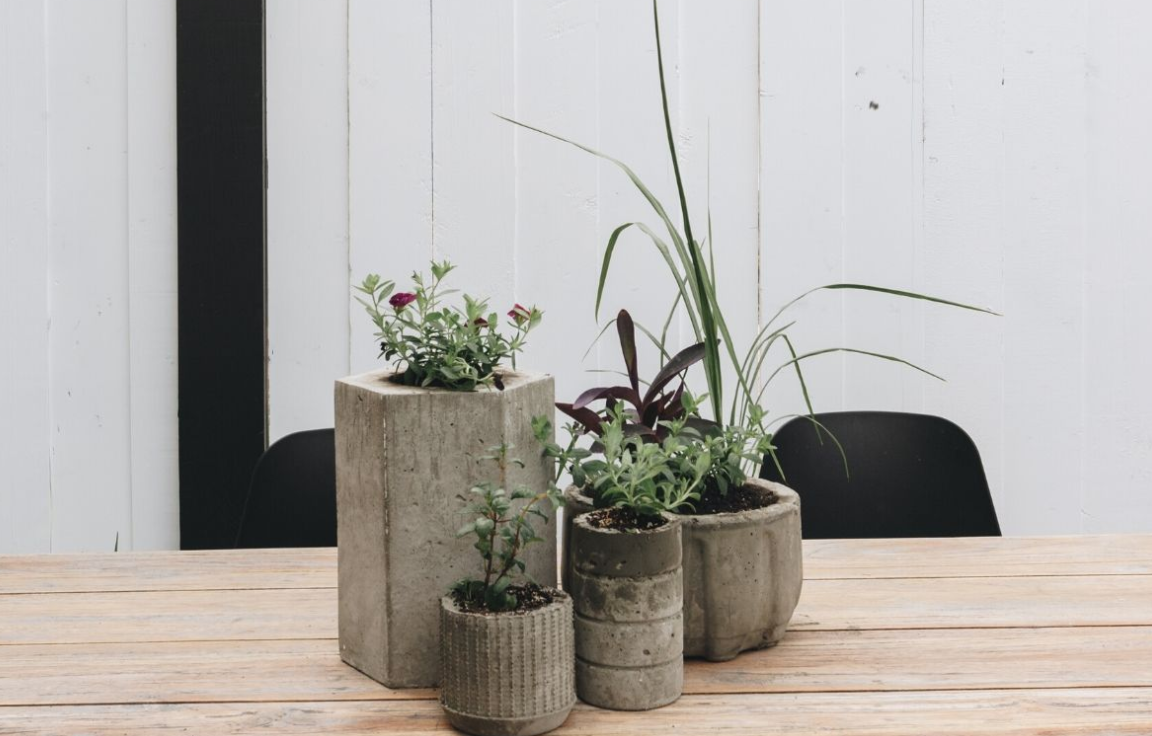
Add dirt and plants
We tried a few different shaped molds and learned a lot from our failures and successes while we made out concrete planters! Check out our video tutorial and post at Love Create Celebrate to hear all of our tips and tricks!
Step 5
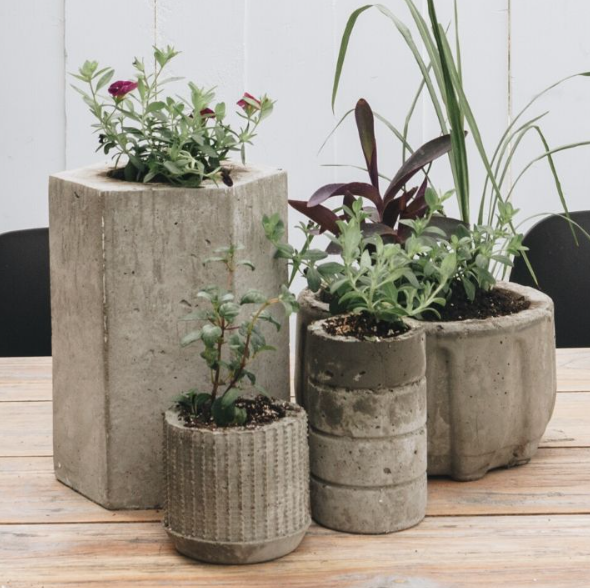
Watch your plants grow from your concrete planters!
This sponsored post was created by Love Create Celebrate. Head to the blog for the full post and details.
Step 6

Download Project Steps & Shopping List
We’ll never share your email with anyone else