Overview
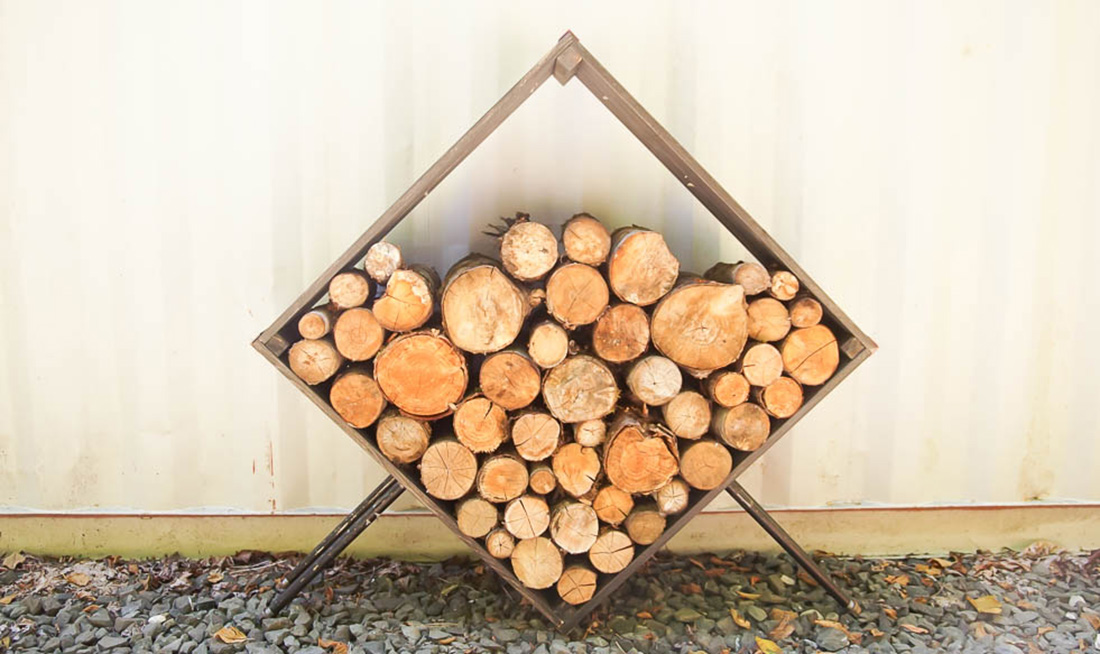
Whether you are stocking up for the fall and winter, or you simply have extra wood around, today I am sharing all the details on how to make a firewood holder with you! This firewood holder is easy to make and has a fun and modern style to it and it won’t completely break the bank to make either. Keep reading for all the details.
If you want a few more details on this project including my money saving tips so that you can create something similar for only $49, be sure to check out the corresponding post on my blog here.
Before
After
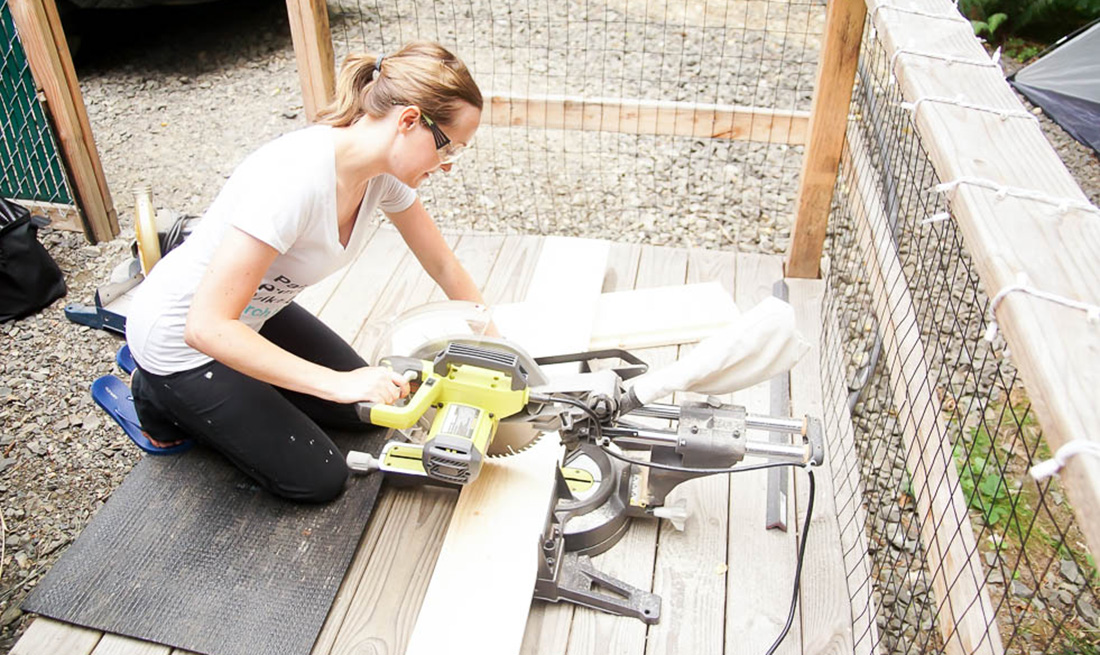
Cut the Wood Pieces
Cut the (4) 1″ x 8″ x 6′ boards into (8) 3′ lengths using a miter saw.
Also, cut the 2″ x 2″ board into (4) lengths approximately 14.5″ long or the width of (2) 1” x 8” boards placed next to each other.
Step 1
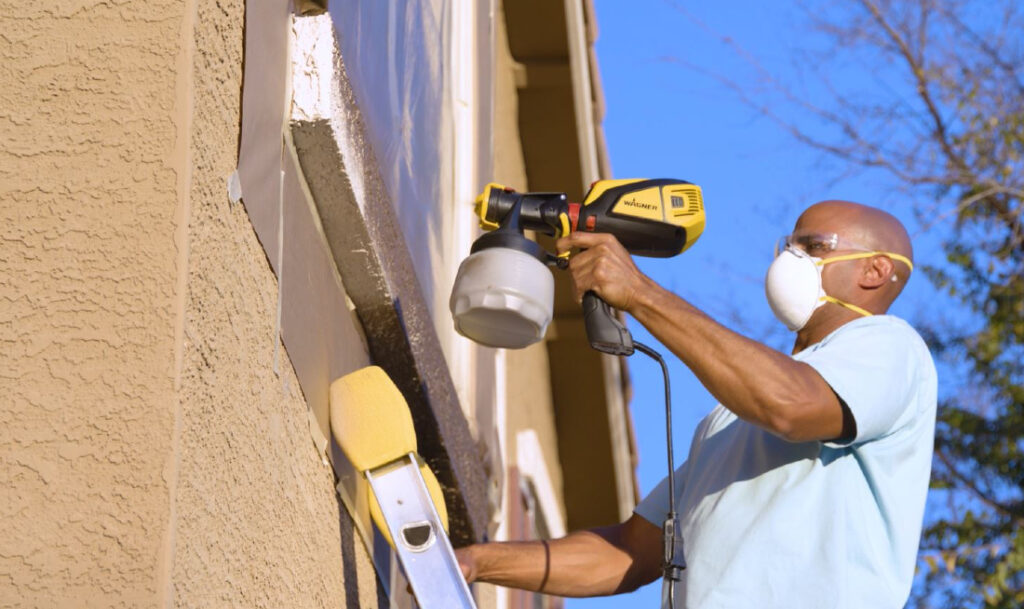
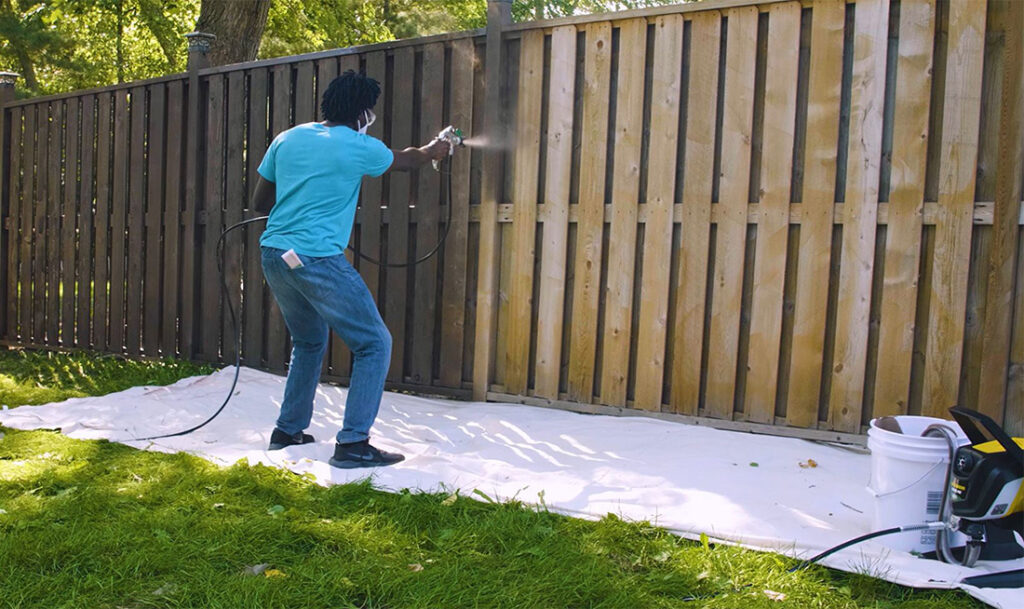
Set Up Spray Area and Sprayer
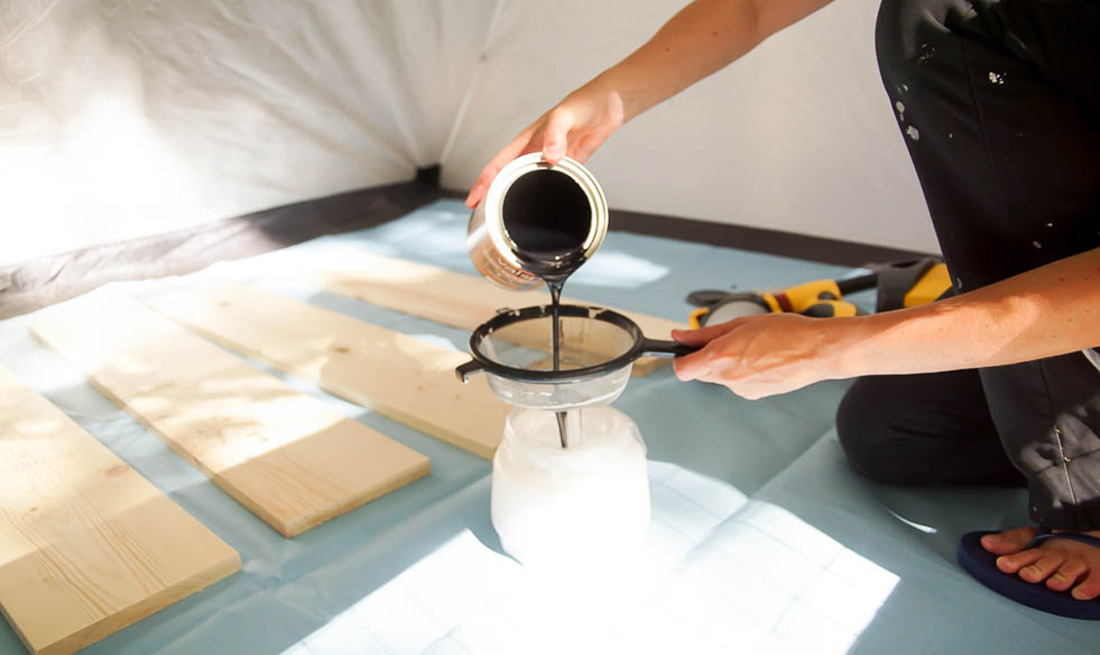
Using a spray shelter and a drop cloth, set up your painting station.
Use a liner in your spray cut, stir and strain your stain and then put it into the cup.
Step 2
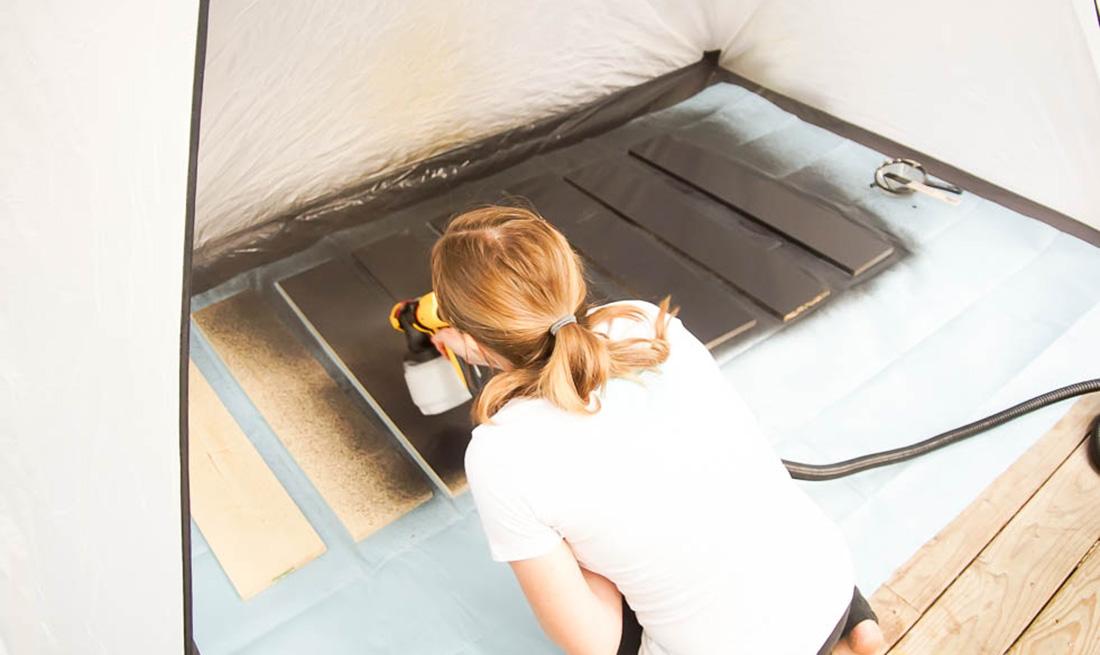
Spray the Boards
Spray all sides of your boards with 1 or 2 coats of stain as desired, letting it dry in between coats. After each coat of stain, use a chip brush to back brush your stain IF the directions indicate to do this.
Step 3
Cut Metal
Cut the metal angle iron into (4) lengths that are approximately 14.5” long using a metal cut off blade. You want these lengths to be about the same length as the width of (2) 1″ x 8″ boards next to each other.
Step 4
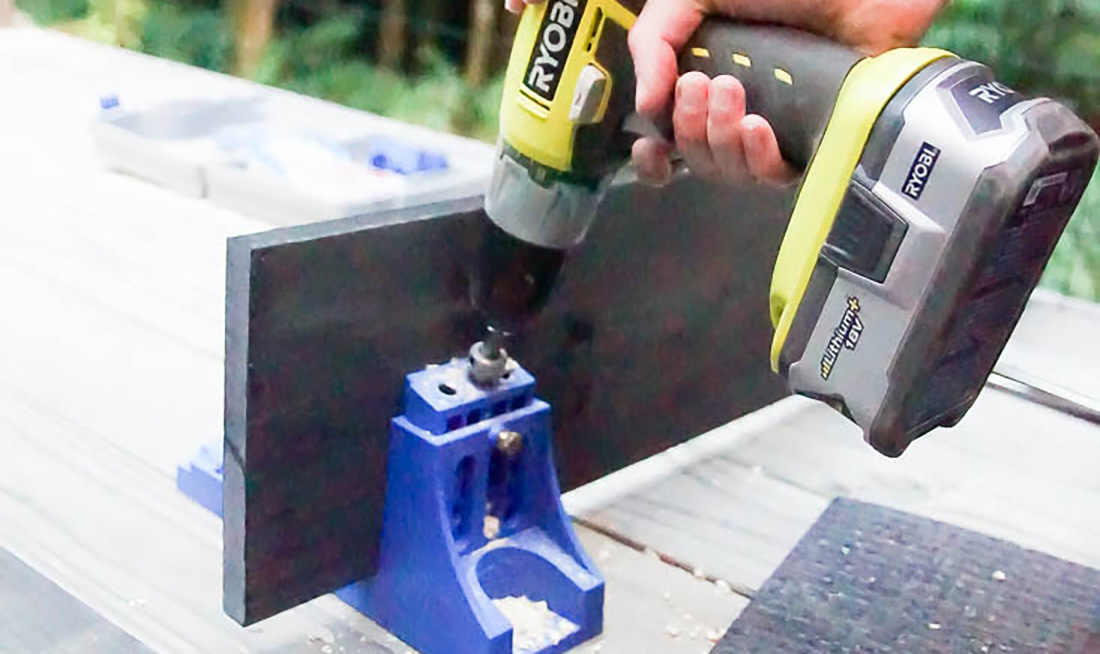
Attach Boards to Each Other
Use a Kreg Jig to attach (2) 1″ x 8″ boards to each other. You should end up with (4) board sections approximately 14.5″ w by 3′ l.
Step 5
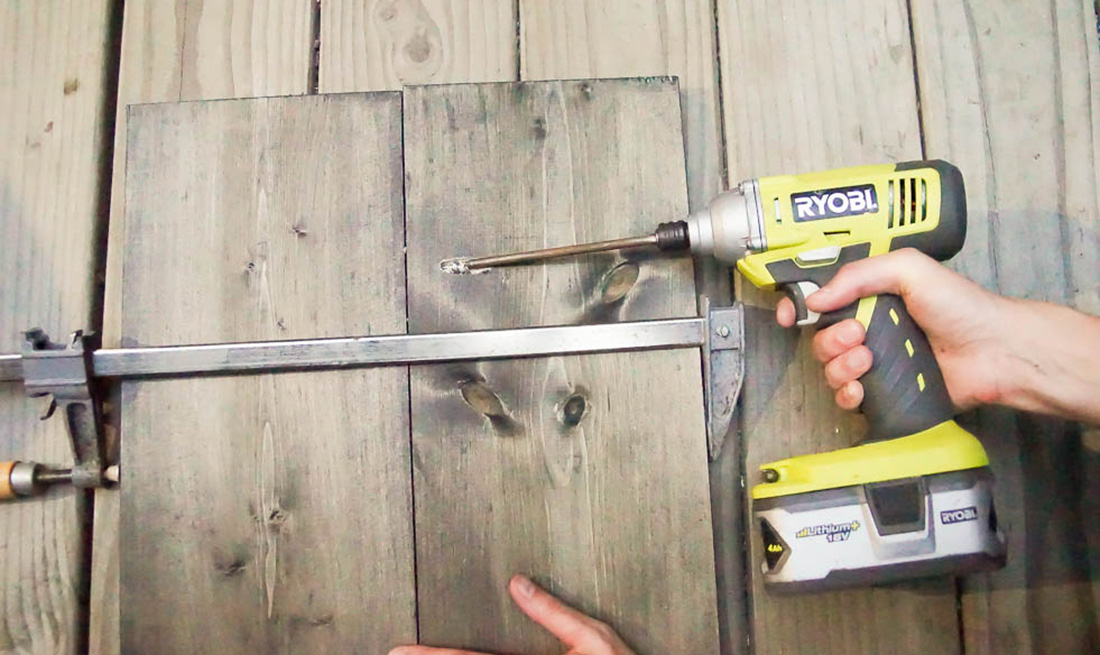
Place the Boards in a Square
Place the boards on the ground in a square and place a 2″ x 2″ board on the inside of each corner.
Use a drill and screws to attach the boards to the 2″ x 2″ boards. This will create a very stable and strong connection point on all corners of your square.
*Note this is helpful to have an extra set of hands to do this part.
Step 6
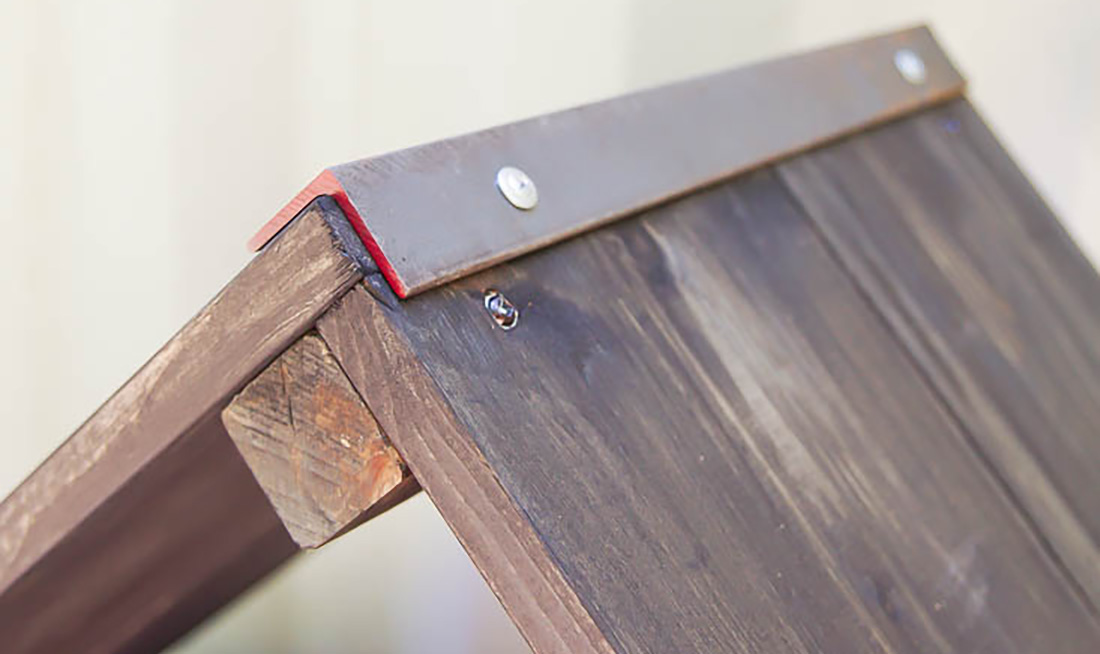
Attach Metal Corners
Attach the angle iron pieces to the outside of all corners of your square using a drill and screws.
Step 7
Create Legs and Enjoy!
Attach the end caps to the pipe to a flange to create legs. Do this for all (4) sets of pipe. Screw these into the wood square approximately 17.5″ from the bottom corner of the square to the bottom of the flange. But please measure and place them in the exact right spot for your project.
Move to the location of choice and fill with firewood!
This sponsored post was created by Simply Designing. Head to the blog for the full post and details.
Step 8

Download Project Steps & Shopping List
We’ll never share your email with anyone else