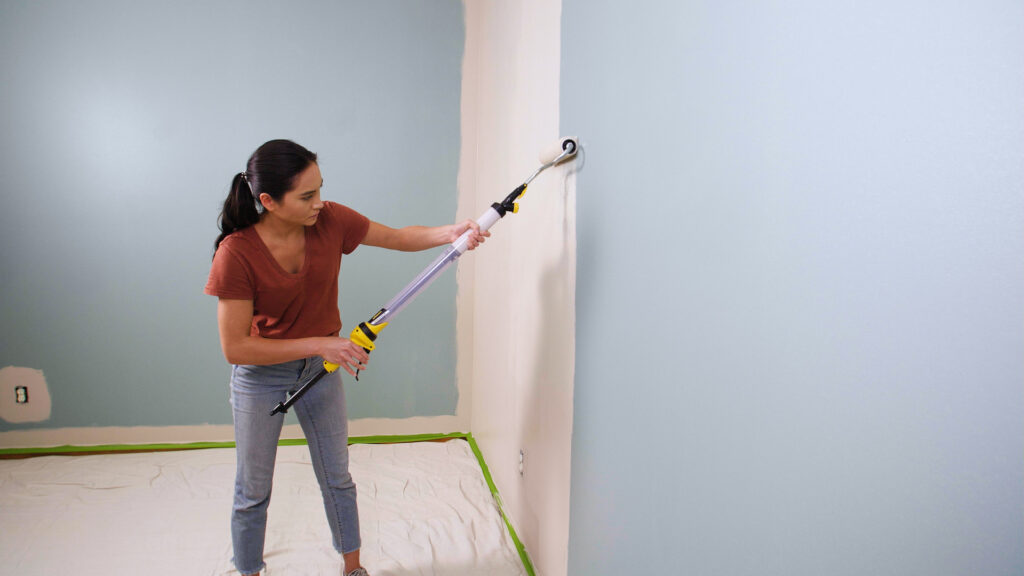
Overview
Whether you’re creating handmade cards or scrapbooking, embossing is a great craft to add personal, shiny accents to surfaces! Learn how to melt and dry your embossing powder using a Wagner FURNO heat gun.
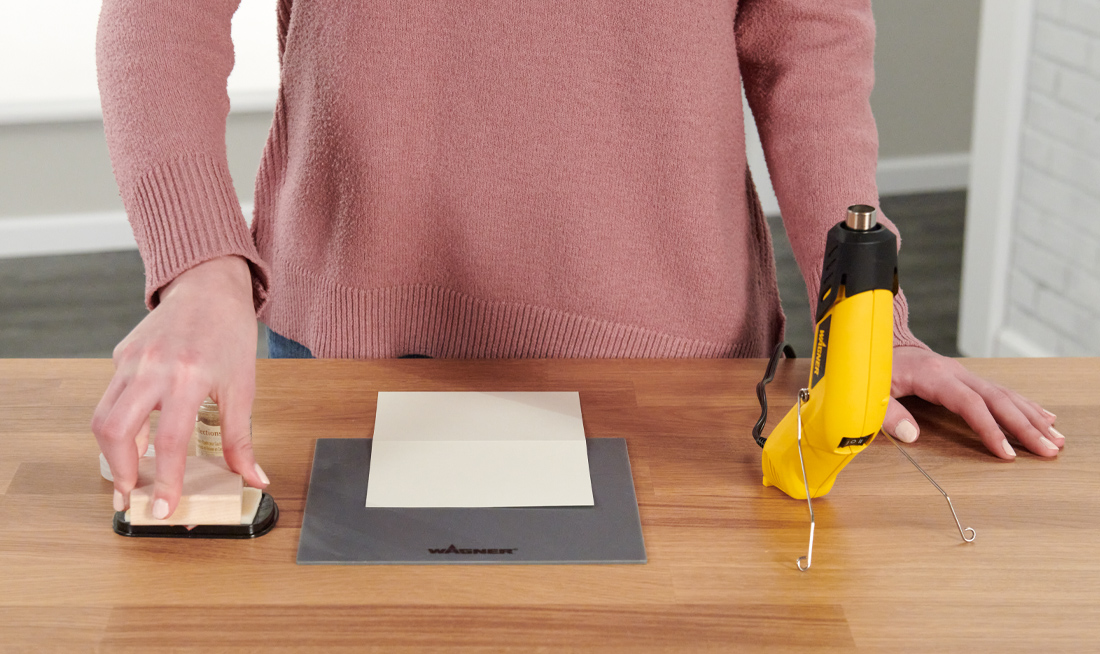
Apply Glue to Stamp
Start by finding a stamp with a unique design that you want to use for embossing! There are dozens of fun stamp options ranging from paw prints to “Happy Birthday” phrases that you can find at your local craft store. When you’ve selected your stamp design, press it into the embossing ink pad glue and hold it down for several seconds to make sure the stamp is fully saturated.
Step 1
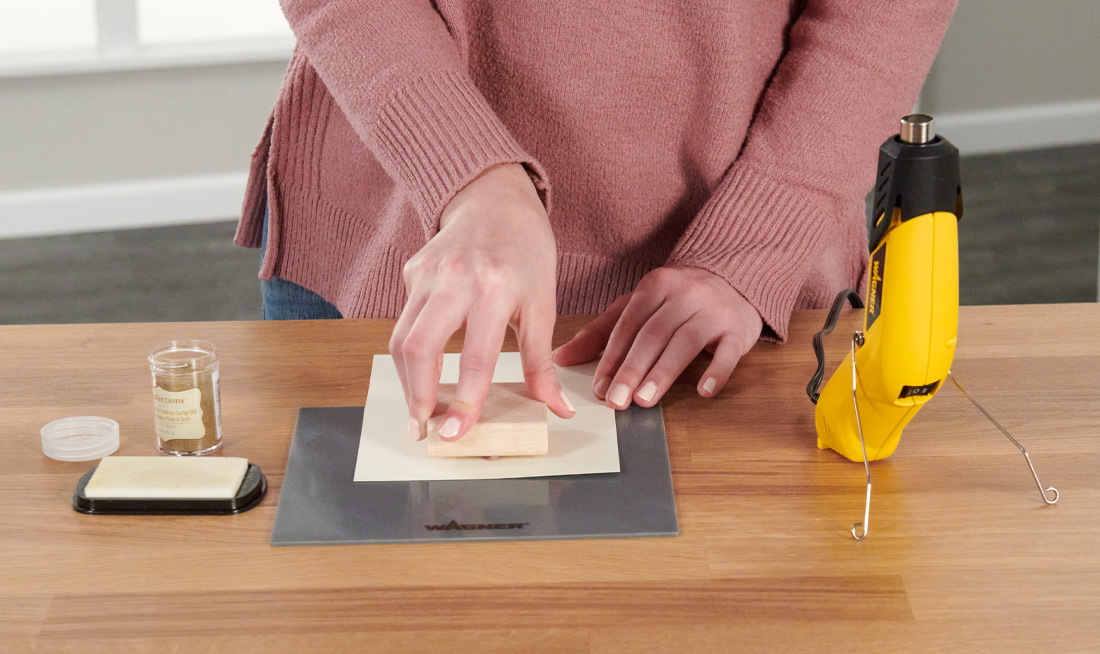
Apply the Stamp to Your Paper
Next, apply the stamp firmly to your surface. Embossing powder can be used on a wide variety of surfaces, including paper, fabric, wood and even ceramic! Hold the stamp down for several seconds to make sure the entire stamp design is transferred with the glue.
Step 2
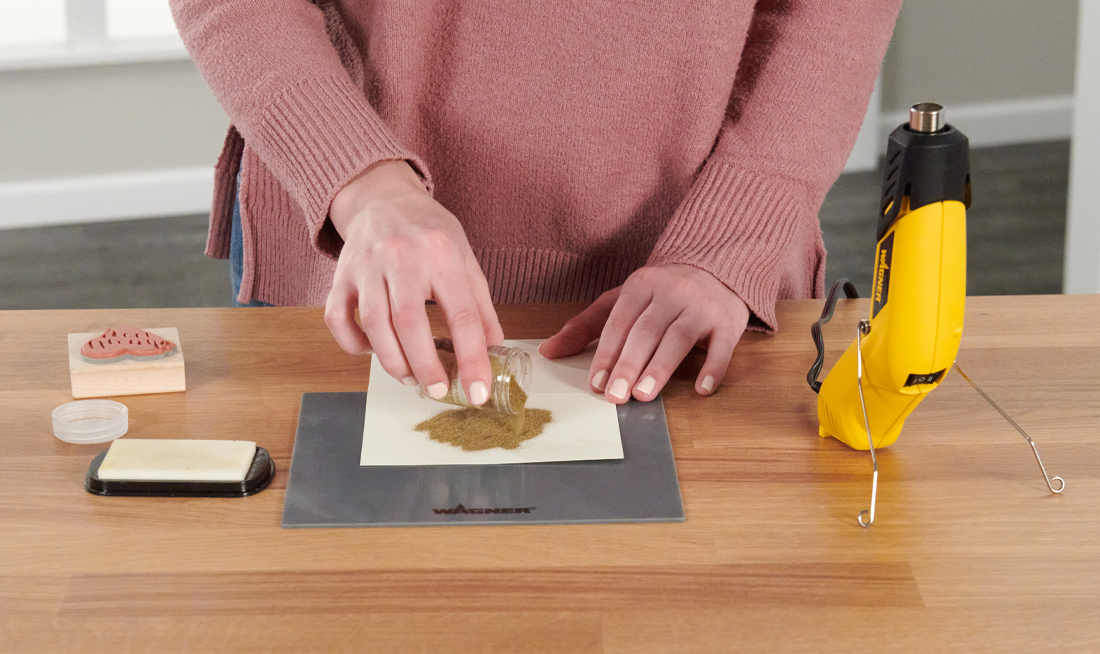
Sprinkle the Embossing Powder
There are countless embossing powder options to choose from at your local craft store. They vary greatly in color, design and sparkle. Choose a powder that suits your project and personal creative preferences. Once you’ve chosen a powder, you’re ready to add it to your surface. This should be done immediately after applying the stamped glue. Simply pour the powder over the entire glue design that you previously stamped to make sure the entire design is covered. Don’t worry about using too much powder!
Step 3
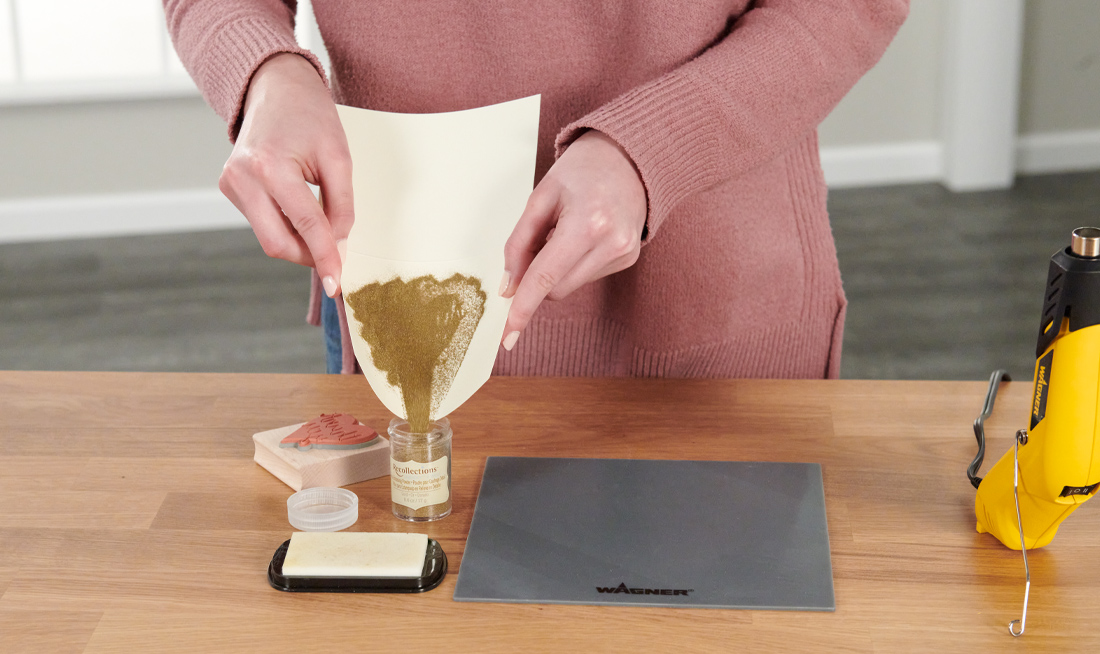
Return Excess Powder
Next, return the excess embossing powder back into the jar. You’ll see that the powder easily slides off the material, but stays on the area that was stamped with glue.
Step 4
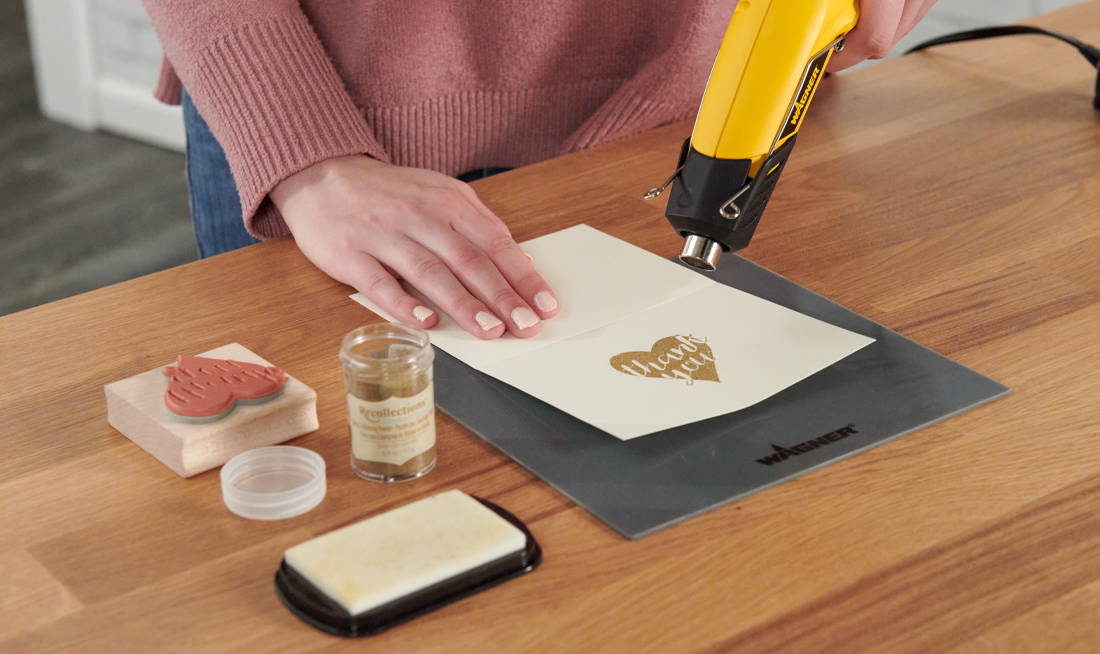
Apply Heat With a Heat Gun
Now for the fun part: melting and drying the embossing powder! This is what gives the embossing powder that beautiful, shiny appearance. Grab your FURNO Micro Heat Gun and turn the heat gun to the low heat setting. Then keep the heat gun 2-3 inches away and slowly move it over the embossing powder. Be sure to keep the heat gun moving so you don’t damage your cardstock or fabric.
Step 5
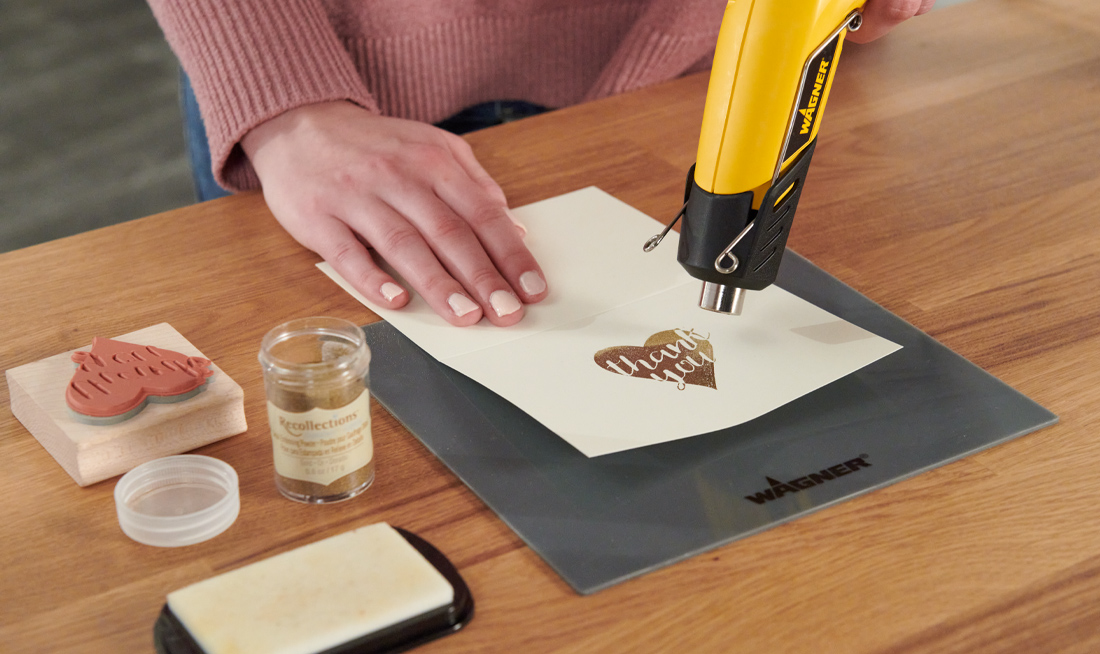
Apply Heat Until the Entire Design Shows
Keep moving the heat gun slowly over the design and watch as the embossing powder shines over! The FURNO Micro Heat Gun Craft Kit comes with a silicone mat which is great for shielding your work surface from heat.
Step 6
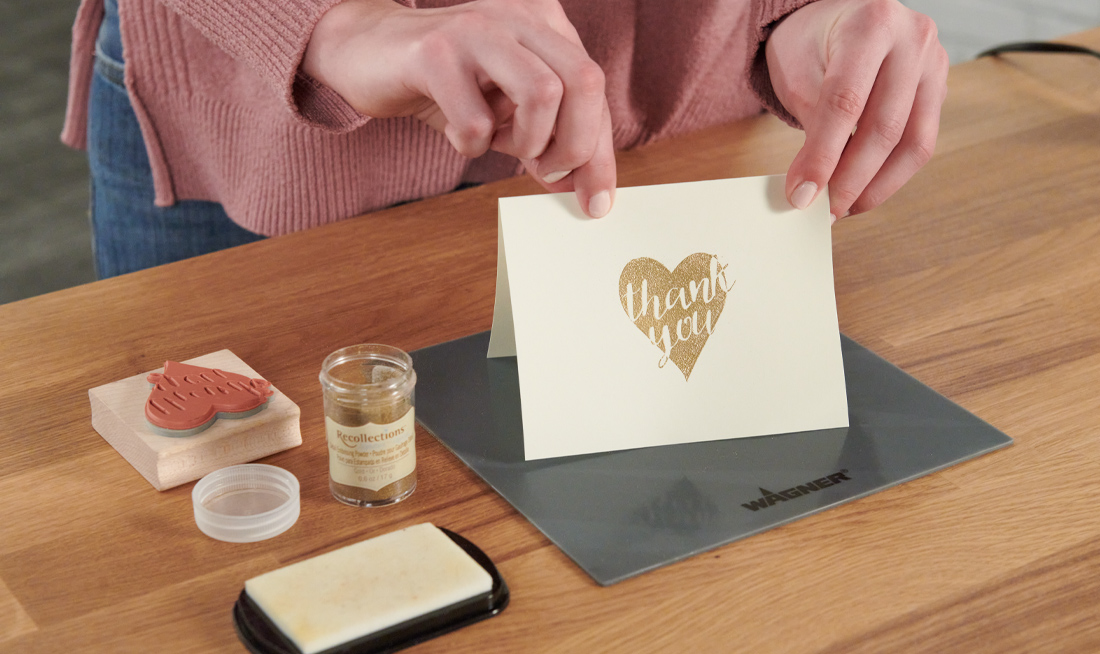
Enjoy Your Embossed Design
It’s just that easy! Now you’re ready to enjoy your embossed creation! We hope you enjoyed this project idea.
Step 7

Download Project Steps & Shopping List
We’ll never share your email with anyone else