Overview
Need a fun and affordable accent wall idea in your home or garage? Try installing a DIY board and batten wall! This is a really simple accent wall treatment that won’t take long to install, but it will go a long way towards making your house feel more cozy and welcoming.
Before
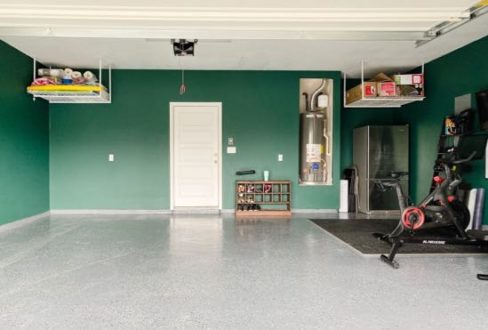
After


Plan and Design
Start by planning out where your battens will go – you want to be sure not to run into any outlets or leave small gaps. It’s ideal if the spacing can be equal around the space, but you should plan each wall individually and adjust if needed. A good rule of thumb for spacing is about 12-24”. The battens in this accent wall are spaced 18” apart.
Step 1

Nail Boards to Garage Wall
You’ll install your board and batten accent wall with an 18-gauge brad nailer. You can use
construction adhesive on the back of each board if you want to make it even more permanent,
but the wall should stay in place nicely with just nails if you aren’t sure you want to commit.
If your space doesn’t have baseboards, you can install a horizontal ledger board along the
bottom of the wall to give the battens a place to rest and to keep everything level.
Step 2
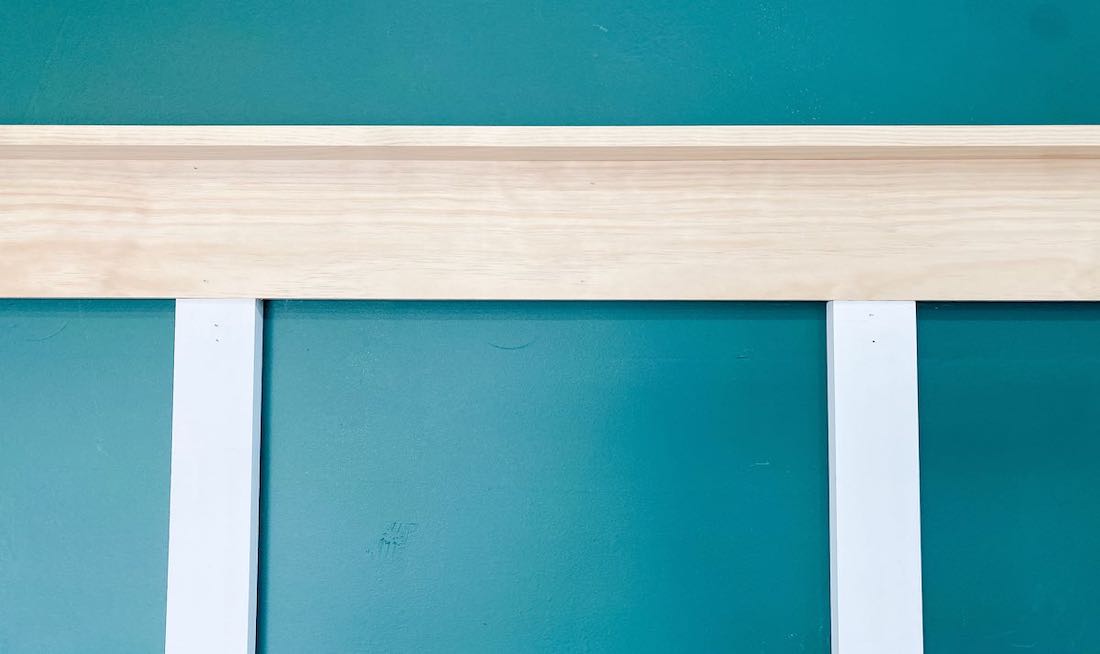
Add Header Board
After installing the vertical battens, you’re ready to attach the header board at the top. You can
keep it the same size as the battens, or you can do what I did here and install a 1×6 board along
the top and stain it instead of painting it to match. On top of the 1×6 board, I added a 1×6 laid
flat across it to create a small picture ledge. I’d recommend staining this board prior to installing
it.
Once everything is installed, caulk all of the gaps and add wood filler where the boards meet
each other.
Step 3
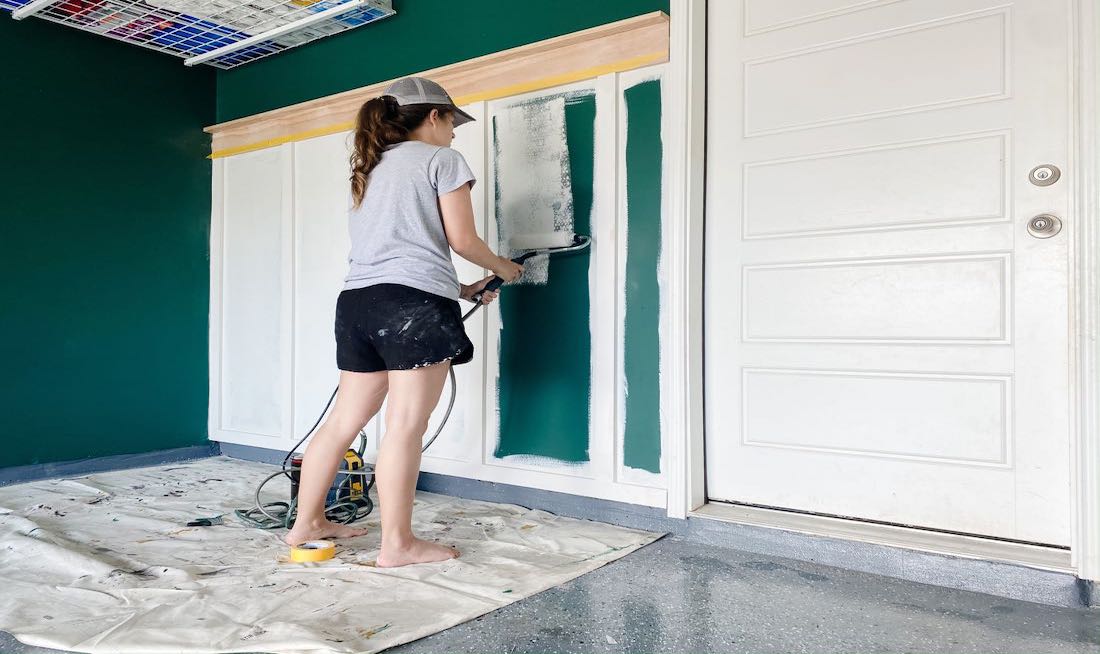
Paint the Wall with the SMART Sidekick Roller
Finally, you’re ready for paint! Use a Wagner SMART Sidekick Power Roller for the best, fastest, and easiest results. You can paint the entire wall prior to installing the battens, then simply touch up after installation, or you can do what I did and paint it all at once. Either way, a SMART Sidekick will make the job easier.
Step 4

Enjoy Your Transformed Garage!
This is a project that anyone can tackle, and it will make your space feel so much more
complete!
This sponsored post was created by Love and Renovations. Head to the blog for the full post and details.
Step 5

Download Project Steps & Shopping List
We’ll never share your email with anyone else