Overview
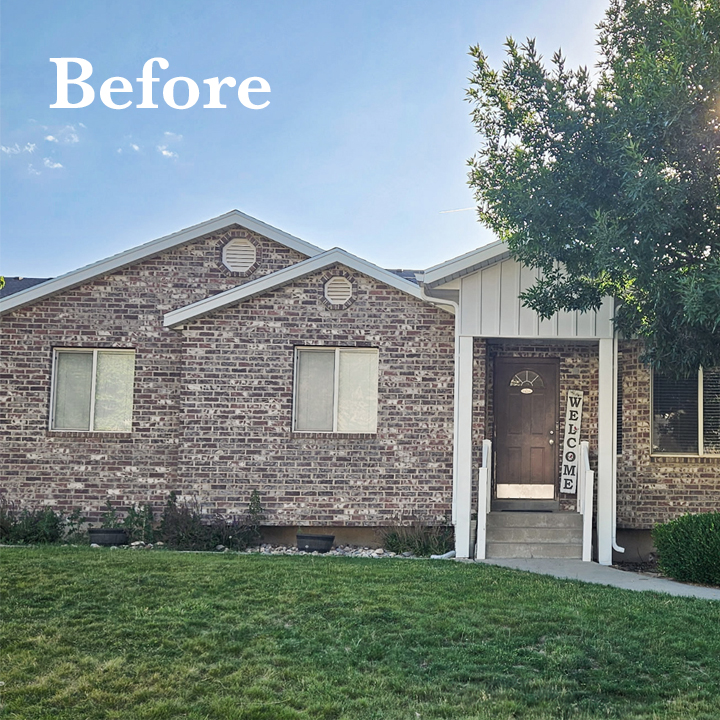
You know how when you update one little thing on your home and then everything else around it suddenly looks a little shabby in comparison? My brother and sister-in-law recently had a beautiful covering built over their front porch to solve some water issues and realize their door needed some love. Now that the door is covered and protected is the perfect time to fix it up! And of course, I had to spruce a few other things up as well while I was at it.
Before
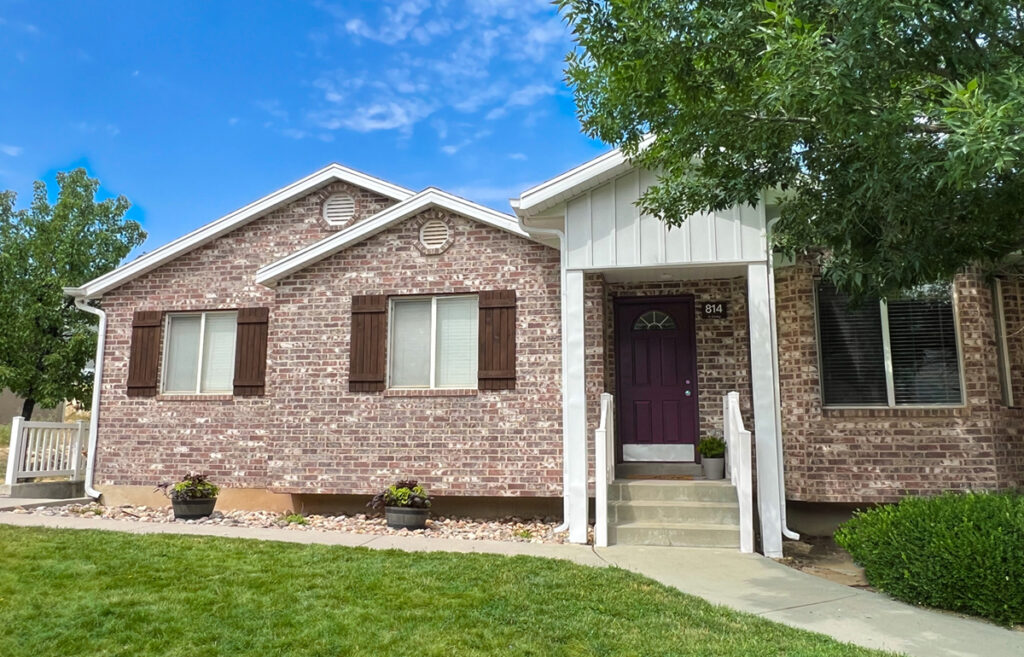
After
Instructions
Choosing a Color
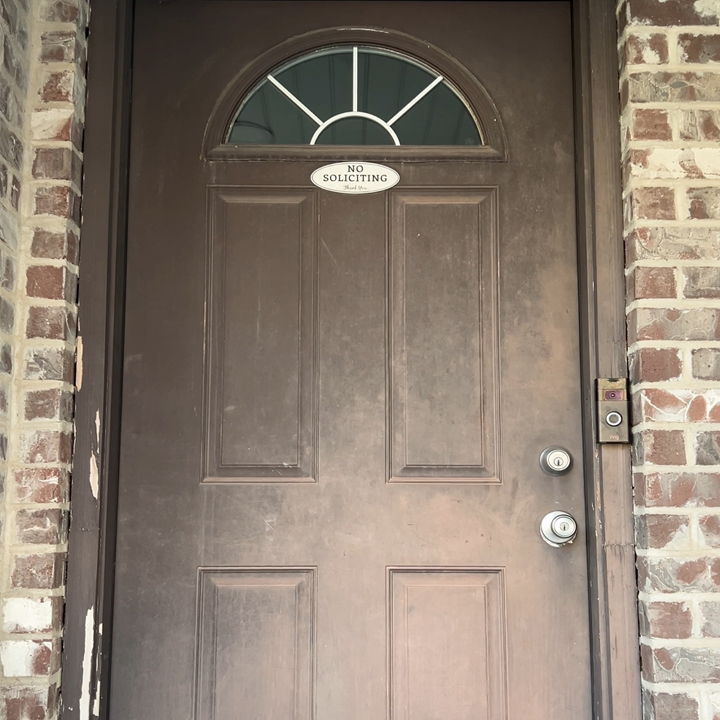
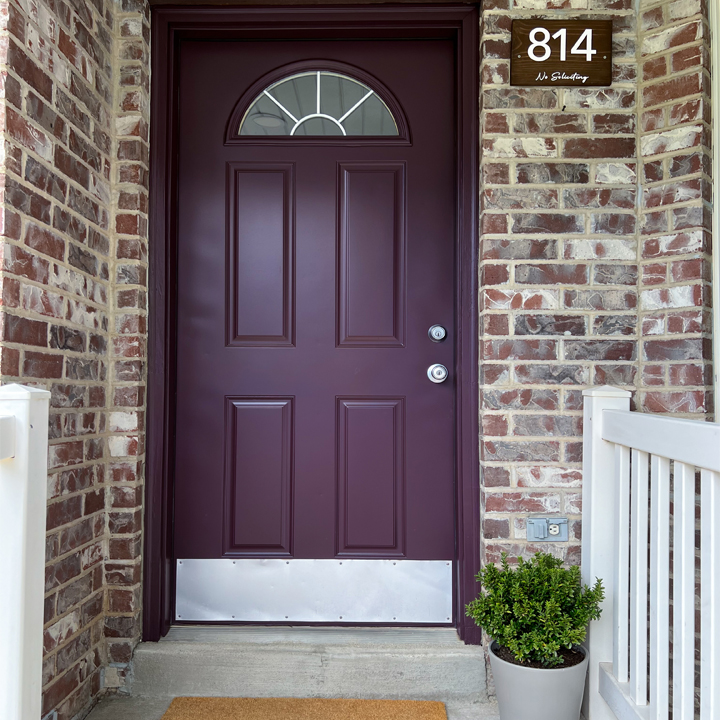
The door was painted a dark brown before but was very faded and almost looked burgundy in some lighting. My sister-in-law’s favorite color is purple. The brick has burgundy and plum colors in it, so we decided to work with those tones when choosing a color. I think you should pick whatever color you want for your front door. It is a fun way to add personality to your home. But choose a shade that compliments your home color instead of a shade that fights against it.
Step #1
Sanding the door
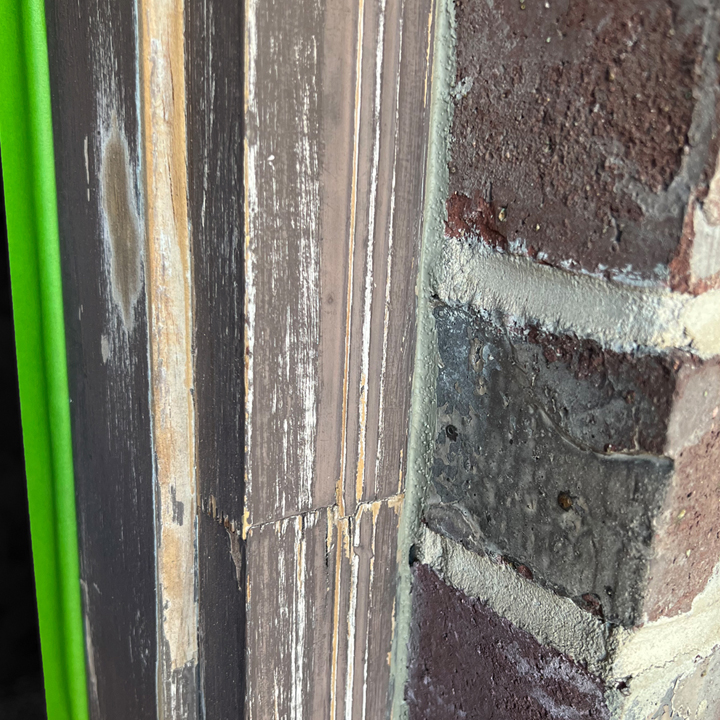
The prep work always takes the longest. There was a lot of sanding involved! I scraped and sanded the trim around the door and then sanded the door itself.
Step #2

Prepping for Spraying
I always take a door off the hinges and remove the hardware before I paint it. It is easy to work with it on a flat surface VS when it is vertical. Plus, it makes the painting process so much easier. I know it is tempting to just “quickly brush on” a new color because there’s less prep and you finish if you take the extra step and use a sprayer. It is SO WORTH IT!
Step #3

Spraying the Door
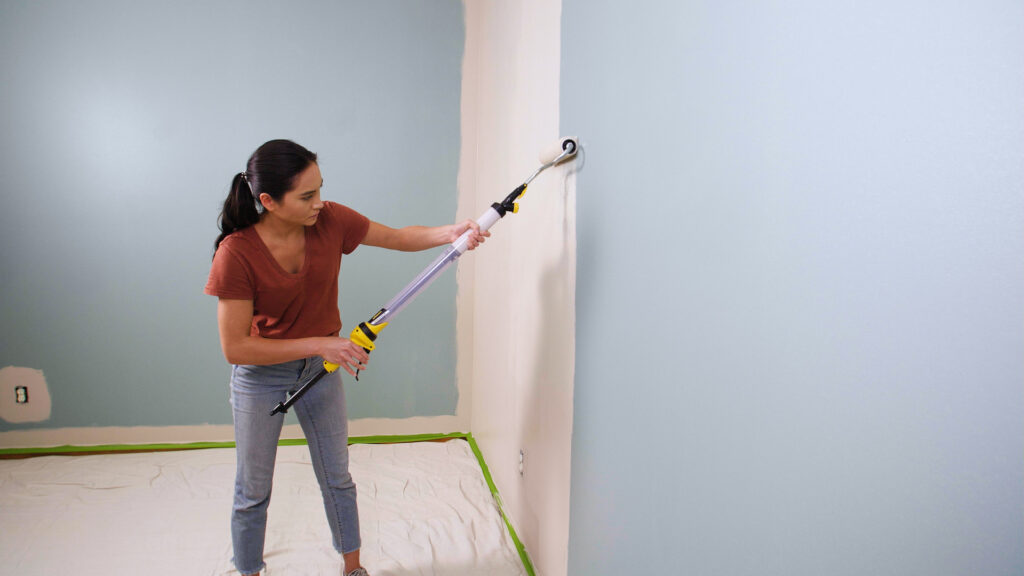
After the door was sanded down well, I wiped it down with damp cloths to get rid of all the dust. Once it had dried, I filled my Flexio 3500 with the paint. You don’t need to thin the paint down. The sprayer has enough power to spray the paint.
Step #4
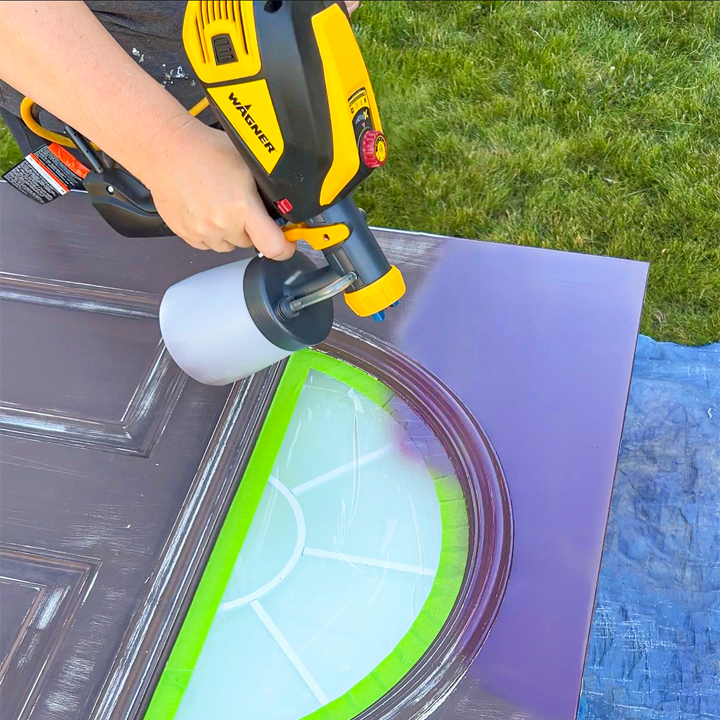
Using the Sprayer
I love how much control you have with the Flexio 3500. You can adjust the spray pattern and direction as well as how much paint comes out. I used the detail finish nozzle to get a super fine finish. I always test the spray before you start painting your project. I usually have some scrap cardboard on hand but since I wasn’t at my house, I tested on the tarp.
Step #5

Finishing Door Details
There were some cracks in the mortar in the brick work around the door that happened due to settling over time. I filled those and the gap around the door with the mortar caulk. I even went around the window. It is a small detail most won’t notice but helps the house look fresh and new.
Step #6

Detailed Planters
the front beds got weeded and I filled their planters with some beautiful coleus plants that were a very similar color to the new front door. The potato vine will grow big and spill over the sides.
Step #7
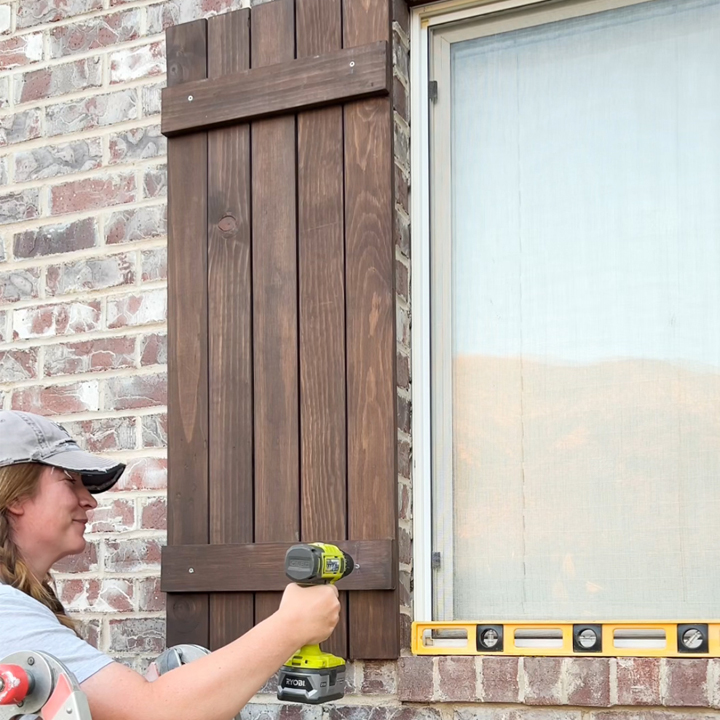
Updating Shutters
A long time ago I built simple shutters for my house and was so surprised at how much of a difference it made to the look of my home. I knew I wanted to add some shutters to this home to really finish it off. I used 1x4s to make them. I stained them with an exterior stain and screwed them into the mortar
Step #8
Wrapping it up
A few little touches like new house numbers and a plant on the porch and the makeover was complete! This makeover is proof you don’t have to spend a lot of money to completely refresh the look of your home.
Step #9

Download Project Steps & Shopping List
We’ll never share your email with anyone else