Overview
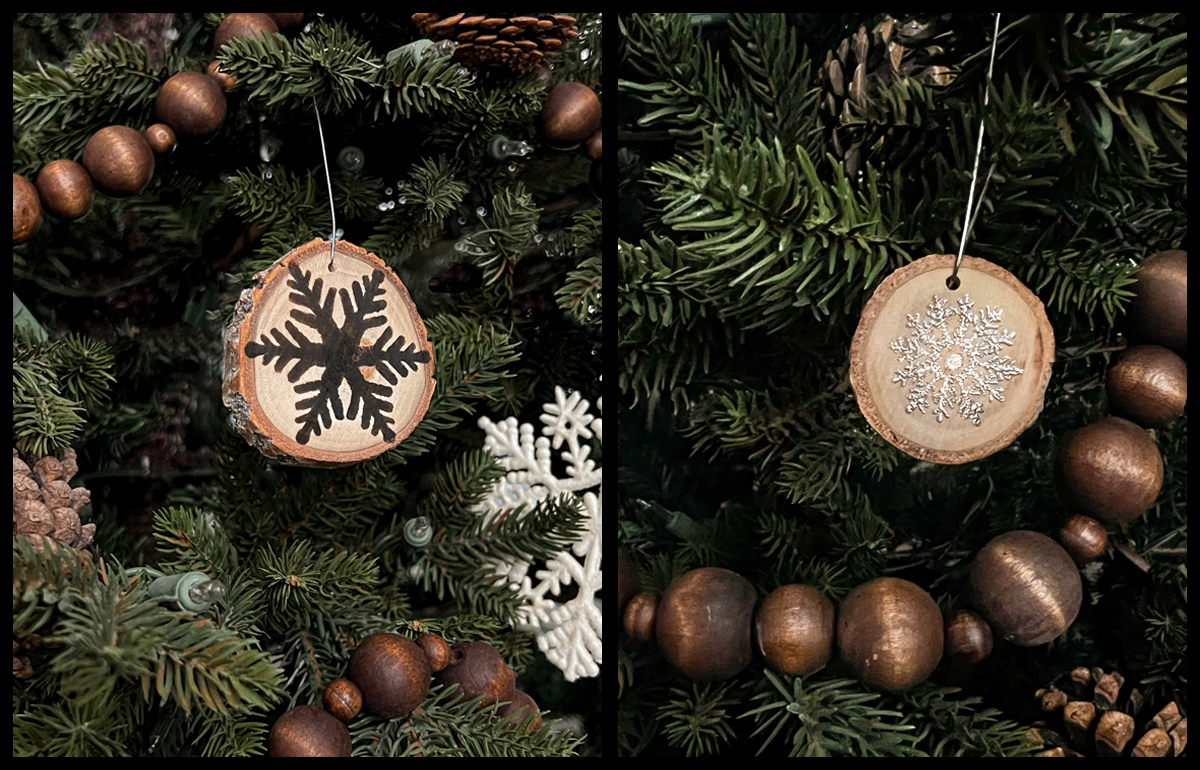
My heat gun is one of my favorite tools for crafting and DIY projects. Every year I like to make some homemade ornaments. This year I made two types of wood slice ornaments and both required the use of my handy heat gun. Here are my heat gun ornaments!
Instructions
I cut my own wood slices using branches from my yard and my miter saw. But wood slice crafts are so popular so you can also buy them at craft stores and online. You will need a scorch pen. A scorch pen contains a non-toxic liquid that reacts to heat.
Step #1
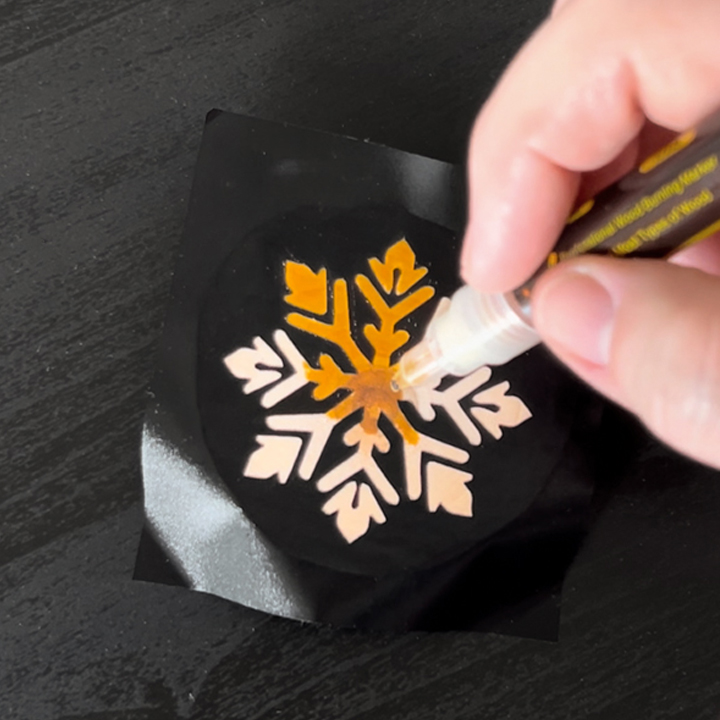
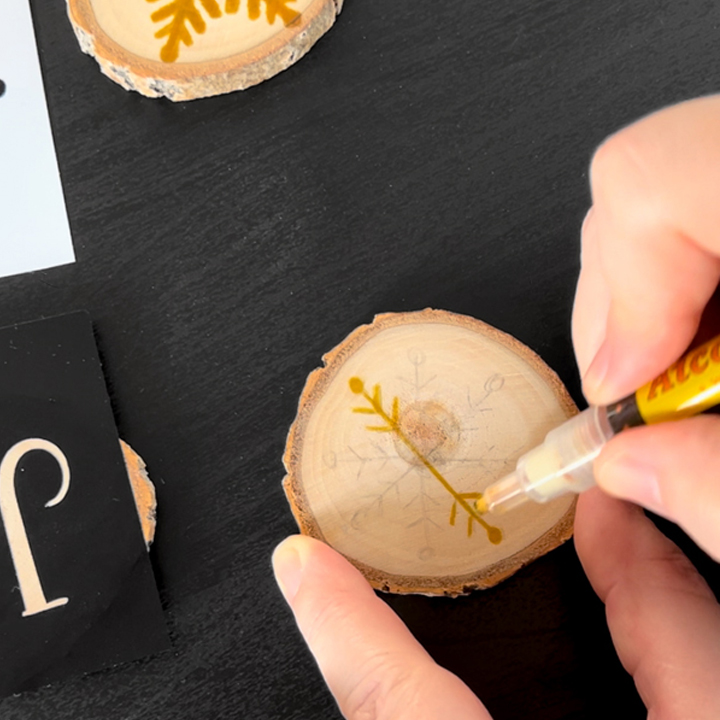
You can either draw your design on the wood slice by hand or use a stencil. If I use a stencil I like to use stickers or vinyl.
Scorch pens have a tendency to bleed if you don’t prep them properly, especially if used with a stencil. You will need to press the tip down in order to get the ink to flow down to the tip. If you start using the pen right after doing this, it will flood onto the wood slice and bleed. I like to write with the pen on scrap paper until the ink evens out and then use it on my project.
Step #2
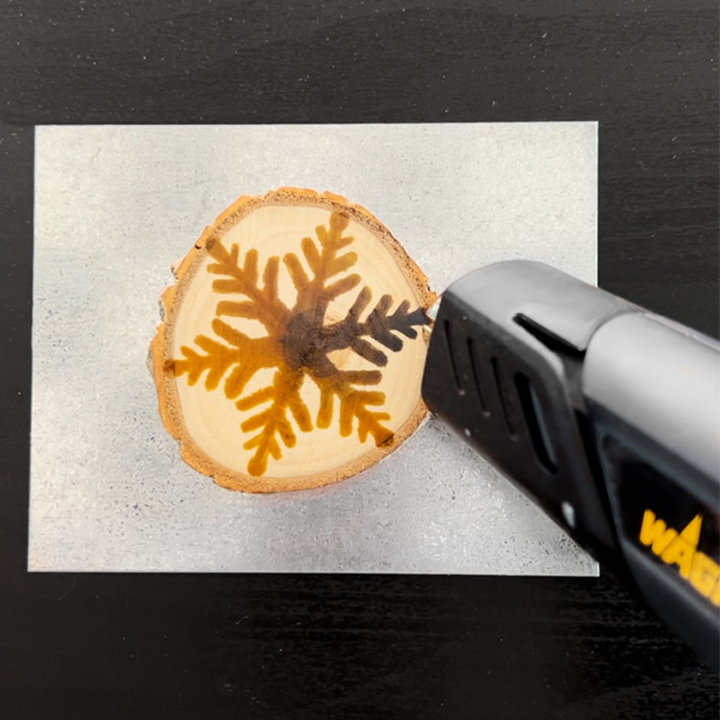
Once you have drawn on your word or design, it is time to heat it up! I put my Wagner HT400 onto the high setting and slowly hover it above the wood slice. The color change will happen quickly and is so fun to watch!
Step #3
Last year I made cards and gift tags that were embossed. I fell in love with heat embossing and knew I wanted to create more things. I was curious if it would work on wood so I cut some smaller wood slices and gave it a try.
Step #4
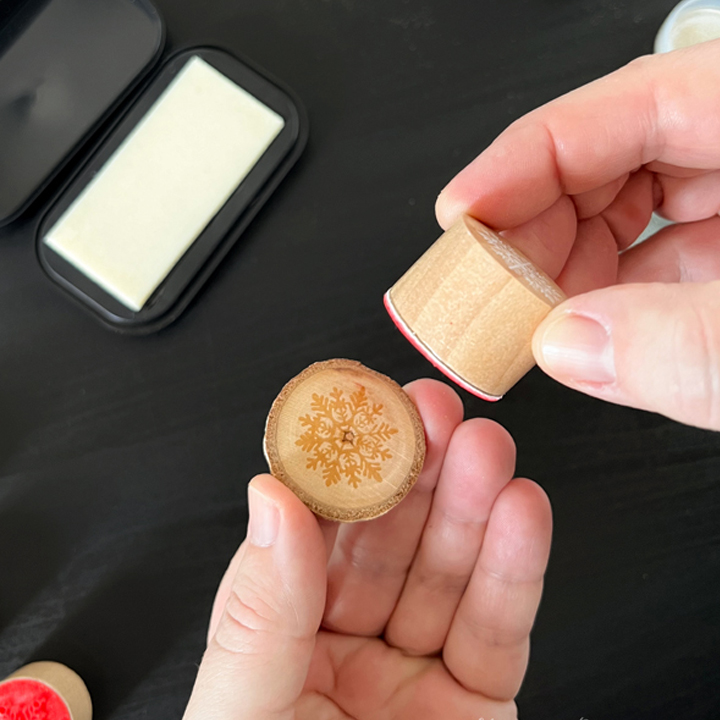
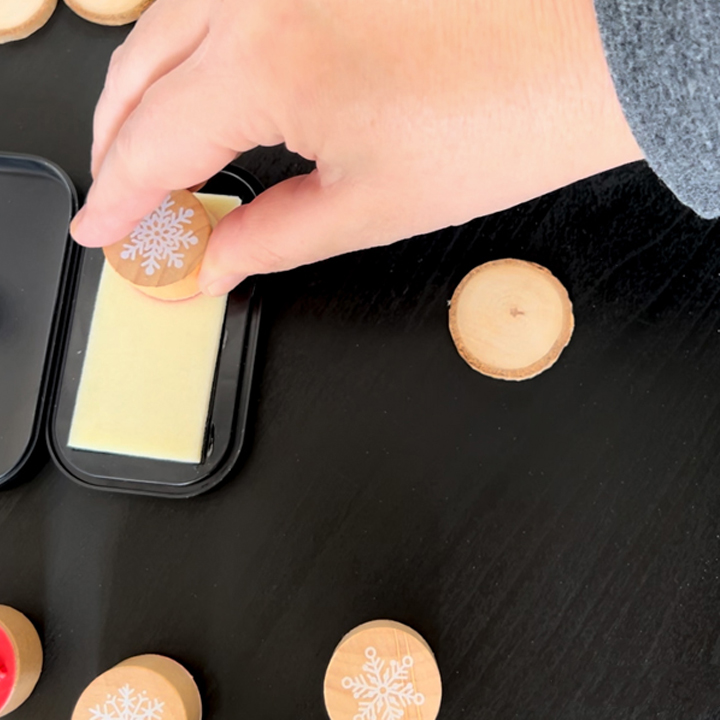
I had some small snowflake rubber stamps that I used last year so that is what I used for these ornaments. Press the stamps into the embossing ink, and then press it onto the wood slice. Add some embossing powder and then pour the excess back into the jar. The powder sticks to the ink, revealing the snowflake design.
Step #5

Now the magic happens! Use the heat gun to melt the embossing powder. Hold it over the wood slice and watch as the powder start to melt and shine! Once all the ornaments have been heated and have cooled, you can drill small holes in them so you can hang them on your Christmas tree. Do you like making homemade ornaments? What kinds have you made in the past?
Step #6

Download Project Steps & Shopping List
We’ll never share your email with anyone else