Overview
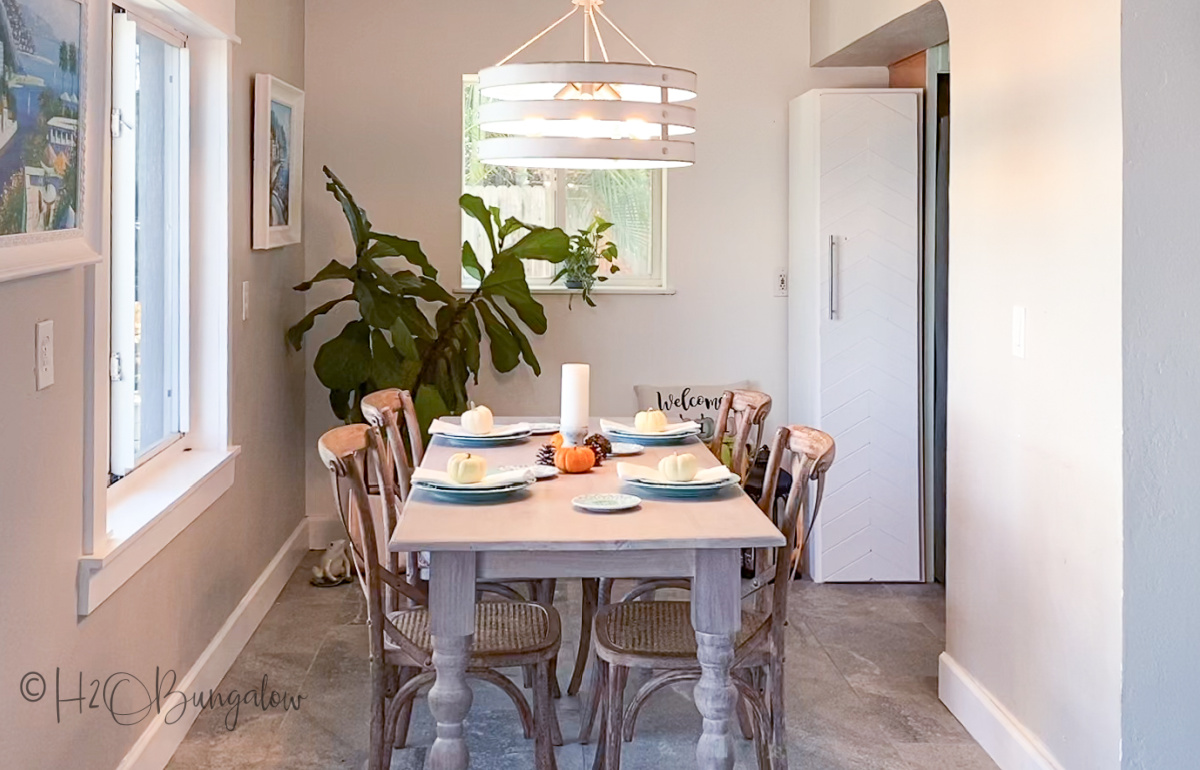
Hi, I’m Wendi from H2OBungalow.com. Today I’m going to share with you how to make a freestanding pantry or storage closet. You can make this pantry as basic as you’d like or add more details like a chevron door overlay or adding furniture feet.
Because seeing is often much easier than just reading about it, I’ve made an informative video tutorial which you can see below too. If you need more details on this DIY pantry or extra tips for the building process, you can find them on my website at H2OBungalow.com.
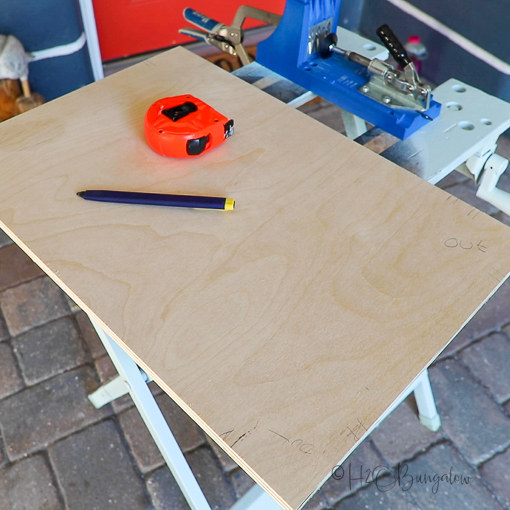
Cut the plywood to size. Use the ¾” plywood to cut the two sides at 22 x 74”, the top and bottom panels at 22” x 15” and the back at 15 x 74”. Use the ½” plywood to cut the door at 14 ½ x 73”, the fixed shelf at 21 1/4 x 14 5/8″ and four moveable shelves at 21 ¼” x 14 5/8”.
Step 1
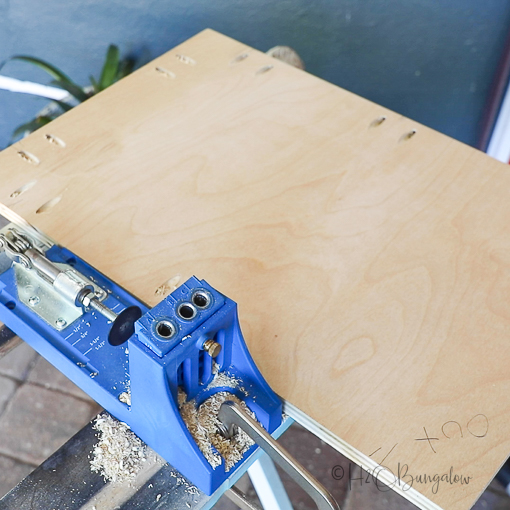
Add three sets of pocket holes along the sides of the top and bottom panels on the side that faces out. Add 5 sets of pocket holes along each side and two sets at each end on the back panel on the side that faces out. Add two sets of pocket holes to three sides of the fixed shelf.
Step 2

Use a shelf pin jig to add a row of shelf pins to the front and rear of the inside side panels.
Step 3
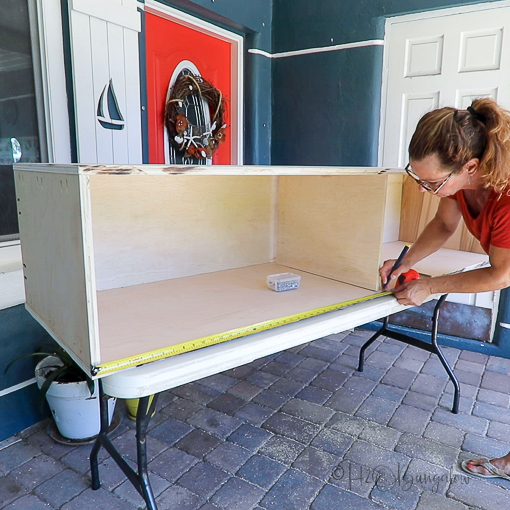
Using 1 1/4” pocket screws assemble the pantry base. Lay one side panel on a flat surface with the outside facing down, attach the top and bottom panels. Then attach the other side. Next, attach the back. Last attach the fixed shelf to the inside center of the cabinet with 1” pocket screws.
Step 4
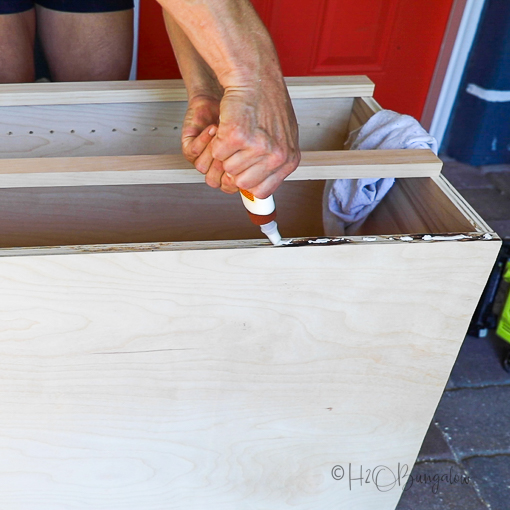
Cut the frame facing out of 1 x 2’s to fit the front of the cabinet. Place the two sides first so they are flush with the outside of the cabinet base. Attach with wood glue and 1” brad nails. Do the same for the top and bottom center face frame pieces.
Step 5
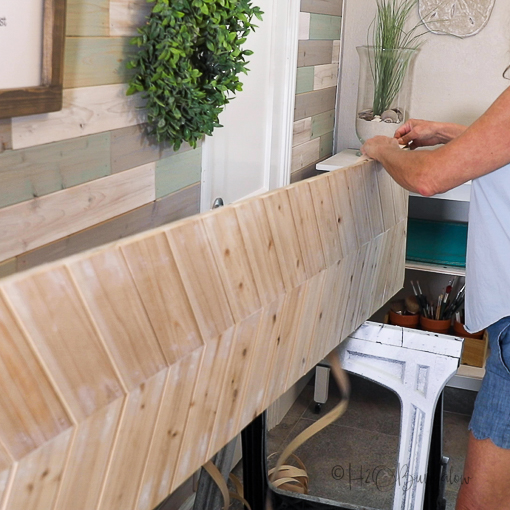
Finish the door by adding edge banding to cover the cut edges of the plywood. Trim the excess edge banding away with an edge banding tool. Next, use a hidden hinge jig to make 4 hinge holes on the inside of the door. Note: I choose to add a chevron overlay on my door to match the other chevron door in my kitchen. You can find that tutorial on my website if you choose to make a cabinet door like mine.
Step 6
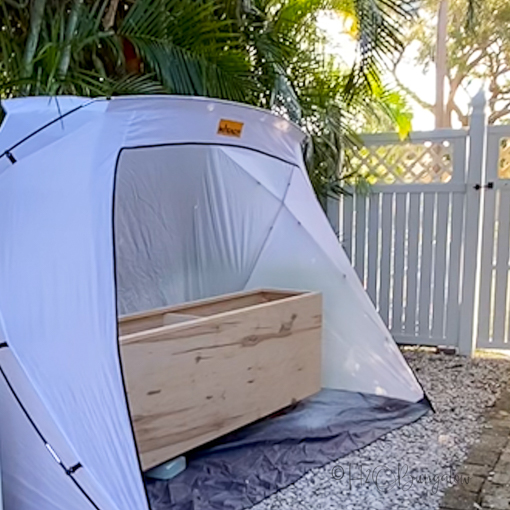
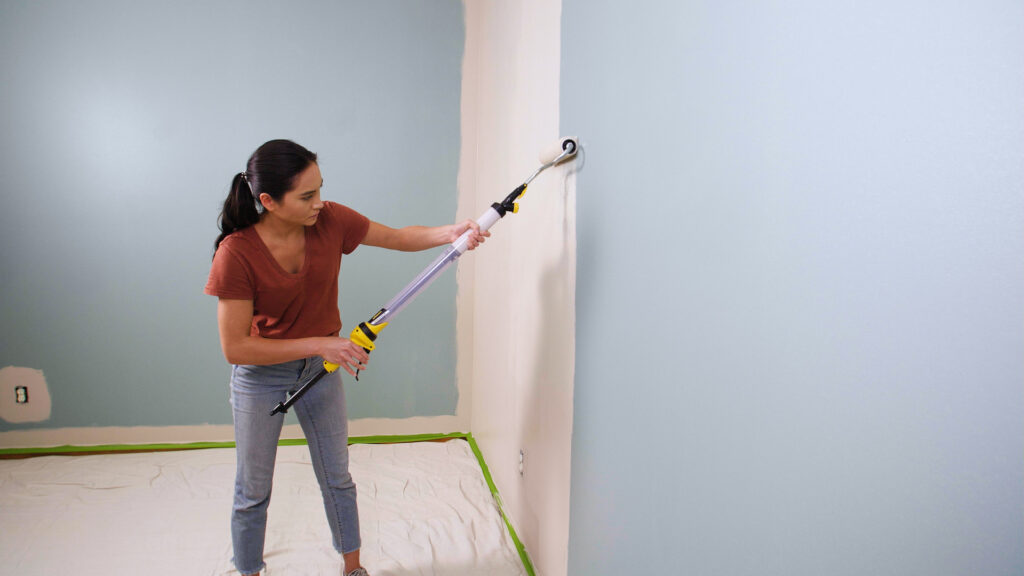
Now you’re ready to paint your project! Set up the large Wagner Paint Shelter. Place the cabinet on its back and elevate it with wood blocks underneath and in the center. Elevate the door on sawhorses or a table.
Don’t forget to wear a face mask and safety goggles when painting.
To get the best finish, hold the sprayer about 6” from the surface, move the sprayer as you move your body or arm in steady even passes. Paint inside the cabinet first, then the outside and last the trim at the top. Give everything two coats of paint, including the shelves. Allow to dry and then bring indoors and let sit overnight.
Step 7
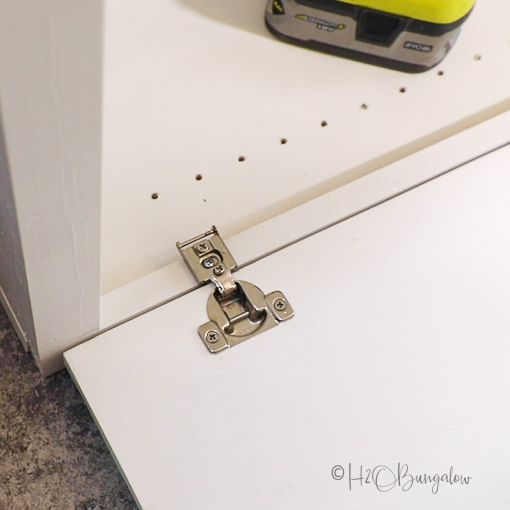
Add the hinges onto the door and attach the door to the pantry base following the manufacturer’s instructions.
Step 8

Stand the cabinet up, attach the door handle.
Step 9

Download Project Steps & Shopping List
We’ll never share your email with anyone else