Overview
Hey y’all, instead of a plastic baby gate we’re going to tackle a fun and functional DIY today. A beautiful wooden dog gate that you can make yourself. In fact, this little gate can be adjusted to fit any size doorway and blends seamlessly into your decor. Ready to jump in?
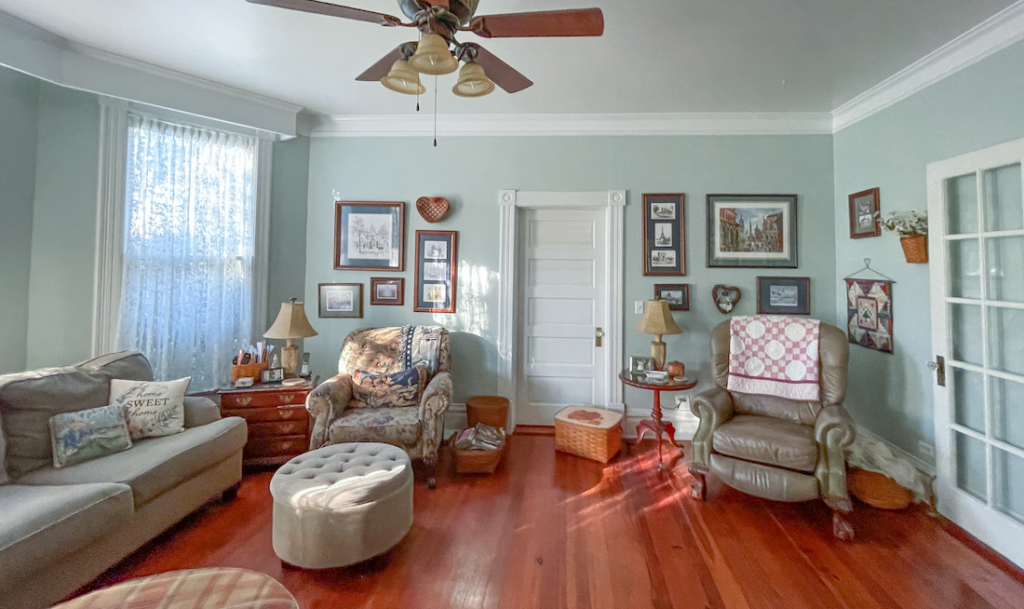
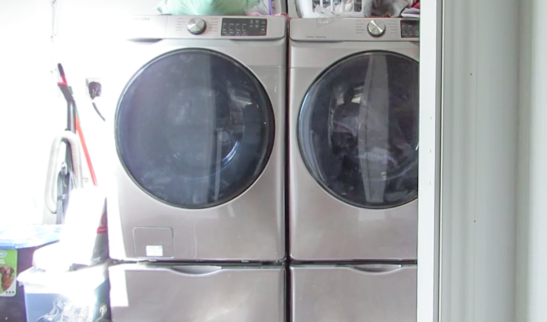
Before
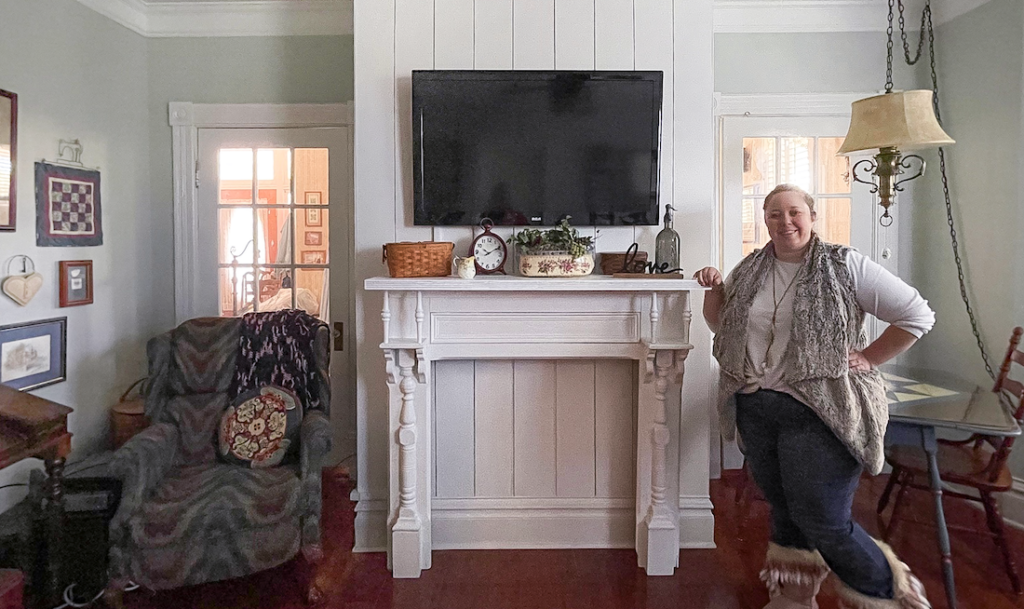
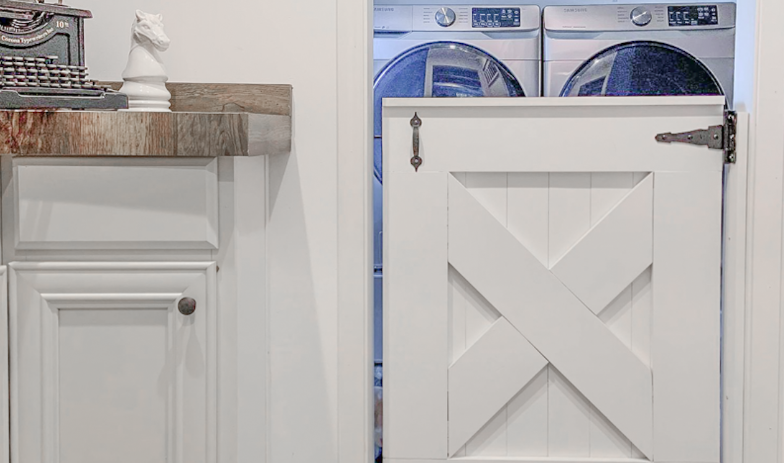
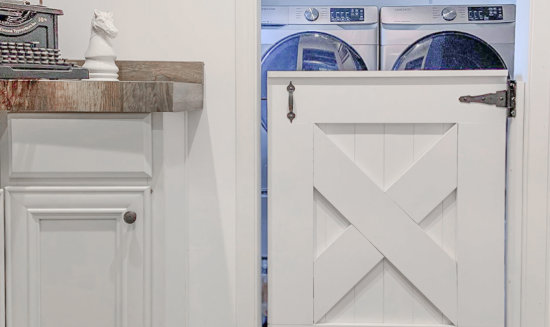
After
Put the Door Together
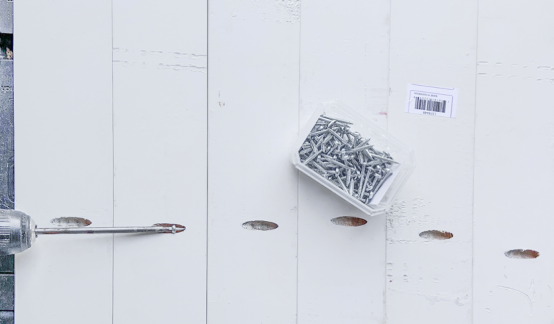
For this project I actually built our door from scratch. Using 1×4’s for the back layer and 1×6’s for the front layer I cut the boards and joined them together using pocket holes. Then I used a brand nailer to join the front and back layers together to form one solid door.
If you’re going for a farmhouse style look you can even add a cross to the front of the door… for a clean, classic look you can leave the x off.
Step 1
Sand and Spackle your Door
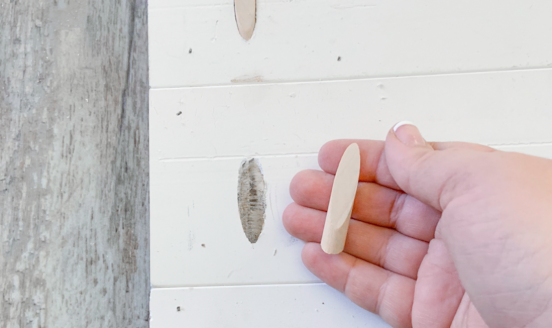
Once both layers are joined together we need to do a little prep work. Fill in the pocket holes with wooden pocket hole pegs and then sand them smooth with the surface of the door.
Then you can use spackle to fill in all of the nail holes and prep the surface for painting. Since we’re using pre-primed boards I like to use paint ready spackle so that our paint has an even surface to cover in the next step.
Step 2
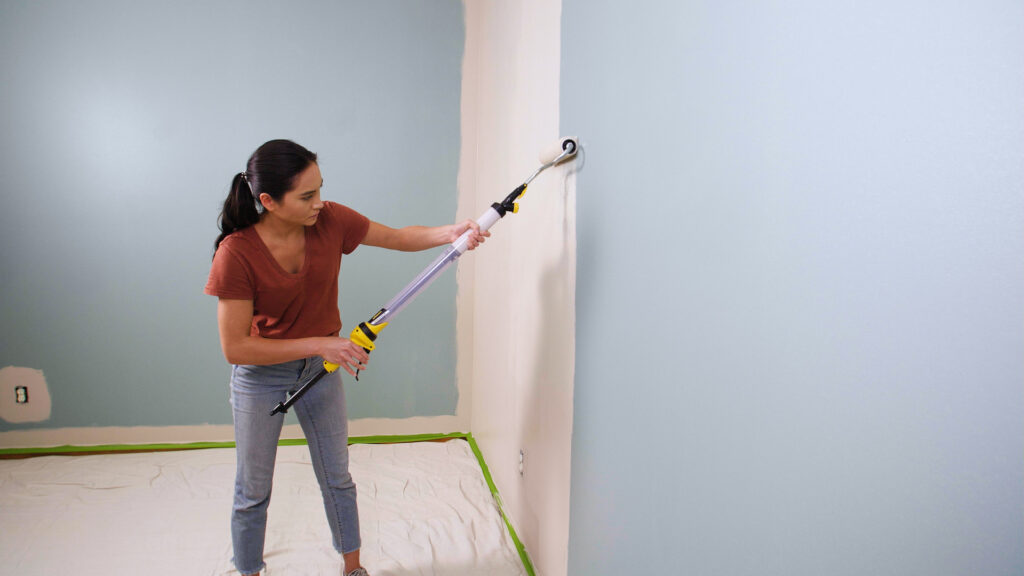
Paint your Door
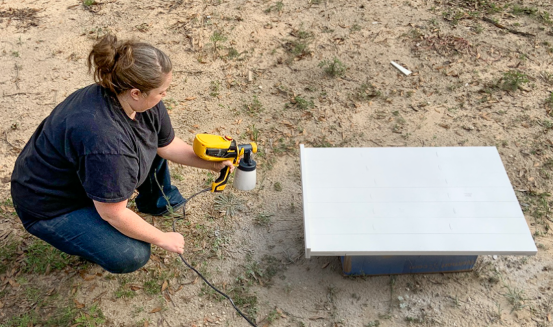
Now that everythings prepped and ready to go let’s get to painting! I painted my door white on the front and back (don’t forget the sides as well as the top!). For this project I used my Wagner Flexio paint sprayer… it’s easy to clean and covers like a dream. Plus you don’t have to dilute your paint.
Simply fill the canister with your paint (I used a white linen chalk paint) and then hold your sprayer about 8-10 inches from the surface of your door. Make sure to spray into the air on the side of your piece, continue spraying all the way across the surface and finish by spraying into the air on the other other side of your piece. This makes sure that you have a smooth finish all the way across.
The best part? I built two doors so I was able to do a little experiment with them. I hand painted the first door and needed 3 coats to cover without obvious brush strokes. The second door I sprayed with my Flexio sprayer and I only needed 1 coat to fully cover… no brush strokes! I clean these doors a lot (muddy paws!) so they get cleaned all. time. and both doors are holding up perfectly. Which means the door with 1 coat of sprayed paint is performing just as well (if not better!) as the door with 3 coats of brushed paint… and it took a third of the time.
Step 3
Add your Hardware
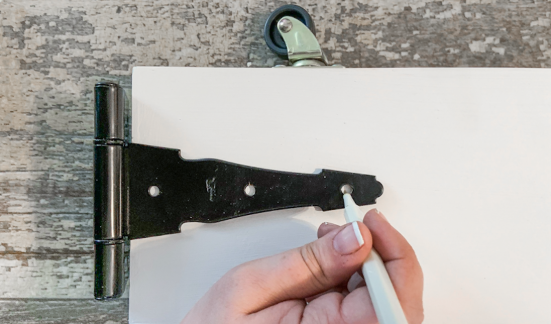
Once your door is painted let it dry for about 20 minutes. Then it’s time to add your hardware! In this case I used two wheels, heavy duty hinges and a gate latch to turn this door into a true gate.
Now attach it in your doorway and your dogs (or kiddos!) will be safe… without compromising on style or quality.
Step 4
Enjoy
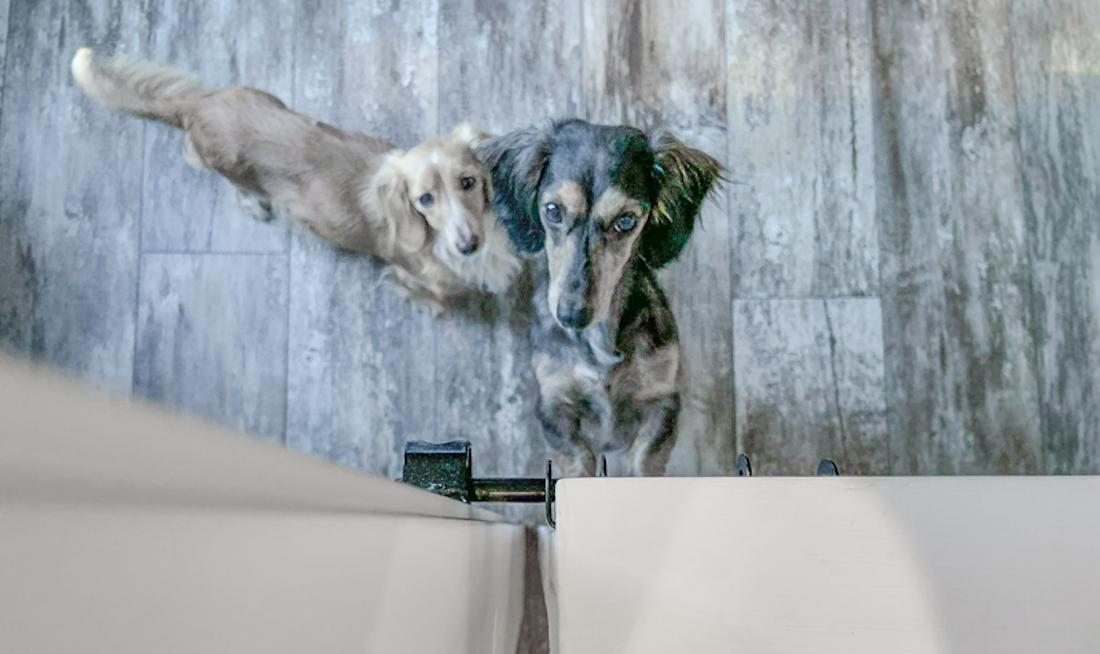
You’re all set! This little door looks like it was pre-installed and it was so easy to build. The best part? It’s completely dog proof… they can’t escape!
This sponsored post was created by Happily Ever After Etc. Looking for more information? You can kind the full supply list, cut list and build directions (as well as a step by step video tutorial) at Happily Ever After, Etc.
Step 5

Download Project Steps & Shopping List
We’ll never share your email with anyone else