Overview
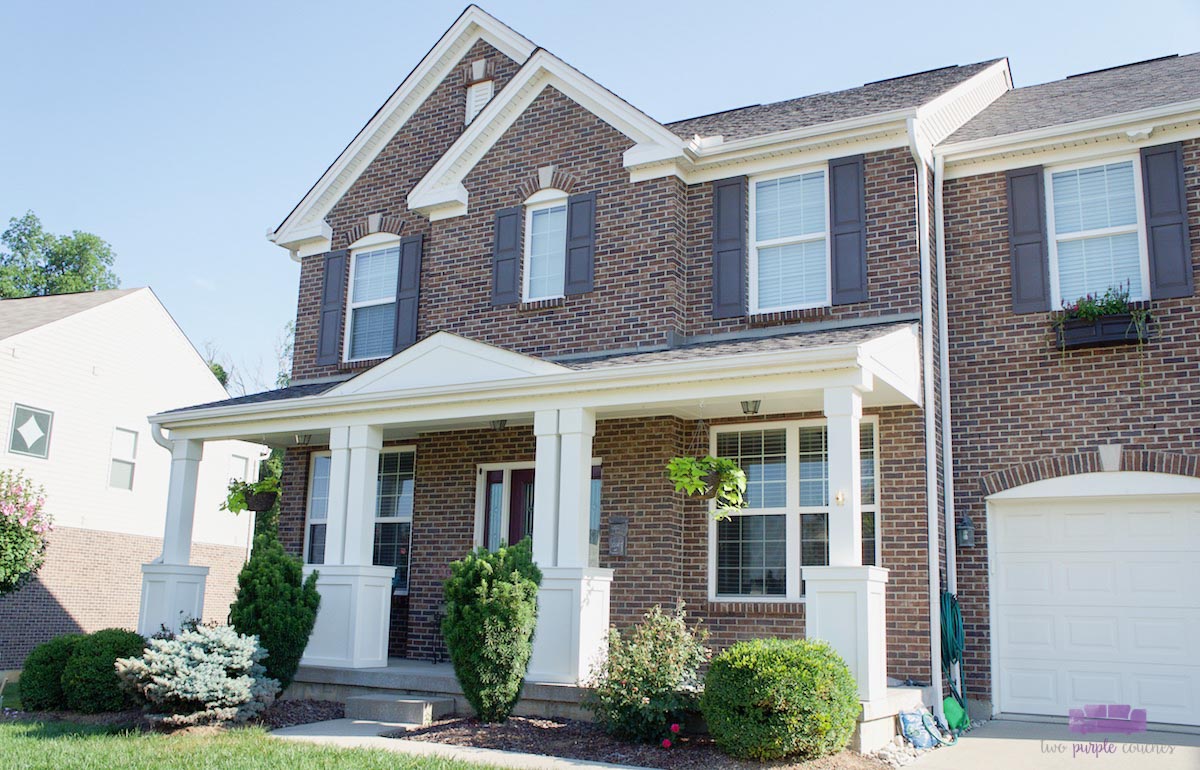
Emily from Two Purple Couches tackled the job of painting her front porch columns with the help of our Control Pro 130 airless sprayer.
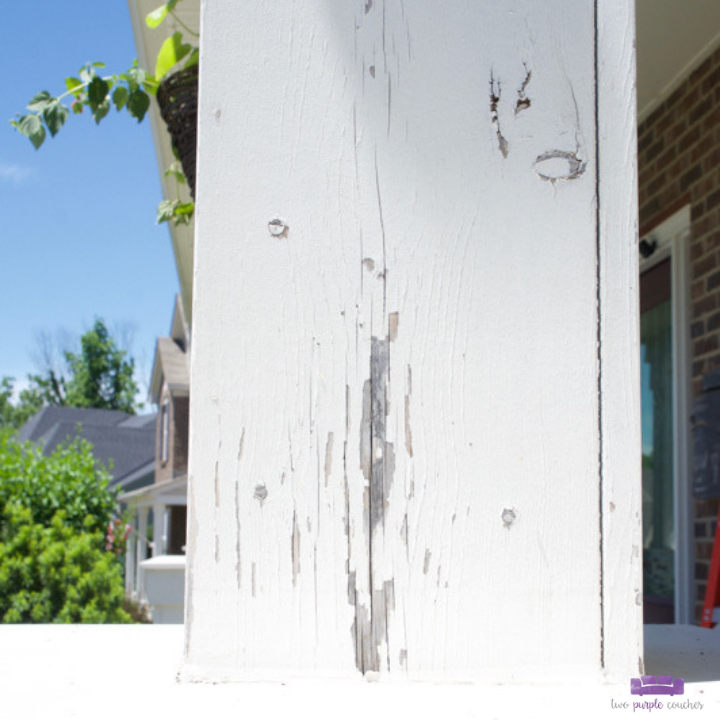
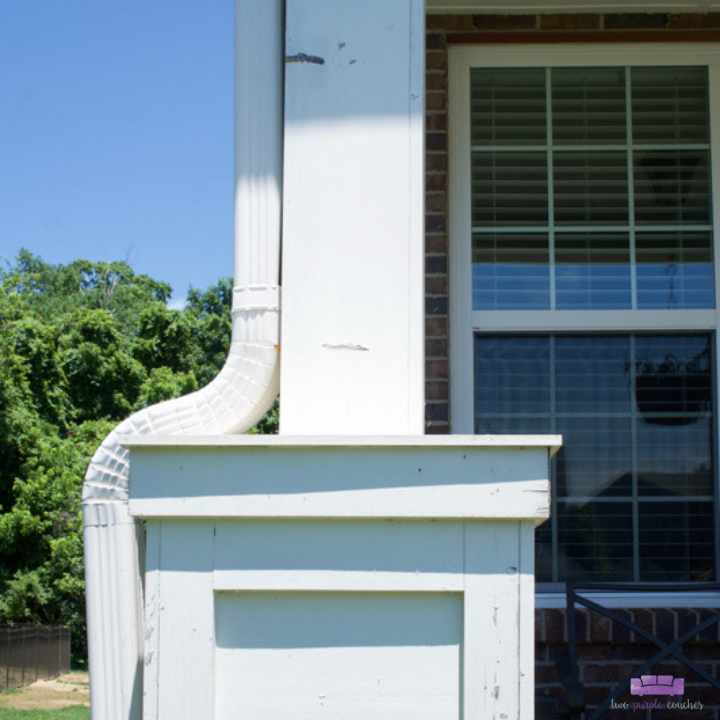
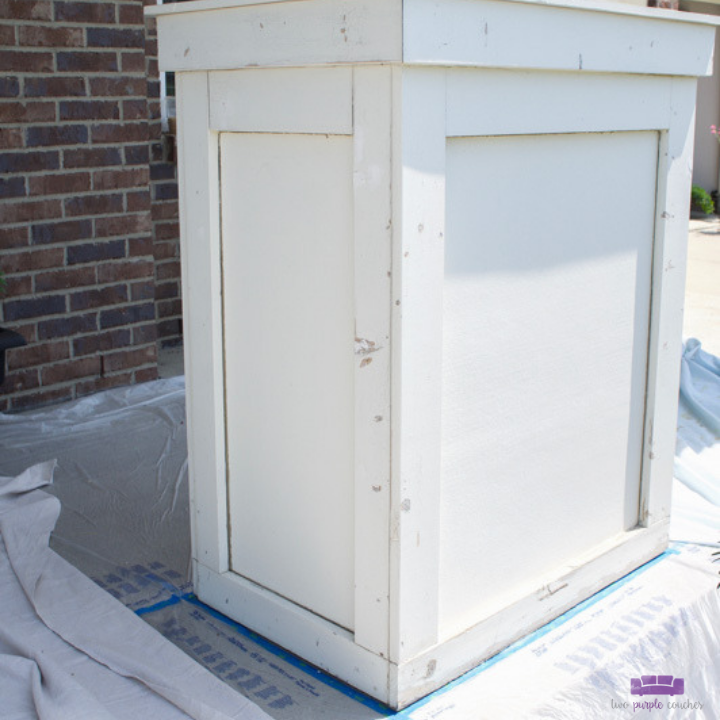
Before
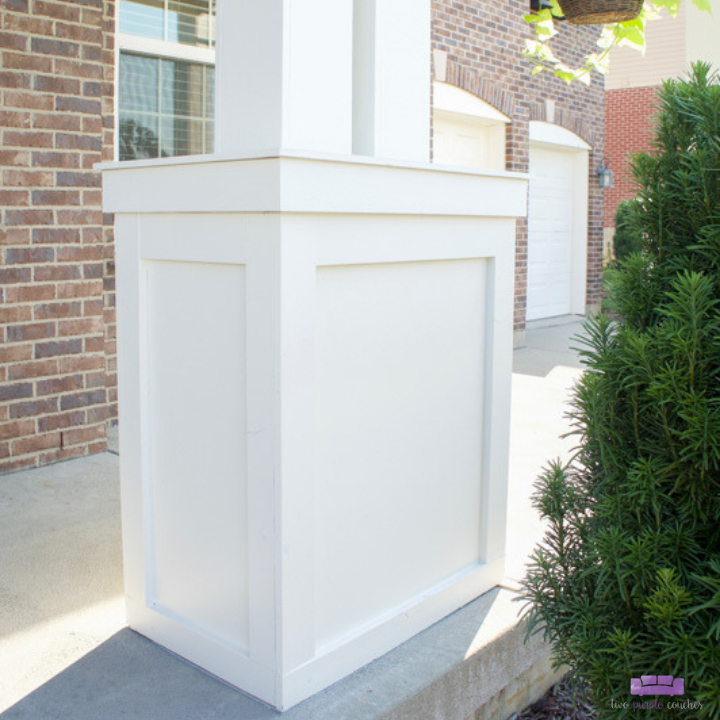
After
Columns in Desperate Need of a Paint Job
We haven’t touched up our porch columns since they were built and installed while our house was under construction nearly 8 years ago. Needless to say, the painted finish had seen better days. Our porch columns were dirty, dingy, and paint was deteriorating and flaking off in many spots.
After years of bumping this project to the bottom of our “to do” list, it was time to paint our porch columns. We used the Control Pro 130 to give our porch columns—and our curb appeal—a much-needed refresh.
Step #1
Prep and Mask
Prep porch columns by scraping away loose paint and dirt with a putty knife. Remove old and worn caulking from seams and refill with new caulk. Patch any holes with spackle. Wipe columns down to remove dust and debris.
If you are working through several layers of old paint, the PaintEATER disc sander is a great tool to take off paint chips while being gentle on surfaces.
Remove loose items, such as planters or hanging baskets. Protect doors, windows, immovable furniture and porch floors with masking film and painter’s tape. Use drop cloths to cover bushes and plants.
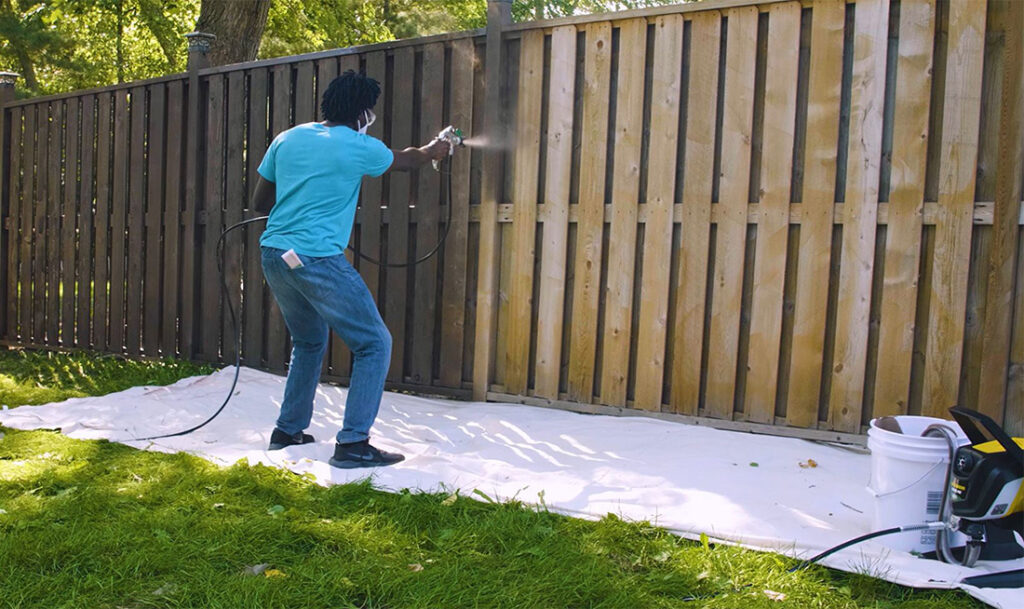
While painting, you may want a second person with you who can hold a large piece of cardboard or lightweight plywood to shield against overspray. The Control Pro 130 produces up to 55% less overspray than traditional airless sprayers, but you’ll still experience some. Using a shield isn’t as necessary if you’re painting a larger, solid surface like a fence, wall, or deck floor.
Step #2
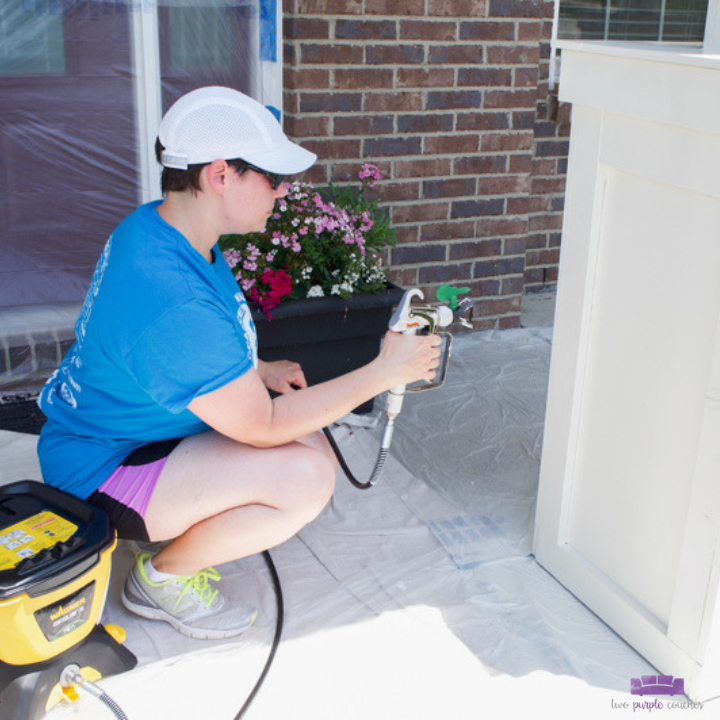
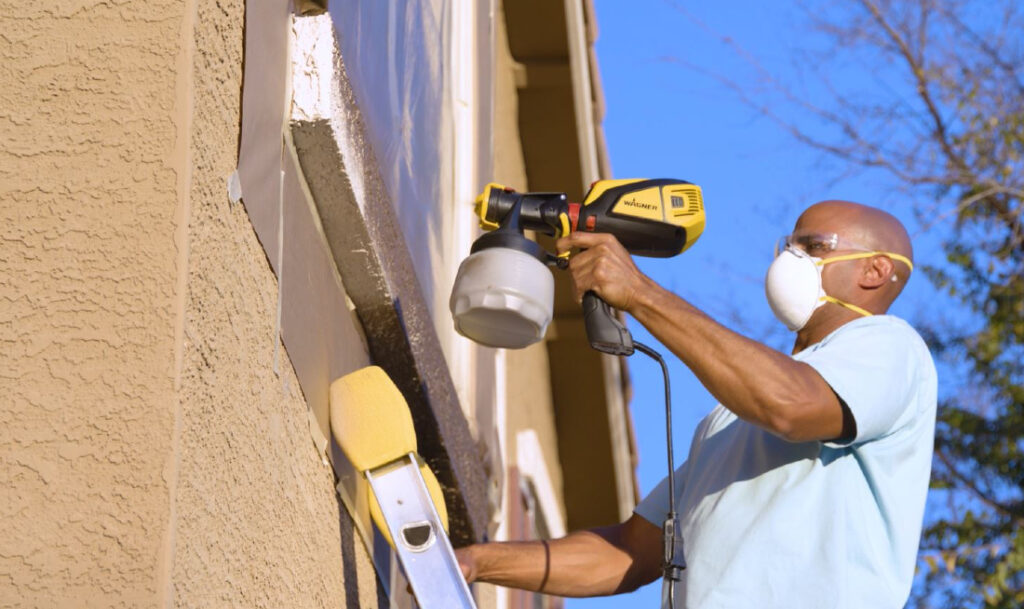
Spray
Follow the manual instructions to prime the Control Pro 130 with water before filling the tank with paint. The tank holds a lot of paint (1.5 gallons), so you can work for a while without having to stop and refill it.
Step #3
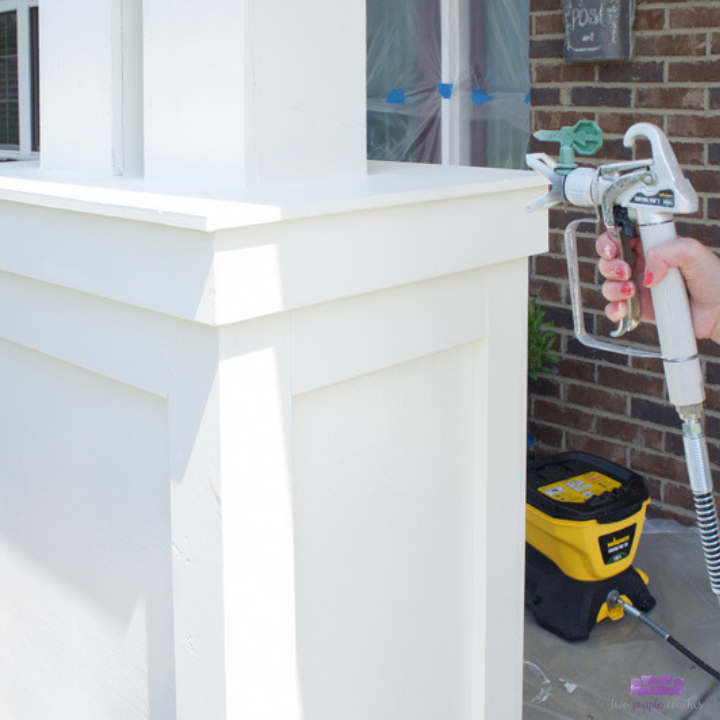
Spraying Tips
The airless technology creates a wide, soft fan pattern, so you get a really smooth and consistent professional-grade finish. Like with other sprayers, overlap each pass by 50% to ensure an even coat. Work about 10 to 12 inches from the surface, holding the gun steady as you move side to side or up and down.
Step #4
Clean Sprayer
Clean the sprayer according to the manual instructions. It is definitely a more involved process than with the other Wagner sprayers I’ve used, so allow plenty of time to get it thoroughly clean. The Control Pro 130 manual suggests 20 minutes; the first time it took me over an hour. The second time it took less. Once you get familiar with the cleanup steps, it will go more quickly.
Step #5

More Info
To read more about this porch column “makeover” and get Emily’s tips for using the Control Pro 130, visit Two Purple Couches’ post: How to Paint Porch Columns.
Step #6

Download Project Steps & Shopping List
We’ll never share your email with anyone else