Overview
Baby showers can be somewhat stale and inactive, especially if in your circle of friends a visit from the stork isn’t that rare. Enter Lindsey Morin and her idea to have a spray day and make over her friend Molly’s spare bedroom as a nursery for her upcoming bundle of joy. Lindsey enlisted the help of mutual friends and planned a morning of painting coupled with an afternoon room reveal and a festive celebration. It was a honey of a surprise.
“The room reveal is a surprise,” Lindsey said. “But the planning, color palette, and motif are not. We spent time with Molly to figure out her design scheme for the room. She built a mood board online so we were all on the same page as to what she was looking to achieve and how the design would ultimately look.”
READY, SET, SPRAY!
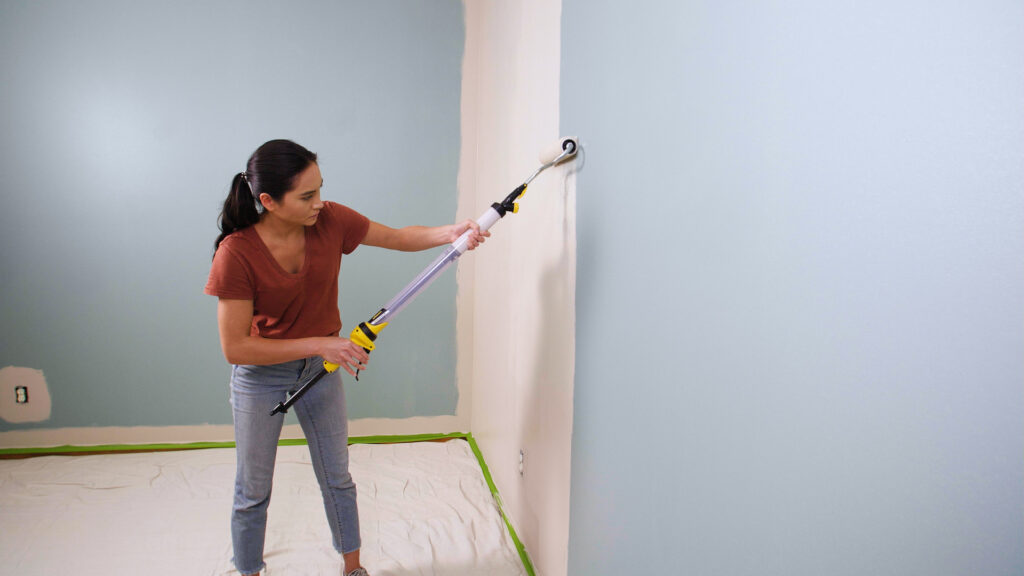
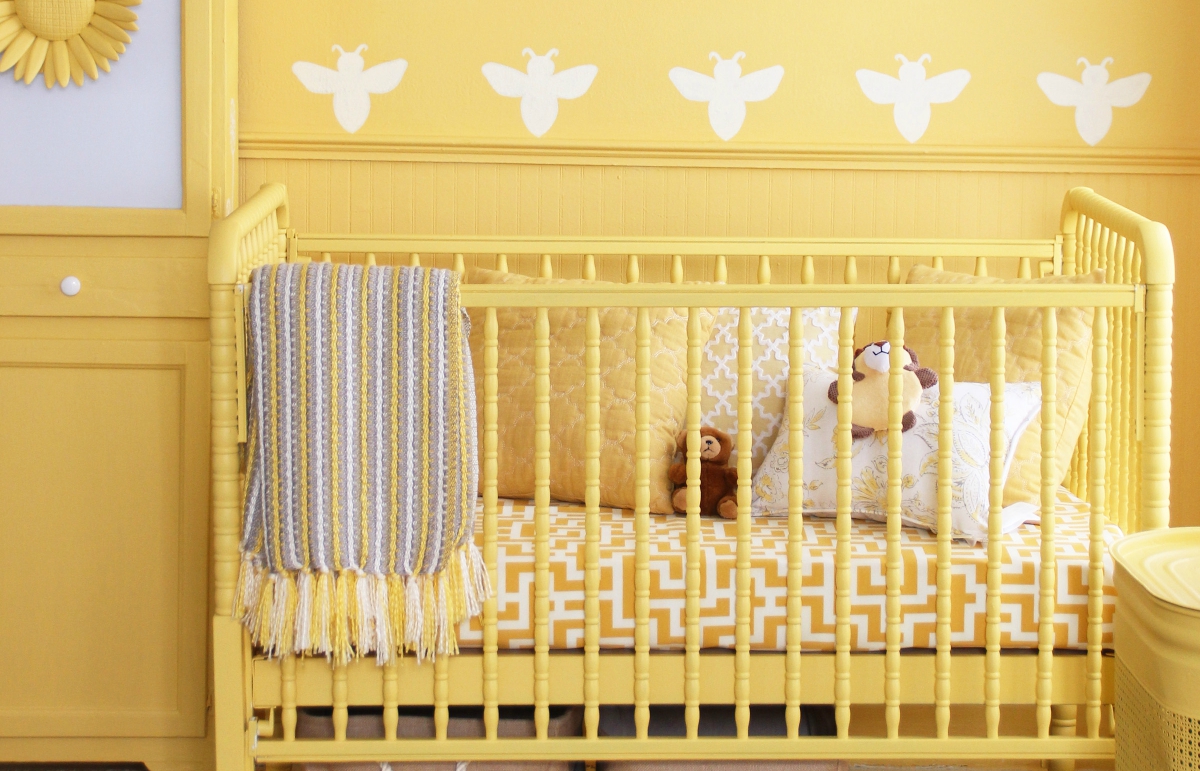
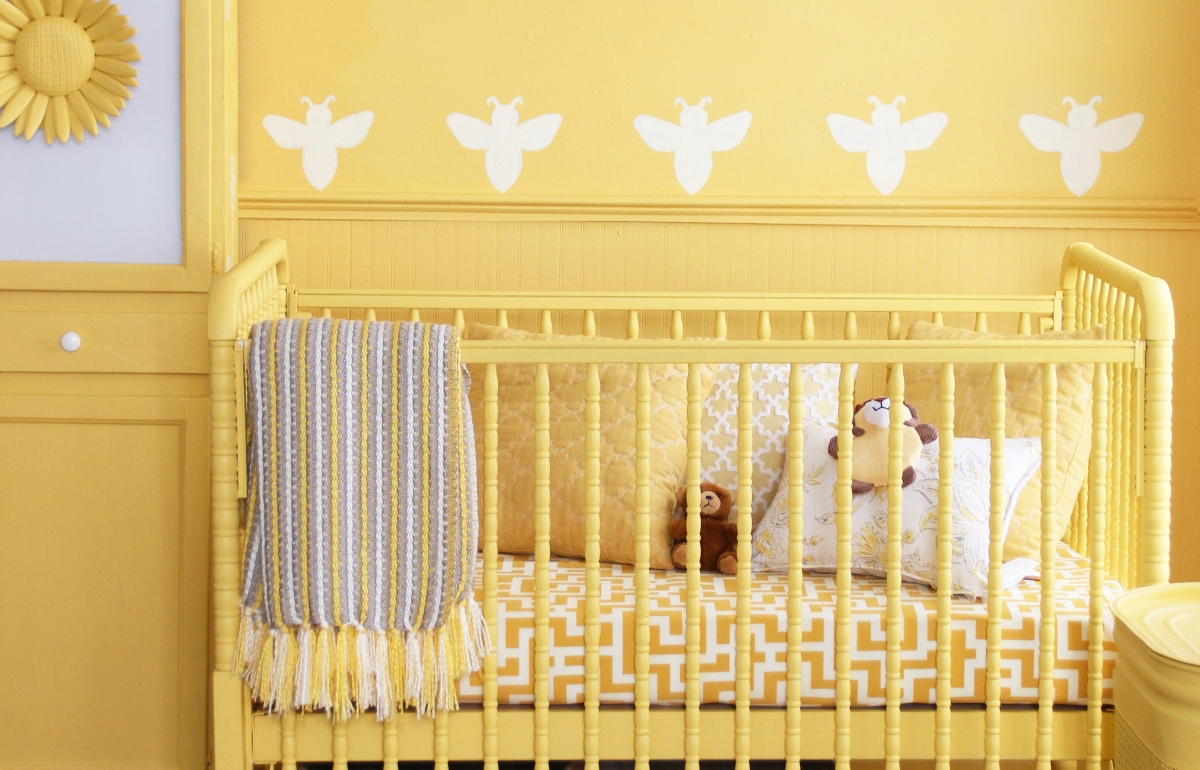
Molly loves yellow and picked a honey bee theme. Family furnishing were upcycled for the room using Wonder-Pure Pittsburg Paints Sol de Yucatan, a zero-voc paint which is safest for the new arrival.
Step 1
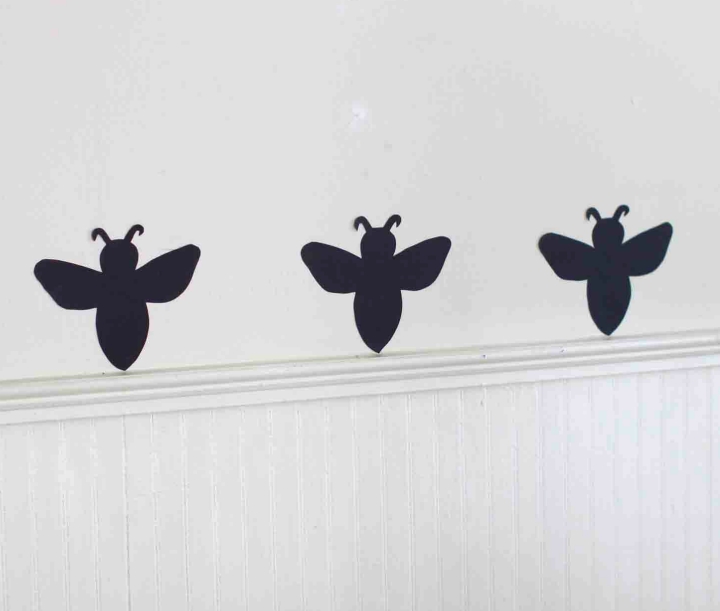
Cut your stencils and adhere to wall
Cut your design out of mylar paper and simply stick to the wall with stencil adhesive.
Hand-cut stencils out of black mylar are adhered to the wall with low-tack stencil adhesive.
Step 2

Attach stencils and tape
Design elements were gathered at local stores with the color palette in mind.
Wooden laser-cut flowers are attached to the side of the cupboard with map pins while blue tape is employed to fashion flower stems. Stencils and painter’s tape makes it super easy to add instant style.
Step 3

Assemble sprayer
“This paint project is so easy,” Lindsey says. “It is so much fun doing it all with your friends.”
Step 4

Use face protection
We decorated facemasks for the actual spraying with little sugar honey bees, and we each took turns spraying the walls and furnishings.”
Step 5

Place drop cloths and begin spraying
The women prepped the furnishings first and used a fabric drop cloth as a spraying backdrop for the crib and cupboard. “We did everything in one color,” says Rebecca. “It provided a fresh, modern backdrop for pillows, fabrics and furnishings.”
Step 6

Spray walls
Spray over and then remove the stencil to reveal a crisp relief.
Step 7
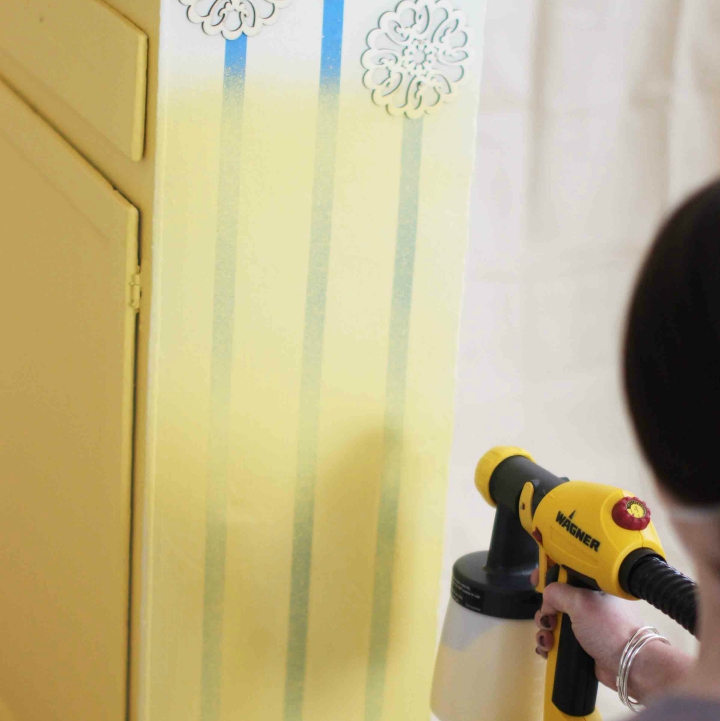
Spray cupboard
Spray over stencils and tape on the cupboard and remove to reveal a pretty floral design.
Step 8

NOW IT’S TIME FOR THE SURPRISE!
Painted and furnished, the crisp new nursery is a culmination of friendship and fun around creating something special and memorable for all involved.
Step 9

Download Project Steps & Shopping List
We’ll never share your email with anyone else