Overview
Are you working in a new construction site, such as an unfinished basement or a bathroom remodel? Or are you working in a finished room that you’re planning to add texture to the walls or ceilings?
Prepare Work Area
Texturing can be a messy job. So, if it is new construction, you don’t really need to worry about getting texture on the walls or floors it can be clean-up afterwards with a wide utility knife, as the material can be scraped right off. To save you some clean-up, it would be wise to cover windows. Working in a finished room, you’ll want to remove all the furniture, cover the floors, walls and remove any light fixtures in the room.
Step #1
Mixing the Texture Material
You can buy texturing compound in powder form, but it’s just as easy to use topping compound, which is the joint compound – or mud –used for drywall finishing. Whether you use a powder or a premixed product, for achieve most texture effects you’ll need to mix it with water. Do this in a 5-gallon pail, stirring thoroughly with a drill and a paddle attachment to get all the lumps out. The perfect consistency for most texturing is thin enough to be almost pourable, but stiff enough to stay on a drywall knife without running off. If you plan to spray the texture, though, make it the consistency of thick paint.
Step #2
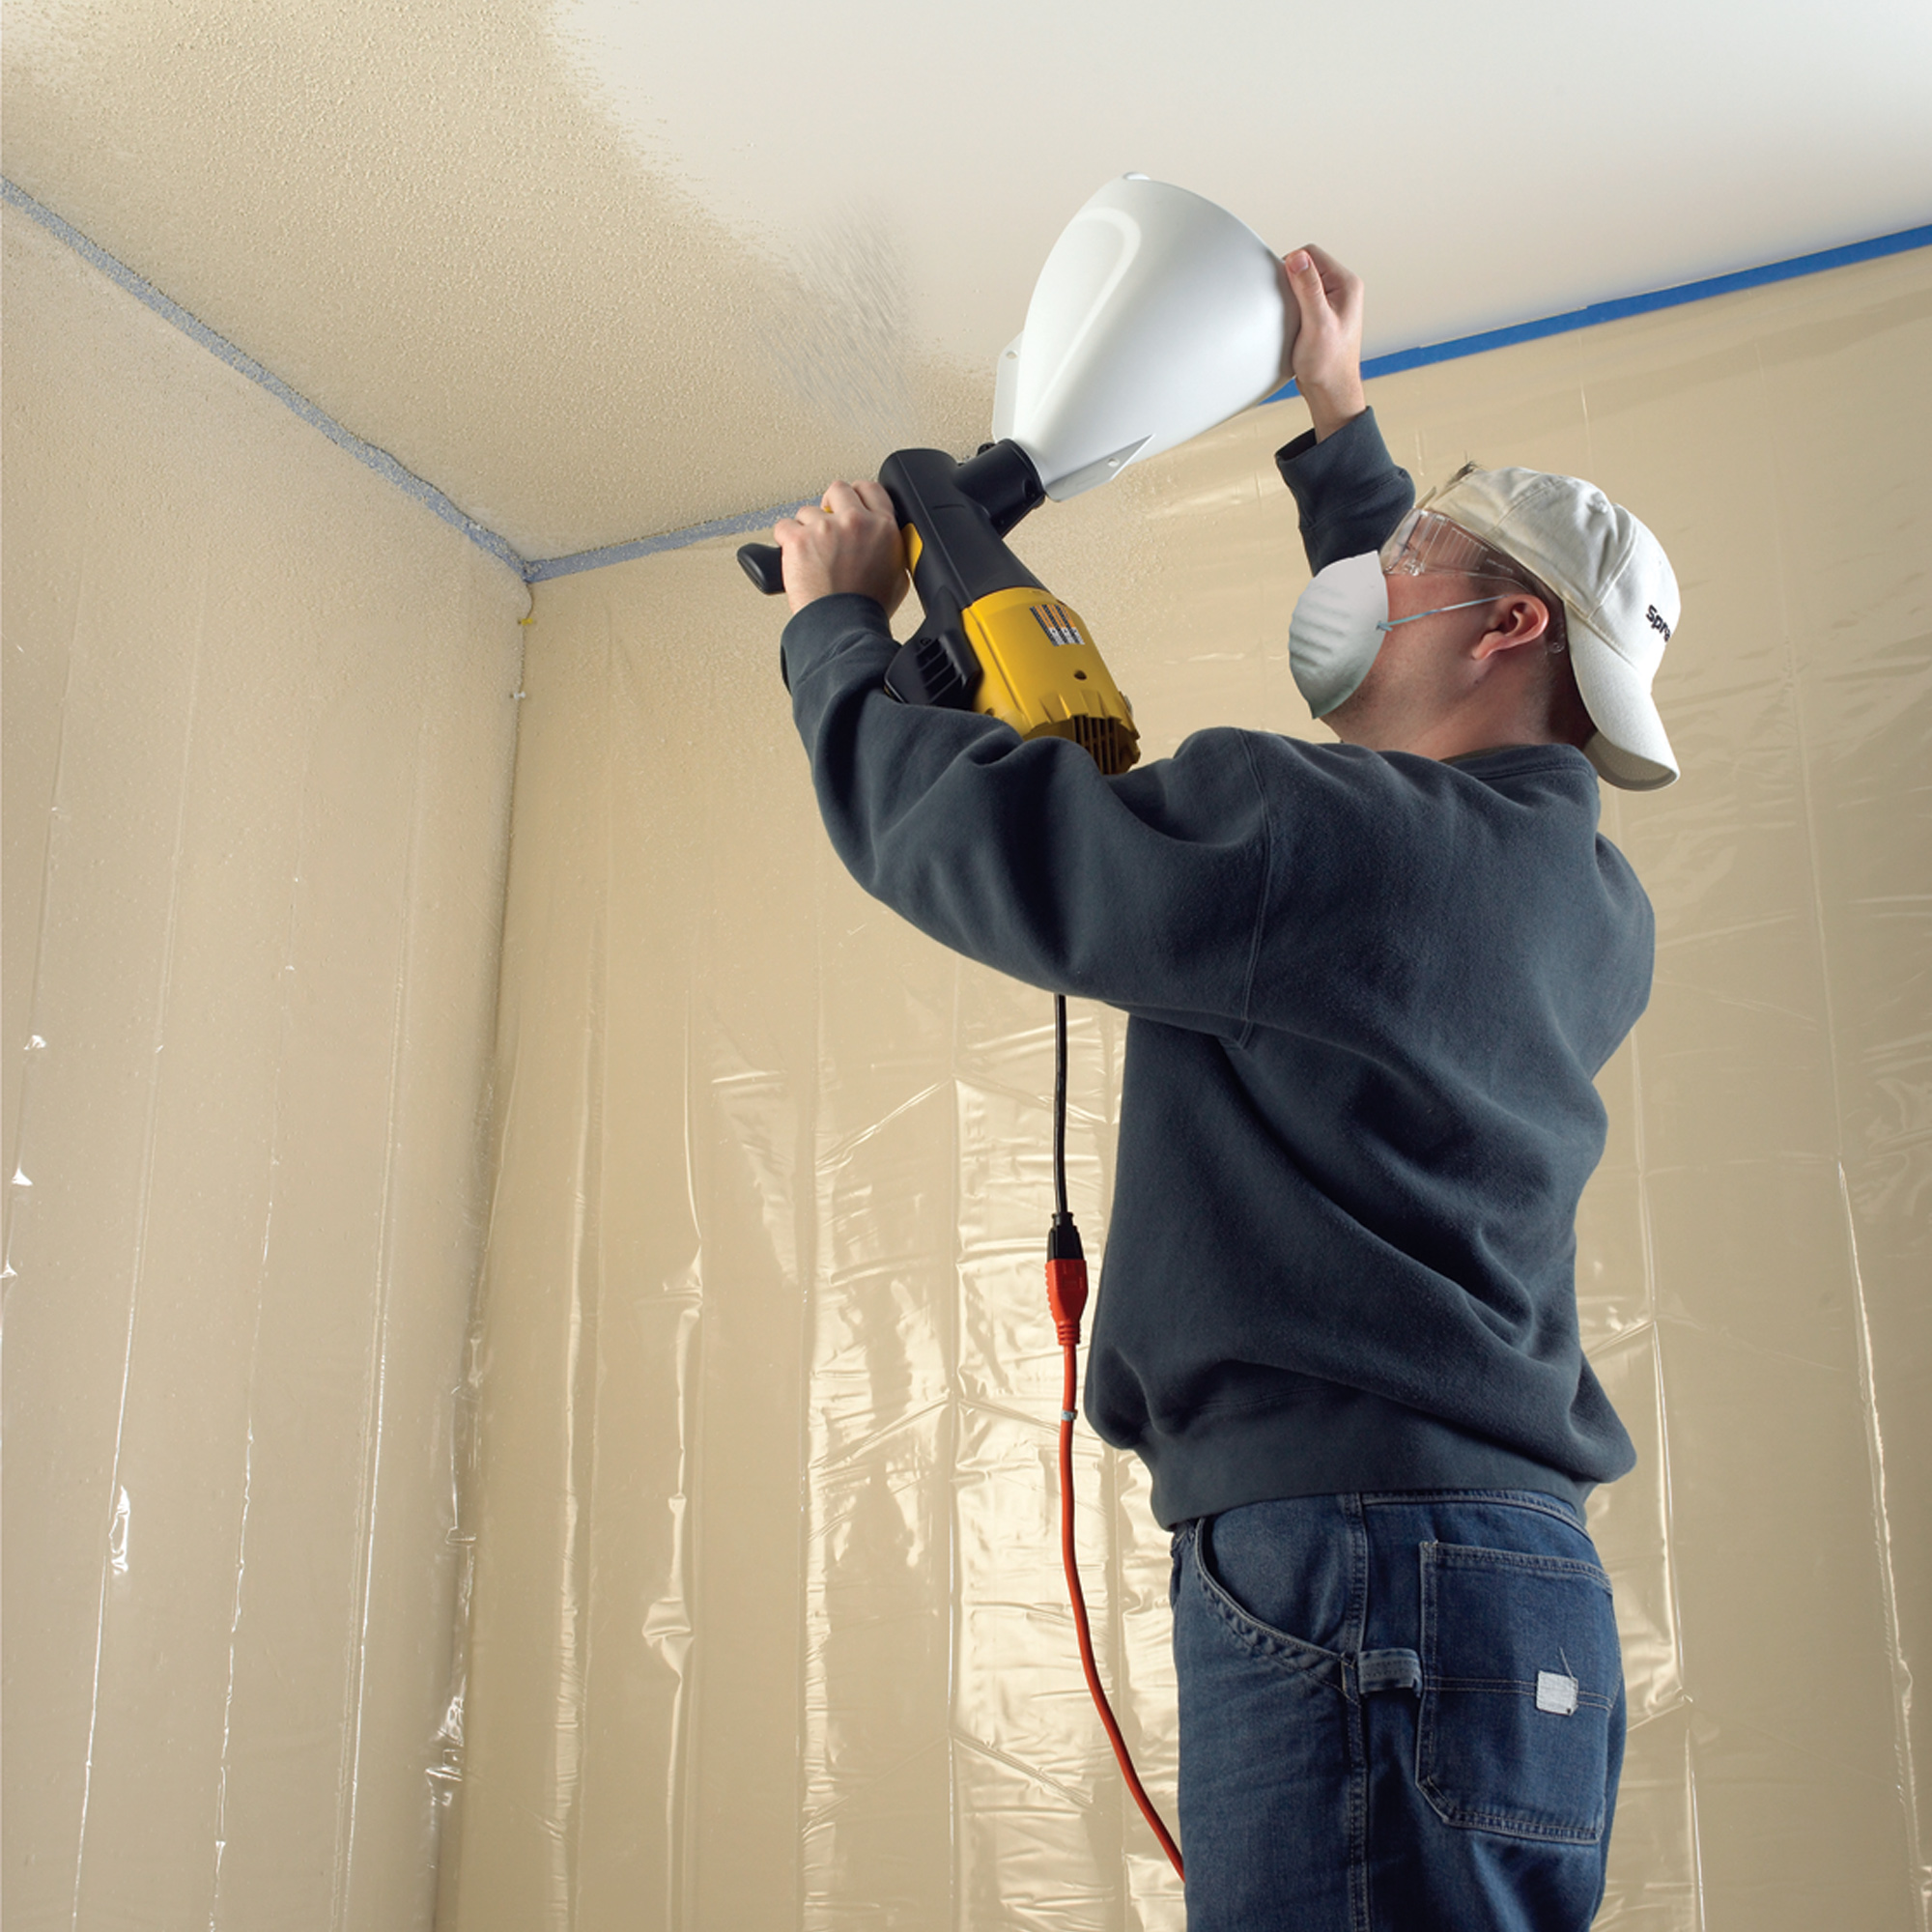
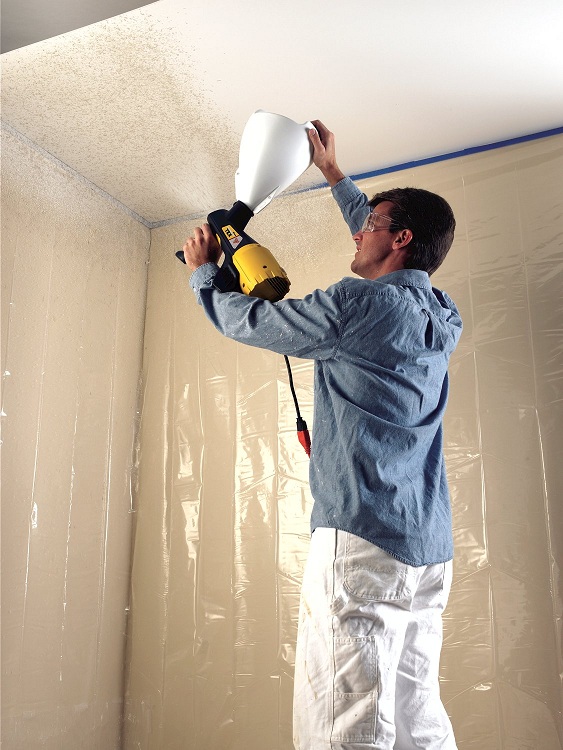
Testing Your Sprayer
Use a sprayer, Wagner Power Tex, to apply the material. Test spraying the material on some cardboard or wood to get the correct flow rate and speed of moving the sprayer across the surface. Once you are ready to begin, another suggestion is to start in a corner or in a closet get more familiar with the operation.
Step #3
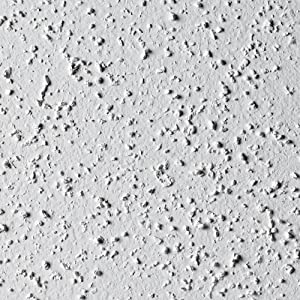
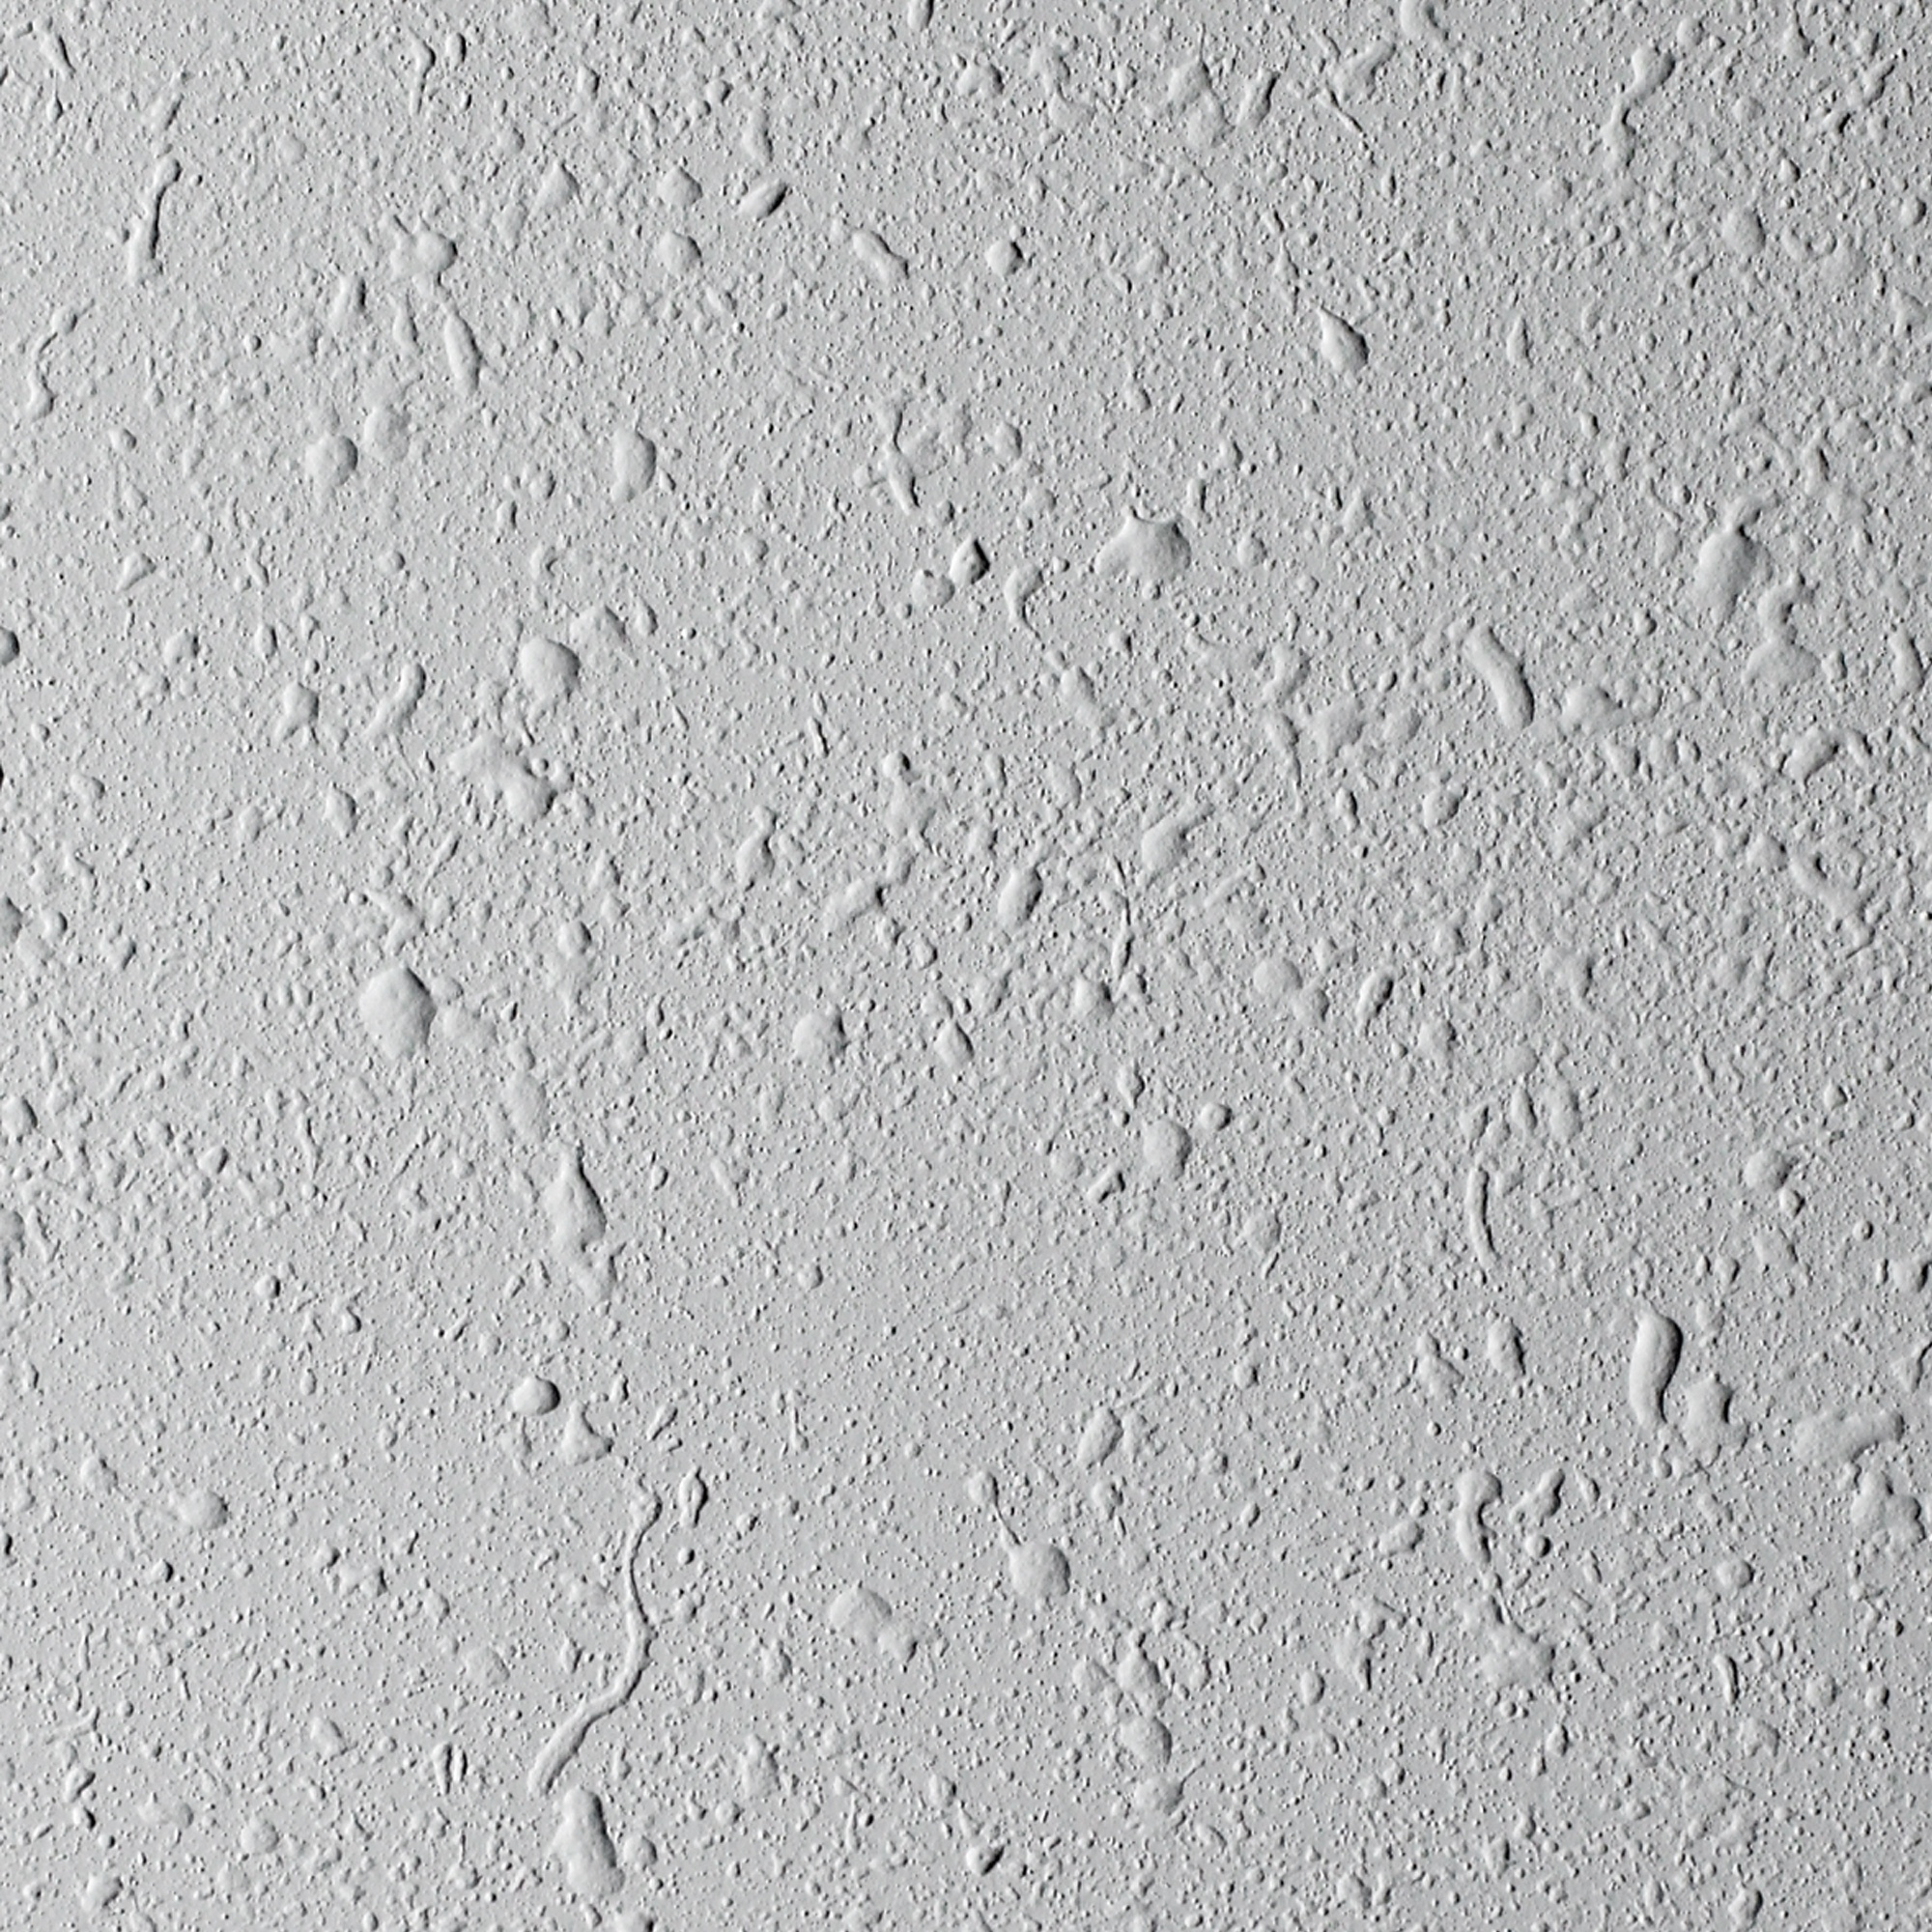
Intensity of Spraying Depends on the Surface
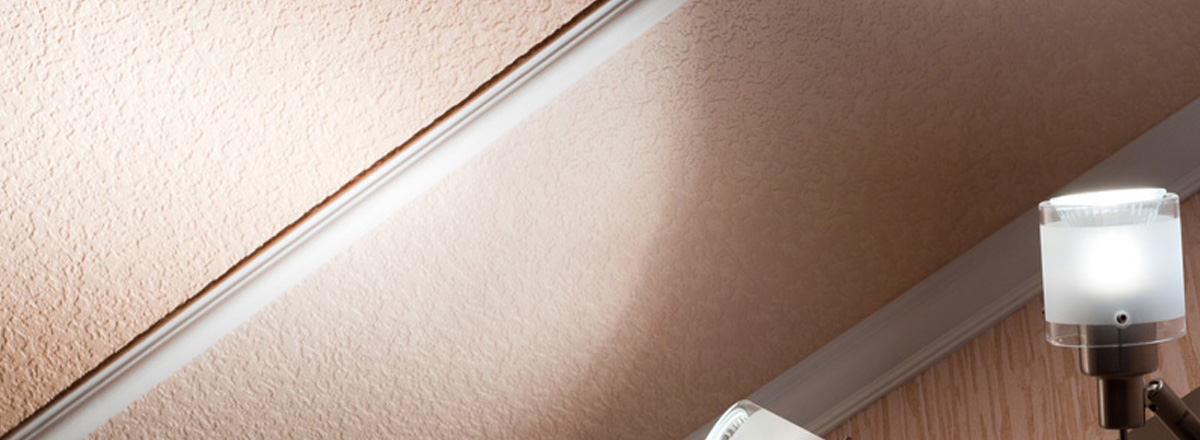
Knockdown is one of the most common texturing techniques. To accomplish this attractive texture, first apply the mud in a random pattern, using a hand sprayer, a drywall knife or a slap brush – a wide-bristle brush that you load with mud and slap on the surface. Wait for the texture to stiffen and then run a drywall blade lightly over the wall to smooth it. This procedure results in a noticeably raised texture that still feels fairly flat to the touch. For a popcorn ceiling the material will be sprayed on thicker and once it is dried, it won’t need to be painted.
Step #4
Matching an Existing Texture
When you need to make a repair on a textured wall or ceiling, you may need to match an existing texture. It helps to do some research to find out what technique was originally used and try to match it. Texturing is something of an art, and no two people do it in exactly the same way, so you may have to experiment on a piece of scrap drywall. Even if you make a mistake, it’s not a problem – you can remove the texture while it’s still wet and try again. Avoid making a sharp border between the existing texture and the repair.
Texturing is creative and can be a lot of fun. When you’re done, you’ll appreciate the coziness and visual interest it gives your room.
Step #5

Download Project Steps & Shopping List
We’ll never share your email with anyone else