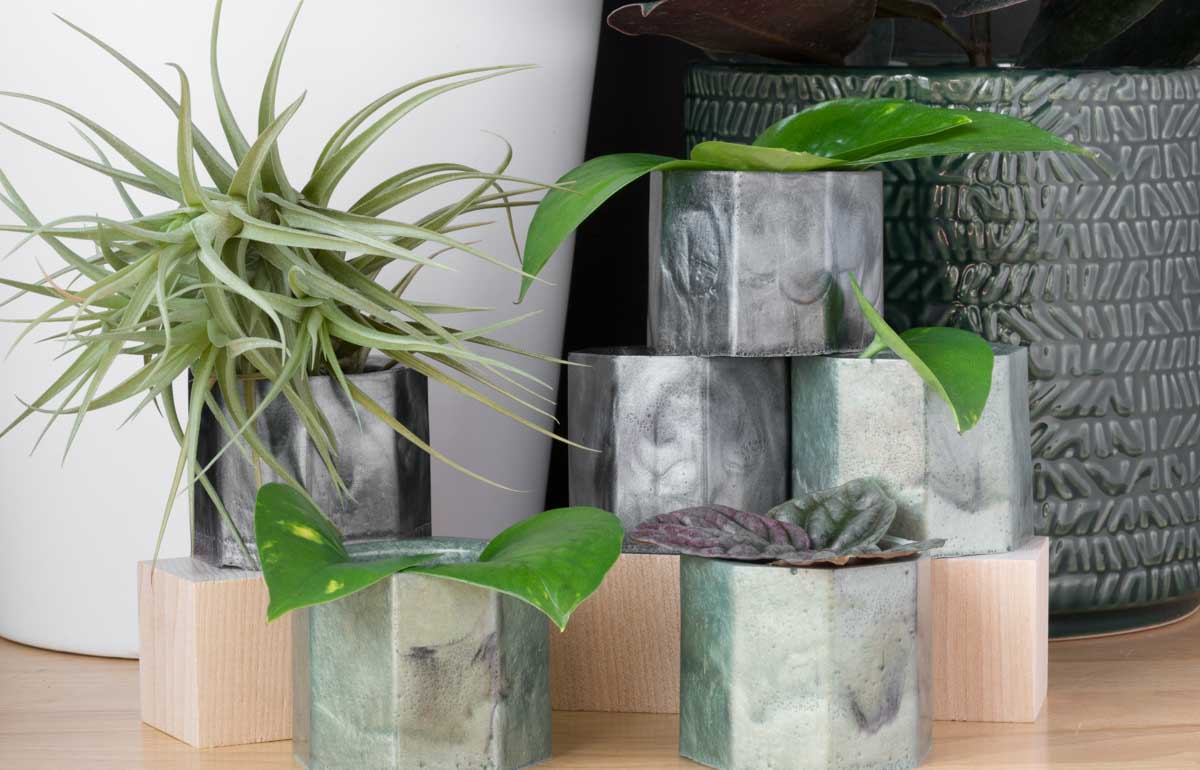
Overview
Follow along with Brittany from by Brittany Goldwyn, and create these DIY small epoxy resin planters with the help of a Wagner FURNO heat gun.
Prep your workspace
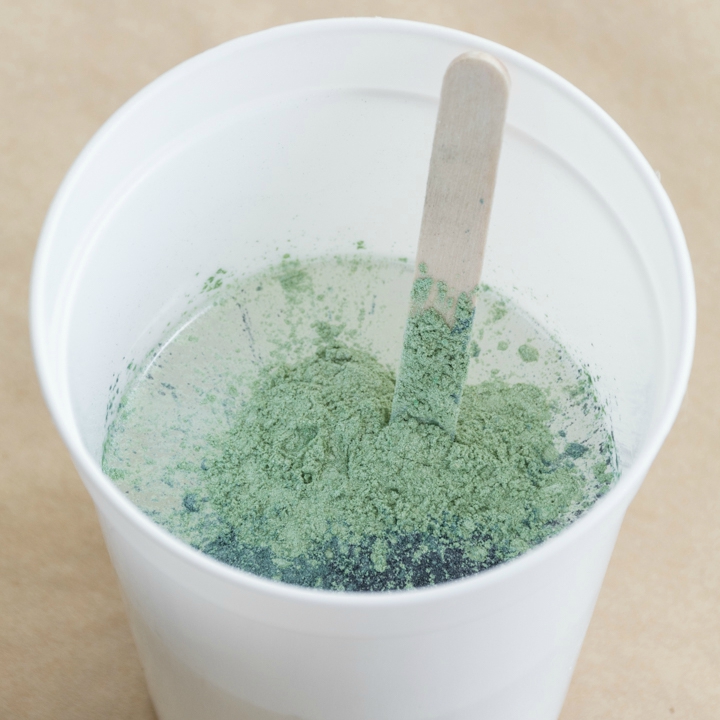
Prep your workspace by covering it with a protective material. I used a roll of thick kraft paper and also set out some paper towels to have them handy. Resin is a very messy material. Measure and mix your two-part epoxy resin in a disposable cup using a disposable stirrer.
When working with epoxy resin, make sure you’re working in a well-ventilated space. Wear gloves, and if your space isn’t well-ventilated, wear a mask.
Step 1
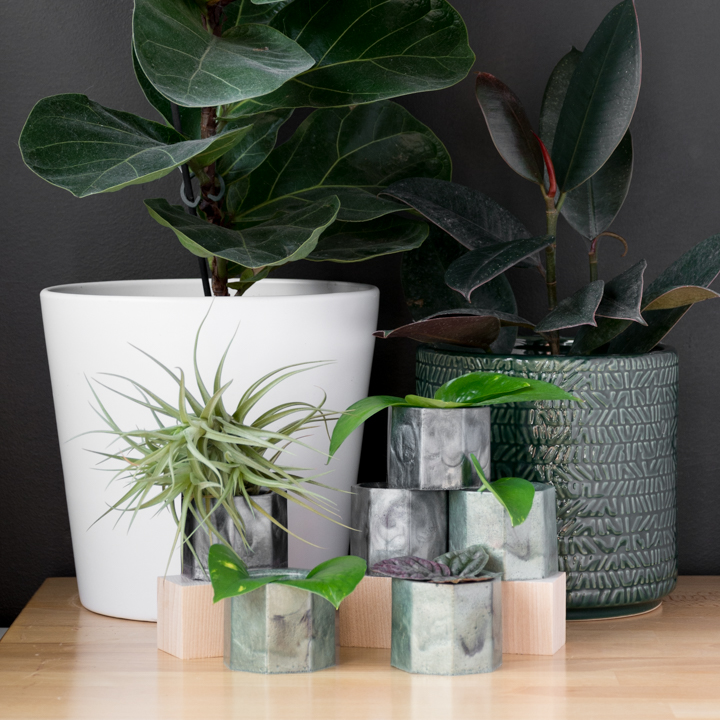
Mix resin and add dye
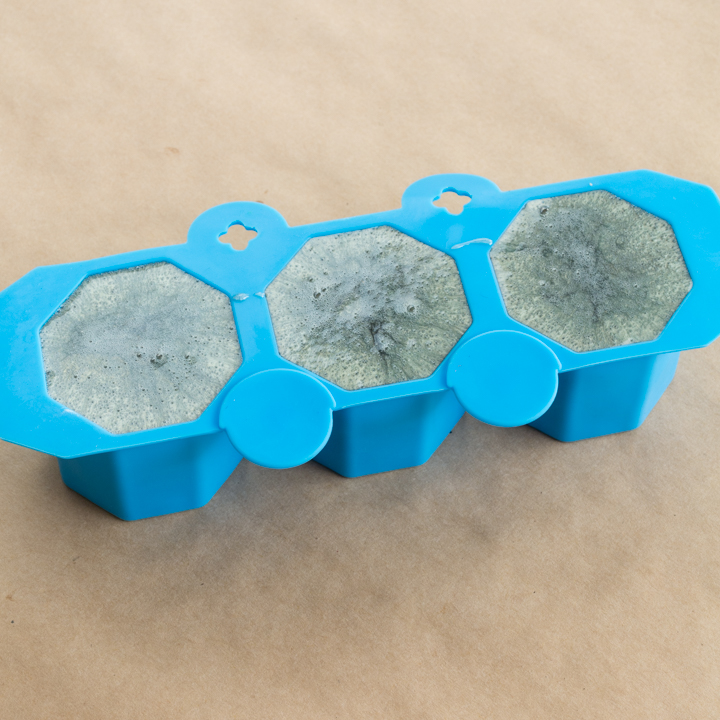
Immediately after mixing up the resin, add dye powders to get your desired color. Then pour the colored mixture into each part of the silicone mold. Resin sets up quickly, so remember to work quickly. You don’t need to grease the mold first.
Step 2
Pop air bubbles
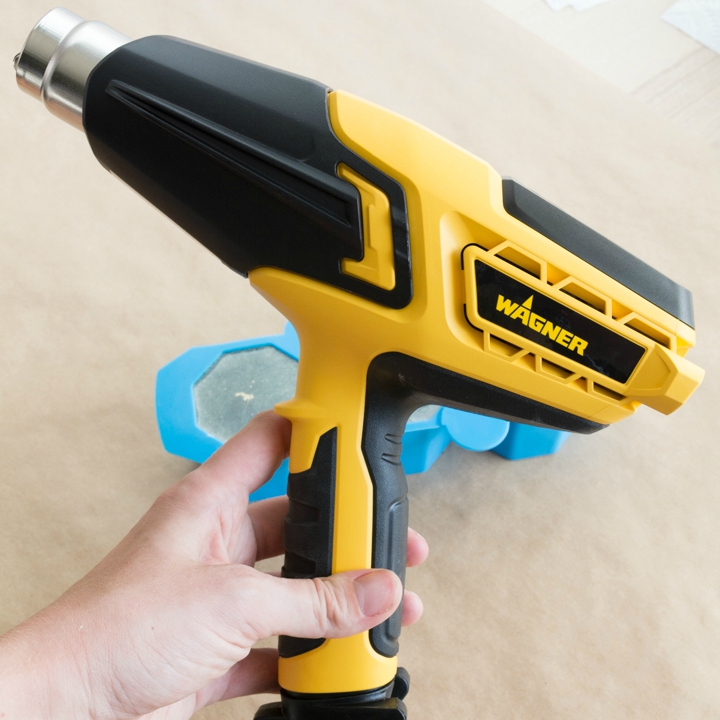
After the mixture sits in the mold for about a minute, air bubbles will begin to rise to the top. This is the air escaping as the resin settles. Now it’s time to pull out the FURNO 500 heat gun. I set mine to the lower of the two fan settings, second-lowest heat setting.
Slowly aim the heat gun at the area where the air bubbles are. They will begin to pop. Keep the heat gun blowing on the resin for about a minute to pop any more air bubbles that rise to the surface.
Turn the heat gun on cooldown mode and set it on its built-in stand. Let the resin cure overnight in the molds. Then pop the planters out of the molds.
Step 3
More info
To read more about this tutorial and get Brittany’s tips for using the FURNO 500 heat gun, visit by Brittany Goldwyn’s post: DIY Epoxy Resin Planters Using a Silicone Mold.
Step 4

Download Project Steps & Shopping List
We’ll never share your email with anyone else
