Overview
Whether your fence hasn’t been stained in years or is brand new, it’s important to keep the wood protected from the elements and looking great. Applying a fresh coat of stain every year or two will keep your fence looking beautiful and protect it from the sun, rain or bad weather. This project can take days or weeks if using a brush, but with a Control Pro High Efficiency Airless Sprayer from Wagner you’ll get the job done quickly and know you’ll get professional looking results for only a fraction of the cost of hiring someone to do it.
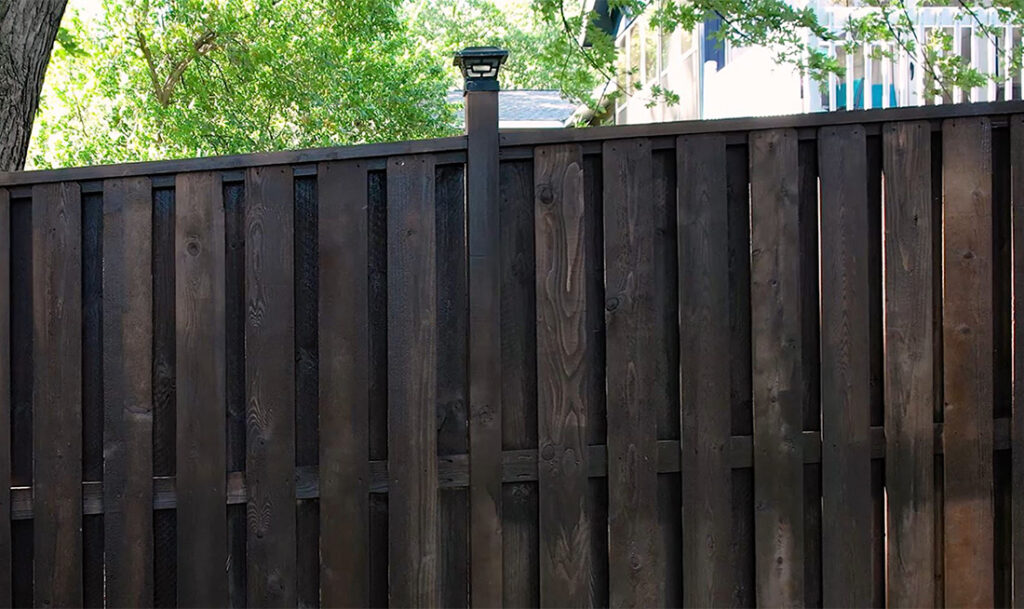
Before
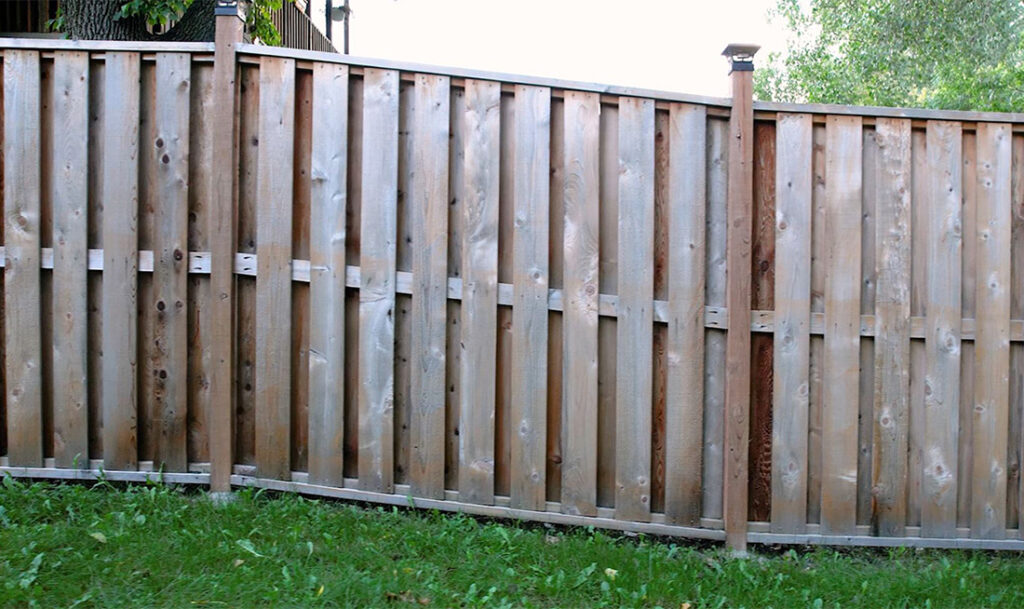
After
Instructions
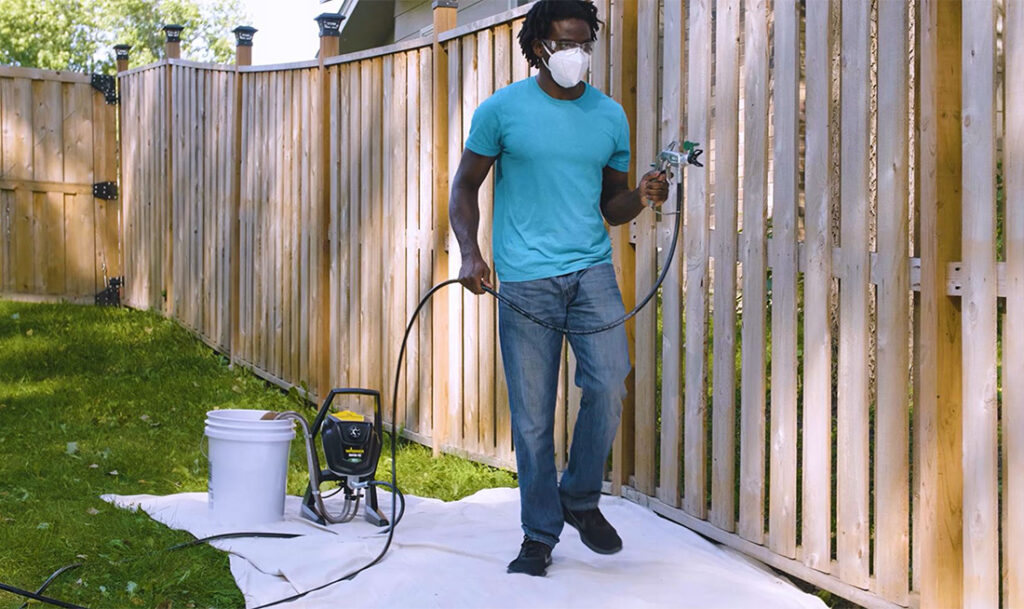
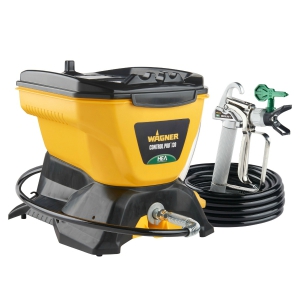
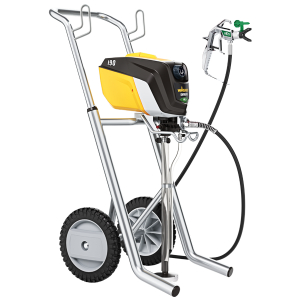
GRAB YOUR CONTROL PRO PAINT SPRAYER
Wagner’s Control Pro series of sprayers features High Efficiency Airless technology, which is perfect for big projects like this one because you can cover a large area really fast with professional results and with less overspray than a traditional airless sprayer. Plus, it’s easier on you physically because the weight of the machine is on the ground and it pulls stain or paint directly from the can!
Step #1
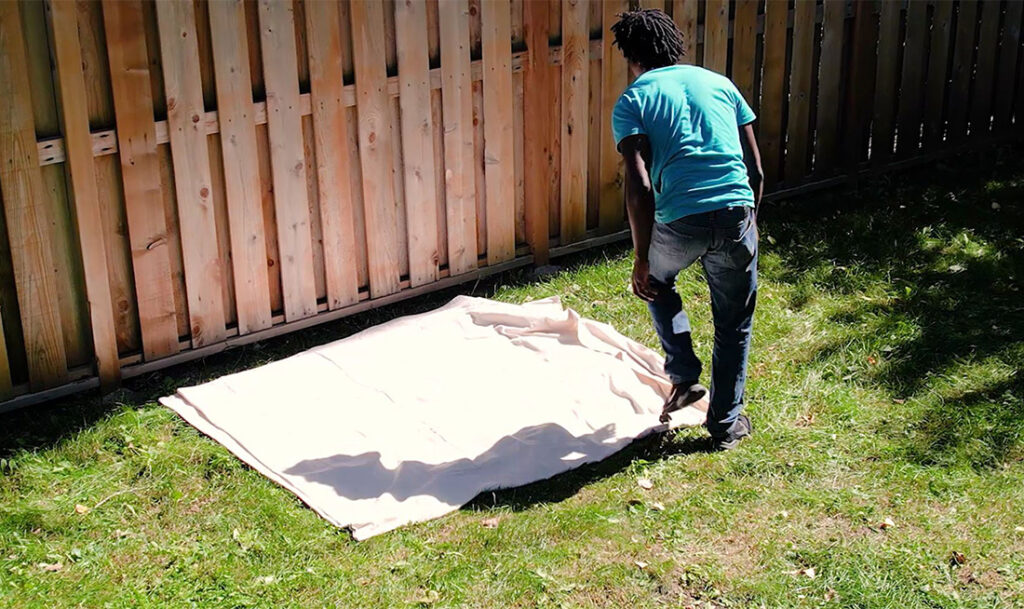
PREPARE THE FENCE
You’ll first want to prepare your fence so that the new coat of stain adheres properly. We recommend going out a few days beforehand and power-wash the fence so it will have plenty of time to dry before staining it. You should also take the time to cover the lawn, shrubs, and parts of the house you don’t want to accidentally get stain on.
Step #2
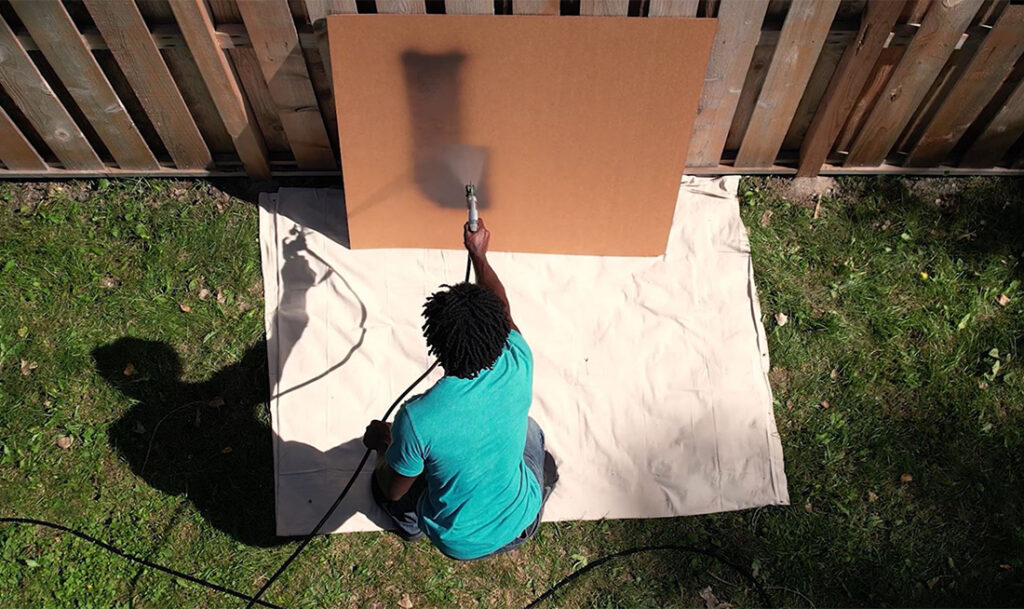
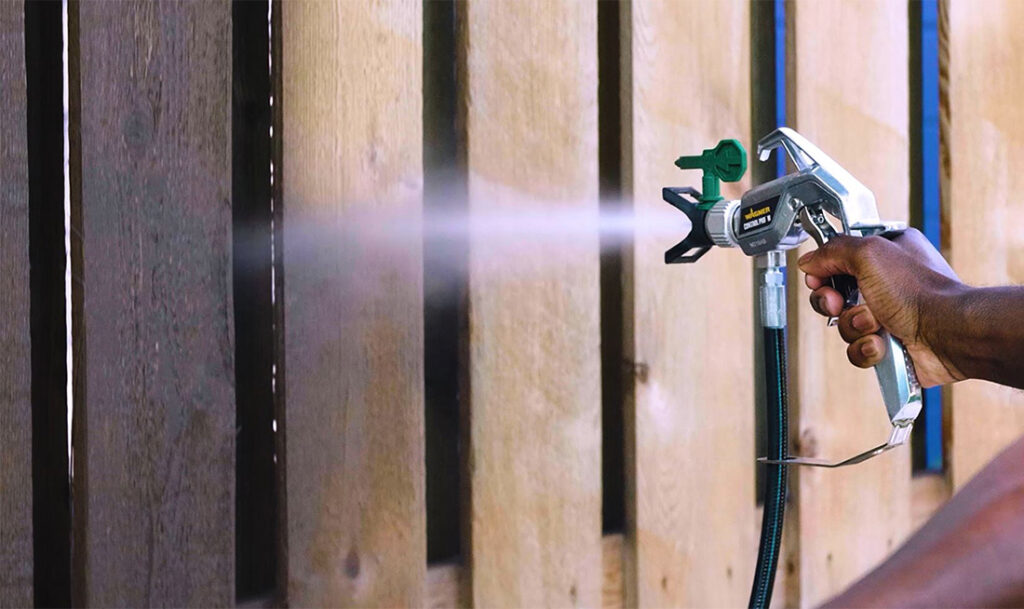
TEST THE SPRAY PATTERN
Before spraying the fence, it’s important to test your spray pattern. You can test spraying on cardboard to make sure the sprayer’s adjustments are set correctly and that the spray pattern looks good.
Step #3
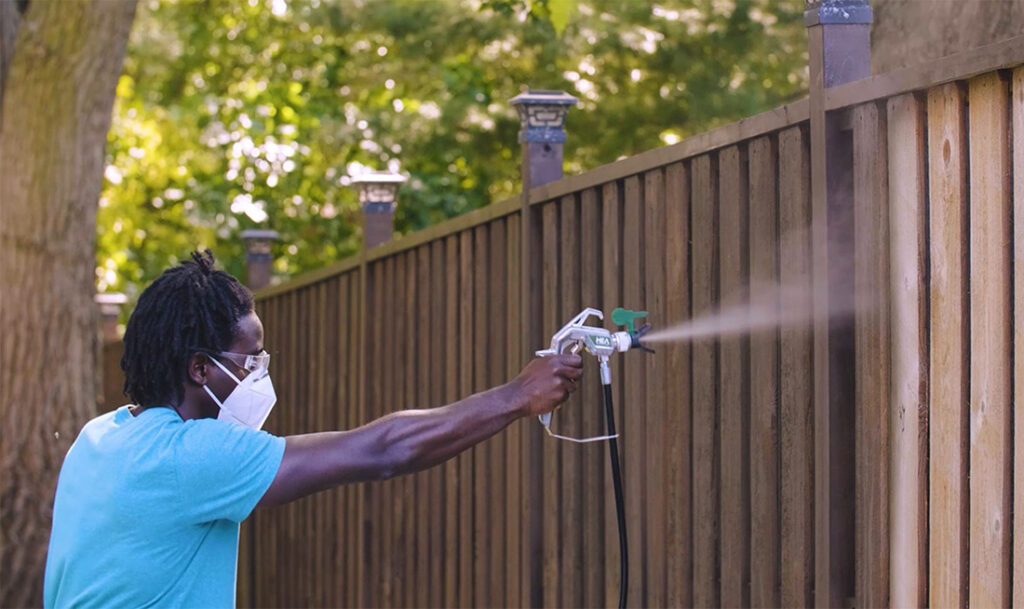
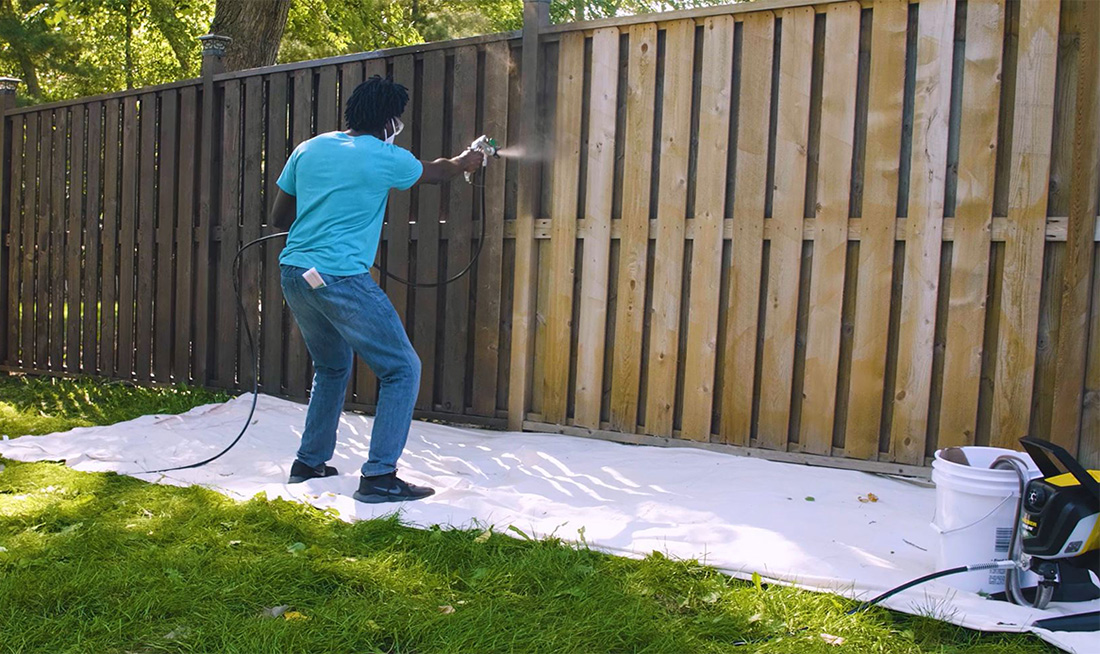
START SPRAYING!
Now you’re ready to start staining your fence! The Control Pro sprayers can cover an 8 x 6 ft. privacy fence in less than a minute so you’ll have your entire fence stained in no time. The sprayer also produces 55% less overspray compared to traditional airless sprayers so the stain will end up on the fence and not where you don’t want it! This saves money by using less material.
Step #4

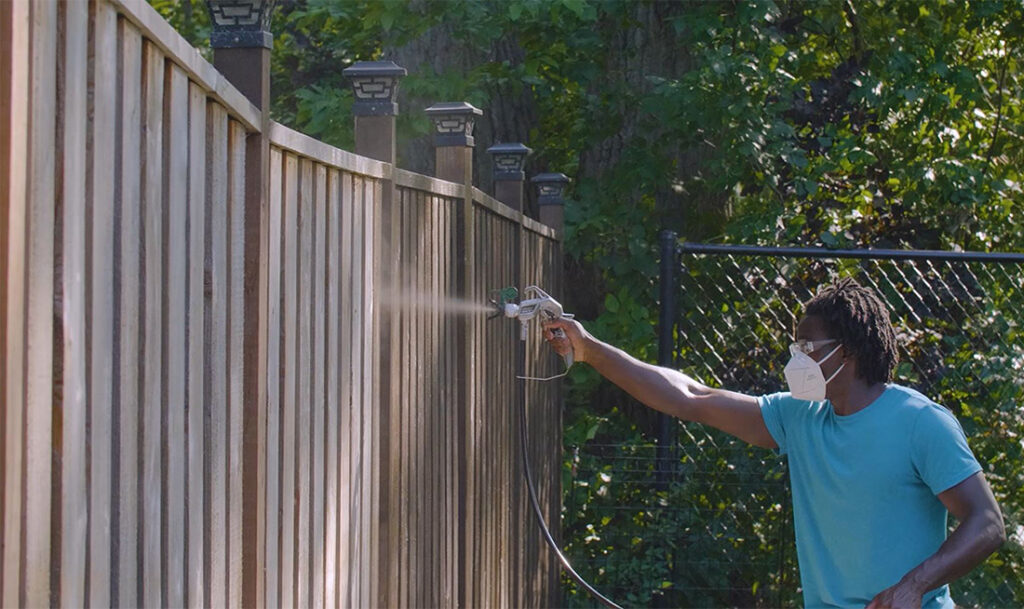
SPRAY WITH THE GRAIN
You can spray horizontally or vertically by adjusting the spray tip for the direction you’re spraying in, or you can just turn the gun sideways. We recommend spraying with the grain of the wood, which usually means along a board’s length.
Step #5
KEEP THE GUN 12 INCHES AWAY
Be careful to keep the spray gun 12 inches away from the surface so you don’t get stain bouncing back. Overlap each pass by 50% for best coverage. Since stain is thin you need to keep your arm moving at an even, consistent speed so you don’t get runs or drips.
Step #6
SPRAY ENTIRE BOARD
Another tip is to pull the trigger to start spraying slightly off of the board, then spray the entire board, and keep spraying off of the board before releasing the trigger. This will make sure the first and last shot of stain aren’t too heavy in one area.
Step #7
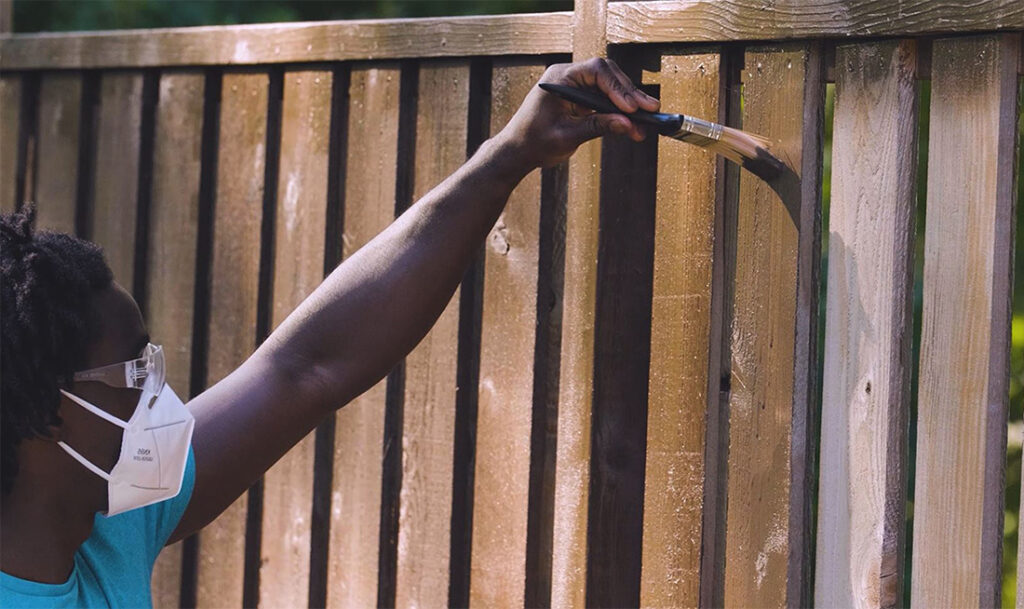
WIPE AWAY ANY DRIPS
As you’re spraying, it’s a good idea to have a paint brush handy to brush out any drips or runs, plus work the stain into the wood grain.
Step #8
USE CARDBOARD FOR FENCE GAPS
If your fence boards have large gaps between the boards, then it’s also helpful to use a scrap piece of cardboard to place behind the fence gaps and catch any overspray that’d drift through. You can either tape the cardboard or have a friend come over and help hold it as you move!
Step #9
ENJOY THE FENCE
In just a few hours, you’ll have a gorgeous, freshly stained fence that will be protected and looking great! Now you can go back to enjoying the rest of your weekend and working on other projects.
Step #10

Download Project Steps & Shopping List
We’ll never share your email with anyone else