Overview
Wagner’s Spray Shelters are a great way to protect your projects when painting outside – or to protect your interior spaces from paint! If you’ve ever struggled with debris or bugs getting into your wet paint while it’s outside drying, a spray shelter is a great solution. Here’s a quick breakdown of what they are, what they do, and how to use one!
Before
After
Instructions
What is a Spray Shelter?
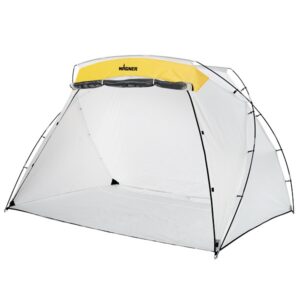
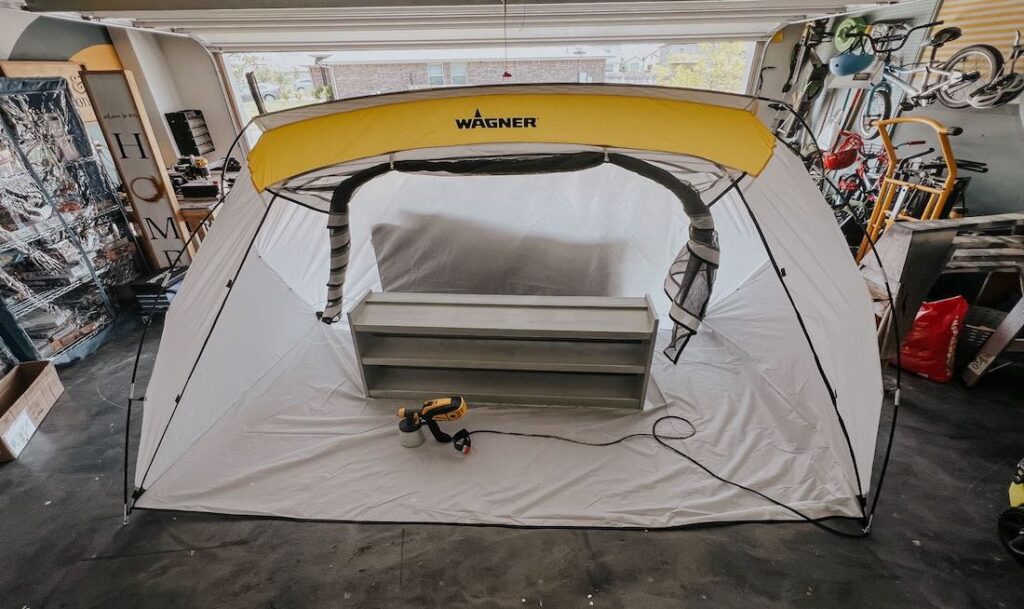
A spray shelter is a tent that can be used to hold your projects while they’re being painted. They come in various sizes (the large is 9′ wide by 6′ deep, and it’s 5.5′ tall!) and serve to protect your painted or stained projects from the elements while they are curing.
In addition to that, a spray shelter is a really great way to paint a project inside without having to tape off an entire room! If you’re working in a garage, or even inside of a house, a spray shelter can help contain any overspray and prevent your space from getting messy. They’re easy to set up, easy to use, and so incredibly helpful!
Step 1
Important Features
Wagner’s spray shelters have an integrated floor that protects the ground while you work. That means you don’t have to lay down a drop cloth before beginning, and your grass or garage floor will be perfectly safe as you work.
The large spray shelter shown here has a mesh screen that comes down to fully protect anything inside. After you finish painting, you can close the screen and leave your project inside. Then, you can rest safe knowing no wandering bugs or gusts of wind will interfere with your drying paint.
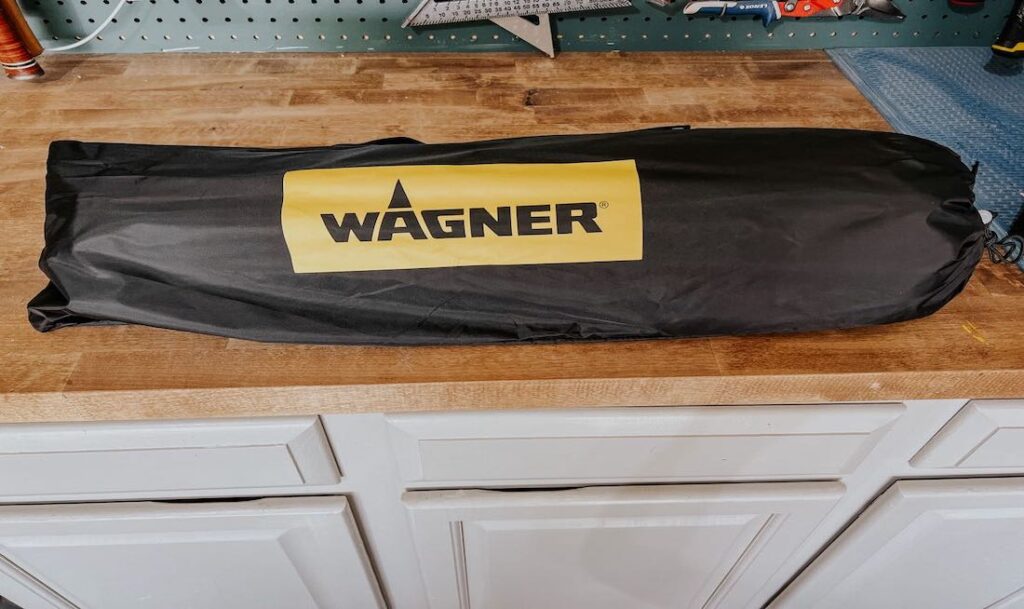
All of Wagner’s spray shelters are easy to set up and take down, and they can all be stored in a small bag. So, they won’t take up a ton of space in your garage when you aren’t using them!
Step 2

How to Set it up
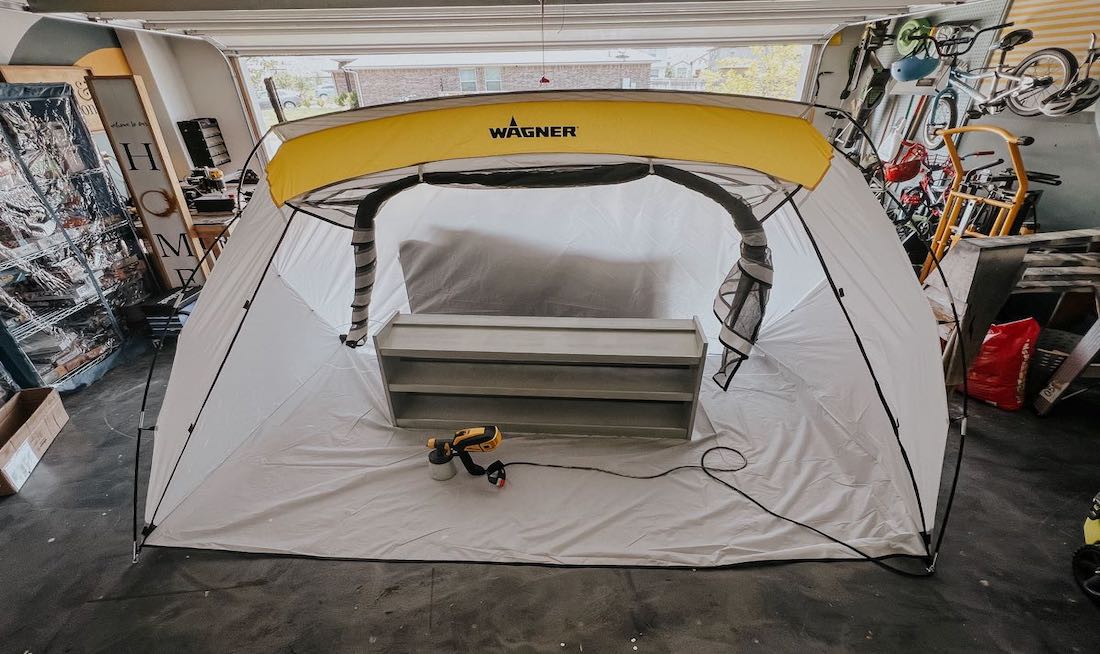
If you’ve tried other spray tents or shelters, you may have been frustrated with the setup process. Wagner’s large spray shelter is surprisingly simple to set up and only takes a few minutes – especially if you have a second person on hand to provide an extra set of hands!
Here are the basic steps for setup:
-Lay out the spray shelter on the ground. Insert all of the pieces of each pole into the connectors so that they are fully extended.
-Slide each pole through one of the sleeves on the spray shelter. If you start with the front sleeve, have the ends of the pole pointed towards the back corners. If you start with the back sleeve, have them point towards the front! The two poles should cross on both sides of the tent!
-Insert the pins on all four corners of the tent into the ends of the poles. Finally, attach the clips on the sides of the tent to the poles, and tie the strings where the poles cross.
All said and done, it takes less than 10 minutes to set up and tear down the tent – which is more than worth the amount of trouble it saves you from!
Step 3

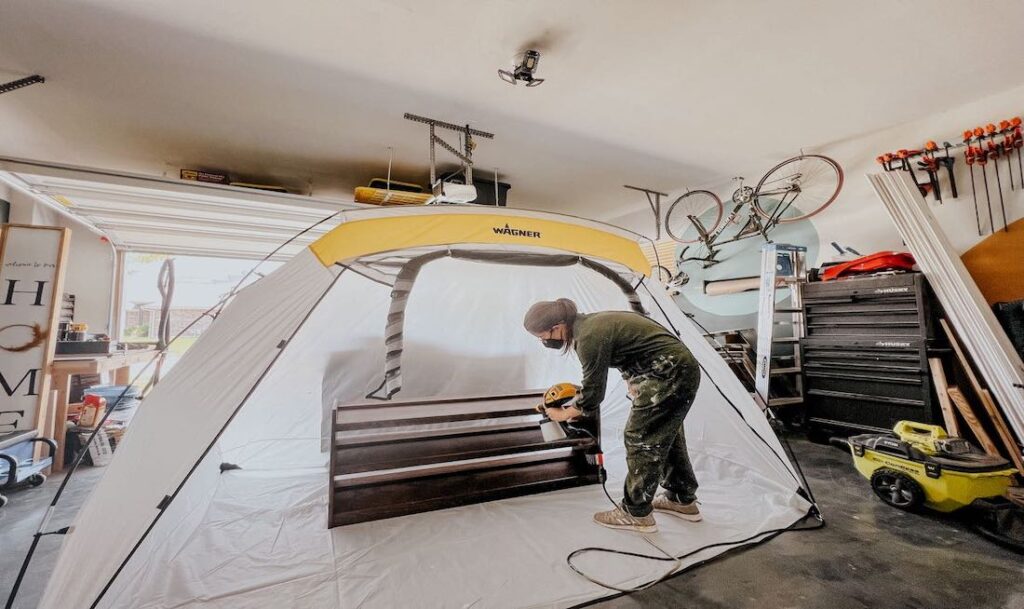
Spray Your Piece
I recently used my spray shelter to paint a small shoe storage for my closet, and it was so simple to use and so helpful. I loved not worrying about getting anything on my piece while it was drying. It’s definitely a new addition to my must-have toolbox, and I can’t wait to use it again!
You can check out the full blog post by Love and Renovations for more details!
Step 4

Download Project Steps & Shopping List
We’ll never share your email with anyone else