Overview
My mom’s lived in her home for 12 years and since the day she moved in, she’s talked about changing up the tan walls and flooring to match her style. The time finally came, so this past month we spent a couple weeks helping her rip out the old flooring, paint all of the walls on her main floor and two story staircase, and paint the doors, trim and railings before moving all the furniture back in. Using a paint sprayer for all this painting helped the painting to go quickly and the finish to be professional and beautiful. Here’s the steps to painting the interior of your home with a paint sprayer as well as the two paint sprayers we used for this project.
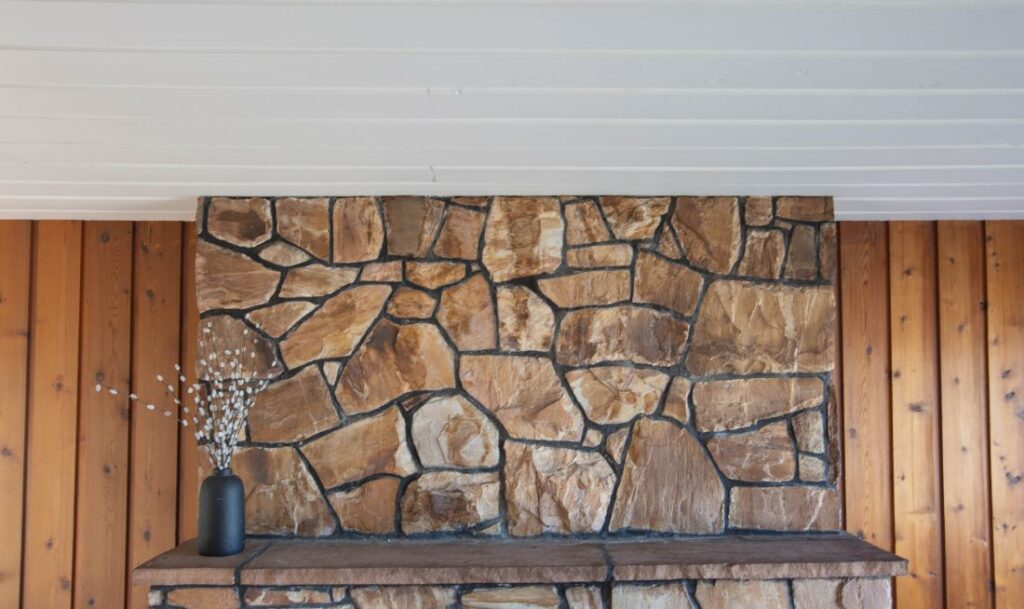
Before
After

Instructions

Clear the Space
Since my mom was having all the flooring replaced as well- we moved pretty much everything out. While you don’t need to move out like my mom did, you will want to clear the area enough that you can access all the walls and surfaces you’ll be painting with a few feet for moving comfortably.
Step 1
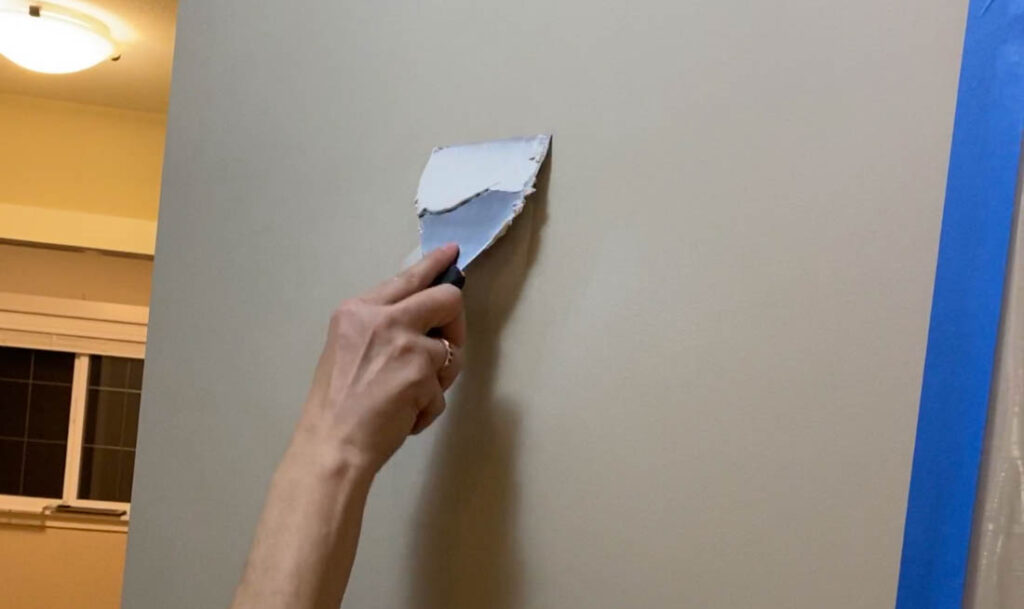
Prep Walls For Painting
The first thing you’ll want to do is prep your walls for painting. I like to wash the walls with a mixture of TSP and water and the fastest way to do this is with a flat mop on a pole. Behind the stove might require a bit more scrubbing to get any grease off. Then, patch any holes in the wall using drywall putty and once fully dry, lightly sand to get a smooth, feathered finish. Make sure to wipe with a dry cloth and vacuum up any drywall dust. If you’ve removed any trim, also take time to scrape the caulk off the walls as well.
Step 2
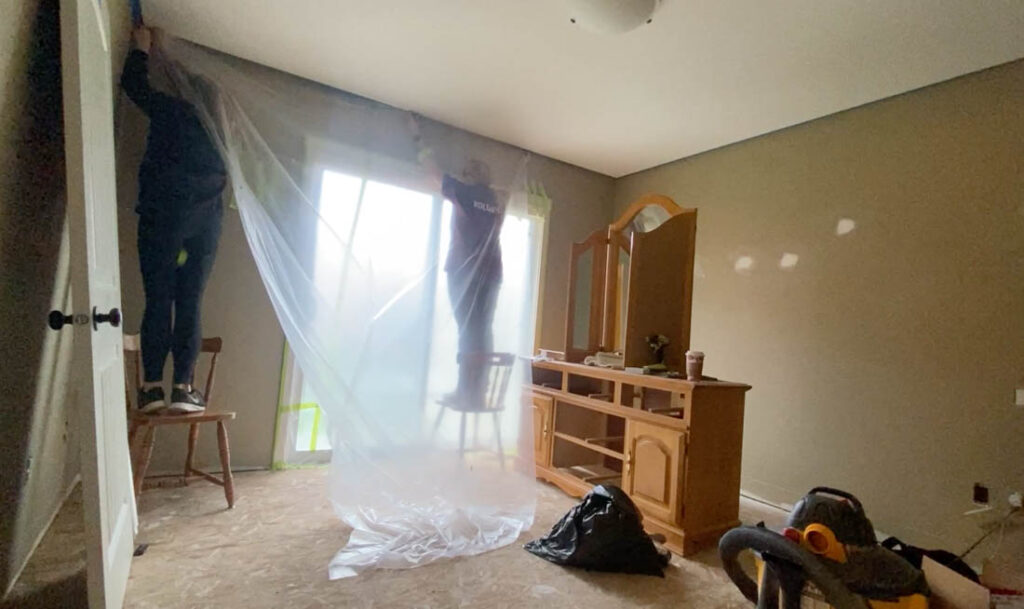
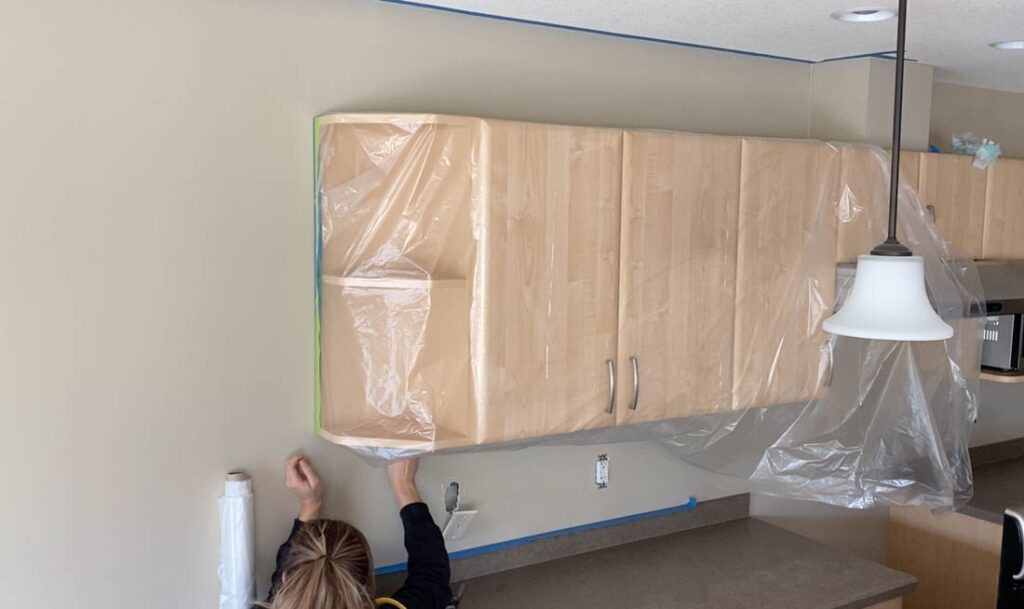
Mask Everything
Next up is masking! I know this can be overwhelming, but once you get in the groove, it’s not difficult. Mask any floors with flooring paper, windows and trim with painters tape and plastic and the ceiling with painters tape and plastic. We also wrapped any cabinets or furniture left in the space with plastic. While you only need to worry about 2’ or so for overspray, using a paint sprayer, especially indoors does produce some paint dust- the paint that dries before hitting the surface. Masking things in your room will save you from cleaning this later. Wall off any spaces you’re not painting with plastic taped or stapled to the ceiling to contain this paint dust. If you are having a hard time managing taping a straight line will also wrangling your masking plastic- I hear you! I like to lay a line of tape first, paying attention to it being perfectly straight, then taping plastic to that. When you are masking the ceiling, it’s handy to have pre-torn pieces of tape around the room so you can mask quickly without the weight of the plastic pulling the tape down as you work.
Step 3
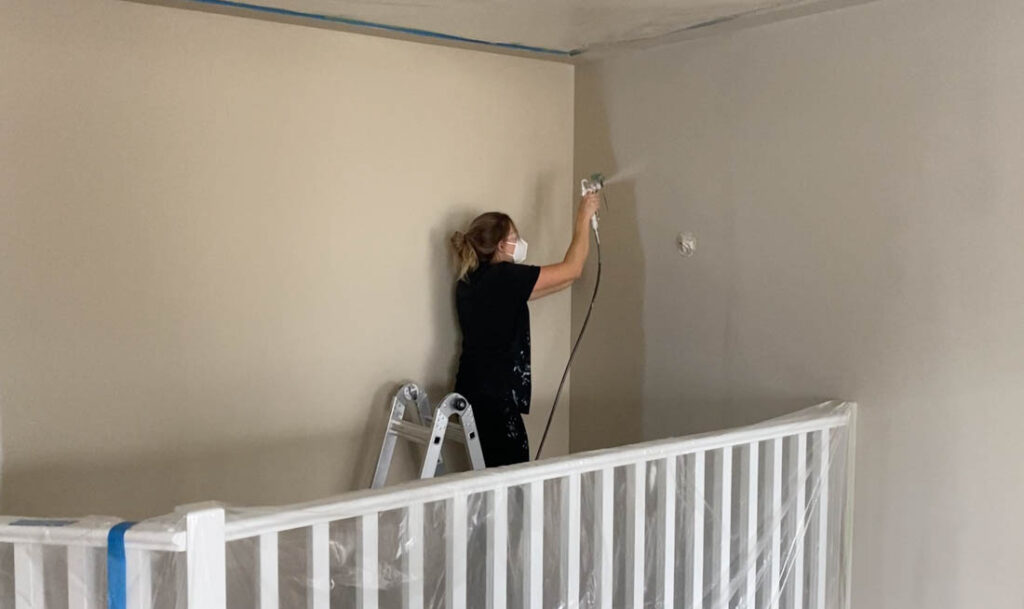
Spray the Walls
Next up is spraying the walls! We used the Wagner Control Pro 130 for this, it’s incredibly quick and the high capacity tank lets you dump a full can of paint in, saving you frequent refills. This sprayer has a long hose so you can leave the paint on the floor even while working on a two story ladder. I loved that I didn’t have to move the sprayer tank around while I worked on bedrooms- the hose reached the entire space! This sprayer works very quickly, letting out a beautifully even, thick layer of paint. This is great to make a job speedy, but can require some trial and error in some tighter spaces like in hallways around all the door frames. I like to work in a vertical spray pattern, overlapping each pass slightly. A second coat will hide any missing spots.
Step 4
Unmask
Now we can unmask everything and see your fresh wall colour! At this point, the almond coloured trim became very noticeable so we picked up white paint for the trim and doors.
Step 5
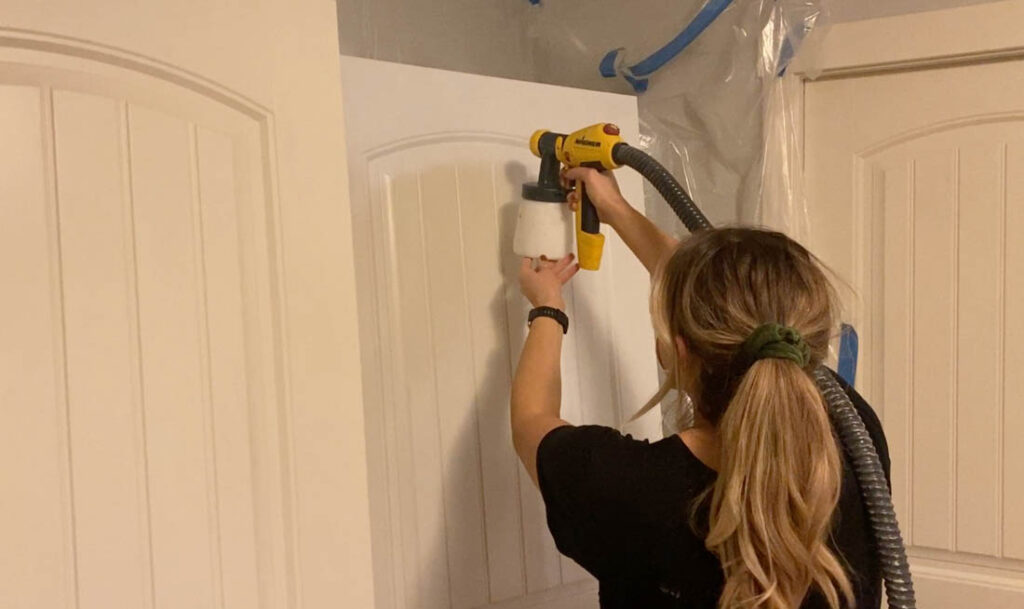
Remove Doors For Painting
I find it easiest to pop doors off the hinges for painting. Setting them up in one well masked room will make painting them so speedy. We used the Wagner FLEXiO 5000 with the detail finish nozzle for doors and trim to ensure a super smooth finish. While this isn’t nearly as speedy as the sprayer we used for walls, the finish is beautiful and it’s perfect for smaller pieces like doors and trim.
Step 6
Step 7
This sponsored post was created by Lemon Thistle. If you’d like to see more of this project and some tips, I’ve made a helpful blog post on my site.
Step 7

Download Project Steps & Shopping List
We’ll never share your email with anyone else