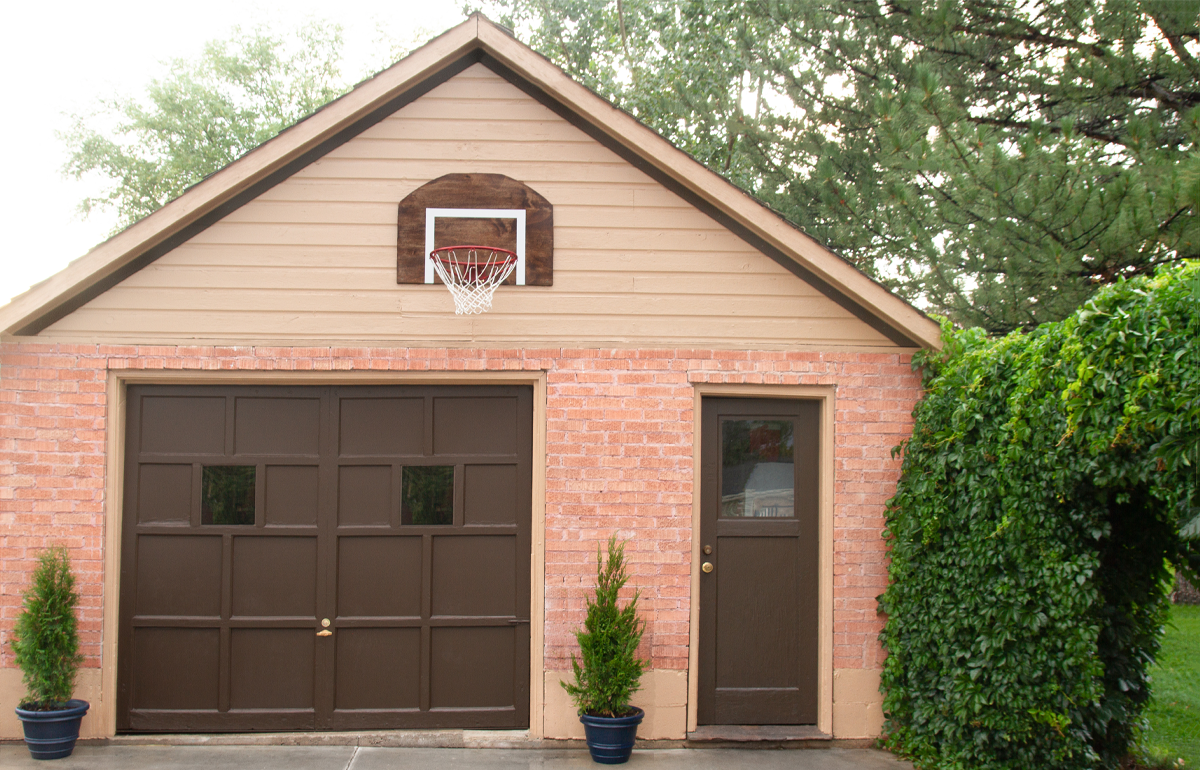
Overview
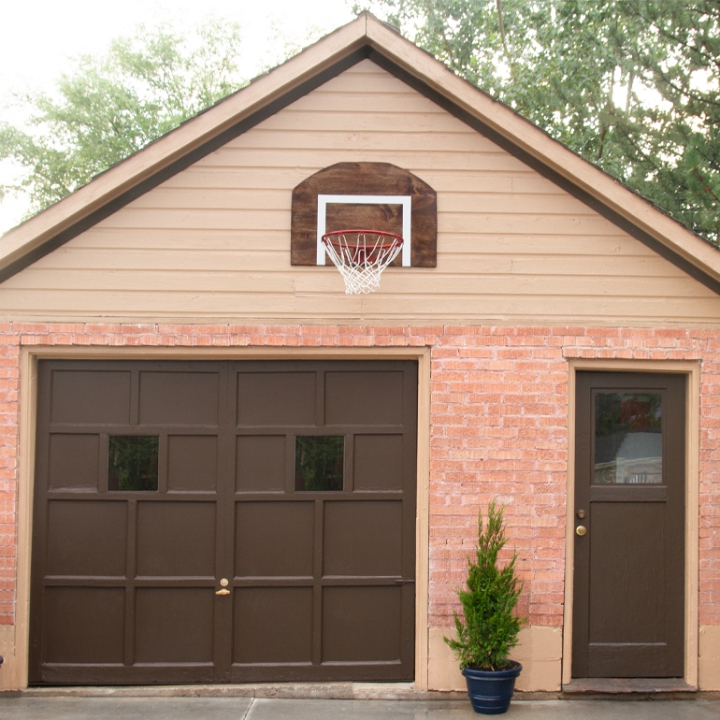
Our garage door is over 80 years old. It has been painted numerous times over the years. I admit that I just sort of slapped a layer of paint on it soon after moving in and then just left it alone. I knew one day I would have to actually take the time to do things right. Twelve years later, that time is now!
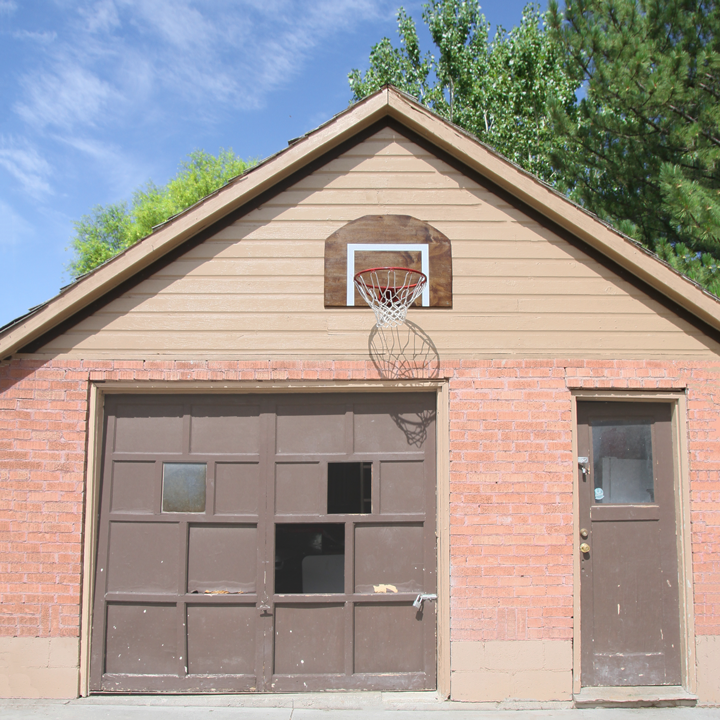
$100 Makeover
One day we might get a new custom door made, but for now, since our little one car garage is a glorified shed, we decided that a $100 makeover was good enough.
Step #1
Make Any Necessary Repairs
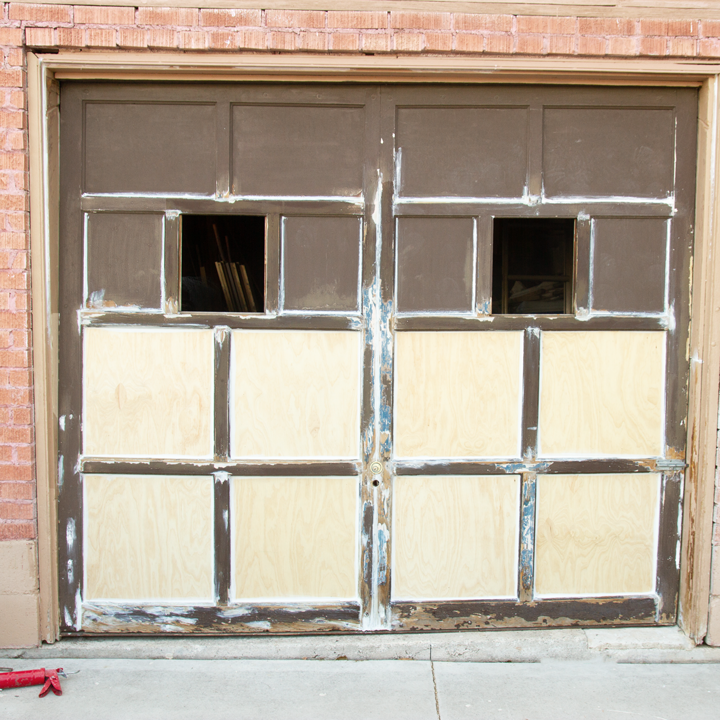
We started by taking off the replacement panels that were just screwed on from behind. All the top panels are original, but the bottom two rows were poor replacements. It was obvious because the depth was drastically different.
I added a thin layer of plywood to the back of the door. I did this because I needed something to attach the new panels to. Once it was in place, I nailed on the new panels and caulked around the edges.
Step #2
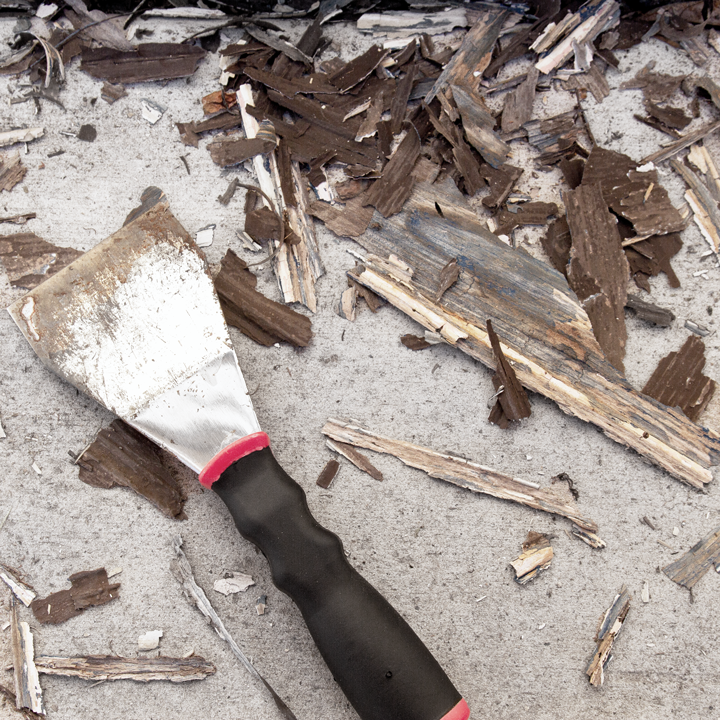
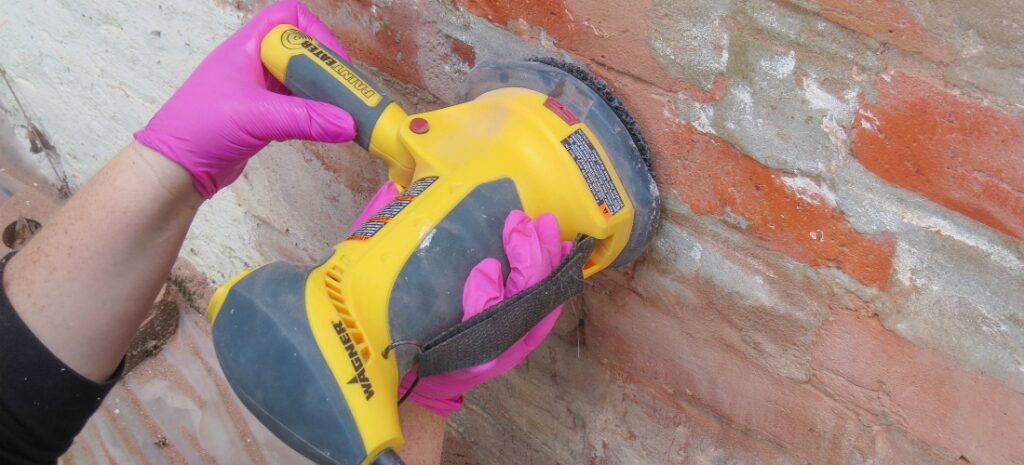
Scrape
I scraped and sanded off any loose paint. If you have an old door like mine, make sure to do a lead paint test. They are inexpensive and easy to do. You can buy a kit at any home improvement store or online. Luckily, we didn’t have lead paint and could proceed.
Step #3
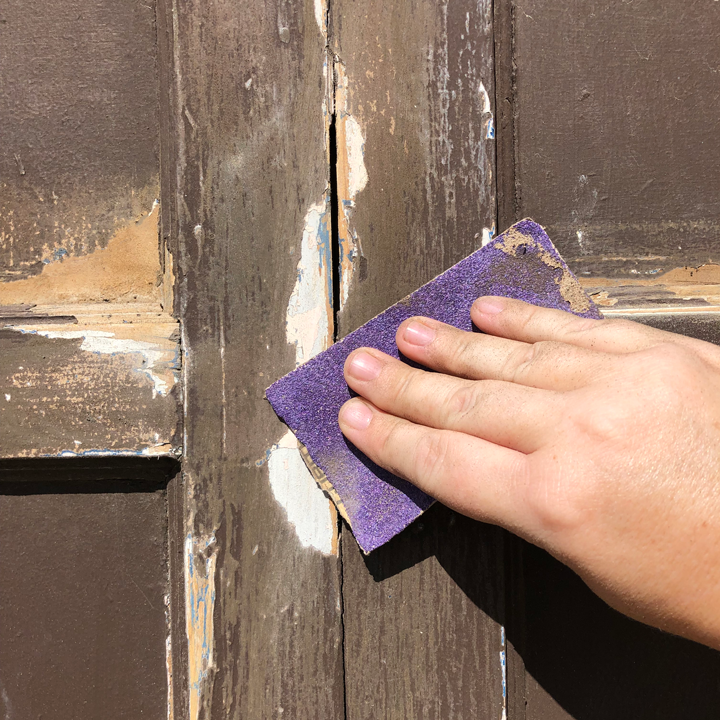
Sand
Over time as the paint chipped, it would create deep depression because of the thickness of the layers of paint. Scraping off some layers and sanding made it less noticeable.
Step #4
Clean it Well
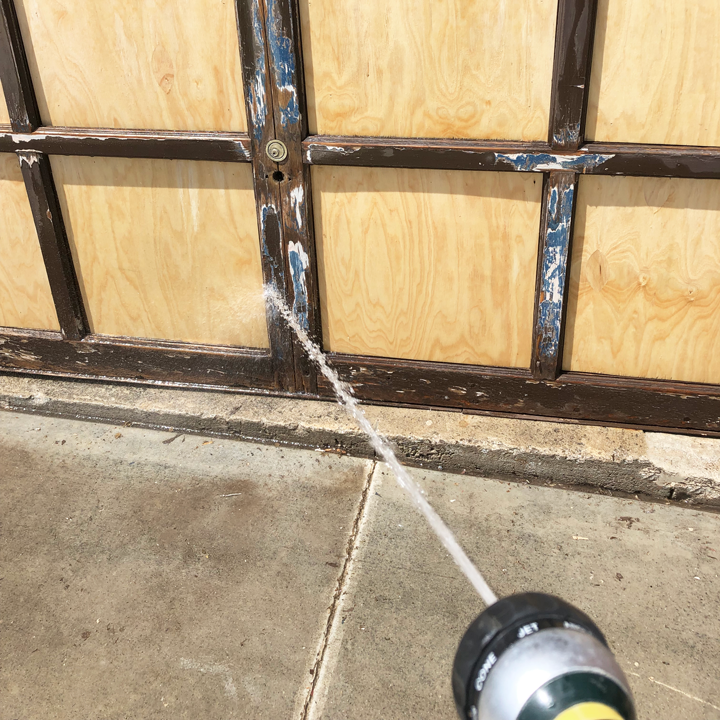
Once I was done with the sanding, I hosed off the garage door to ensure all dust and dirt were gone. Once it is fully dry, you can move on to the next step.
Step #5

Tape and Tarp
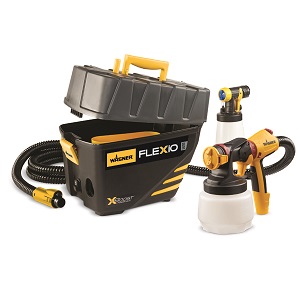
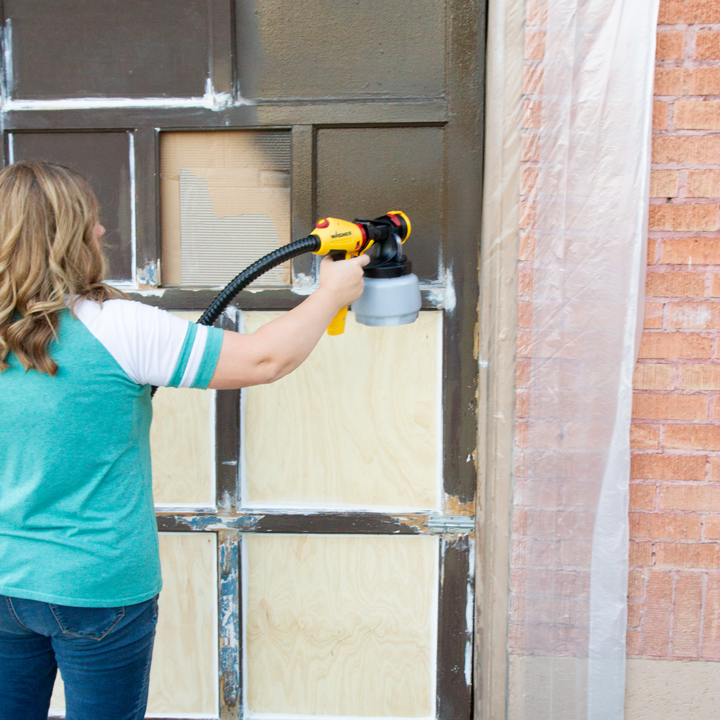
There isn’t a lot of overspray with this sprayer, so I only needed to use a pre-taped masking tarp. I filled my Wagner FLEXiO 5000 paint sprayer with a dark brown exterior paint. Our garage door is in sun all day, so I made sure to get a paint with good UV protection.
Step #6
Paint!
All that prep work and now you get to see the results! I used the iSpray nozzle since it is designed for broad surface projects. I love that the canister holds a lot of paint, but since the motor in the casing and on the ground, the sprayer is not heavy. It is important to test the sprayer on a piece of cardboard or something other than your project. Play with the settings until you find the right ones to achieve the spray you want. Hold the sprayer about 8 inches from the surface and move back and forth in even movements. Make sure to overlap a bit to ensure even coverage.
Step #7
Touch Up Trim and You’re Done
I did two coats and once the paint was mostly dry, I removed the tarp and tape. I touched up the tan paint on the trim and it looked like I had a whole new garage!
This sponsored post was created by Not Just a Housewife. Head to the blog for the full post and details.
Step #8

Download Project Steps & Shopping List
We’ll never share your email with anyone else